
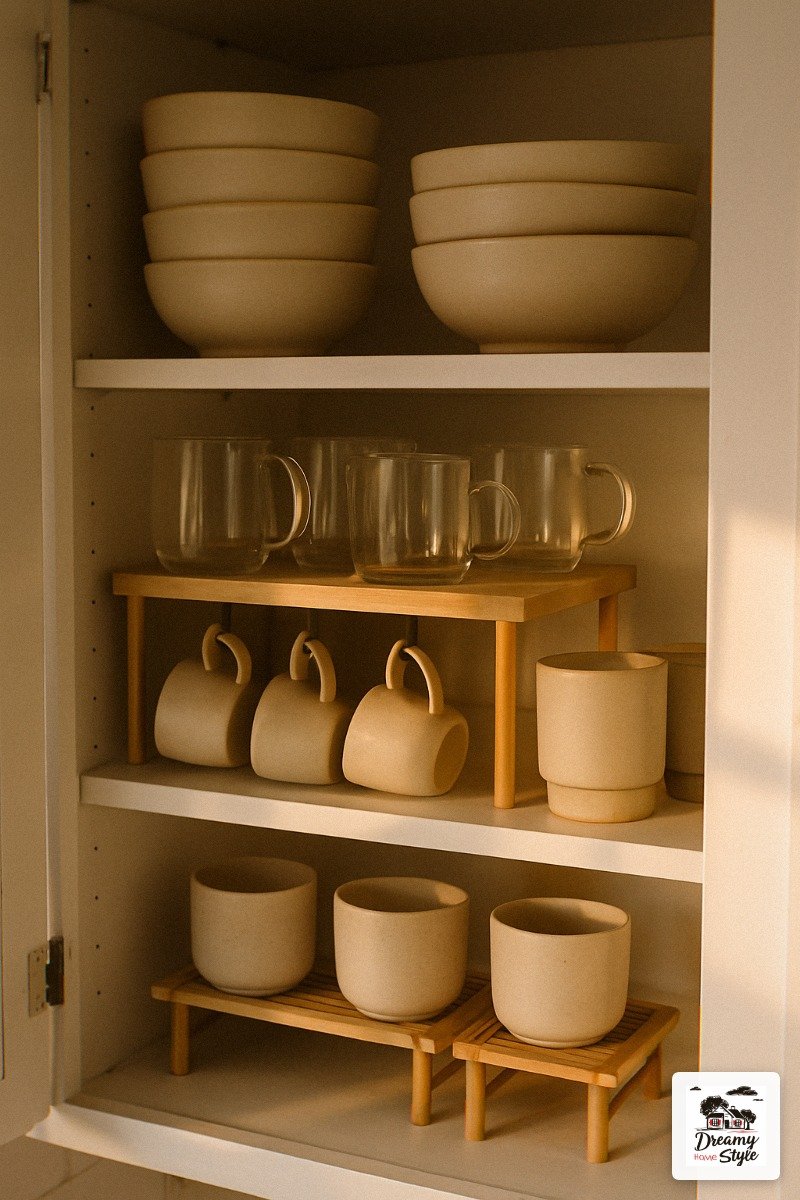

I used to shove every mug into one cabinet and just hope for the best.
The avalanche situation every morning — Biscuit barking at the crash, coffee not even started yet — finally broke me.
So I spent a weekend pulling everything out, rearranging it three times, and honestly learning more about cup organization than I ever expected to.
The short answer: use shelf risers, hang what you can, and group by how you actually use things.
But the longer answer is way more fun, and it’s what turned my chaotic cabinet into something I genuinely want to open every single morning.
Start By Pulling Everything Out (Yes, Everything)
I know.
It sounds obvious.
But I skipped this step the first two times I tried to ‘organize’ my cups and it never stuck.
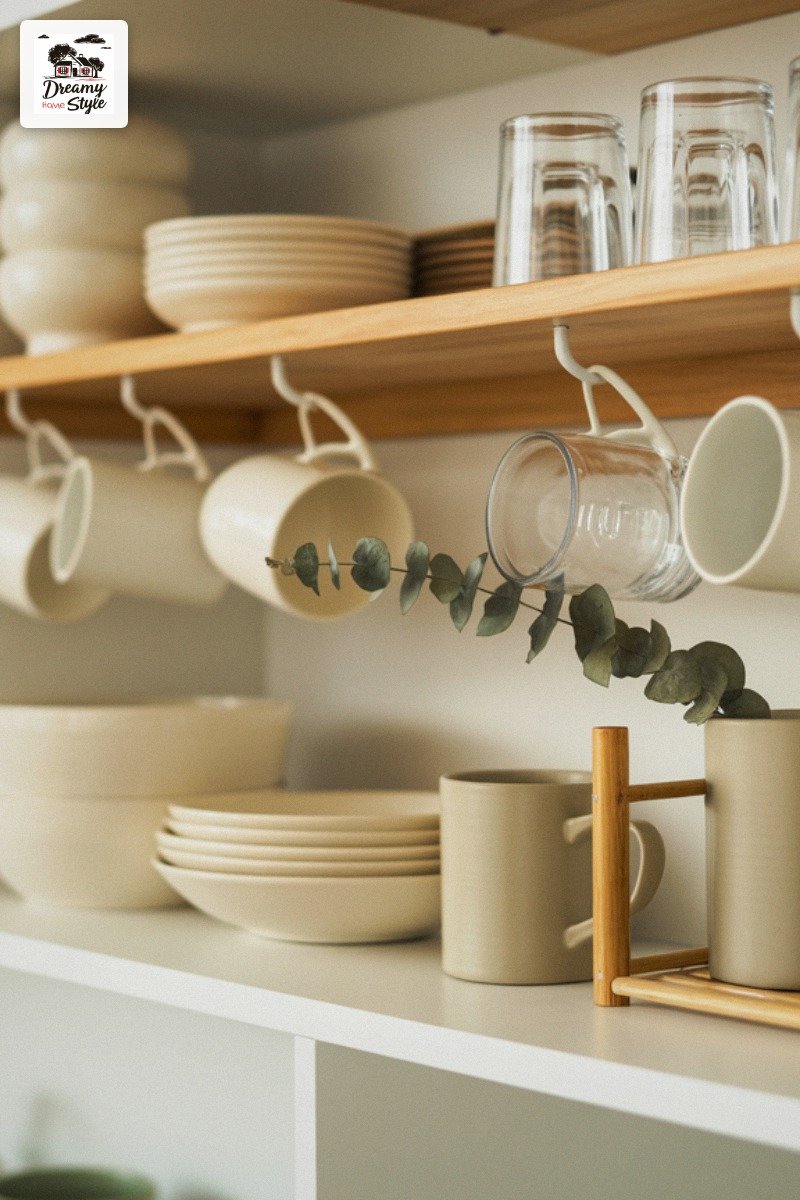
You have to see what you’re actually working with laid out on the counter before any of it makes sense.
I did this on a Saturday morning with a full cup of coffee and it took about 20 minutes to realize I had 14 mugs for a one-person household.
Fourteen.
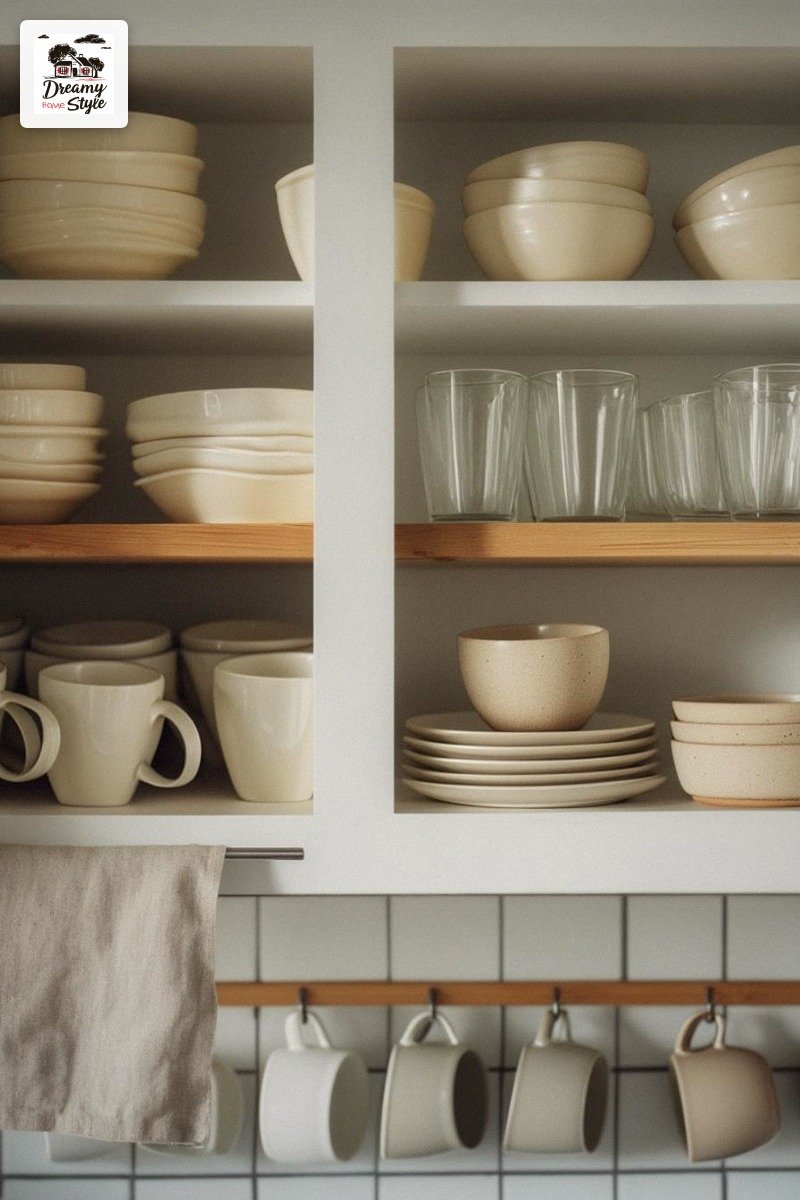
Lay them all out and sort into groups: daily drivers, special occasion pieces, the ones you keep out of guilt.
That last pile is the one you donate.
Biscuit supervised this process very seriously from his dog bed.
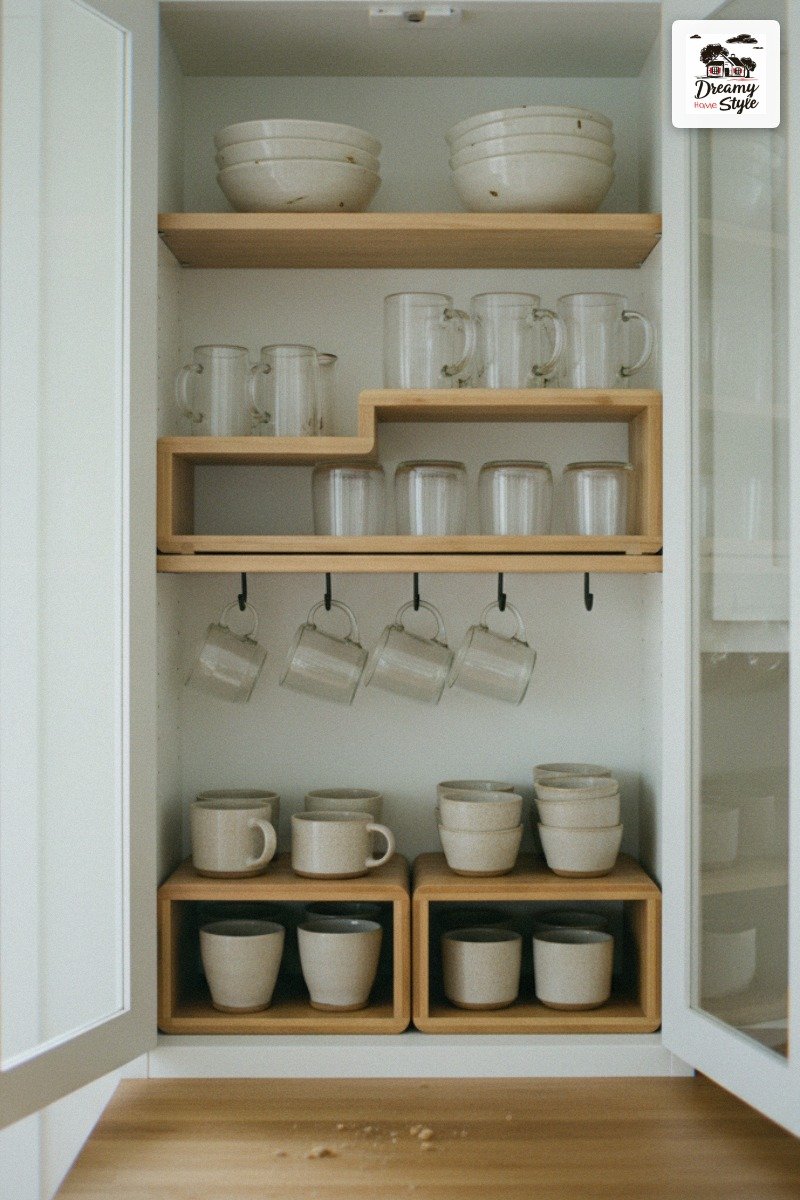
Once everything’s on the counter, you can actually see the volume you’re dealing with and plan your cabinet space honestly instead of just cramming things back in the same broken way.
The Shelf Riser Is the Hero You Didn’t Know You Needed
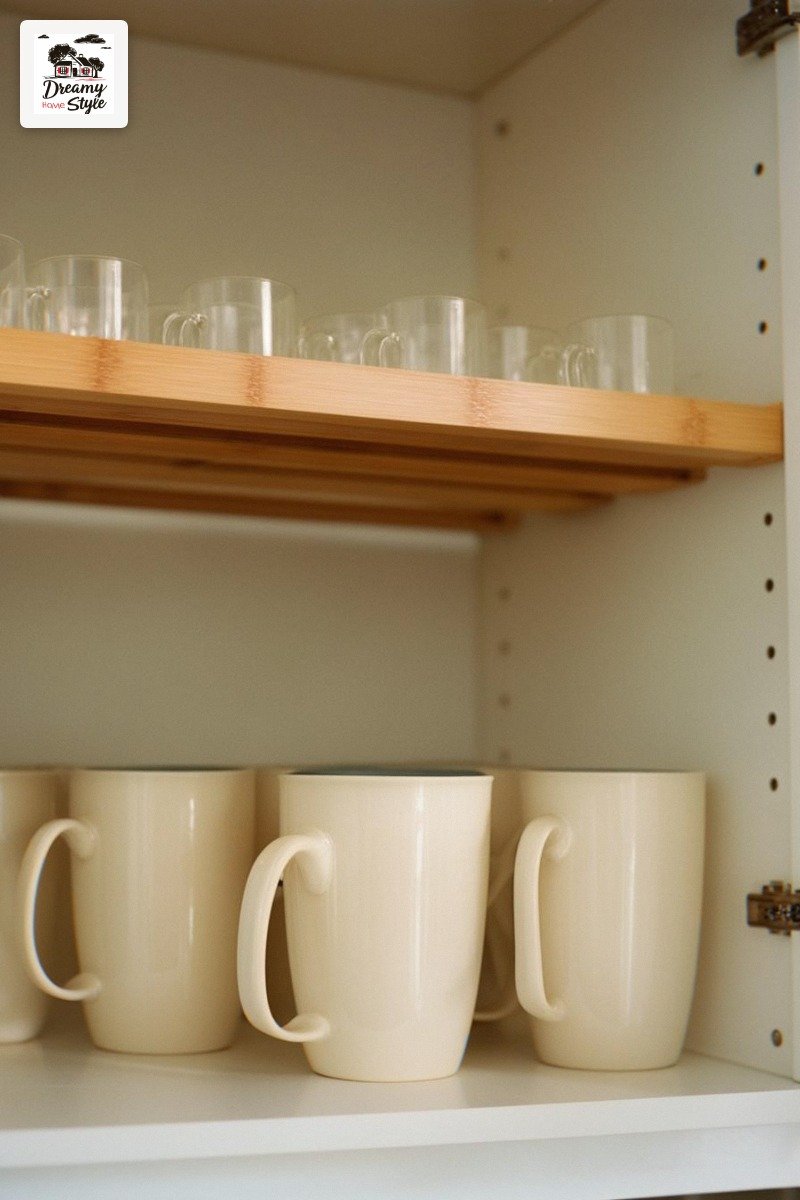
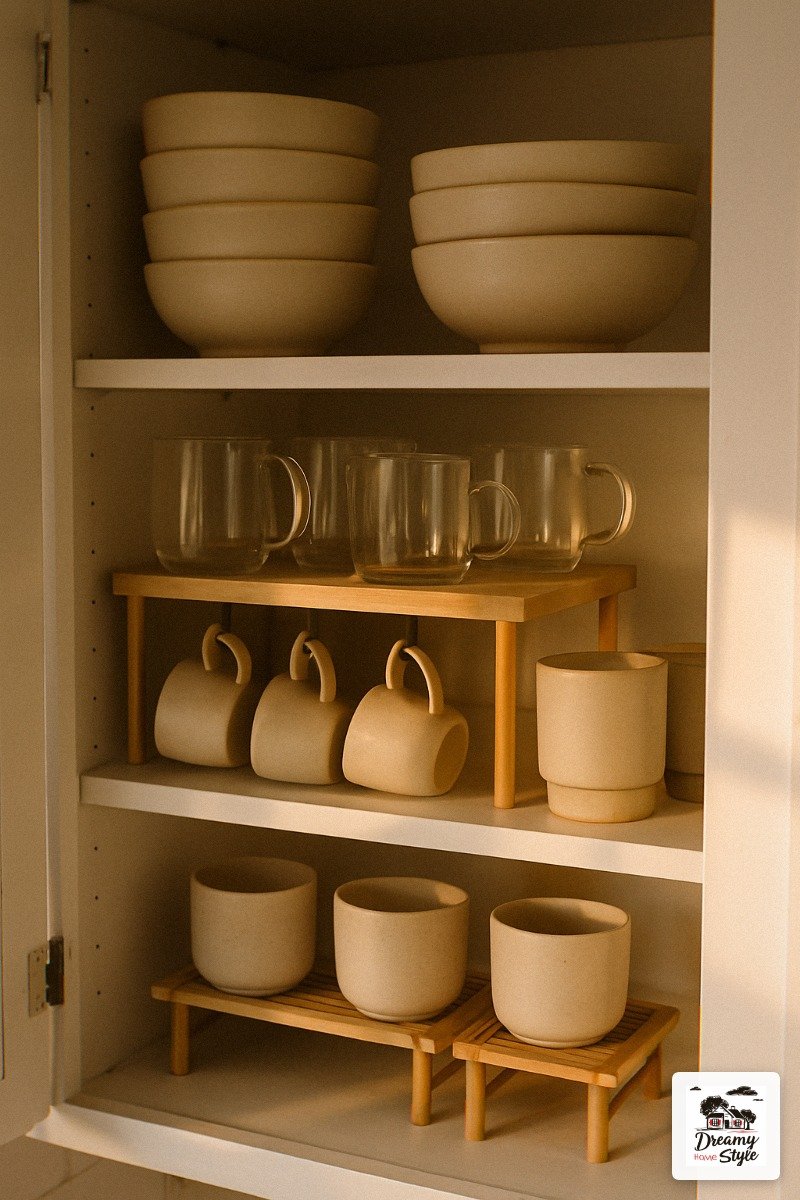
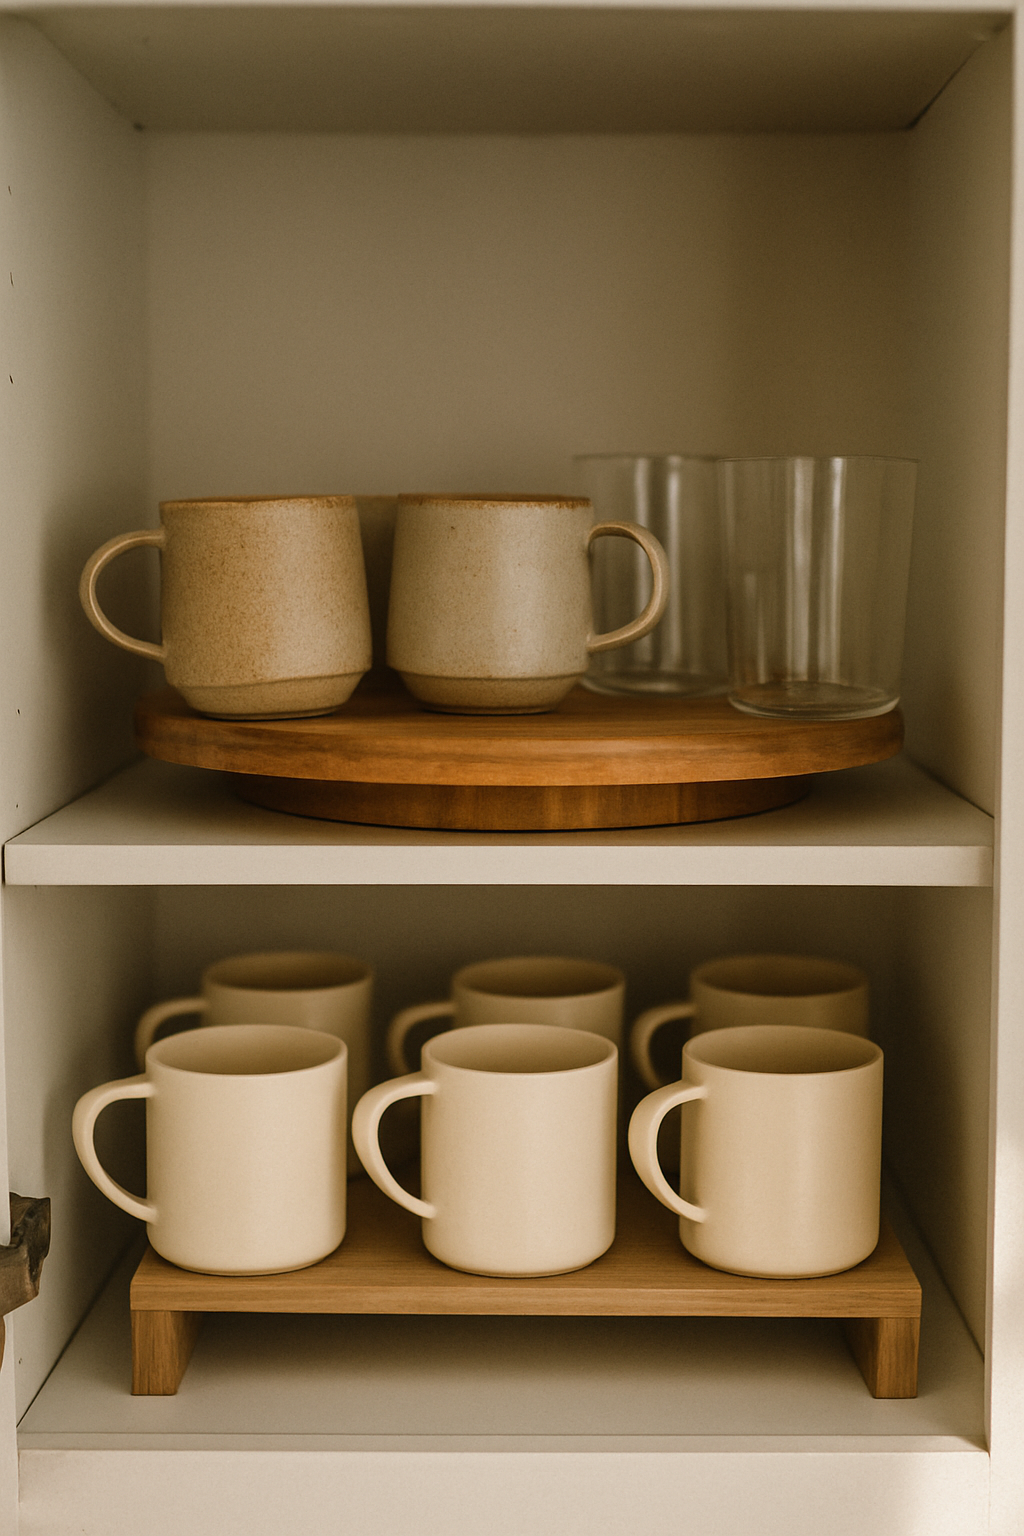
A wooden shelf riser inside a cabinet is the single best $15 I’ve ever spent on my kitchen.
I found mine at HomeGoods and it changed everything.
It essentially doubles your vertical space.
Taller mugs go on the bottom, smaller everyday cups go up on the riser.
You stop stacking things four high and knocking them over at 7am.
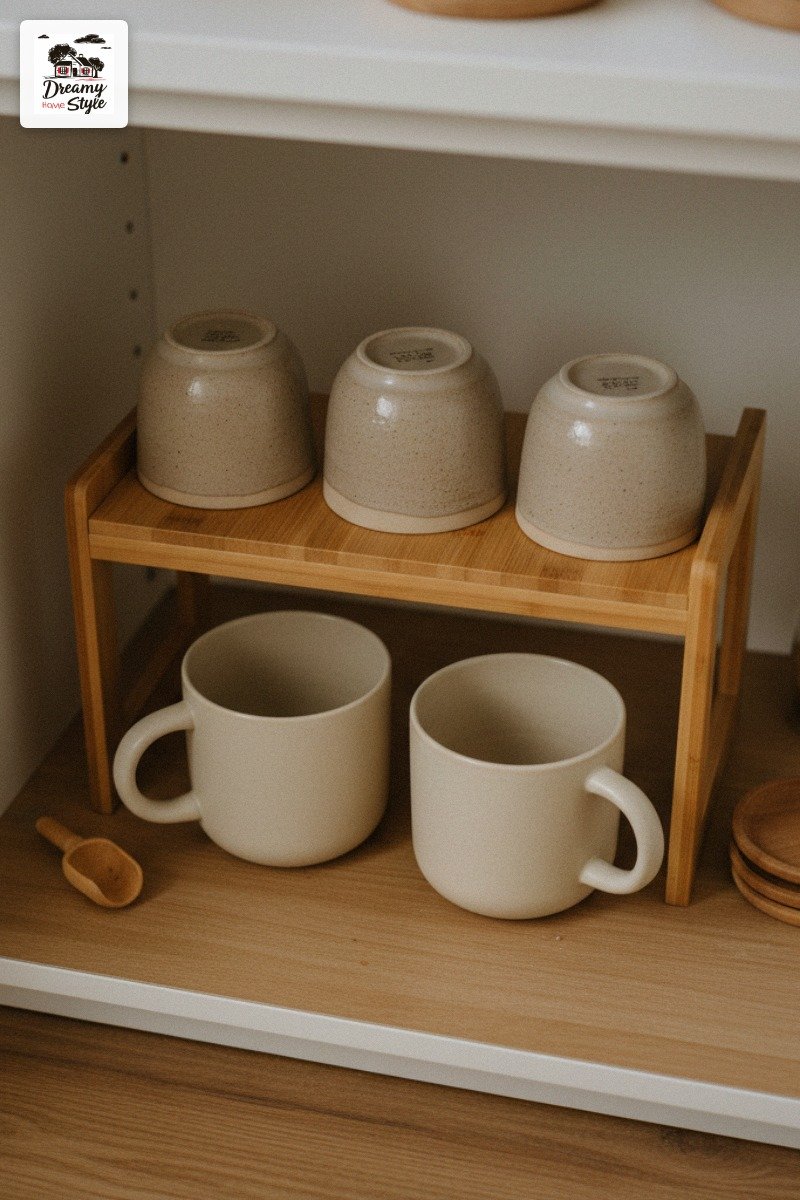
I use a honey-toned bamboo riser and it blends so nicely with the warm whites in my cabinet.
Looks intentional instead of chaotic.
If you’ve got deep cabinets, get two risers and stagger them.
Front row shorter cups, back row taller mugs on the riser.
You can actually see and reach everything without doing that awkward Jenga move.
Hooks Are Doing the Most and Nobody Talks About It
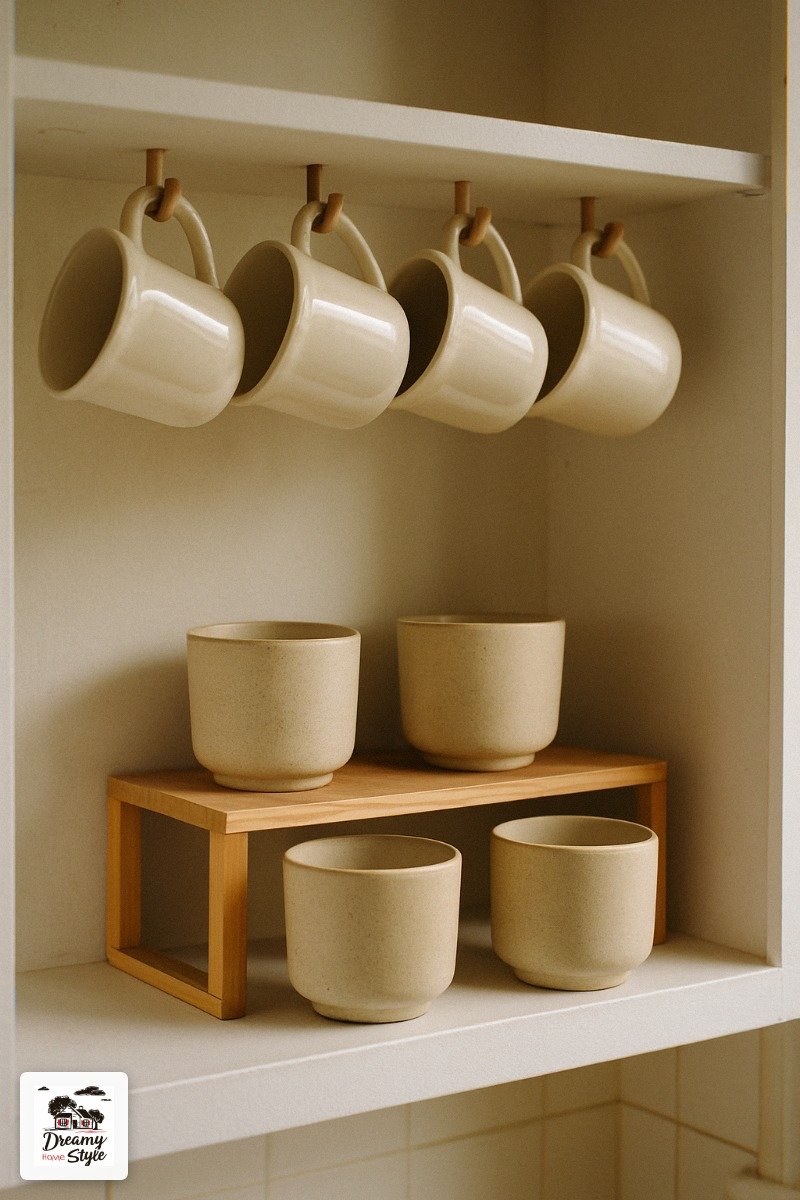
Under-shelf hooks.
I’m telling you.
I had no idea these existed until I saw them at the Container Store and I genuinely felt cheated by every organization article I’d read before.
You screw or clip small S-hooks or cup hooks to the underside of your cabinet shelf and hang mugs by the handle.
It frees up an entire shelf.
Entire.
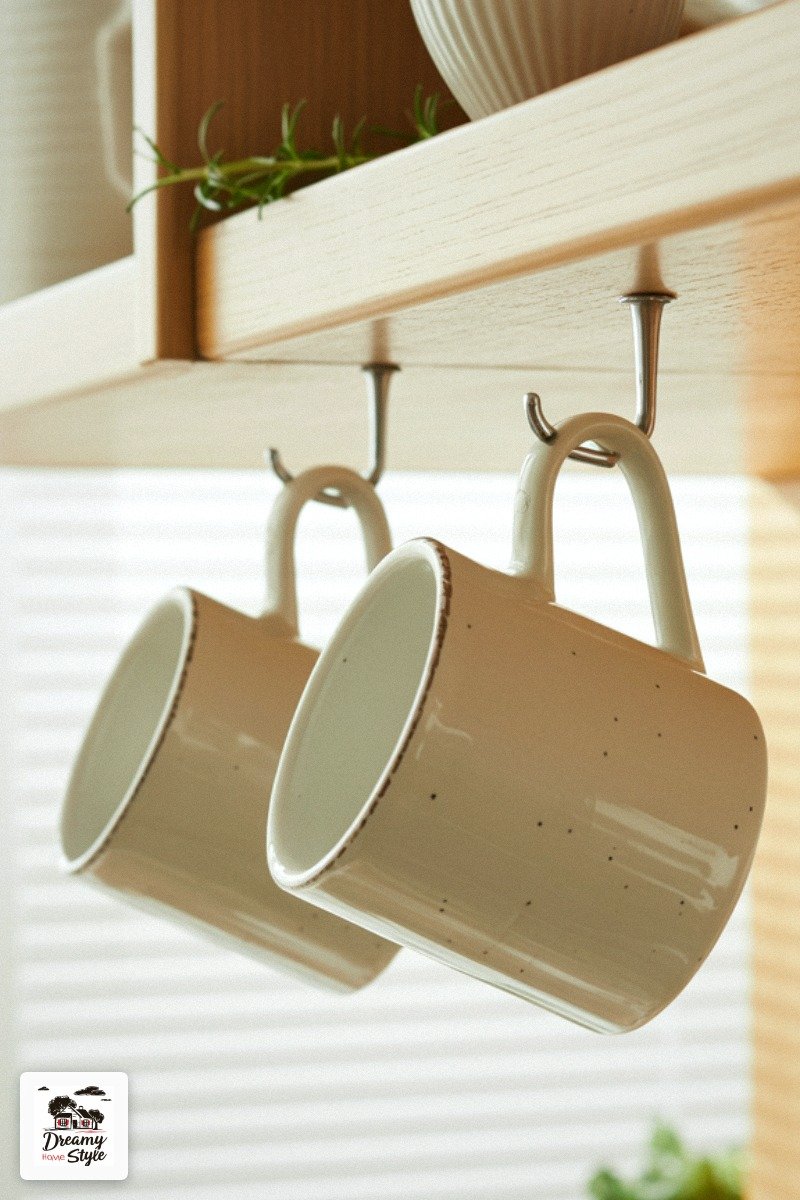
I hang my four most-used mugs this way and I haven’t moved them since.
They’re just there, ready, looking cute, not taking up a single inch of shelf real estate.
One caveat: this works best with mugs that have a sturdy loop handle.
Thin delicate handles can get stressed over time.
I lost one that way (RIP to the little blue guy from a Myrtle Beach gift shop circa forever ago).
Group by How You Live, Not by How It Looks
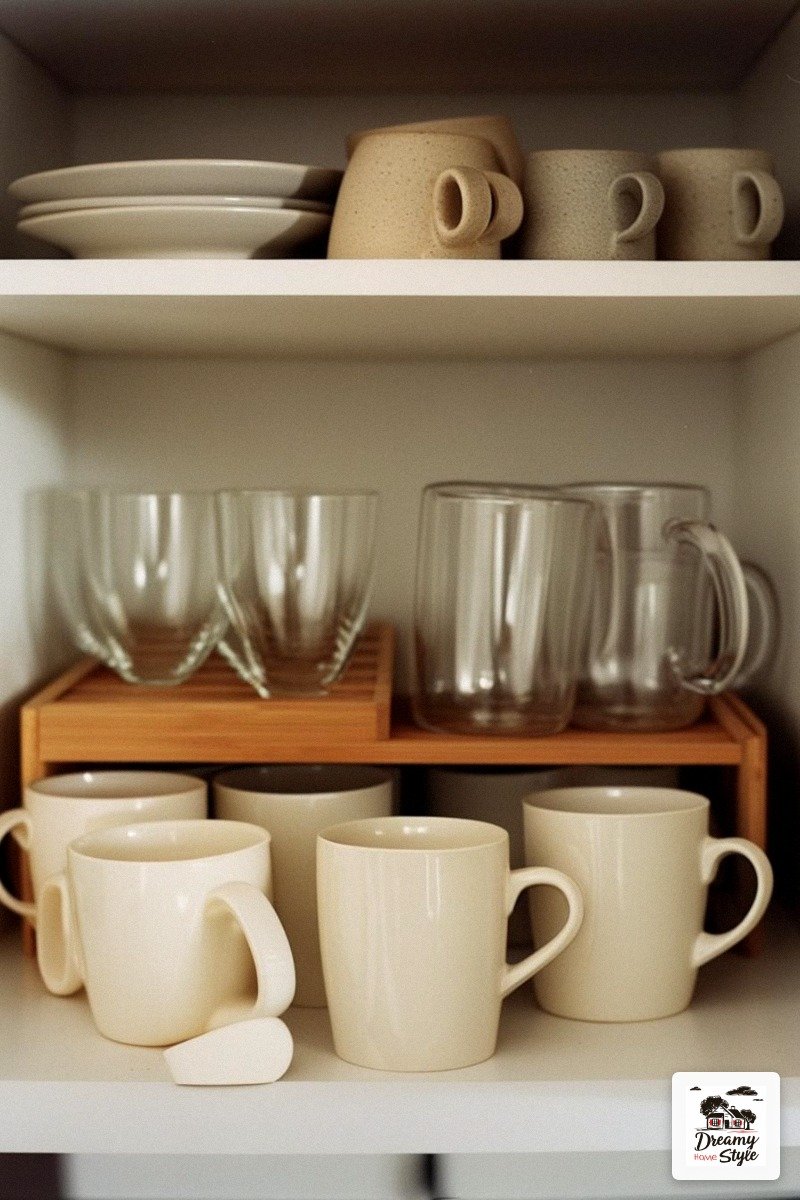
Every organizer on Pinterest groups cups by color or size and it always looks gorgeous in photos.
In real life it drove me insane.
I reorganized by use instead.
Daily mugs front and center.
Guest cups (I have some nice white stoneware pieces) on a higher shelf.
Travel mugs in a totally separate drawer situation I’ll get to in a minute.
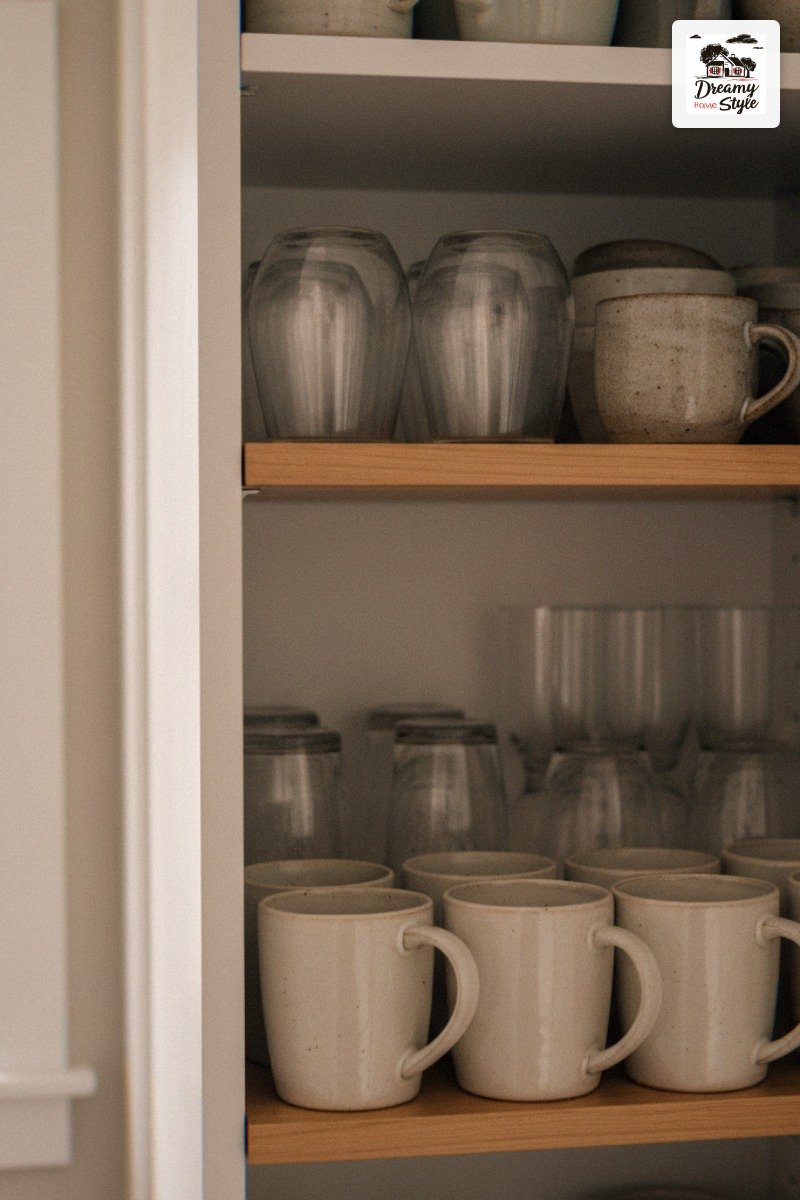
This sounds so basic but it cut my morning cabinet rummaging from like two minutes to five seconds.
Honestly kind of emotional how much that improved my life.
Your organizational system should match your actual habits, not someone else’s aesthetic.
If you drink matcha every day and espresso twice a year, those cups should NOT be in the same prime real estate spot.
The Travel Mug Problem Has a Solution and It’s a Drawer
Travel mugs are the enemy of cabinet organization.
They’re tall, they’re lidded, they tip, and the lids go absolutely rogue.
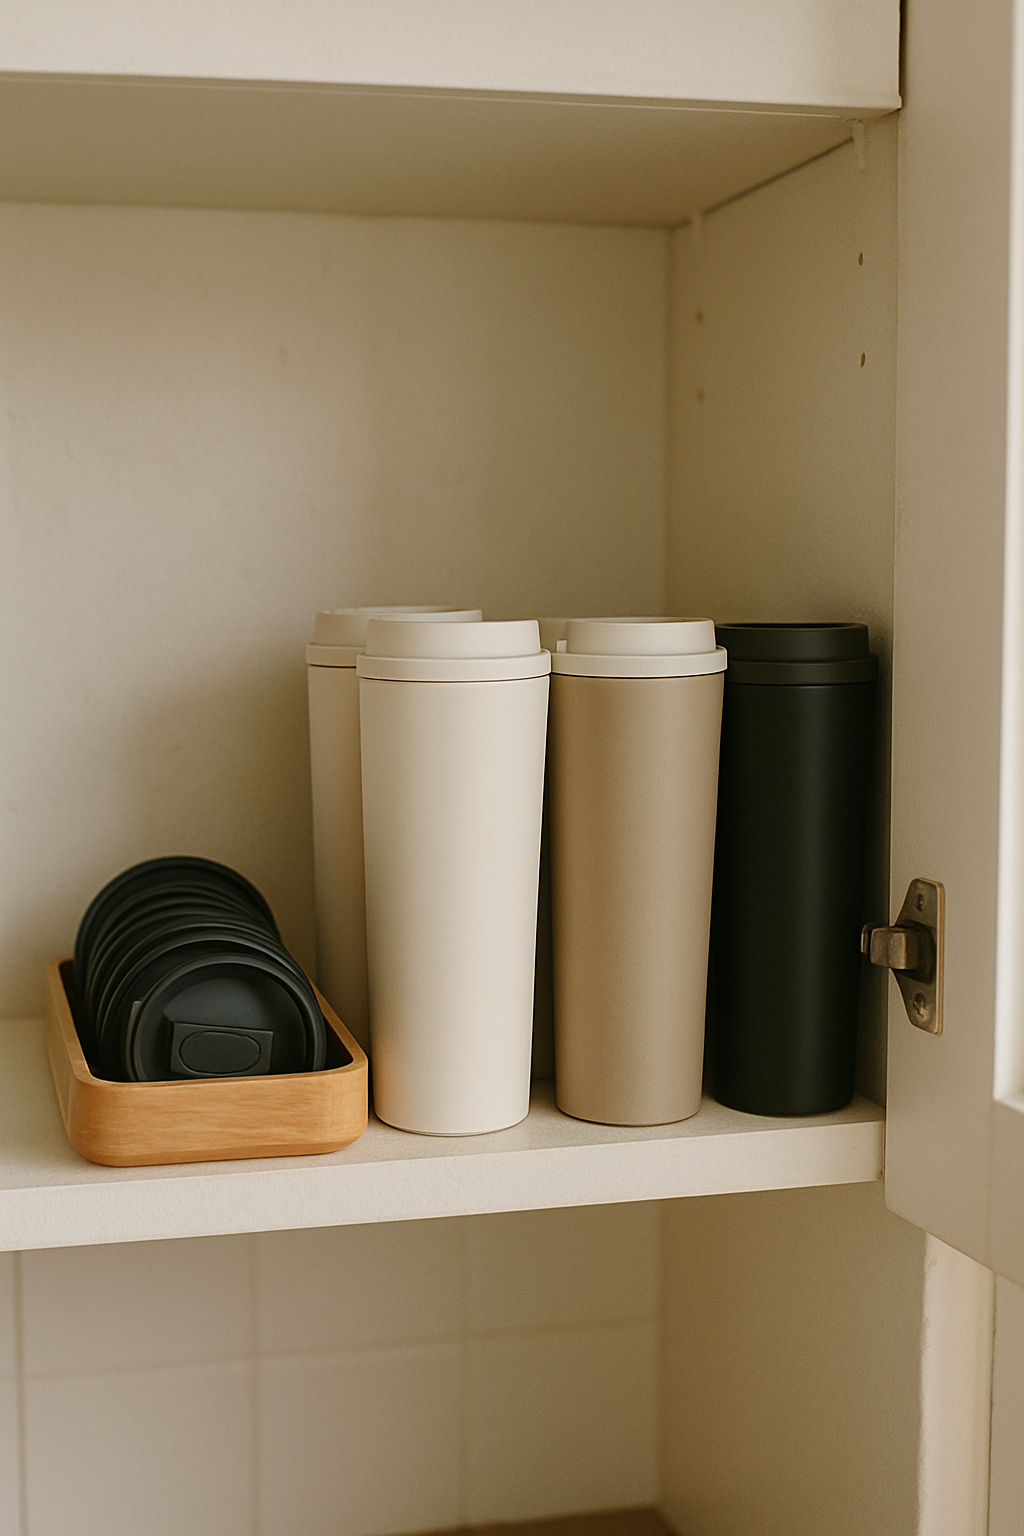
I moved all my travel mugs to a deep lower cabinet drawer.
Upright, side by side.
Lids go in a small bamboo tray next to them, sorted so each lid is visible.
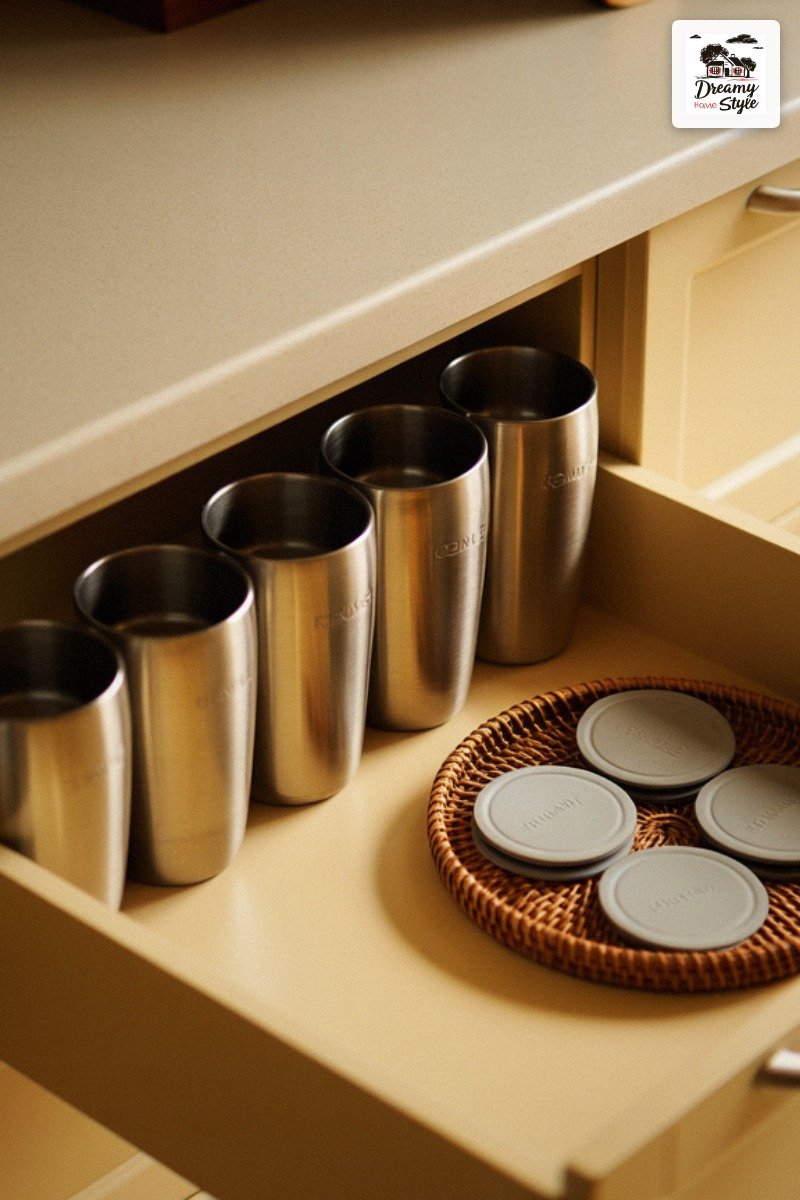
Before this, my cabinet had three travel mugs jammed sideways, lids completely separate, and I could never find the matching set.
It was a whole thing.
Every.
Single.
Morning.
If you don’t have a drawer to spare, a tall narrow bin inside a lower cabinet works almost as well.
The point is getting them vertical and out of the main cup zone entirely.
Color-Matching Your Cups Is Optional But I’m Still Obsessed
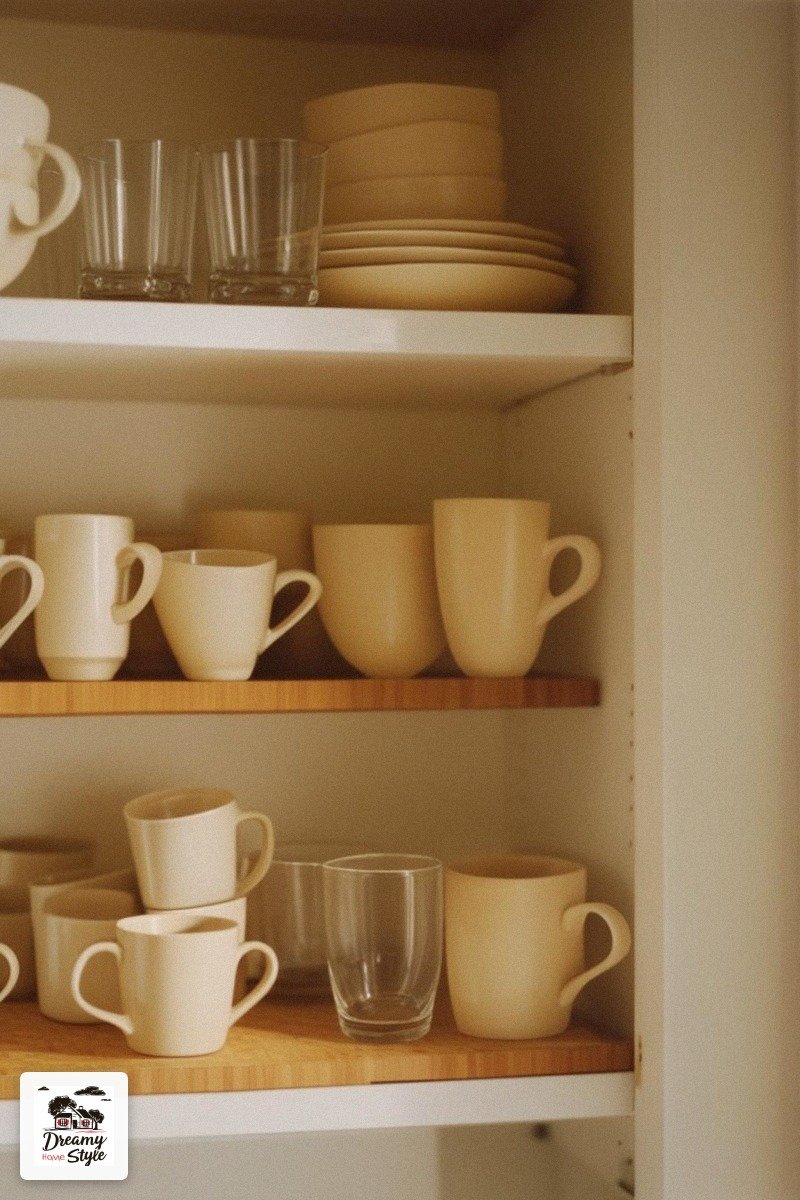
I used to think matchy-matchy was cheesy.
Then I slowly replaced all my random thrift mugs with cream and warm white pieces and now my cabinet looks like a magazine and I don’t care what anyone thinks.
You don’t have to spend a lot.
Most of my stoneware mugs are from HomeGoods or the occasional TJ Maxx find, usually $4-8 each.
The clear glass mugs are IKEA.
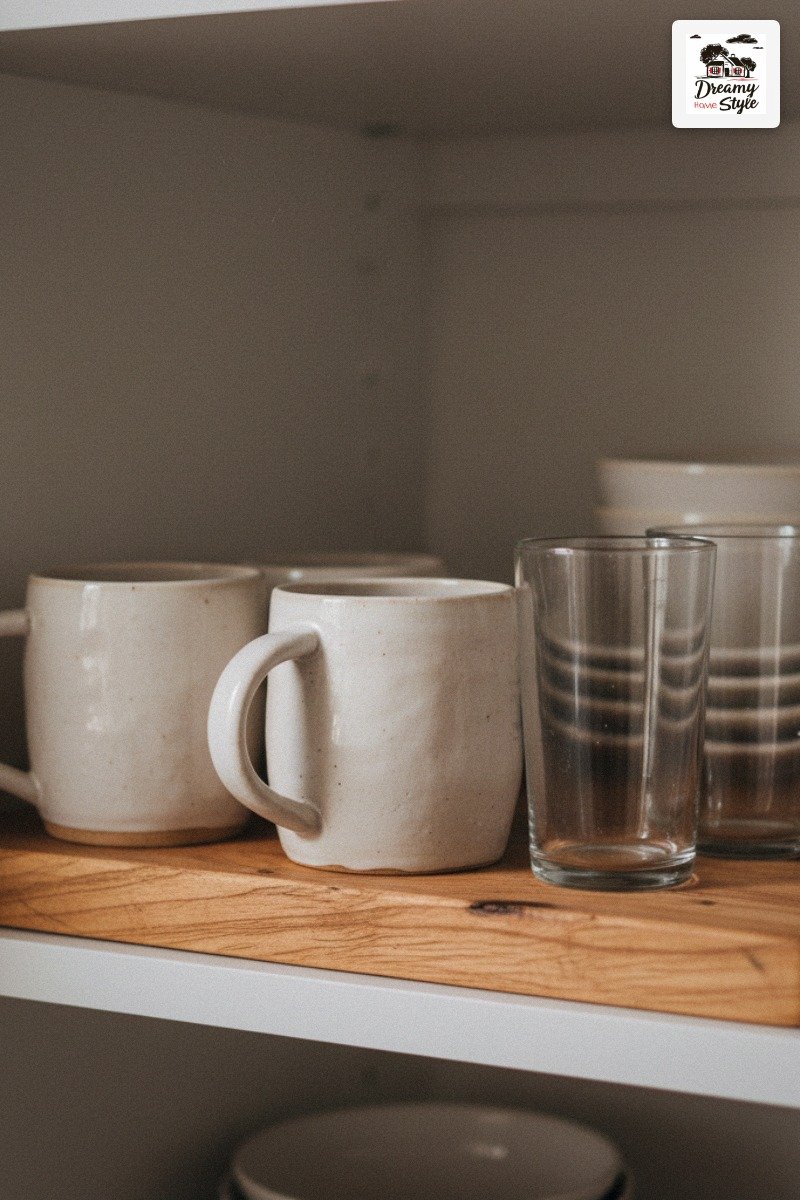
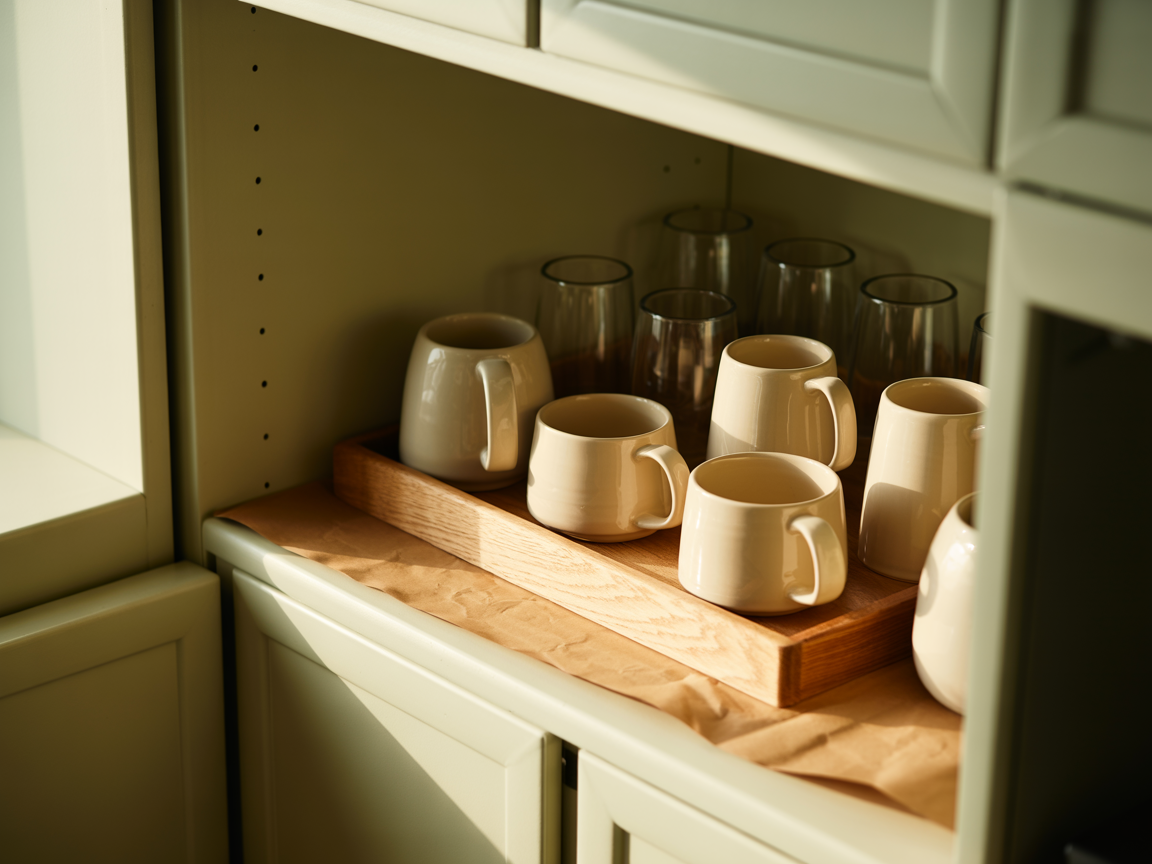
The combo of cream ceramics, clear glass, and beige stoneware against white cabinet shelves is just… really calming.
It photographs beautifully too, which matters when you want to actually enjoy opening your cabinets.
If you’re not ready to swap out cups, even just grouping similar tones together on one shelf versus scattering them randomly makes a huge visual difference.
One Tray to Rule the Open Shelf Situation
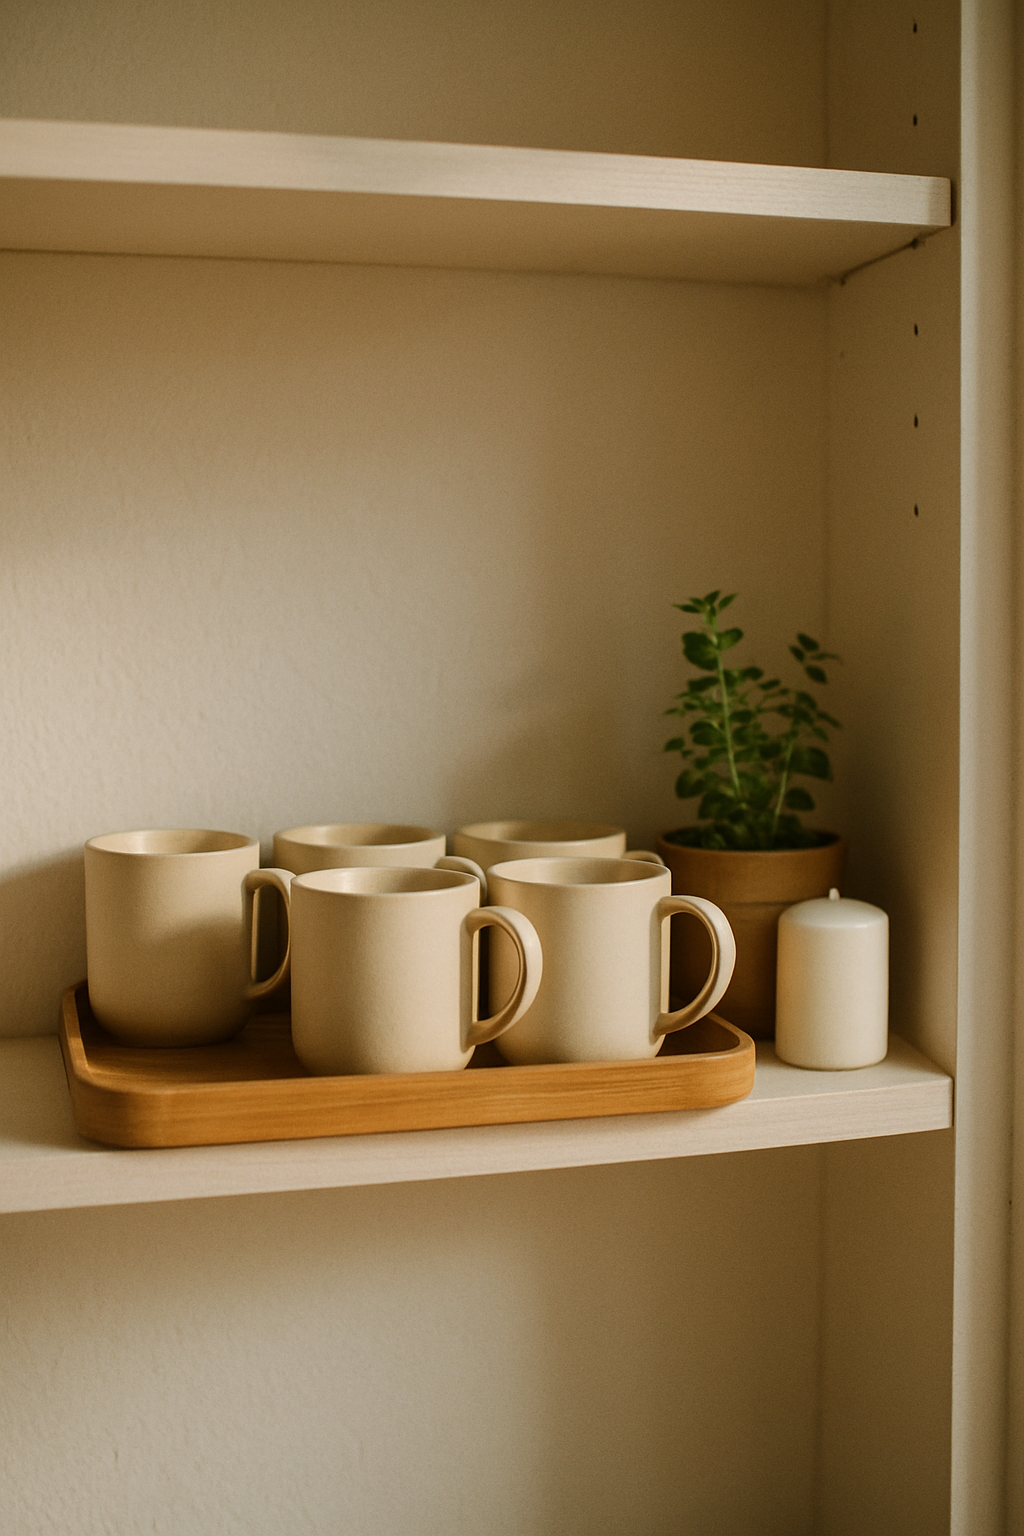
If you have open shelves (I have two in my kitchen and I have a complicated relationship with them), a tray is non-negotiable.
A small rectangular bamboo or light wood tray corrals your cups so they don’t visually scatter.
Even four mugs on a tray look intentional.
The same four mugs without a tray look like you forgot to put them away.
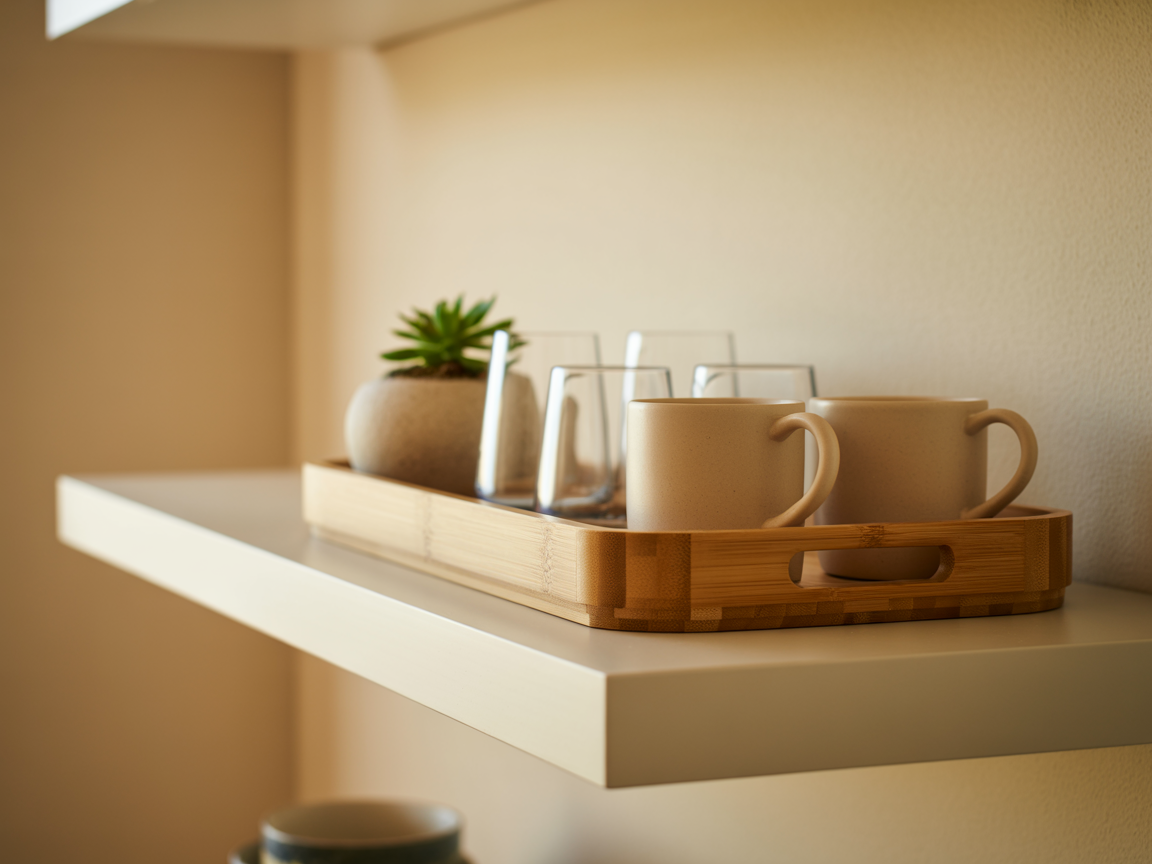
I use a 10-inch bamboo tray from Amazon, maybe $11, and it holds my four most-used mugs for open display.
Biscuit has knocked it exactly zero times, which I consider a miracle.
Style tip: mix a couple of mugs with a small plant or a single candle on the tray.
Breaks up the sameness and makes it feel less like a storage solution and more like a display.
Glassware Gets Its Own Zone — Don’t Negotiate This
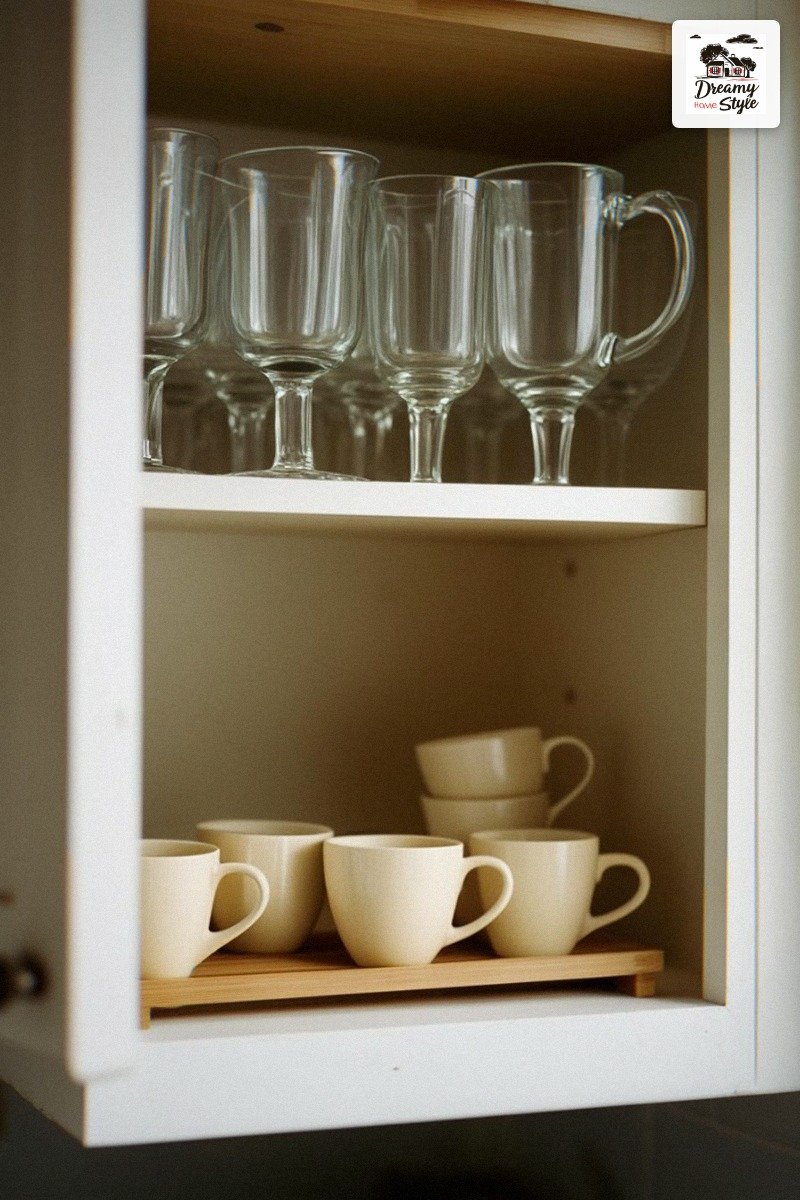
Mixing drinking glasses in with mugs is one of those habits that seems fine until you realize it’s the source of 80% of your cabinet chaos.
Glasses are a different height, a different weight, and you reach for them differently.
They deserve their own shelf or their own section of a shelf.
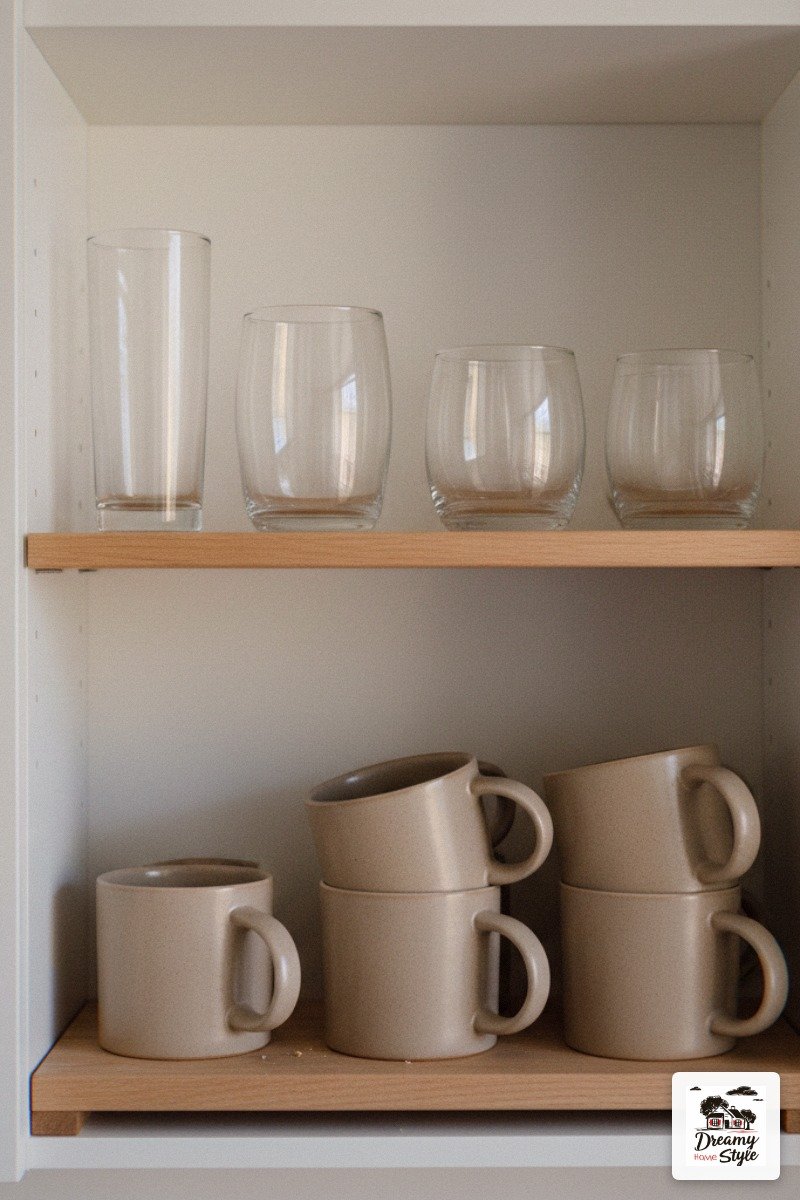
I moved my clear glass mugs and everyday drinking glasses to the shelf right above my dishwasher.
Made sense practically — unload, put away, done.
Two seconds.
Grouping glassware separately also makes your mug situation feel more organized by default because suddenly the cabinet isn’t this mixed jumble of shapes.
Everything is just… more readable.
Don’t Sleep on the Cabinet Door
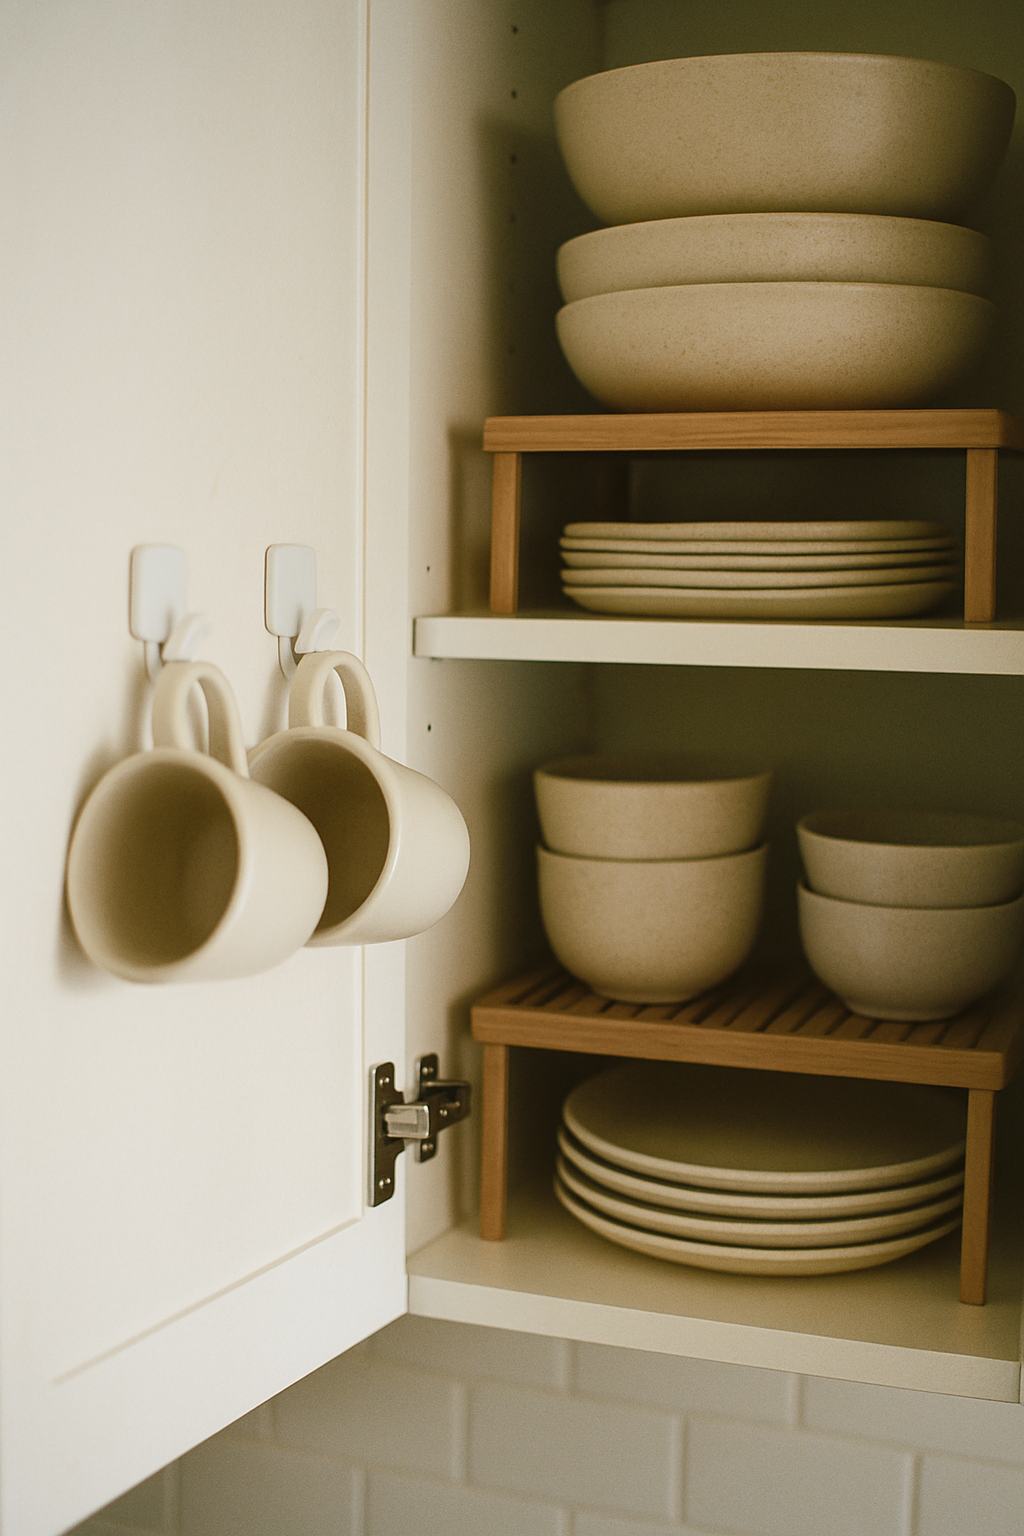
The inside of your cabinet door is wasted space 99% of the time.
I finally did something about mine and I’m annoyed I waited so long.
Small over-door racks or adhesive hooks on the inside panel can hold a few mugs or even lids.
I use two small adhesive Command hooks for my two favorite daily mugs right inside the door.
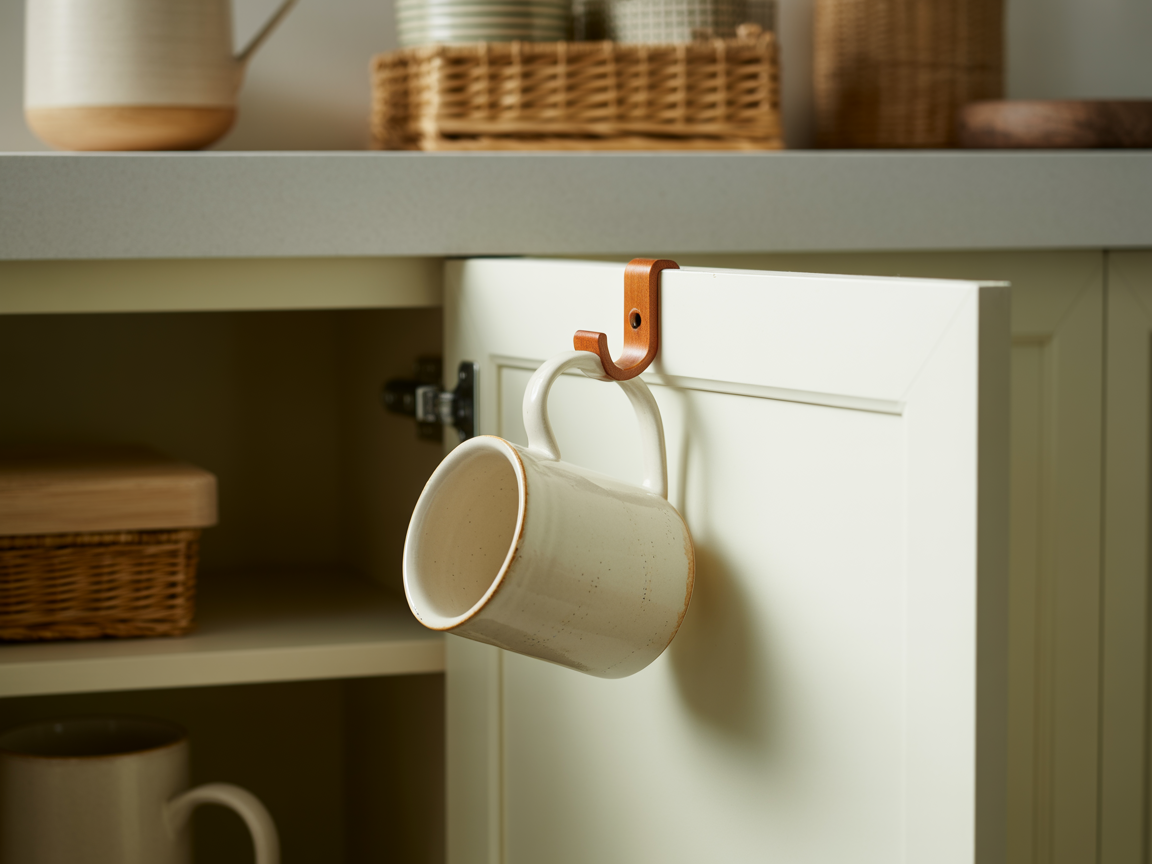
The moment you open the cabinet, they’re right there.
No reaching, no sorting, no decisions at 6:45am before coffee.
This isn’t for everyone — if you have a packed cabinet it can feel cluttered.
But for a lighter cabinet with some breathing room, it’s genuinely clever use of dead space.
Stacking Rules: Know When to Stop
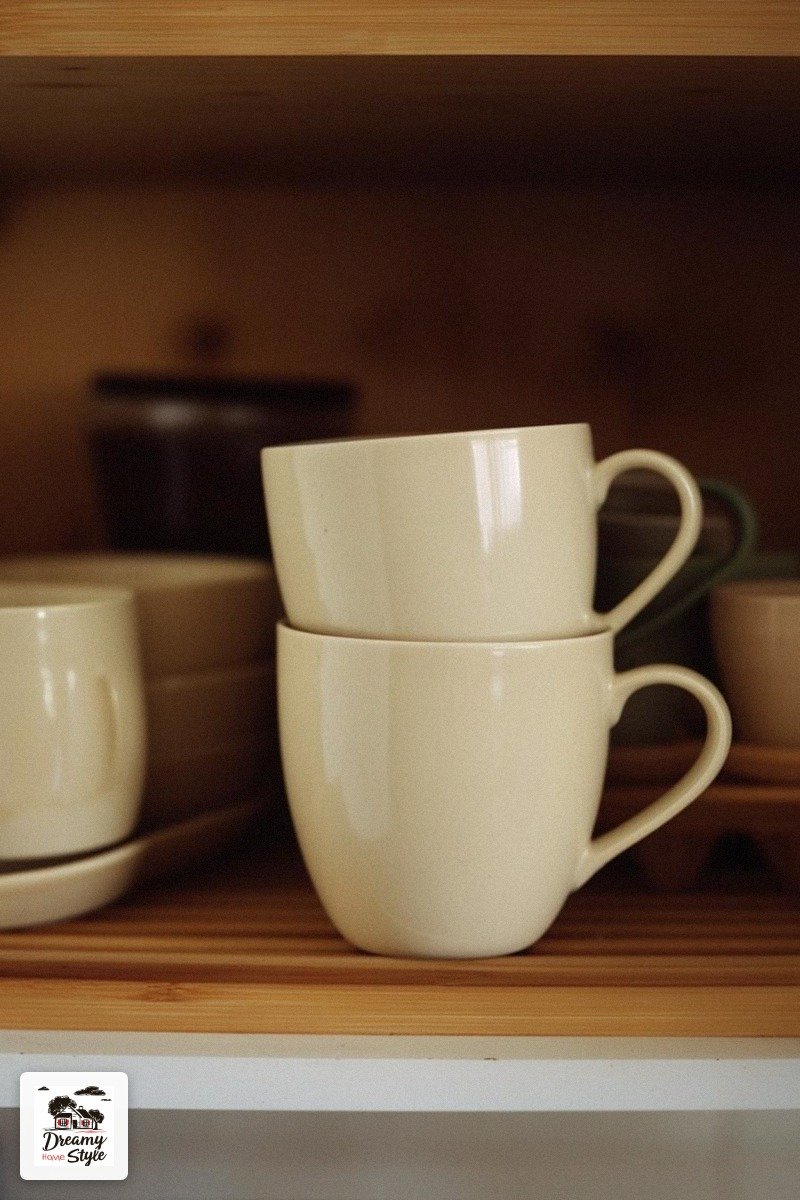
Stacking mugs is fine.
Stacking mugs four high is a structural problem and also a personal attack on your morning.
The rule I live by now: two high max, and only if the cups nest well.
Flat-bottomed stoneware stacks fine.
Rounded bottom mugs?
They slide and topple and I have the chipped rim to prove it.
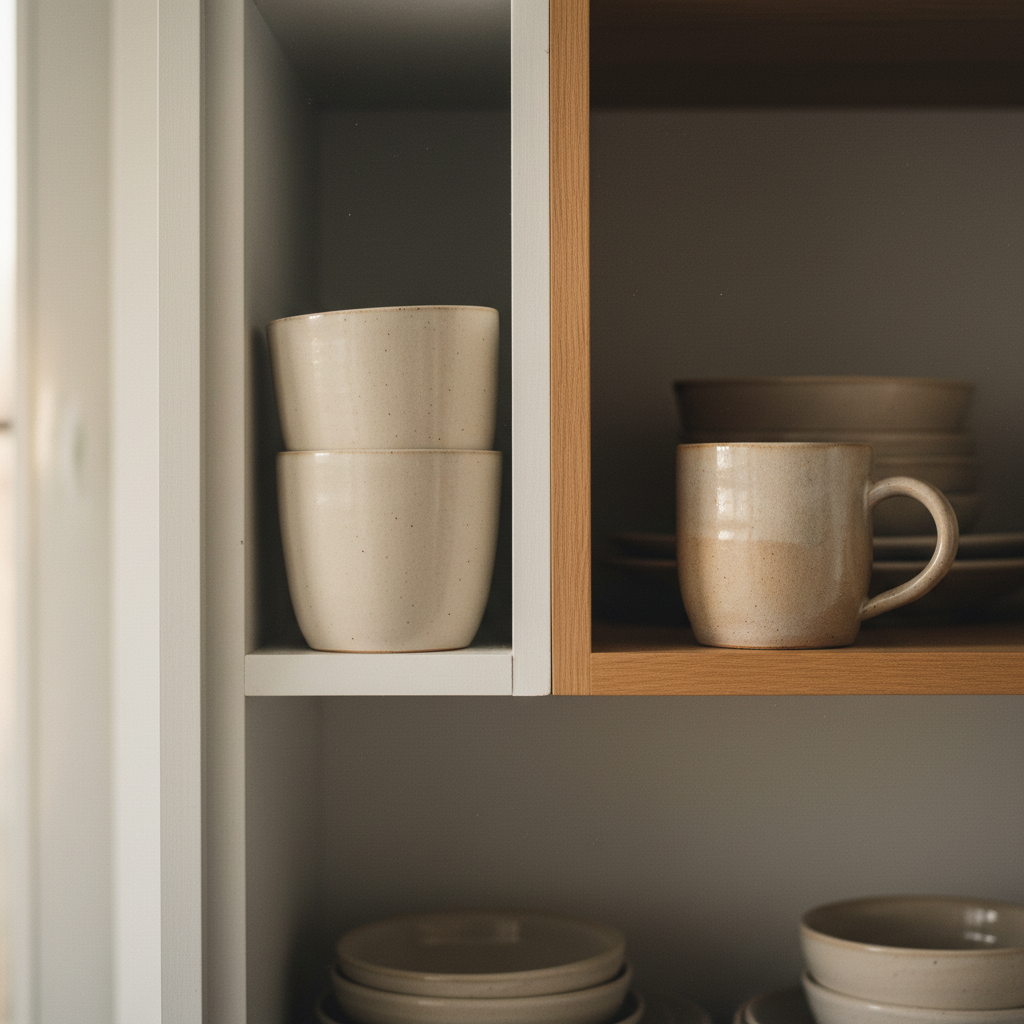
If you’re running out of room and feel the urge to stack a third high, that’s your sign to either get a riser or edit your collection.
Usually both.
Also — don’t stack your nicest pieces.
That one beautiful handmade mug you got at a craft fair?
Give it its own spot.
It deserves to be seen, not buried.
The Back of the Cabinet Is a Graveyard (Rescue It)
The stuff that ends up in the back of a cabinet is basically a time capsule of things you don’t use.
I found a mug from a job I left four years ago back there.
Just living in the dark.
The fix is a lazy Susan or a small turntable, honestly.
A spinning turntable in a deep cabinet means nothing gets stranded in the back anymore.
You just spin it.
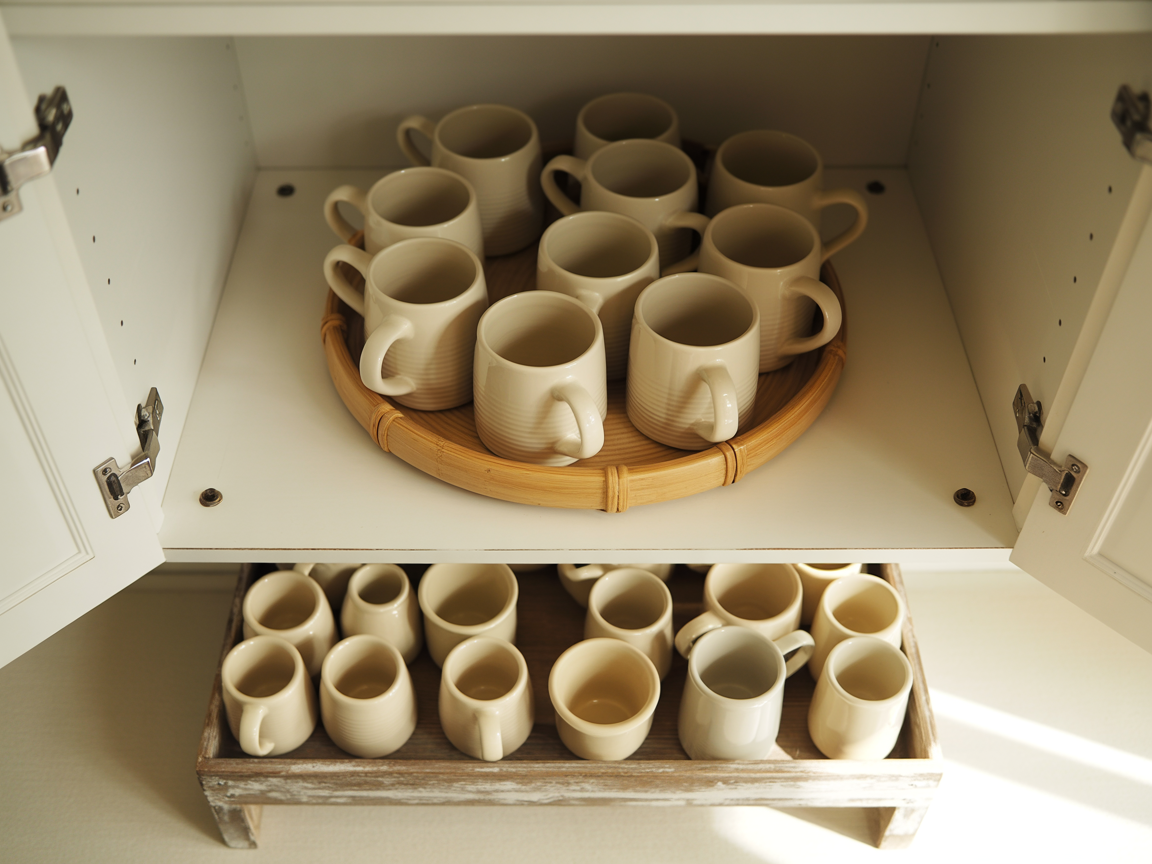
I use a small bamboo turntable in my spice cabinet but the same concept works beautifully for cups.
Especially for specialty pieces you use occasionally but don’t want to lose.
If a turntable feels like too much, just commit to a front-to-back ‘push forward’ habit when you unload the dishwasher.
New clean cups go in the back, older ones get pushed forward.
Simple rotation.
Edit Ruthlessly and Keep Editing
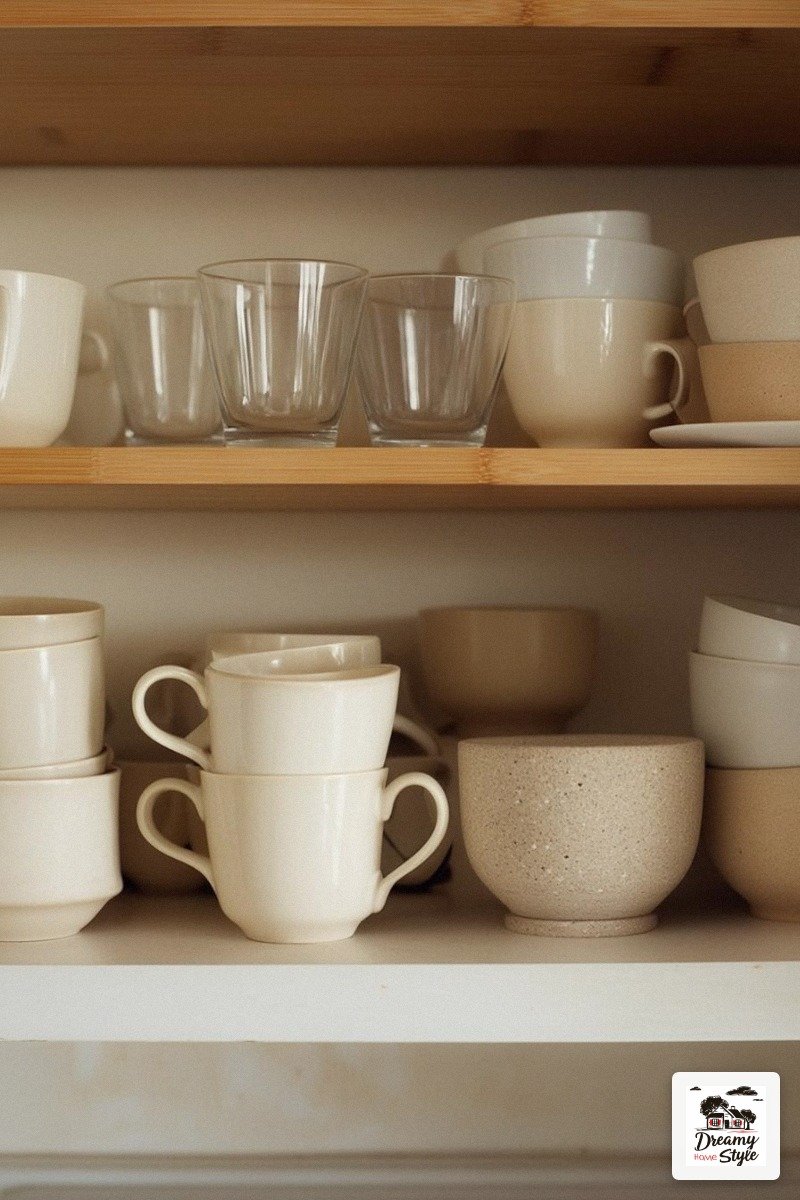
I re-edit my cup cabinet about every three or four months.
I know that sounds intense but it takes 10 minutes and it keeps things from creeping back into chaos.
Cups accumulate.
Gifts, impulse buys at HomeGoods (guilty, always), travel souvenirs.
Before long you’re back to 14 mugs and the avalanche problem.
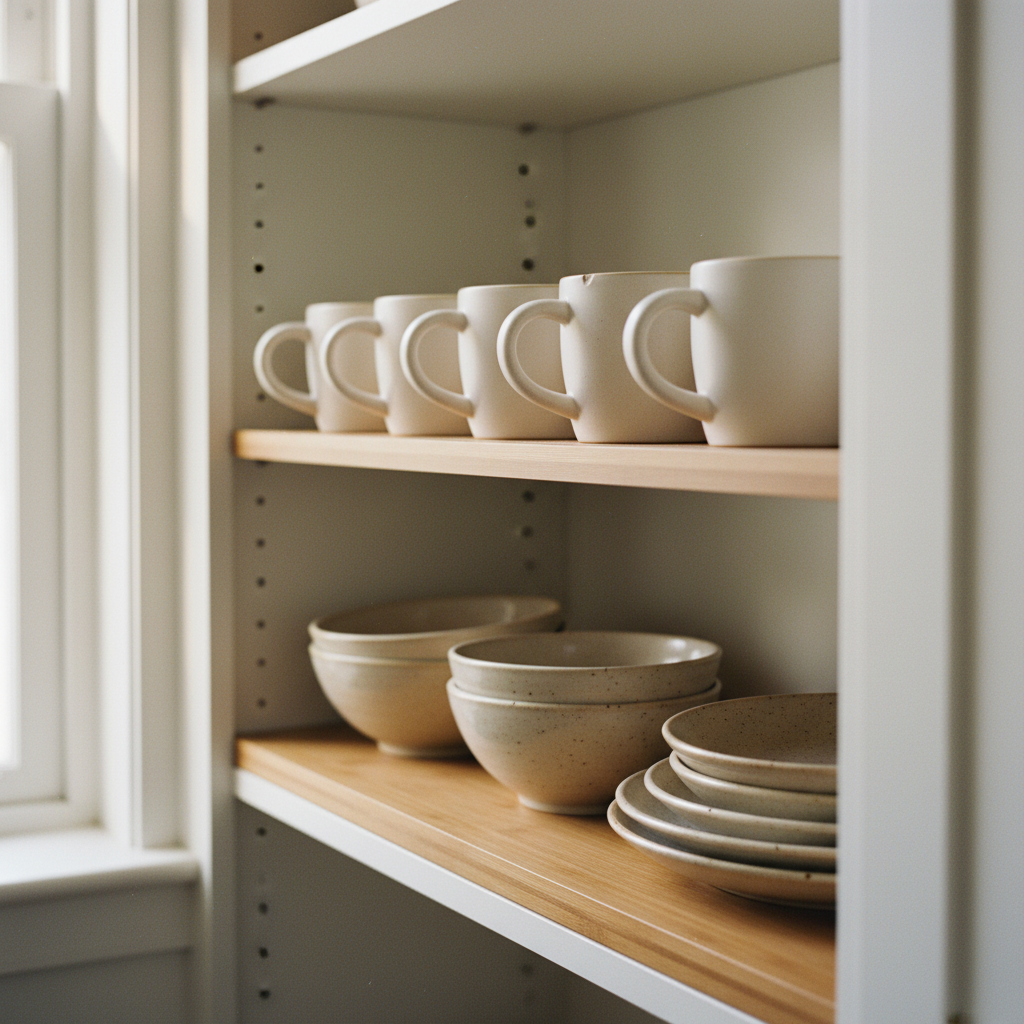
My rule now: if I haven’t reached for it in two months, it goes in the donate bag.
No guilt.
Well, a little guilt.
But then it’s gone and the cabinet breathes again.
Keeping a small donate box on the floor of a closet makes this painless.
When the bag fills up, it goes.
The ongoing edit is what separates a styled cabinet from one that just happened.
Make the Moment of Opening It Worth It
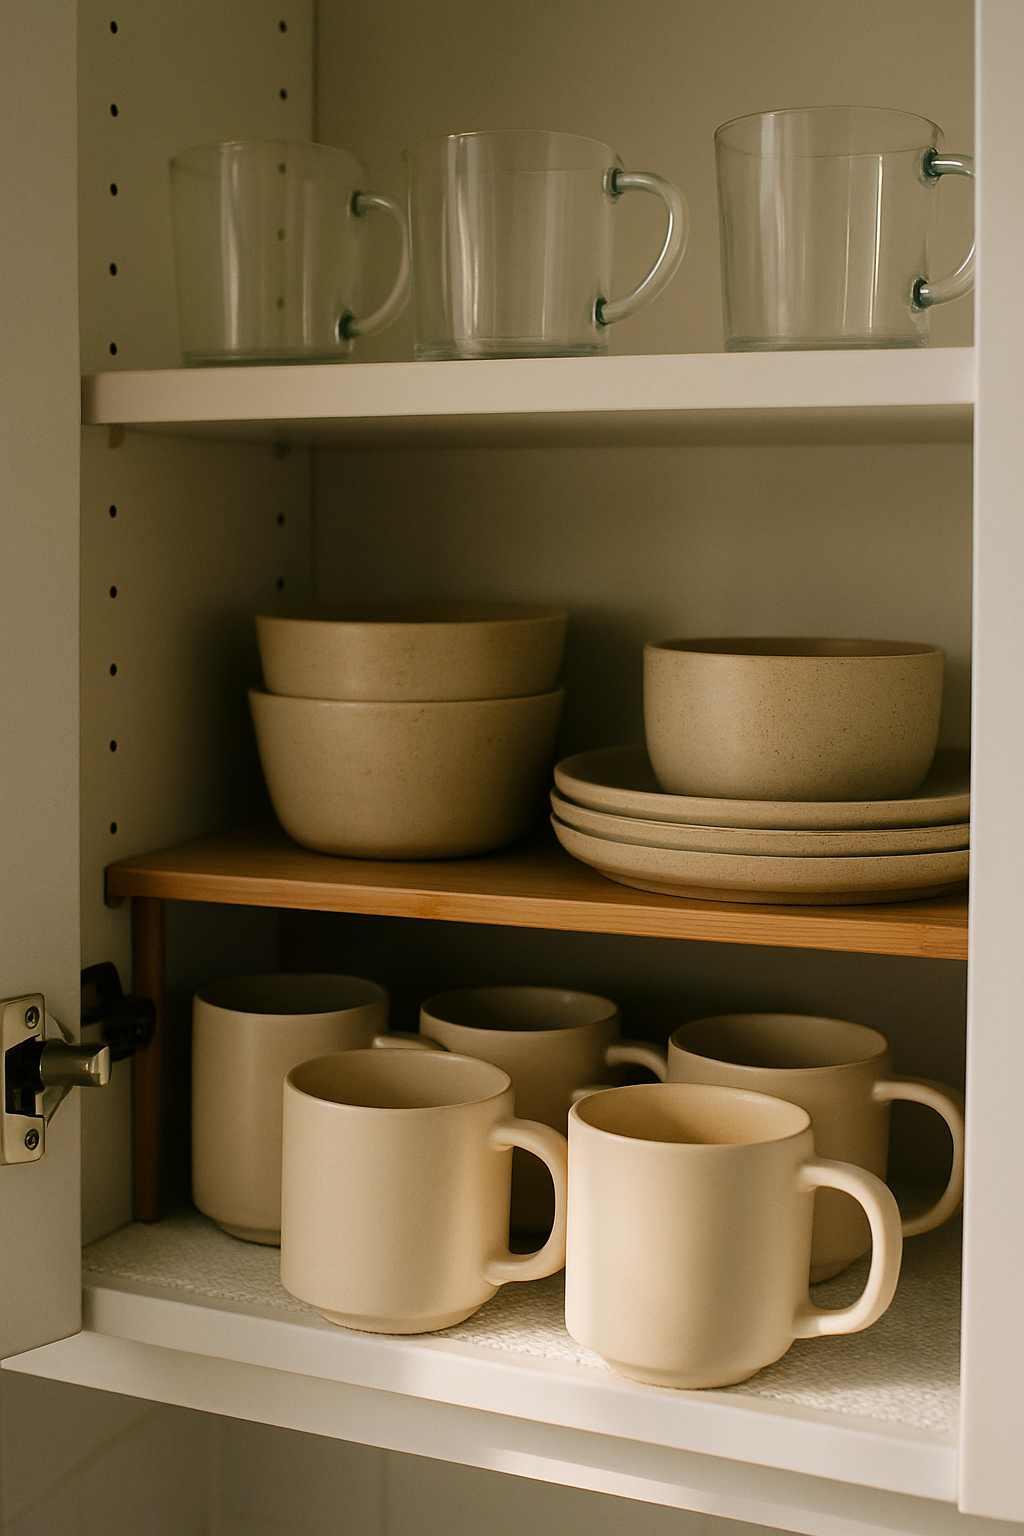
This is the part people skip and it’s honestly the whole point.
Your cabinet doesn’t just need to function.
It should feel good to open.
Line the shelf with simple white or kraft paper liner — it takes five minutes and makes everything look cleaner and more intentional underneath.
Some people use peel-and-stick contact paper in a warm neutral.
Both work.
A little cedar block or a tiny sachet in the corner makes it smell nice.
Which sounds extra but try it once and you’ll never skip it.
When you open a cabinet that looks calm, smells clean, and actually has what you need right at the front… the whole morning just feels different.
That’s the part no one shows you in the before-and-after.
Related read: The IKEA Kallax Bible — Instant PDF + Kindle download. Secure checkout by Stripe

