
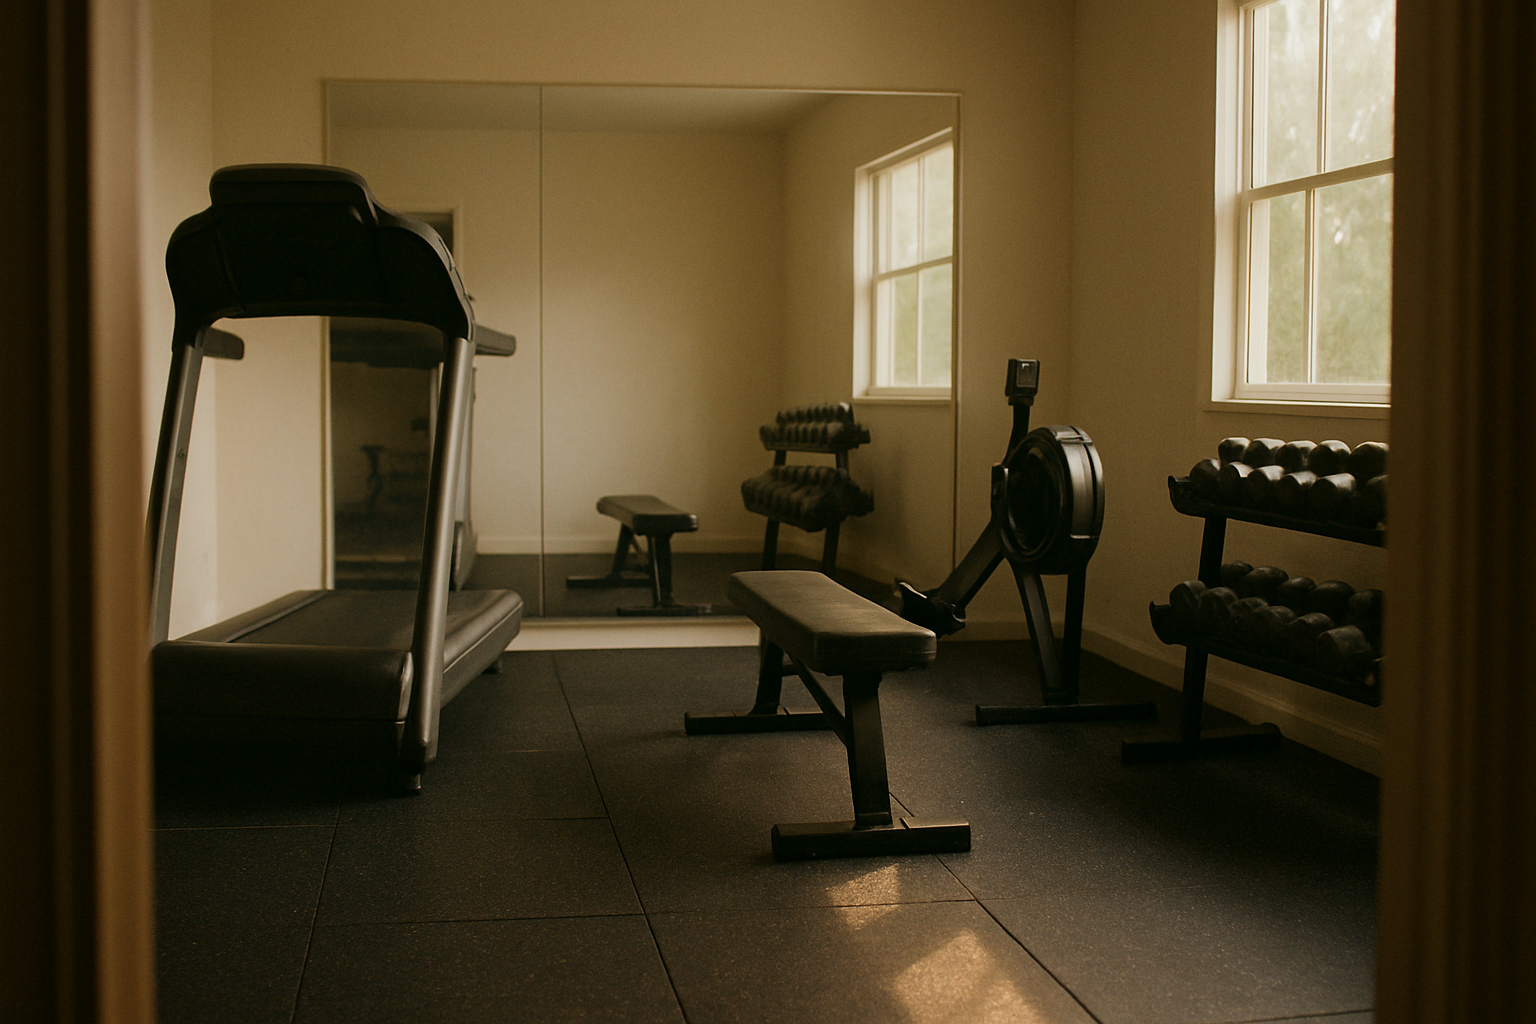

This post walks through the parts of a home gym layout that trip people up — treadmill clearance, rower stroke length, bench elbow room, ceiling height, flooring, and mirror placement.
Each one looks fine on paper until you actually try to move around in it.
By the end you’ll know what to measure and why, plus have a free room planner template to test it against your own space before you buy anything.
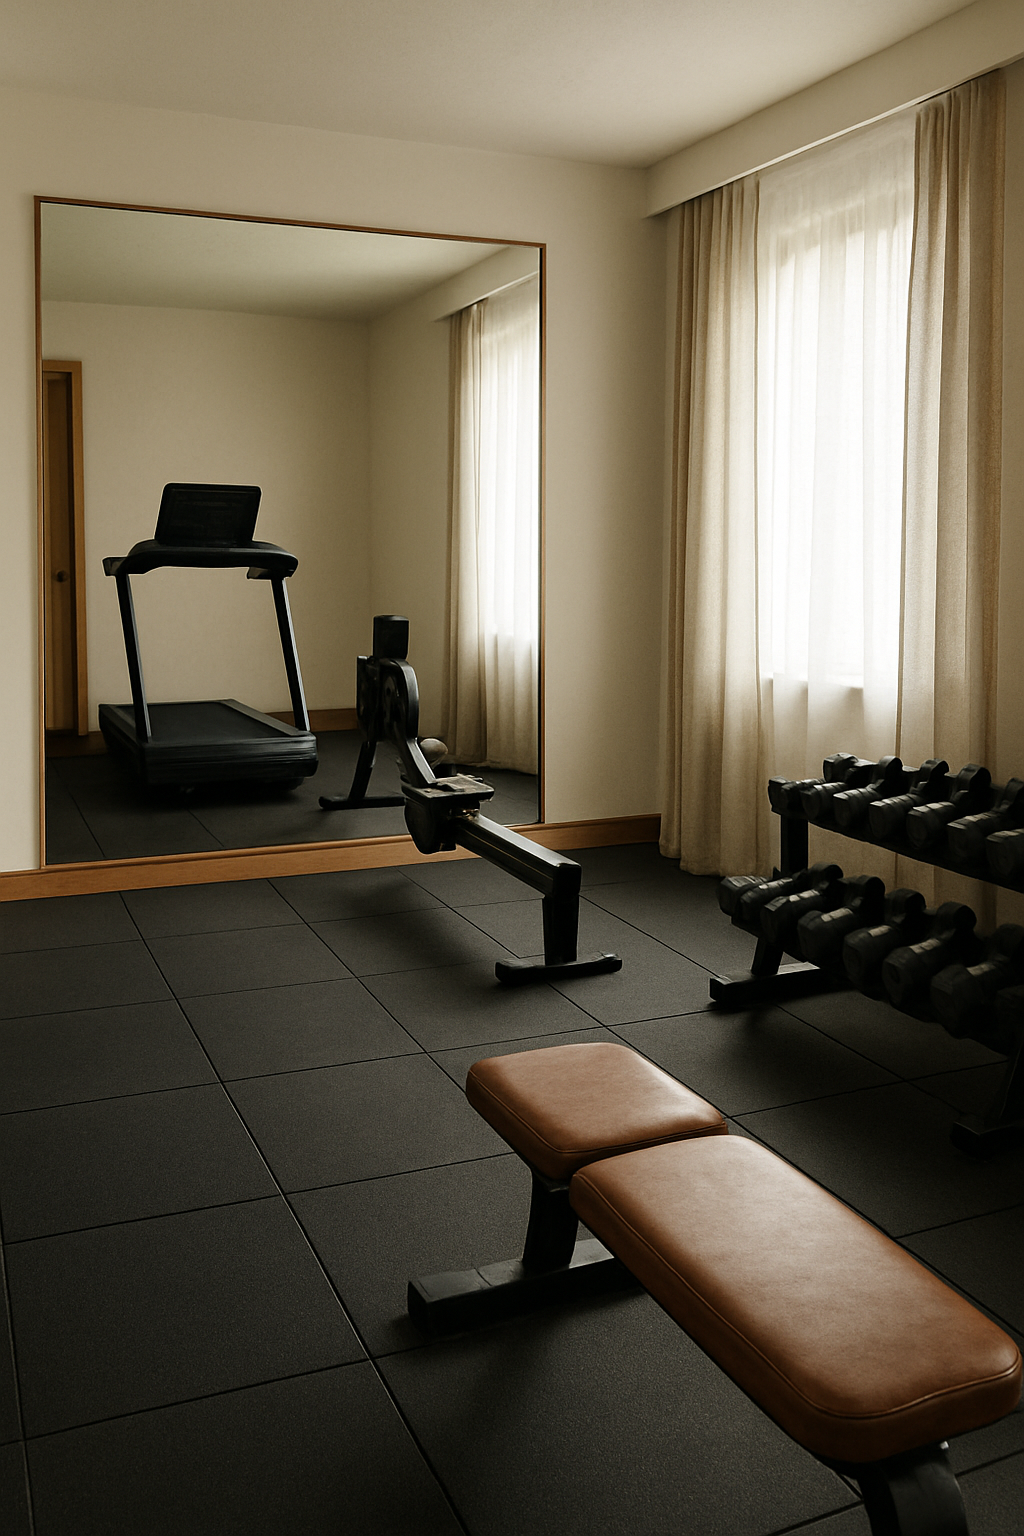
Free floor plan: Open this home gym layout in the free room planner — furnished, to scale, and yours to move around →
Forget the Box the Treadmill Comes In
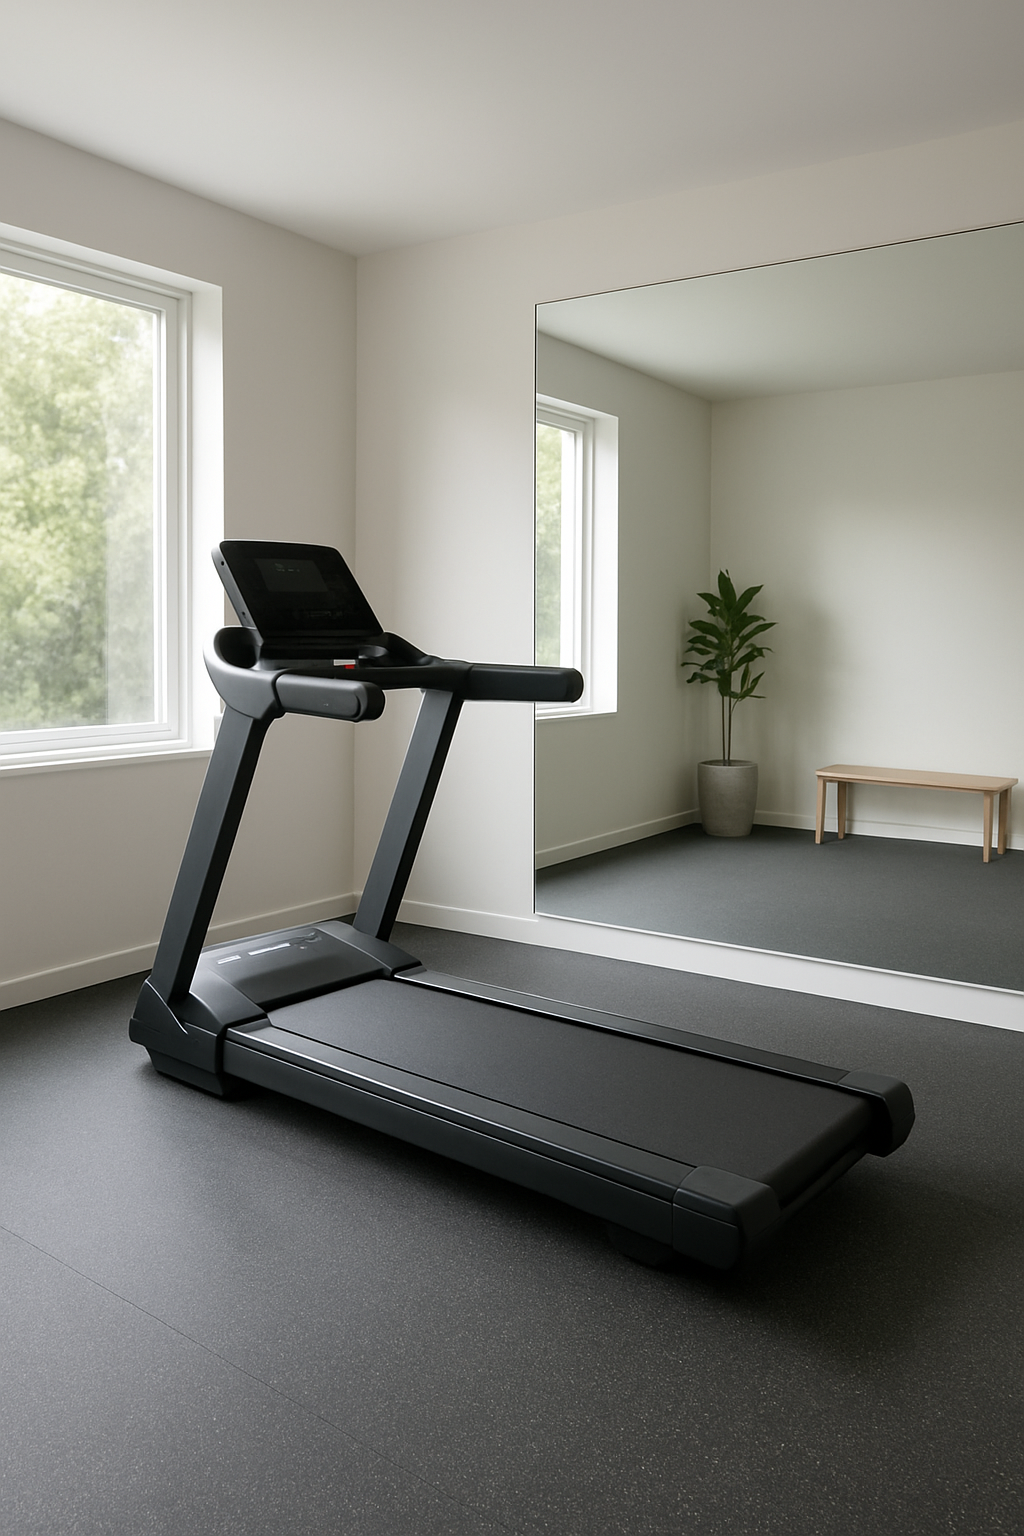
Okay, real talk: the footprint printed on a treadmill’s spec sheet is basically the least useful number on the whole page.
It’ll say the machine is, say, 32 inches wide by 72 inches long, and your brain does the easy math — okay, I need a 32×72 rectangle of floor.
Except that’s not remotely the space you need.
That’s just the space the machine takes up while it’s sitting there doing nothing, like a lump.
So here’s the actual rule.
ASTM F2115 — that’s the real safety standard treadmill makers are supposed to build to — calls for a clear zone behind the treadmill that’s at least 2 meters long (about 79 inches).
It also needs to be as wide as the treadmill itself, plus at least half a meter, roughly 20 inches, clear on each side.
Stack that on top of the machine’s own length and you’re not planning for a piece of furniture anymore.
You’re planning for something closer to a small bedroom’s worth of floor.
I know that sounds dramatic until you actually tape it out on your carpet with painter’s tape.
Do it — it’s free and it’s eye-opening.
It’s a quick way to find out a treadmill isn’t going to fit where you assumed it would — no landlord, no delusions, just the math.
This is how people end up bolting a treadmill three inches from a wall and calling it done.
Looks fine in the showroom.
Looks fine in the room too, honestly — right up until someone trips at mile two and there’s nowhere for their body to go.
And that’s the thing: the listed length and width isn’t the space you need to plan for.
It’s the space the machine needs.
Those are two very different questions.
Measure the Stroke, Not the Rower
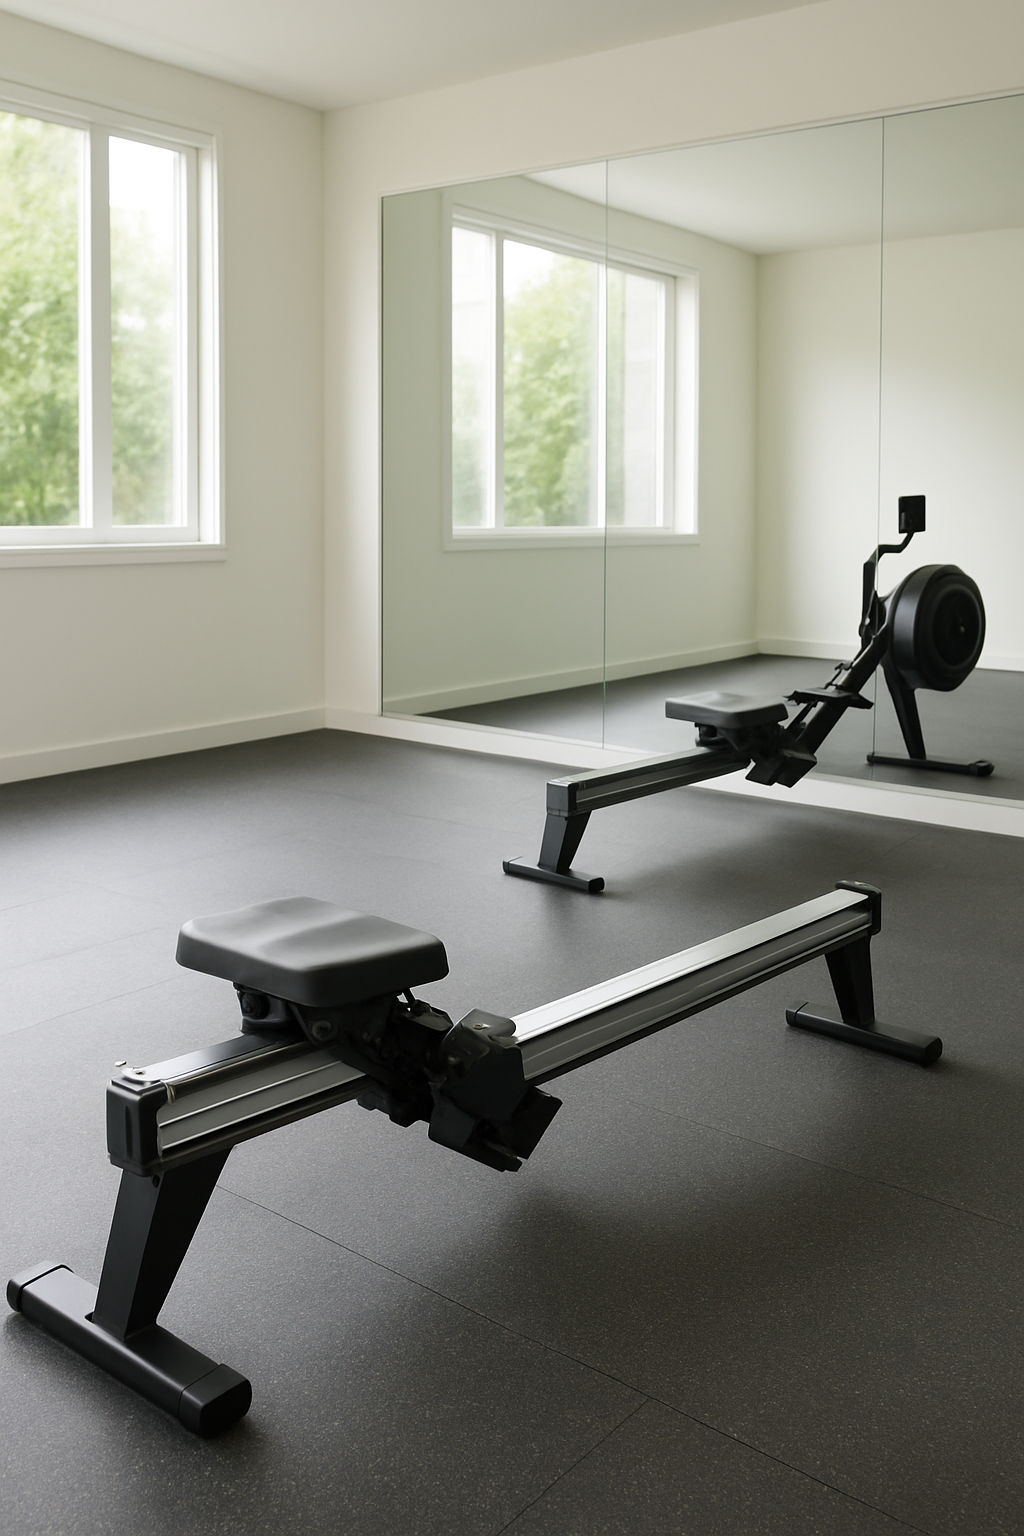
Rowing machines are, hands down, the most underestimated piece of equipment I’ve seen people try to cram into a home gym.
Everyone measures the frame sitting still on the showroom floor and figures they’re good.
But nobody measures the person actually using it, which is kind of the whole point of the machine.
A rower’s resting length runs roughly 8 to 9 feet once the seat and handle are fully extended.
That’s someone mid-stroke, legs straight, arms pulled all the way back.
Compare that to the folded-up storage length, which I think is what most people picture — often half that or less.
So if you’re planning around the resting footprint you see when you shop, you’re planning around the wrong number.
Entirely.
The rule of thumb I go by: plan the floor for the rower’s full extended length, not its folded or resting footprint, plus a couple of feet at each end.
That means room in front for someone to get on and off, and room behind for the full pull.
Skip this and you get the classic scenario — someone’s heels hitting a wall, or the handle clipping a shelf, three strokes in.
Not fun.
And honestly kind of a waste, when you think about what a decent rower costs.
A Bench Needs Elbow Room, Not Just Bench Room
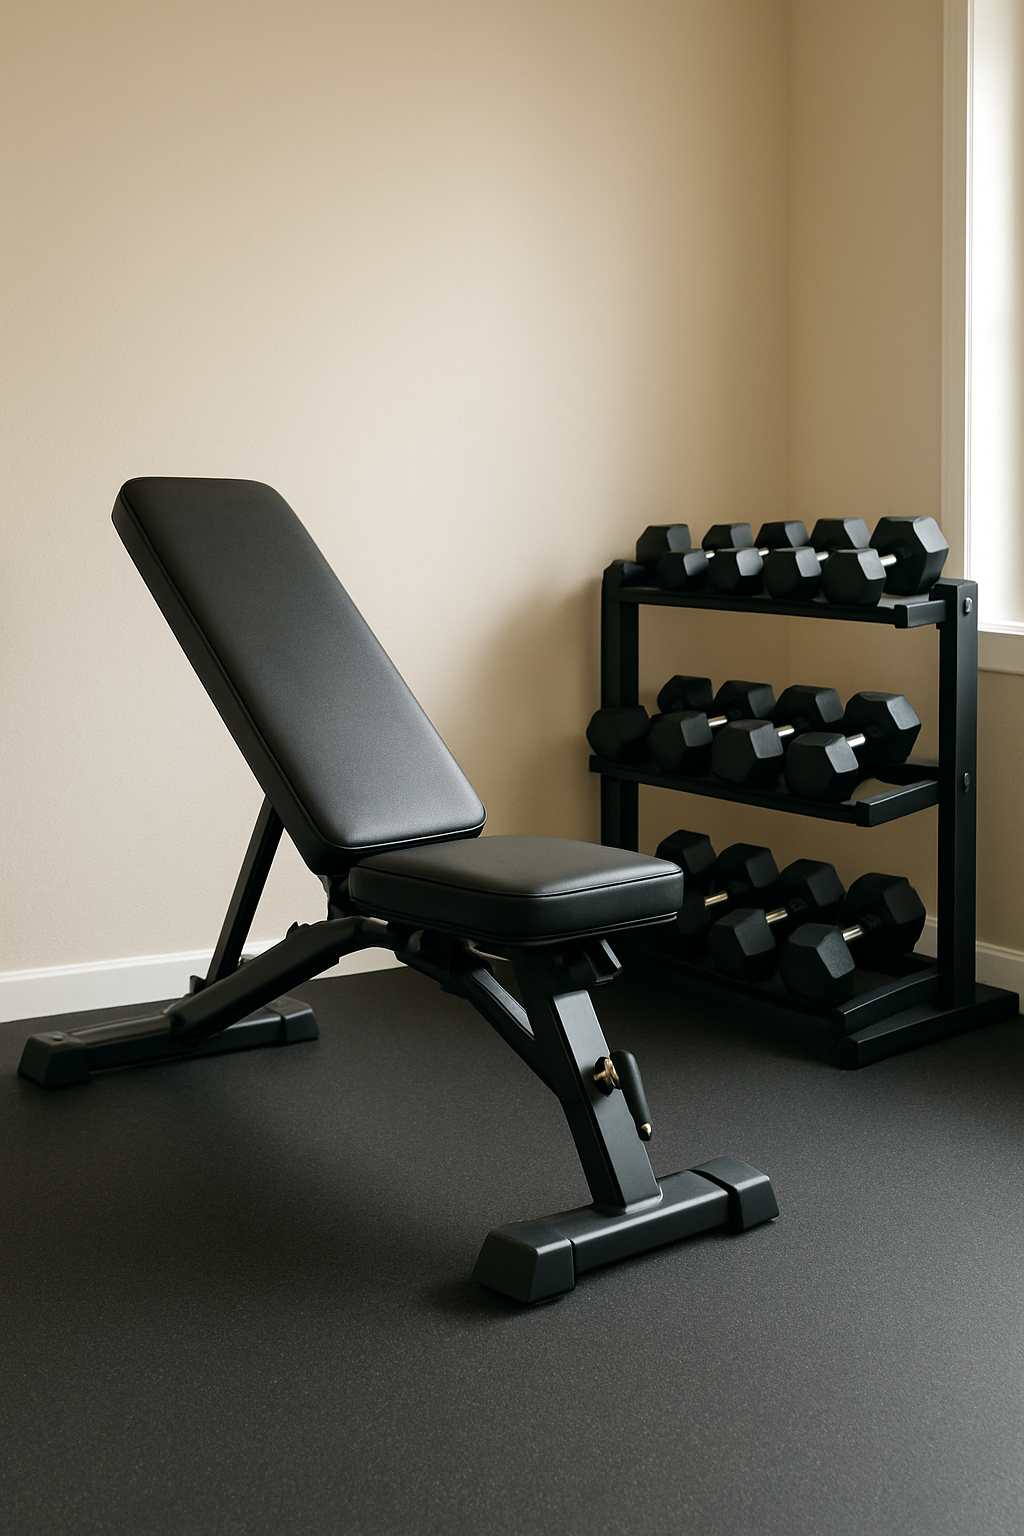
A bench pushed flush against a wall is a bench nobody can actually use for anything but sitting on.
I get why people do it.
It looks tidy, it looks organized, it’s the layout every “small home gym” Pinterest board shows you.
But try lying on it and pressing a pair of dumbbells and you’ll find your elbow hitting drywall on the down stroke within about one rep.
Rule of thumb: leave at least 24 inches of clear space on either side of a bench for arm extension and setting dumbbells down without smacking them into a wall or a rack upright.
And that’s just the immediate zone.
You also want 24 to 30 inches for a secondary walkway feeding into that space, so you (or Biscuit, if your dog also refuses to respect personal space during workouts) aren’t squeezing sideways to get to the rack.
Placing a bench flush against a wall because it looks clean on paper — that’s a mistake I see in almost every “here’s my home gym” photo online.
It photographs great.
It functions terribly.
Pick one.
Read next: Mini gym at home ideas
Ceiling Height Kills More Plans Than Floor Space Does
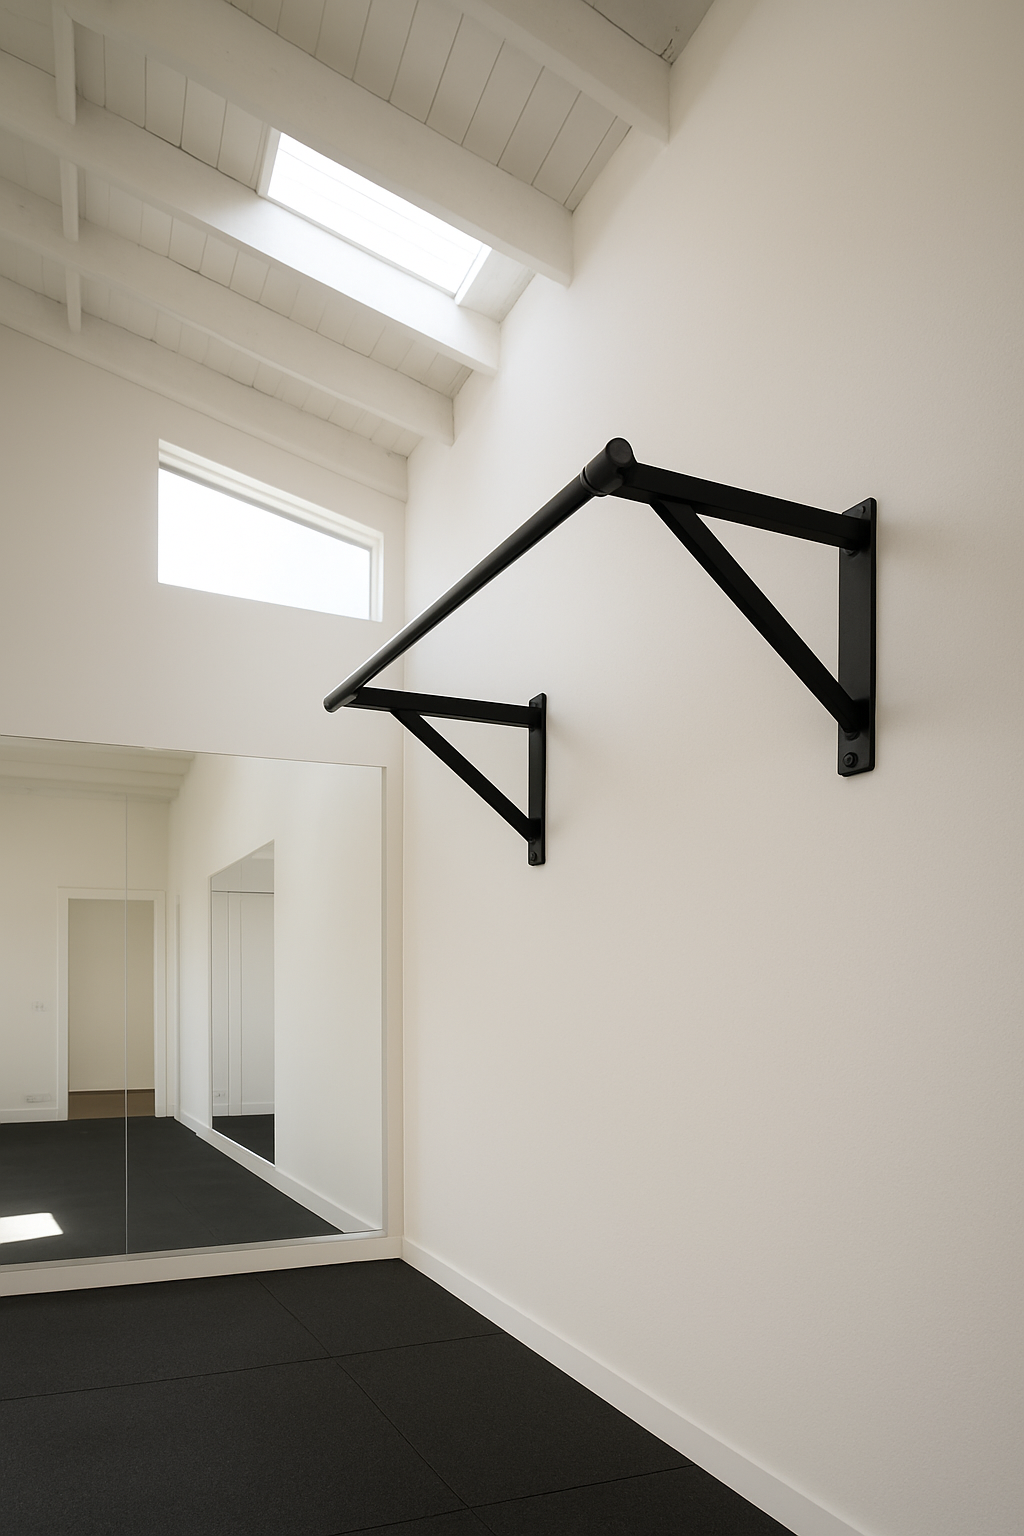
Nobody thinks about the ceiling until they’ve already ordered the pull-up bar.
I get it.
Floor space is the thing you can see and measure with a tape measure walking around the room, so it’s the thing that gets all the attention.
Ceiling height is boring and invisible until it’s a problem, and by then it’s too late to move a joist.
A wall-mounted pull-up bar needs headroom above the bar itself plus the fully extended arm reach of whoever’s using it.
Measure standing reach with arms straight up, not just standing height.
Those two numbers are not the same, and the gap matters more than you’d think.
Older houses with 8-foot ceilings — mine included, in the parts I haven’t gotten to yet — often leave less usable headroom than people expect.
That’s because the bar hardware itself eats up several inches before anyone’s even hanging from it.
So an 8-foot ceiling sounds like plenty until you do the actual subtraction: bar mounting height, plus bar diameter and bracket depth, plus your reach, minus the ceiling.
Suddenly you’re staring at someone’s knuckles brushing drywall mid-pull-up.
Not a great feeling.
A room with 8-foot ceilings does not automatically clear a pull-up bar and overhead pressing work.
That’s an assumption, not a fact — and it’s the one that bites people hardest, because there’s no fixing it after the holes are drilled.
Free calculator: Measure the room’s square footage →
Flooring Isn’t Decoration, It’s Load Management
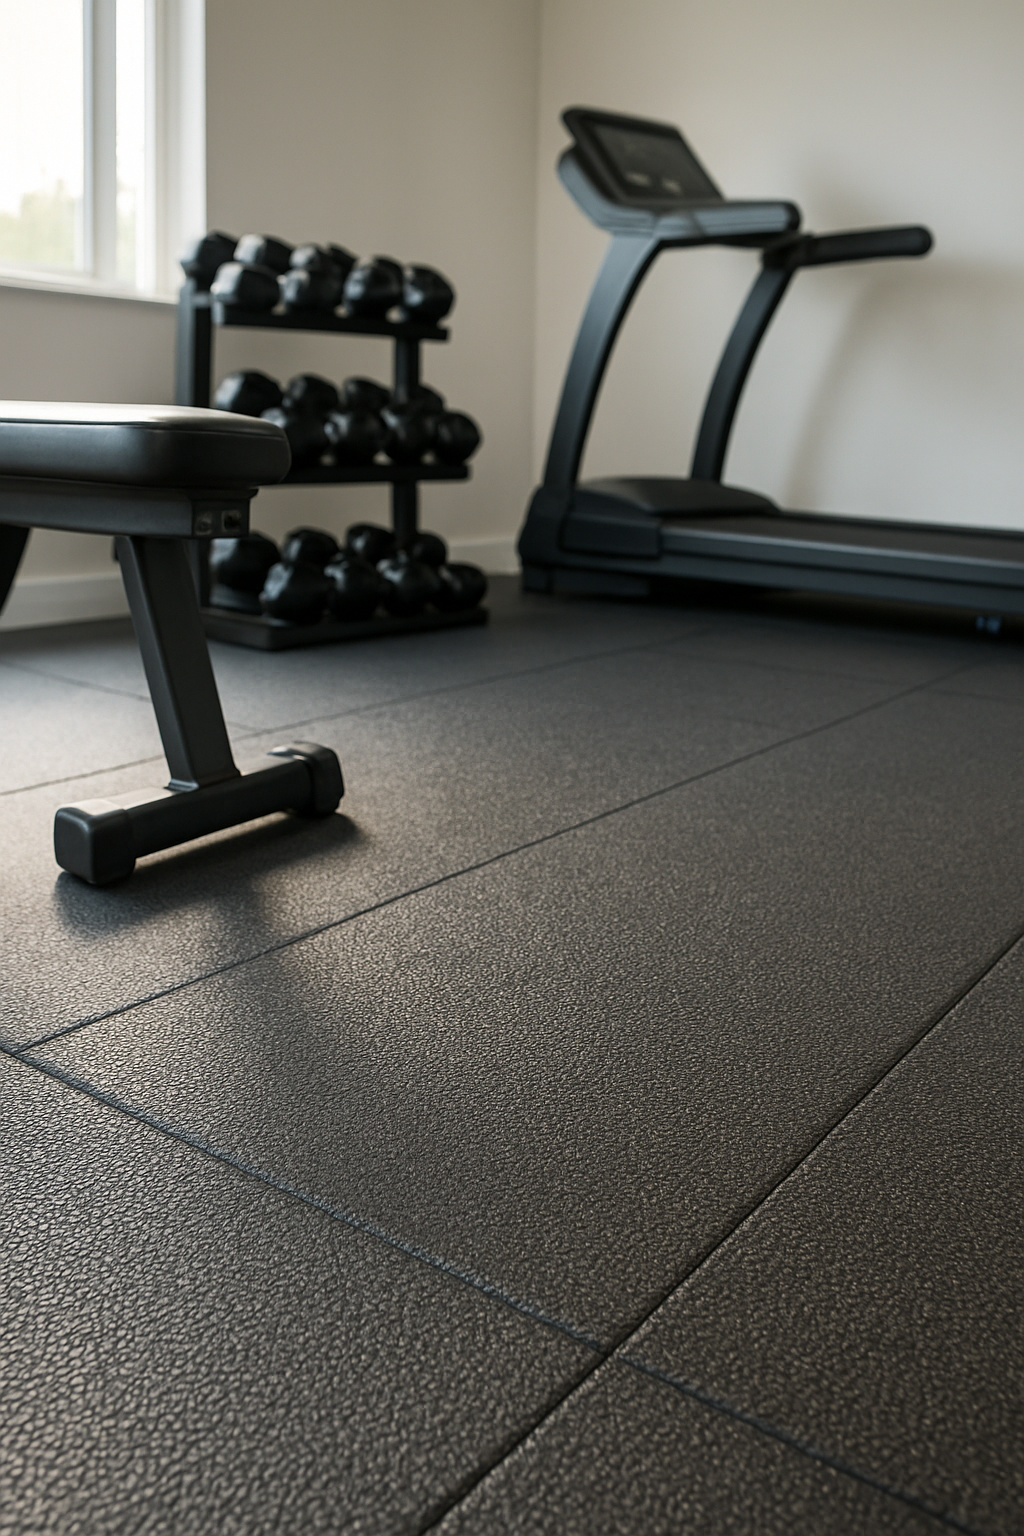
A home gym without proper flooring underneath is just a room slowly getting dented.
I’ll die on this hill same as I’ll die on the overhead-lighting one.
People treat gym flooring like it’s a cosmetic layer, something you add for the look or to protect a rug.
Really, it’s the thing standing between a dropped dumbbell and whatever’s underneath — subfloor, joists, your downstairs neighbor’s ceiling if you’re not on a slab.
Thicker rubber mats, in the 3/4 inch range and up, are the rule of thumb for anywhere weights actually get set down or dropped.
Think under the bench, under the dumbbell rack, anywhere a dropped dumbbell might land with more enthusiasm than intended.
Thinner mats work fine under a treadmill or rower, where you’re dealing with vibration and repetitive motion rather than impact.
Skipping mats to save a few bucks on an old subfloor is a bad trade, full stop — trust me, I get it, budget is basically my whole personality these days, but this isn’t the corner to cut.
I’ve seen the dents.
They don’t come out.
Rubber flooring is one of those line items that feels optional right up until it isn’t.
And by then you’re either living with the damage or ripping something up to fix it.
Free calculator: Work out how much flooring you need →
Airflow, Outlets and a Mirror Wall Aren’t Optional Extras
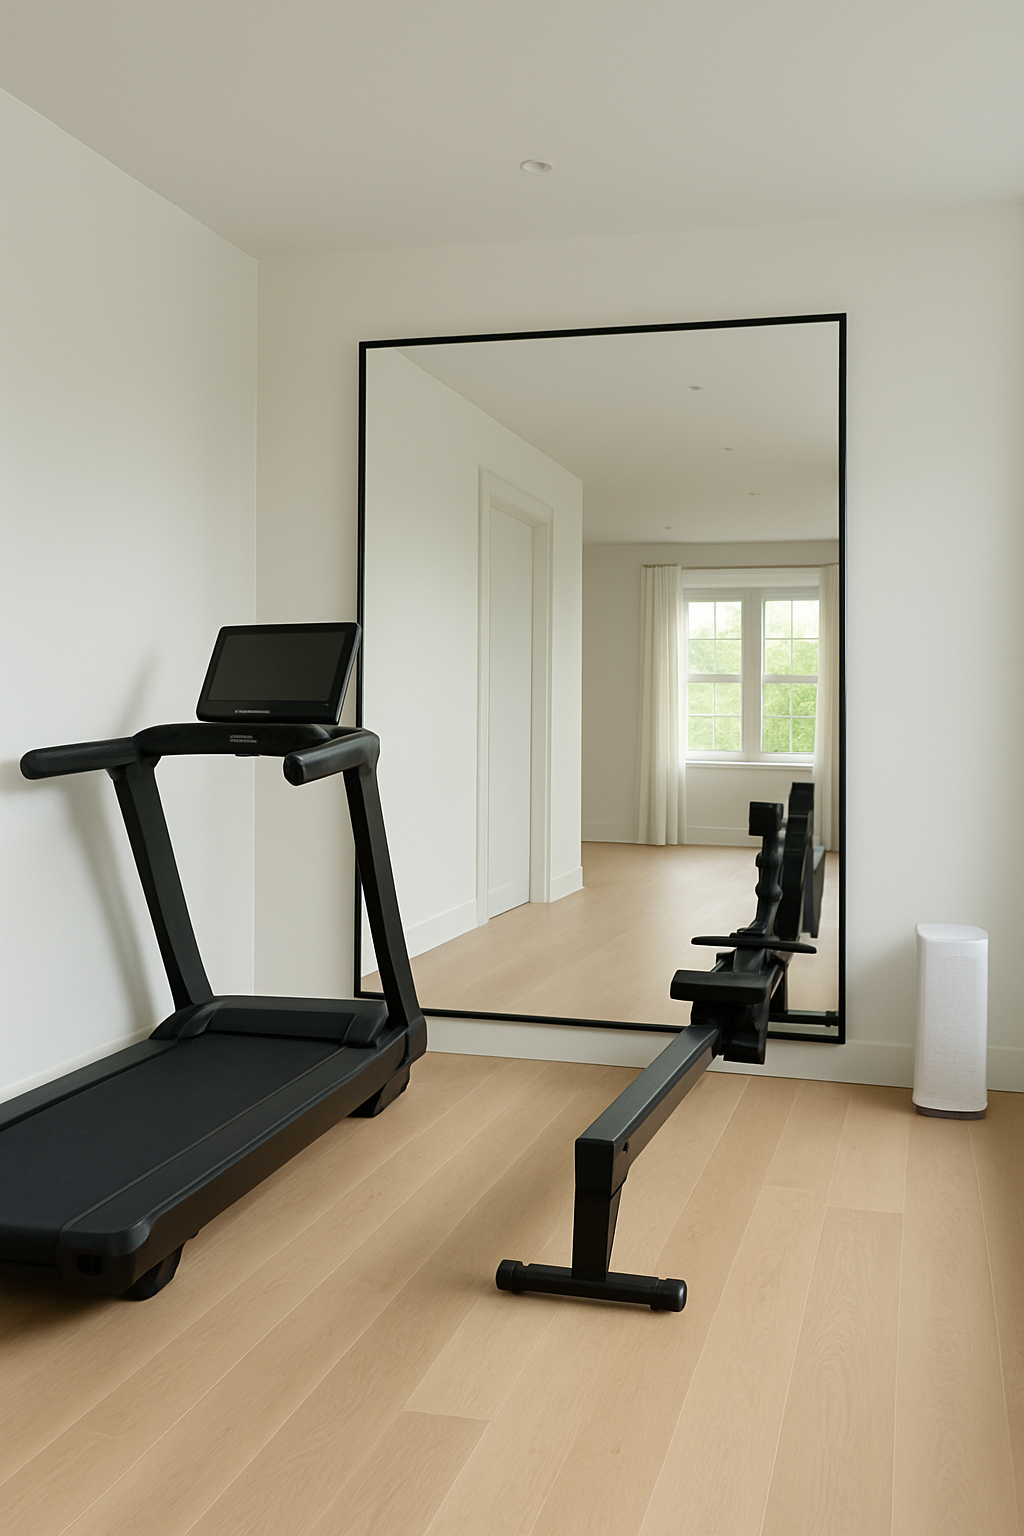
A mirror wall isn’t vanity.
It’s the cheapest form-check tool you can put in a room.
Skipping it because it feels a little indulgent — like you’re being extra about your garage gym — is genuinely a mistake.
A thrifted full-length mirror costs a fraction of a big-box one, if that helps make the case.
A full-wall mirror needs a clear sightline from the main working area.
So check the reflection zone, not just whether there’s wall space available.
A mirror behind your rack, or tucked in a corner you never face, is basically decoration at that point.
This is the mistake I see constantly: positioning the mirror wall behind the equipment instead of in the sightline of whoever’s actually using it.
You want to glance up mid-set and see your form, not the back of a treadmill console.
On the practical side, an outlet within reach of the treadmill’s console and any other powered equipment — air purifier, speaker, whatever — avoids running cords across a walkway.
This sounds minor until you’ve tripped over an extension cord mid-workout, coffee still in hand, with nobody around to laugh at you except Biscuit, judging silently from the doorway.
It’s not a huge deal, but it’s an annoying one, and it’s completely avoidable if you think about outlet placement before you’re bolting things to the floor.
Open the Free Plan and See What Actually Fits
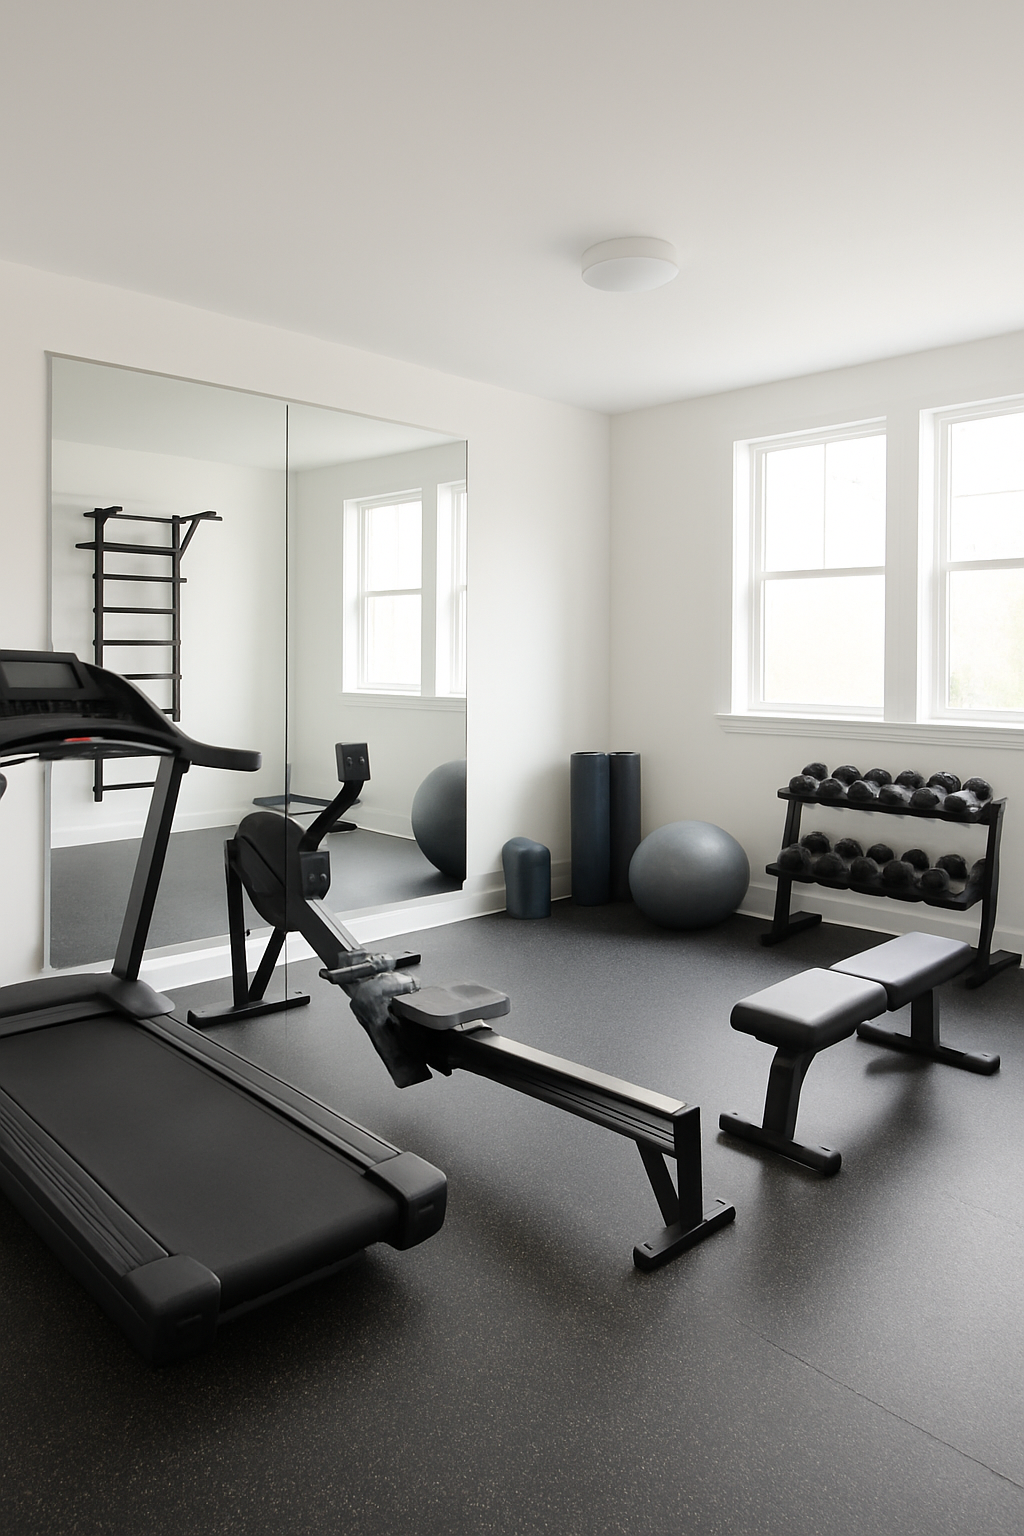
All of this — the clearances, the stroke length, the ceiling math — is way easier to grasp once you can actually see it laid out, instead of doing it all in your head with a tape measure and a prayer.
That’s why we built a free room planner template around this exact list of pieces.
It’s editable, so you can drag things around and see where the walls actually push back.
The plan holds: rubber gym flooring, a full-wall mirror, a treadmill, a rowing machine, a weight bench, a dumbbell rack, a wall pull-up bar, 2 yoga mats, a stability ball, a foam roller, a HEPA air purifier, and a door.
That’s the full list.
Notice what’s missing.
There’s no squat rack in this plan.
On purpose.
A squat rack is the first thing people assume they need for a home gym to count as a real gym.
But it’s also usually the first thing that should get cut when the room is small, because everything else on this list earns its floor space without one.
Cardio, free weights, mat work — that covers a lot of ground on its own, and it fits in rooms a squat rack simply won’t forgive.
Assuming a home gym plan has to include a squat rack to feel legitimate is exactly the kind of thinking that gets people stuck with a machine wedged in a corner nobody can safely use.
So open the plan, plug in your room’s real dimensions, and see what actually fits — before you buy a single thing.

