

I almost bought a boring hook rail from a big-box store.
Almost.
Then I spotted a piano key coat rack at a thrift sale for eight dollars and I genuinely stopped walking mid-aisle.
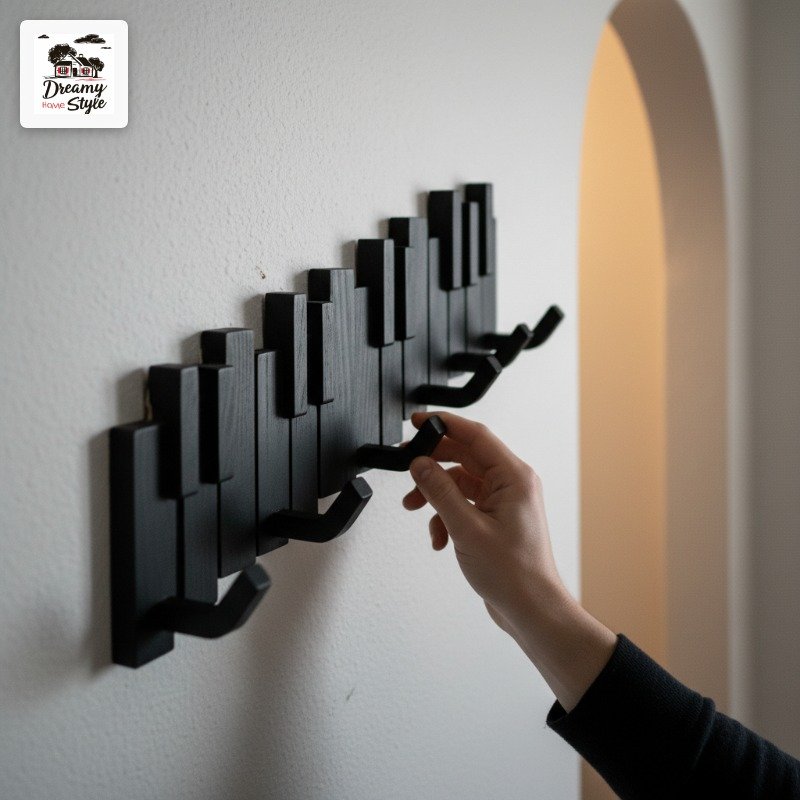
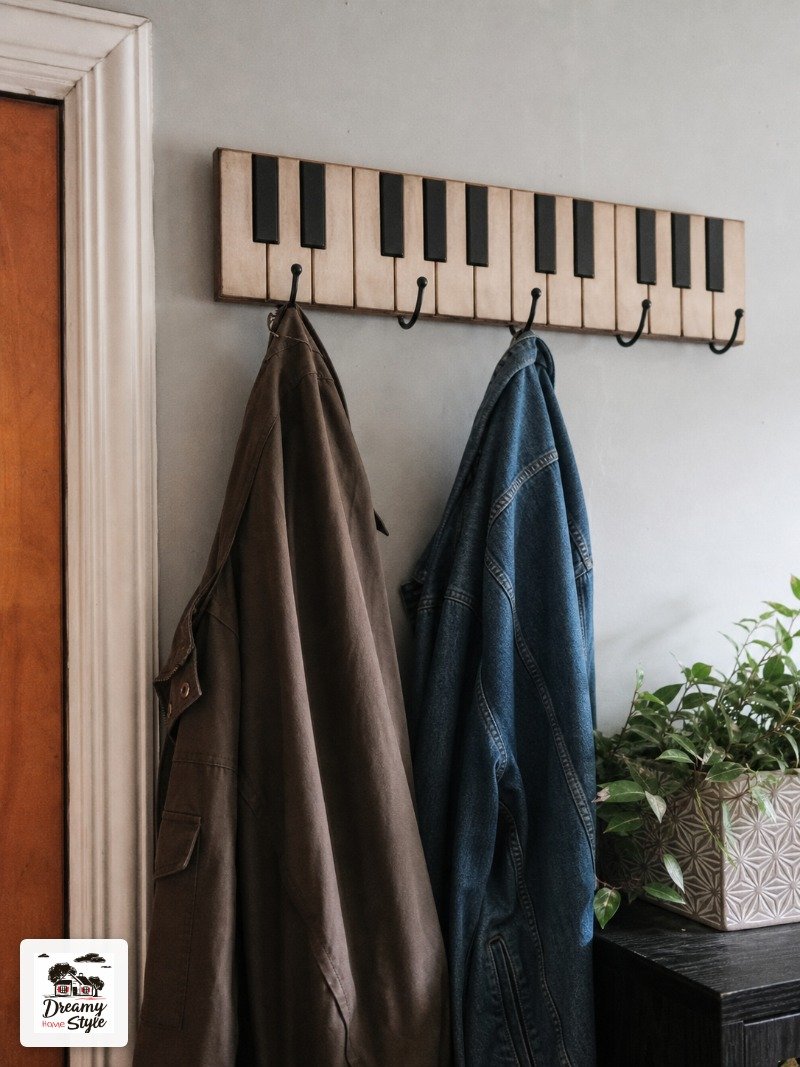
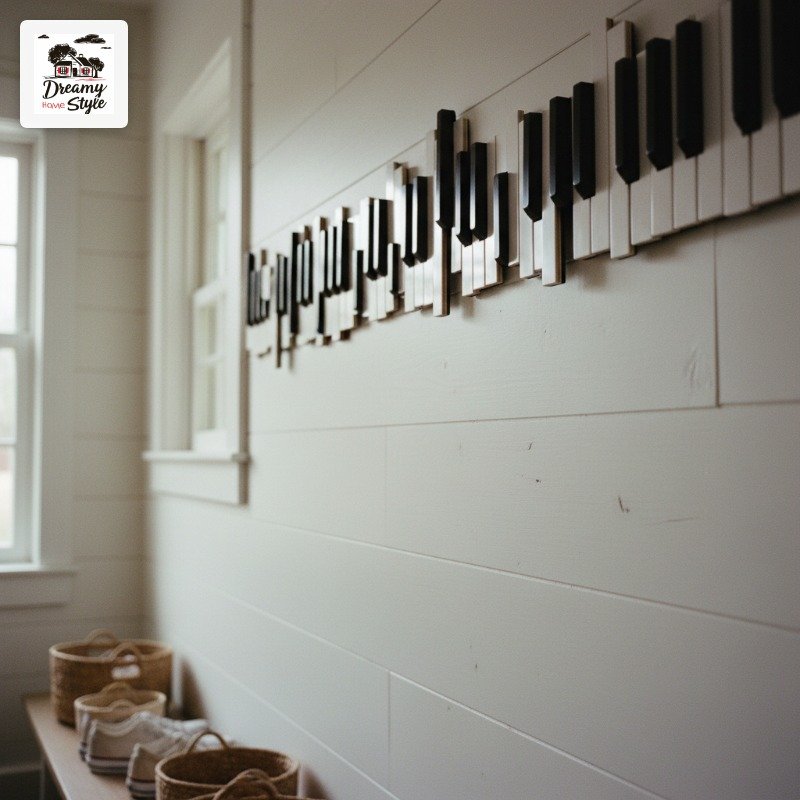
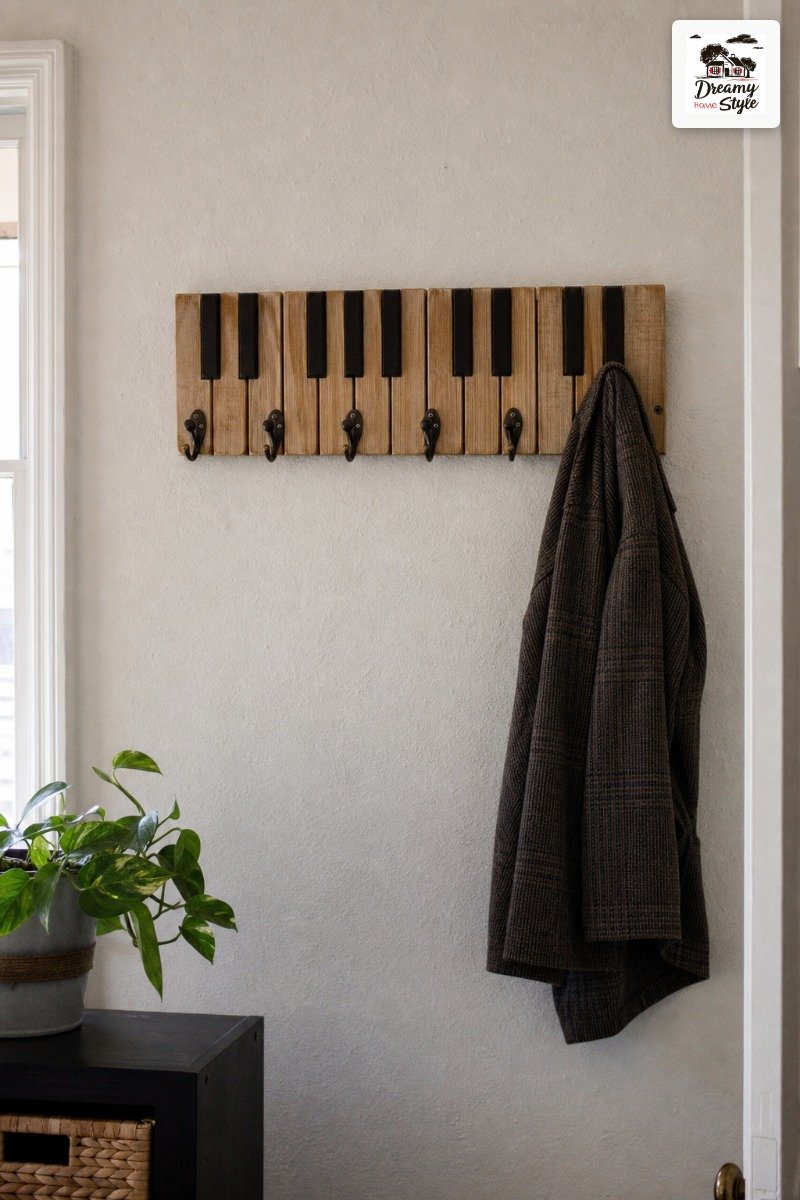
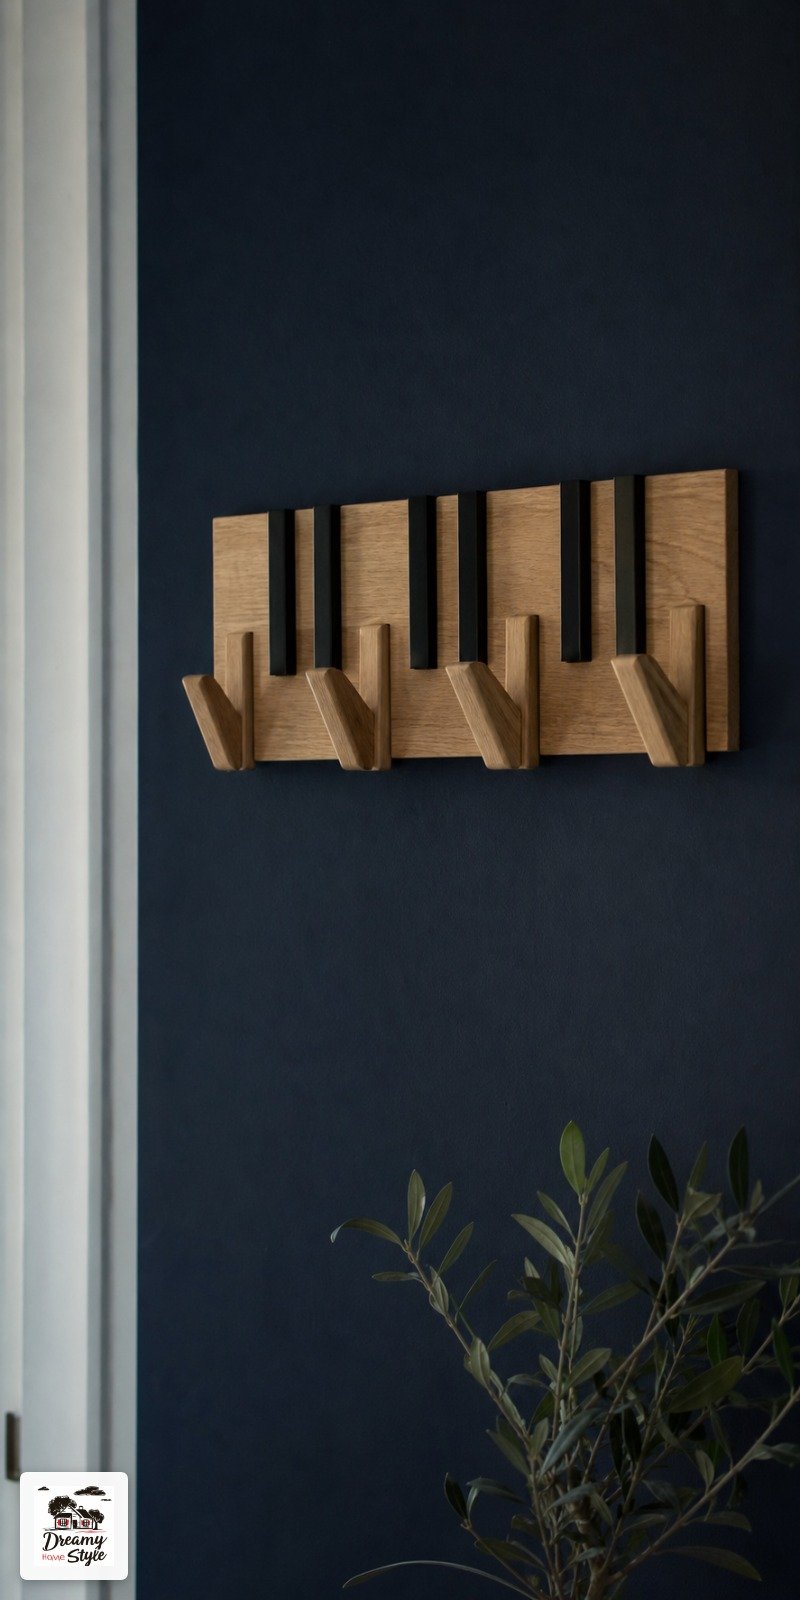
It’s a wall-mounted wooden rack where the hooks are cut and staggered like the black-and-white keys on a piano — some short, some tall, rising and falling in this dramatic little staircase along your wall.
I hung it in my entryway that same afternoon and Biscuit sniffed it for ten full minutes like it was alive.
Honestly, I get it, Biscuit.
It’s kind of a showstopper.
If you’ve been scrolling for something that looks expensive but isn’t, and does actual work in your home — coats, bags, keys, dog leashes — this is it.
What a Piano Key Coat Rack Actually Looks Like (Before You Fall For One)
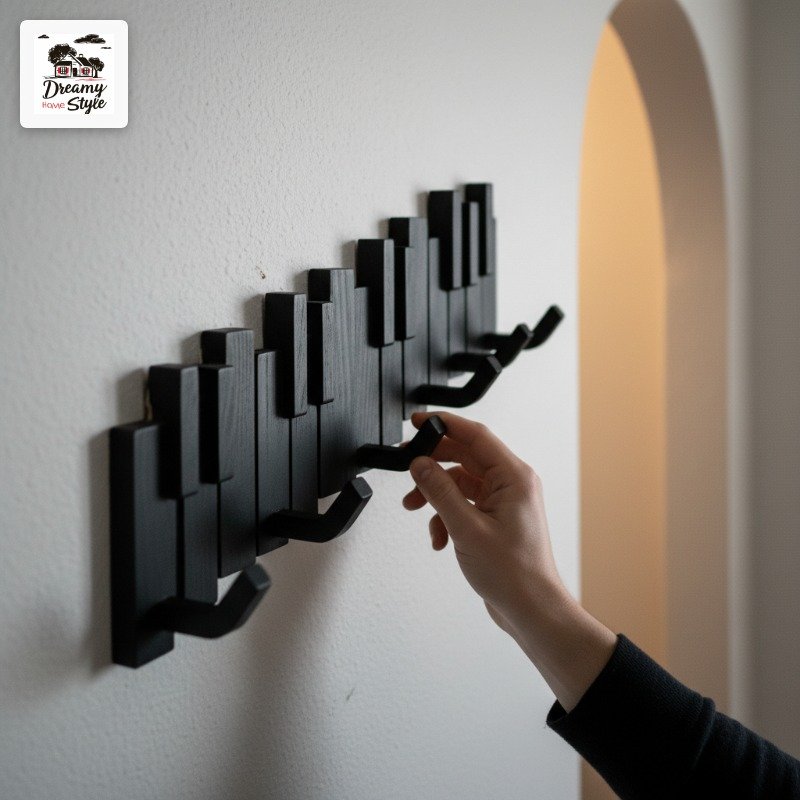
Picture a row of wooden pegs, but staggered in height — some tall, some short, alternating like the Black and White keys on a keyboard.
That’s the whole idea.
It sounds simple until you see it on a wall and suddenly your entryway looks like it belongs in an architectural magazine.
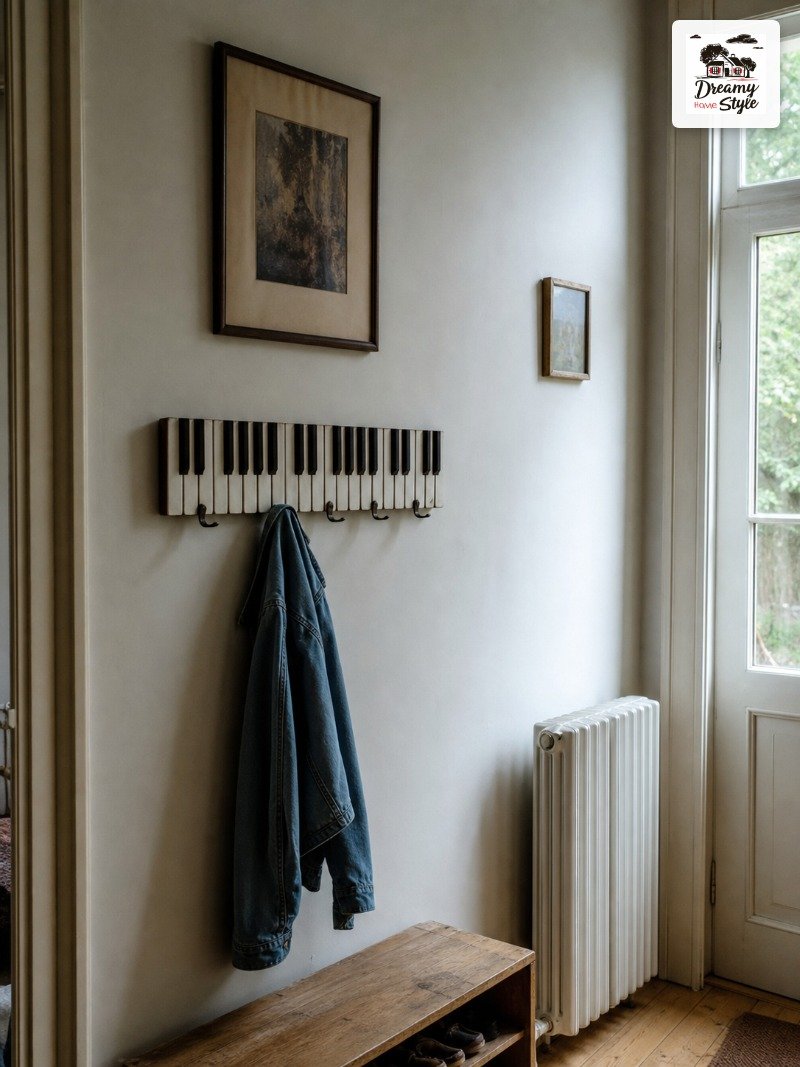
The hooks themselves are usually solid wood, sometimes painted black on the shorter ones to really push the piano visual.
Some versions keep it all natural wood.
Both work.
I prefer the contrast.
What makes it feel so intentional is the rhythm.
Your eye follows the rise-and-fall of the hooks across the wall like it’s reading sheet music.
It’s genuinely one of those pieces that makes guests stop and ask where you got it.
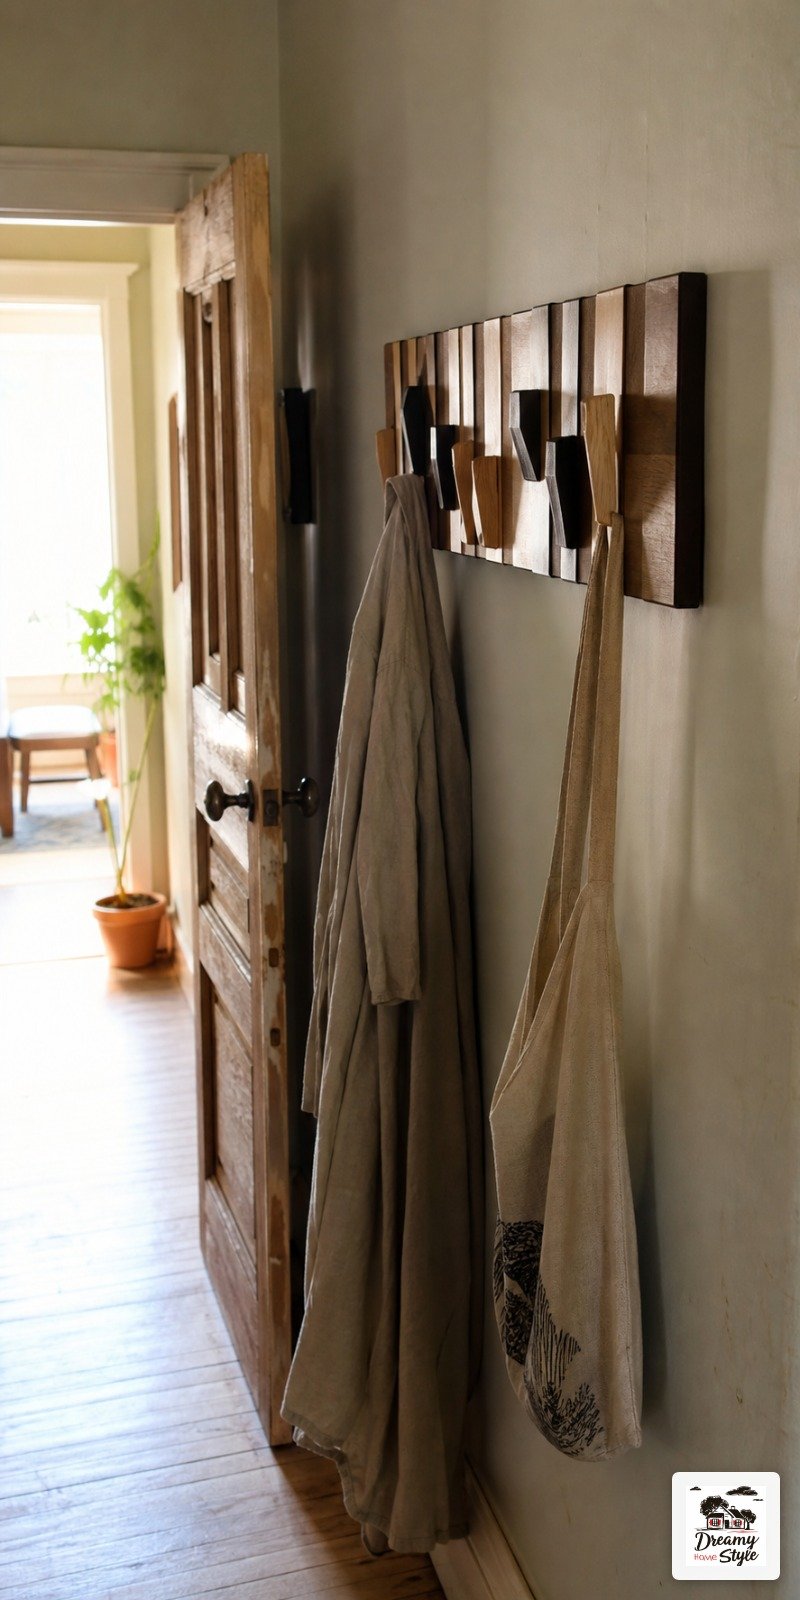
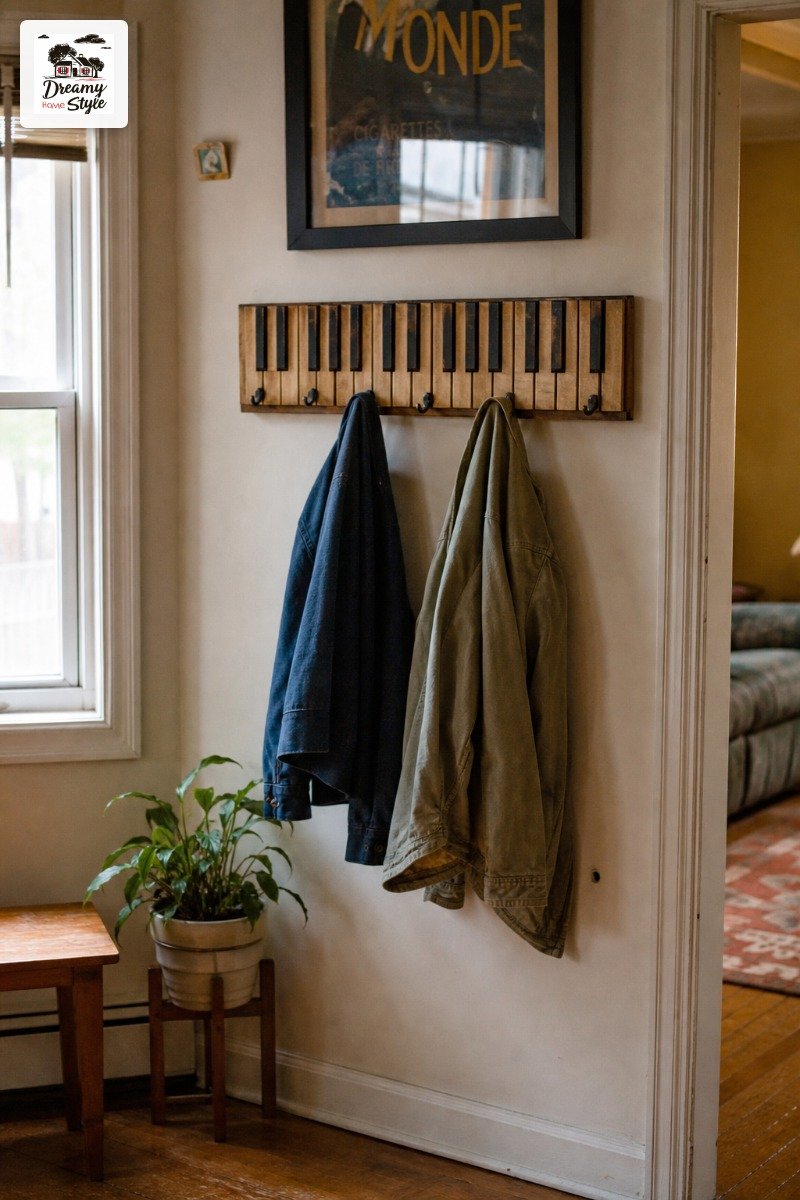
Mine is about 30 inches wide and holds more than you’d think — a coat, two bags, Biscuit’s leash, and a hat without looking chaotic.
The varying heights actually help.
Taller hooks for heavy coats, shorter ones for lighter stuff.
The Wall That Finally Made Sense
My entryway is embarrassingly small.
We’re talking a four-foot stretch of wall between the front door and the staircase.
For two years I just piled coats on the banister like a chaos goblin.
The piano key rack changed everything about that little wall.
Because the hooks are staggered instead of lined up flat, it fills vertical space without spreading too wide.
It’s doing a lot of visual work in a small footprint.
I mounted mine at 60 inches from the floor to the highest hook — tall enough for long coats to hang without dragging, low enough that I can actually reach the shorter hooks without a step stool.
(I’m 5’4″, so this matters.)
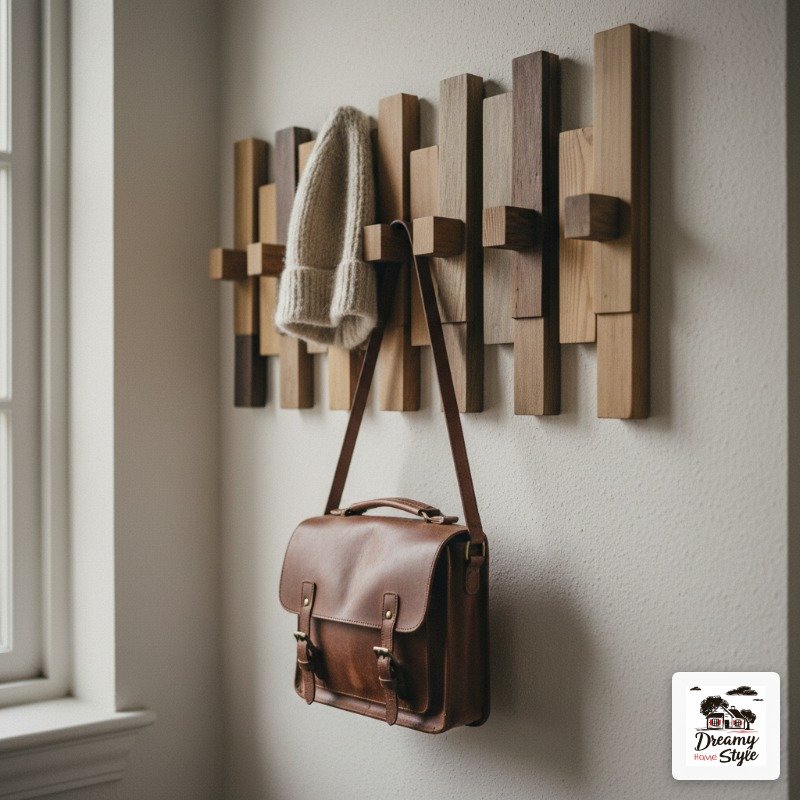
If your entry wall is tight, honestly this style is more functional than a traditional rail.
The height variation lets you use the same rack for coats AND smaller items without everything overlapping.
Wood Types That Actually Deliver
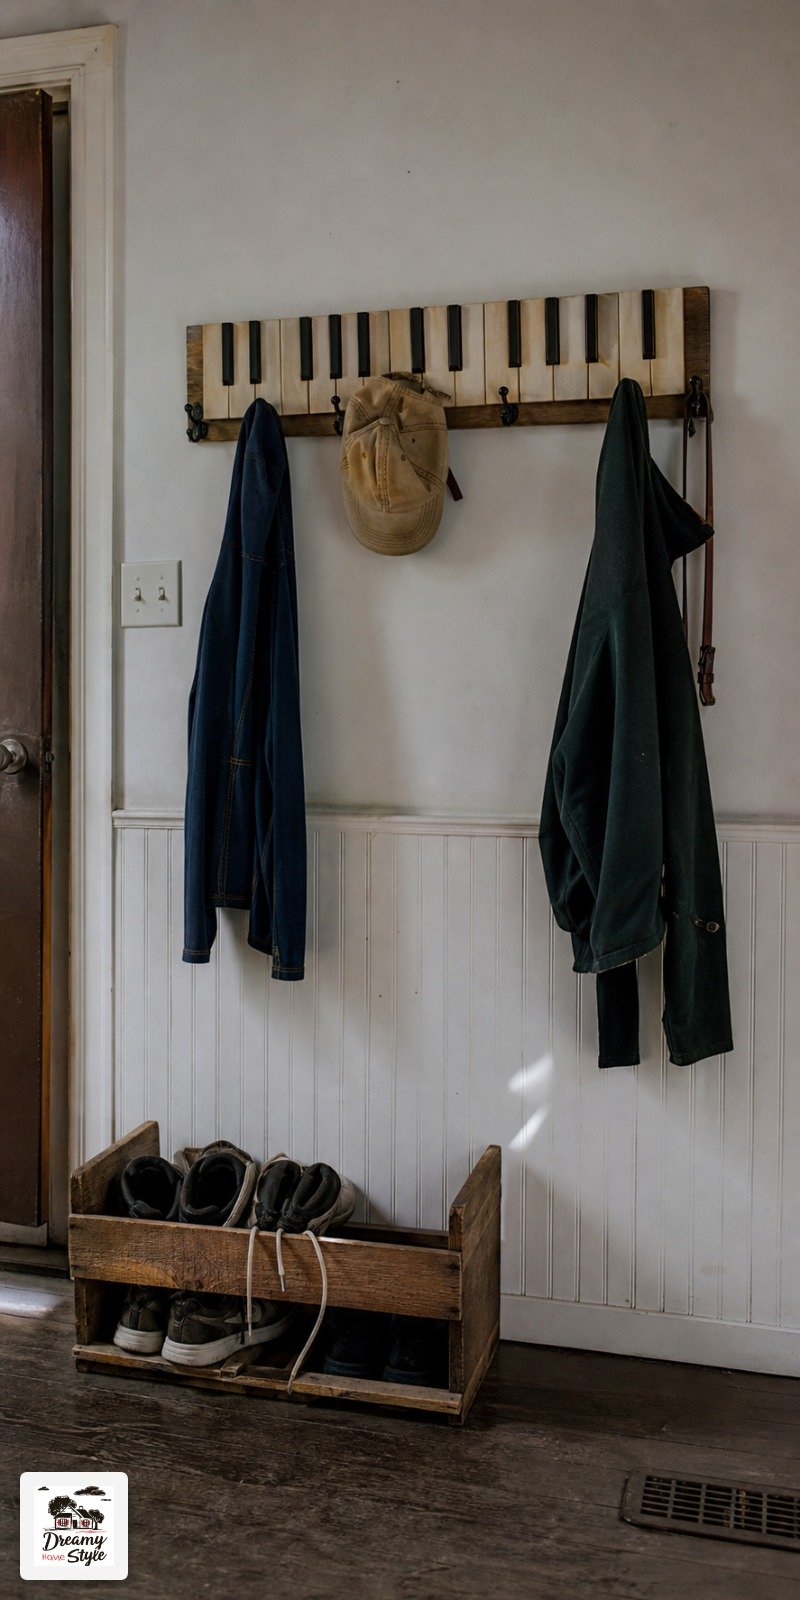
Oak is the obvious answer and honestly it earns the hype.
The grain on oak catches light in a way that looks expensive even on a $40 rack.
If you’re doing a natural wood version, oak holds up to daily abuse without denting badly.
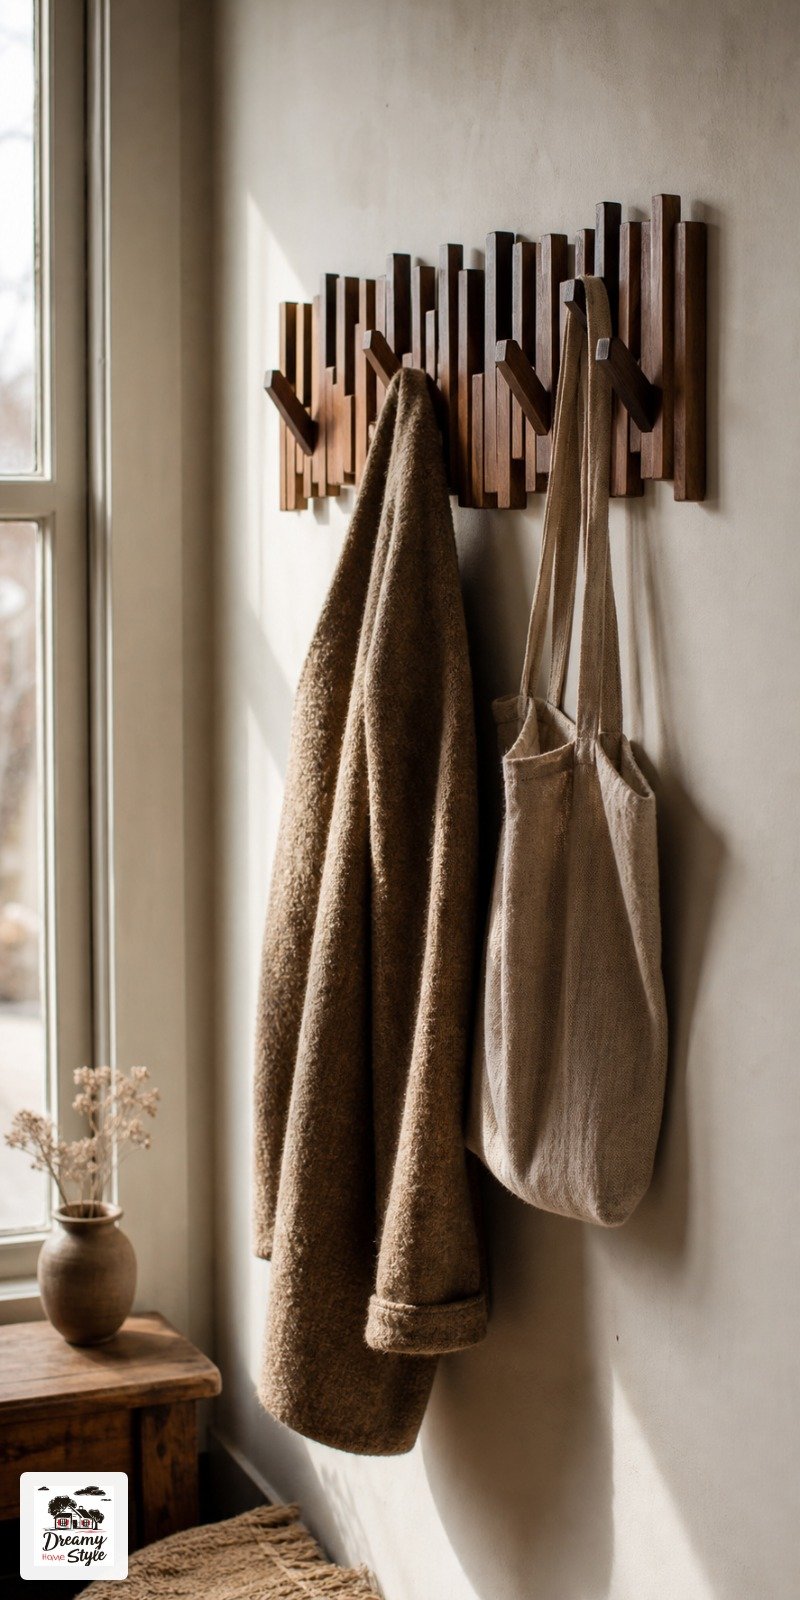
I’ve also seen walnut piano key racks that are genuinely gorgeous.
Darker, richer, more dramatic.
They work especially well if your walls are white or very light — the contrast is chef’s kiss.
Pine is what a lot of the budget DIY versions are made from.
It’s softer, which means it’ll dent more easily, but honestly for a coat rack in a normal house that’s not a dealbreaker.
I’ve had a pine one in my mudroom for a year and a half with no real issues.
Avoid MDF for this style.
The piano key shape requires clean edges on each individual hook, and MDF doesn’t cut as crisply.
It also chips if a wet coat hangs on it all winter.
(I learned this the expensive way on a different project and I’m just going to save you the trouble.)
Paint It or Leave It — My Actual Opinion
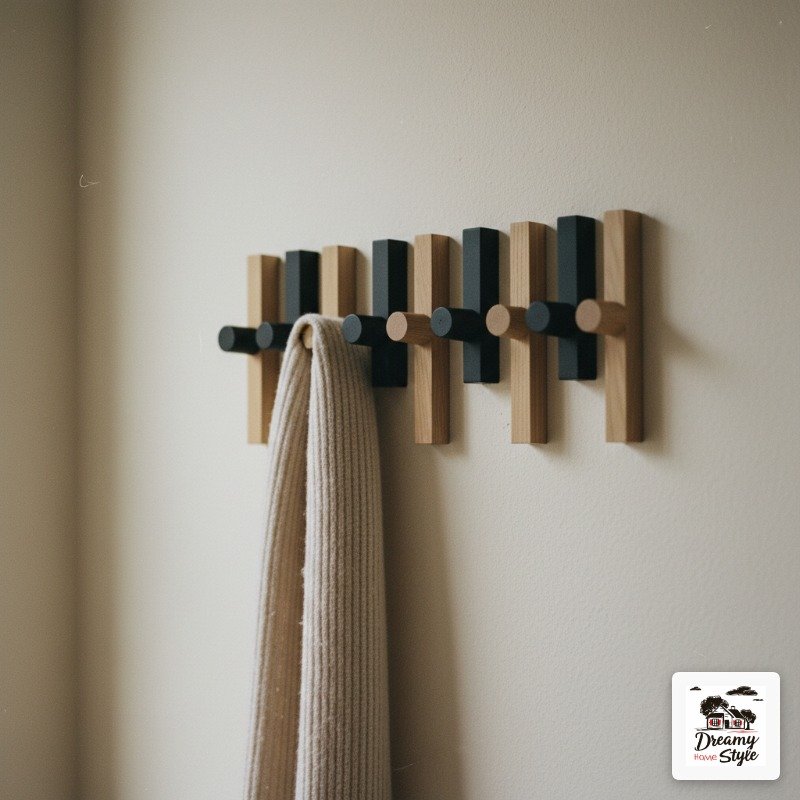
I’ll just say it: I think the two-tone version is the move.
Painting the shorter hooks black and leaving the taller ones natural wood reinforces the whole piano key thing and makes it read as intentional instead of just a row of pegs.
All-natural wood is beautiful too — cleaner, more Scandinavian, works really well in a lighter home.
But you lose some of that piano drama.
All-black is fine.
Practical, graphic, matches everything.
But it also sort of erases the woodgrain detail which feels like a waste if you paid for nice wood.
White paint on wood feels very cottagey — not my vibe, but if you have shiplap and a gallery wall of botanical prints, you know who you are and this will look great in your house.
Whatever you do, use a matte finish on the painted hooks.
Glossy painted wood in an entryway shows every fingerprint and every scratch within about a week.
Before You Put a Single Hole in the Wall
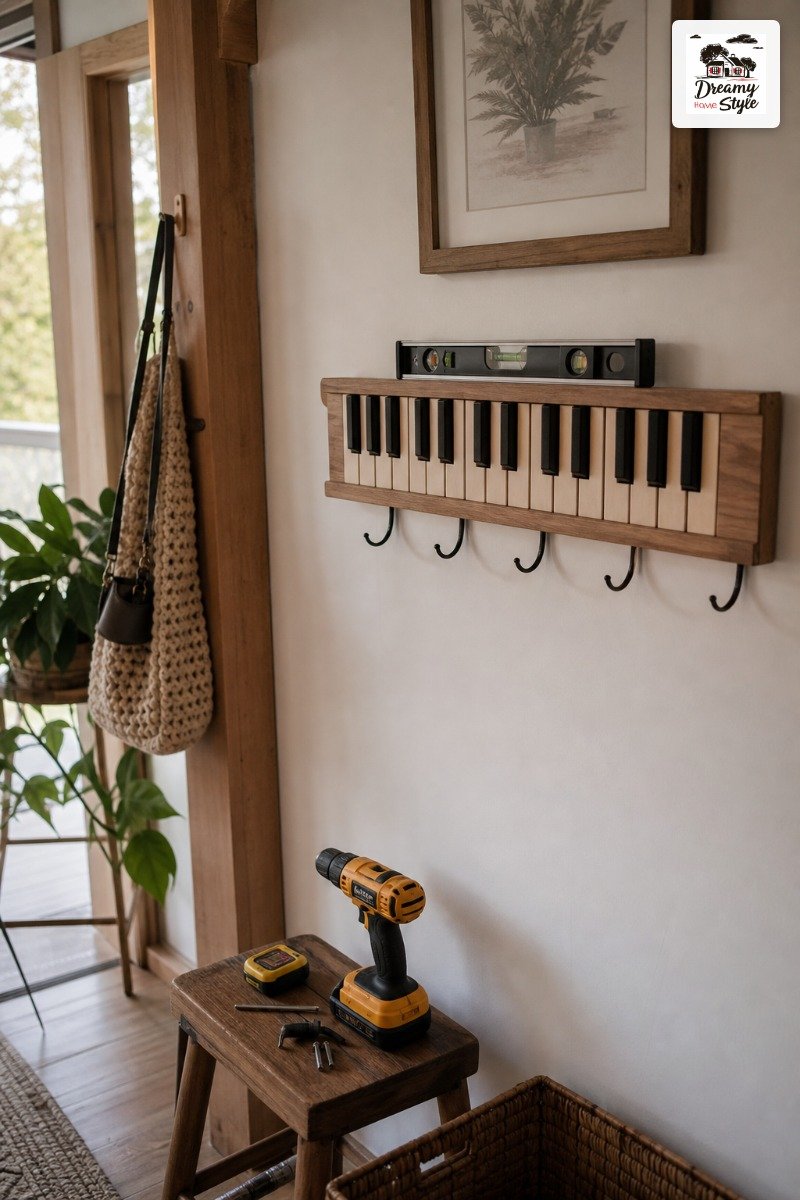
I cannot stress this enough: find your studs first.
A coat rack holds real weight — wet winter coats are heavy — and drywall anchors alone are genuinely not enough for daily loading.
Use a stud finder.
Mark with painter’s tape, not pencil (you’ll thank me).
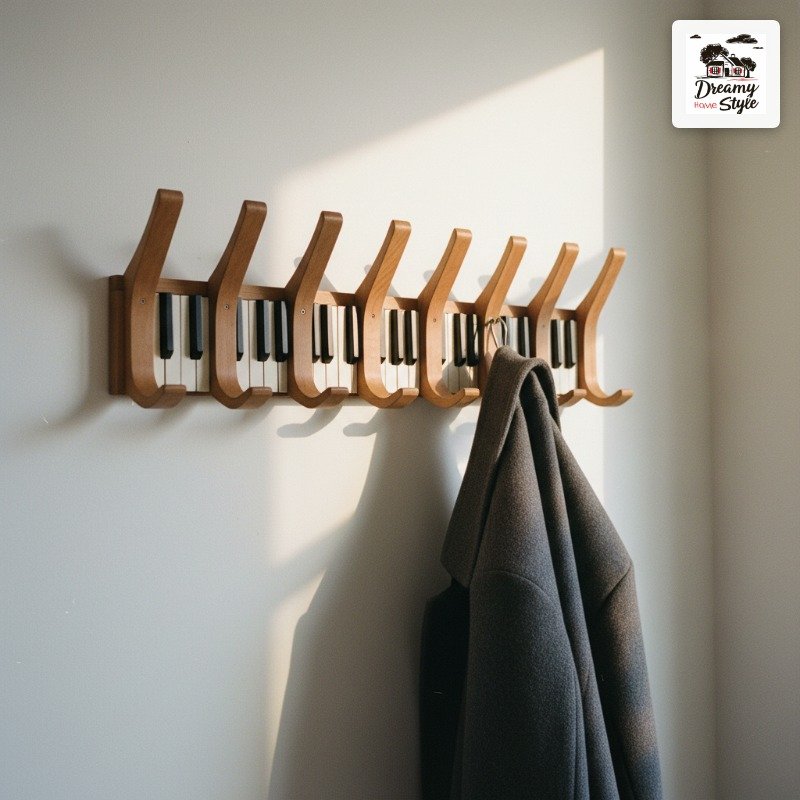
The standard mounting height most people recommend is 60 to 66 inches from the floor.
I went 62 inches and it works perfectly for coats.
If you have kids using it too, consider dropping to 48 inches or adding a second lower rail.
Level is non-negotiable.
A coat rack even slightly off-level looks wrong the second you step back.
Use a laser level if you have one.
A $10 bubble level from the hardware store also works fine.
Quick pre-mount checklist before you drill:
Stud locations marked.
Level line drawn.
Hardware included with rack (or have your own 2.5-inch wood screws ready).
Wall material confirmed (tile, plaster, and drywall all need different anchors).
No Studs Where You Need Them? Here’s What I Did
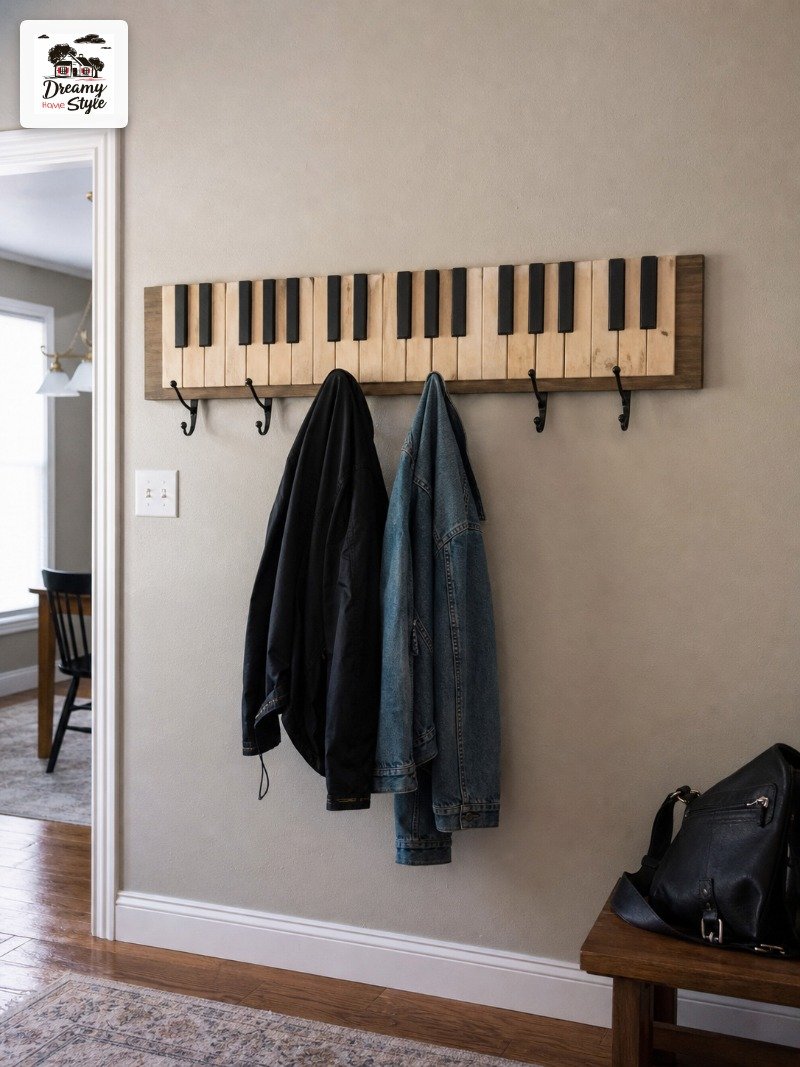
My entryway wall is basically a stud desert.
The two studs I found were perfectly placed to make the rack completely off-center.
Super helpful.
What actually worked: a French cleat.
It’s a two-piece wood system where one piece mounts to the wall (into whatever studs you CAN find) and the rack hangs from it.
You can slide the rack left or right to center it without adding new holes.
I used this in my kitchen too and I’m sort of obsessed with how well it works.
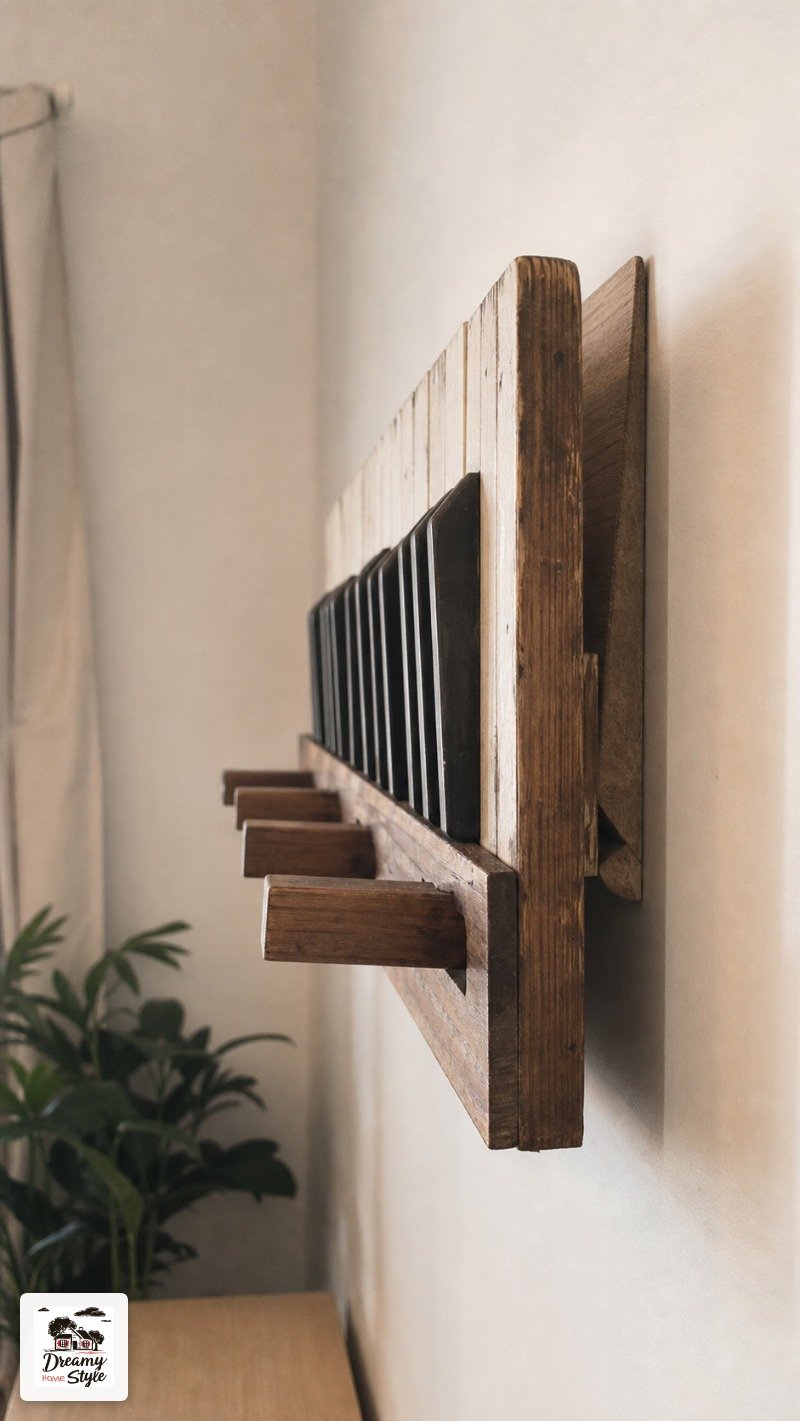
For genuinely hollow spots I couldn’t avoid, toggle bolts (the expanding kind, not the basic plastic anchors) held fine for lighter use.
But I’d still rather hit a stud any day.
If you’re renting and truly can’t make big holes, a very heavy-duty picture-hanging strip system can work for a lightweight pine rack — but be realistic.
If you’re hanging four wet coats, it will fail.
Just tell your landlord and use proper screws.
Make It Look Like You Planned the Whole Room Around It
 Make It Look
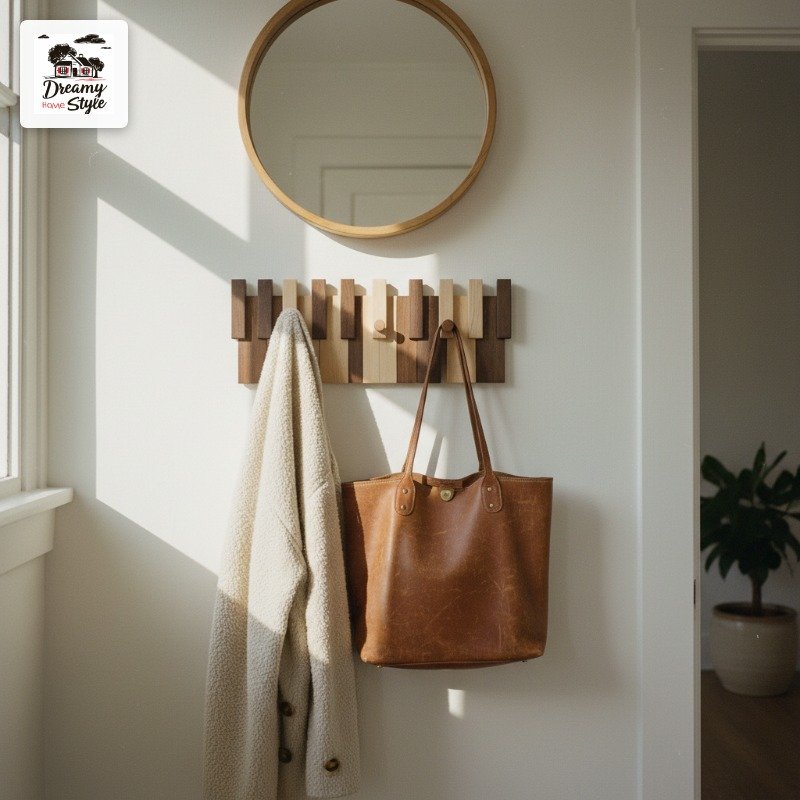
The easiest way to make a piano key rack look intentional instead of random: match one element in the room to the wood tone.
If your rack is oak, have one other oak thing visible — a small shelf, a mirror frame, a basket.
Just one.
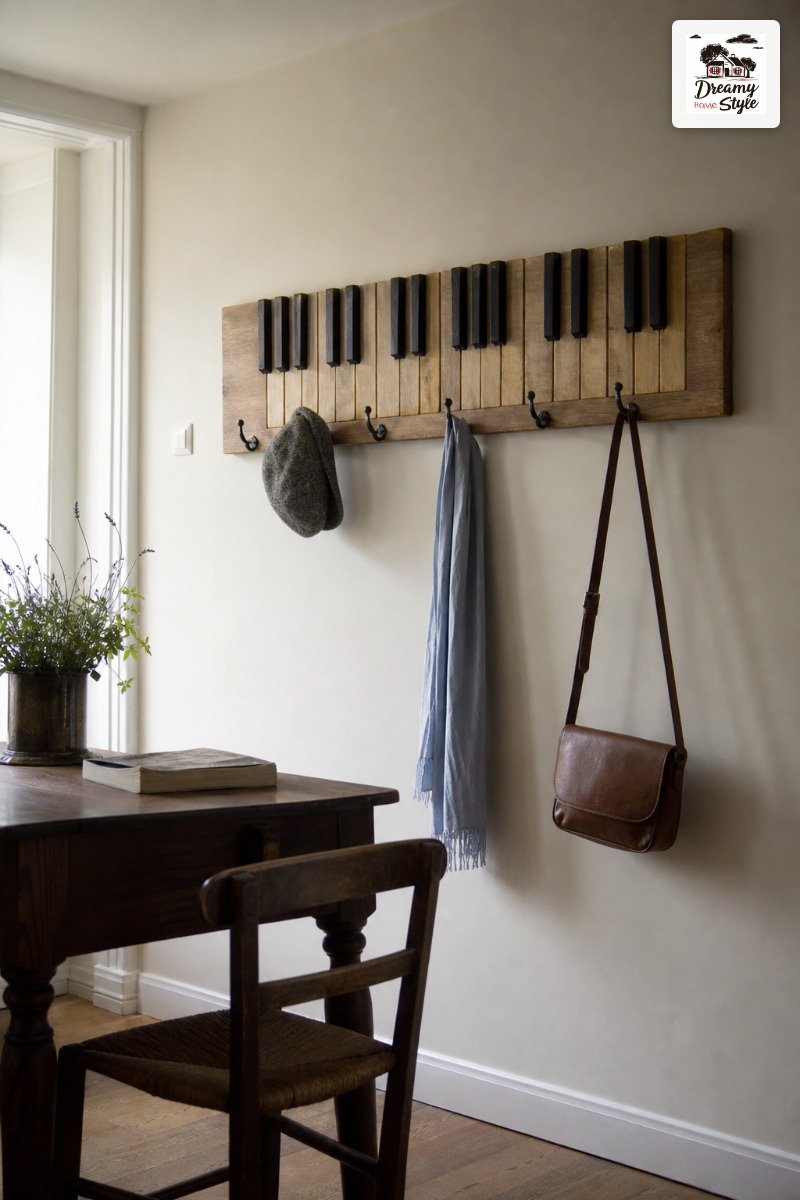
For the two-tone version, pull the black from somewhere else in the space.
Black door hardware, a black-framed mirror, even a black umbrella stand.
It makes the rack feel like part of a scheme rather than a Pinterest impulse buy.
(Not that there’s anything wrong with Pinterest impulse buys — my entire house is proof they can work.)
I hung a small round mirror above mine and it made the whole entryway feel twice as large and very intentional.
The mirror reflects the rack and suddenly it looks like a design decision instead of a storage solution.
Don’t accessorize the wall too much around it.
The staggered silhouette is the thing.
Let it breathe.
The Mudroom vs. The Entryway Debate
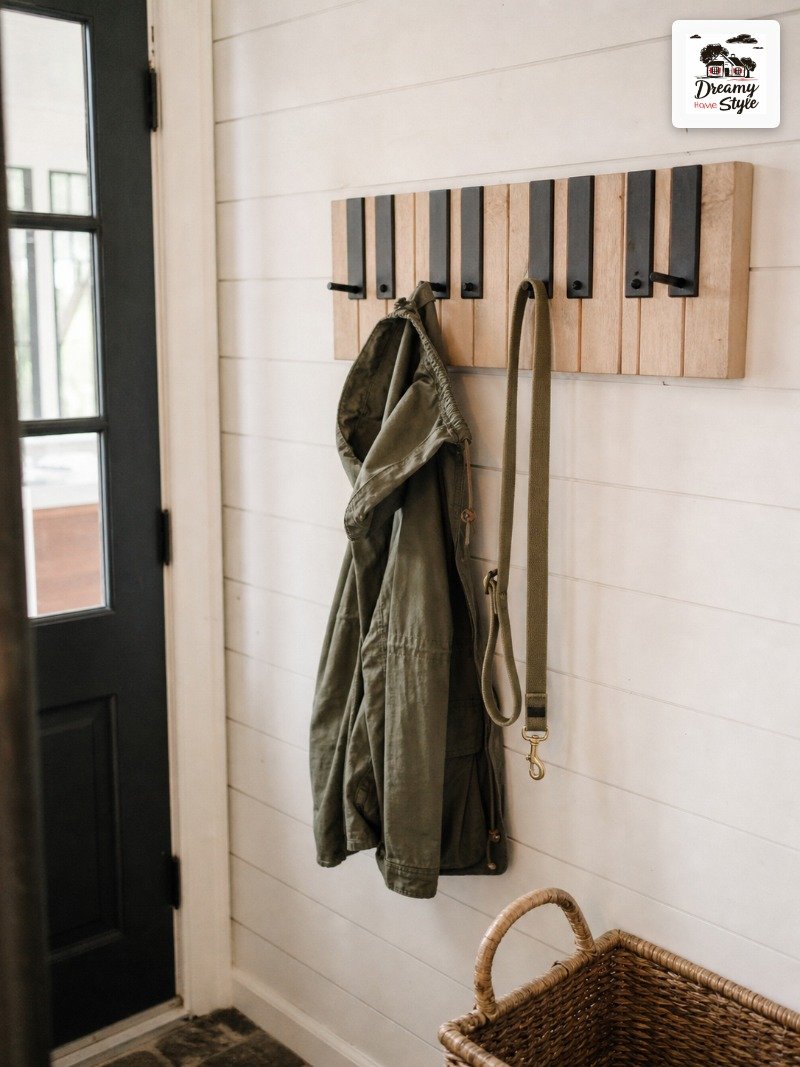
People sleep on the mudroom for this style.
My piano key rack in the mudroom gets daily hard use — damp dog leashes, muddy running shoes hung by their laces, rain jackets every other day — and it holds up better than I expected.
For a mudroom, I’d go for a sealed or oiled finish rather than bare wood.
Moisture is real in that space.
One coat of danish oil took me twenty minutes and has kept the wood from warping or staining.
In an entryway, you can be a little more precious with finish because the use is lighter.
That’s where I’d put the beautiful walnut version with the contrasting black hooks.
Save the pretty one for where people actually see it.
Both spaces work.
Just don’t put the gorgeous unsealed walnut piece in a mudroom where it’ll absorb wet-dog smell by February.
Trust me on this one.
Sizing It Right Without Doing Math All Day
Short answer: for a single person’s daily stuff, a rack with six to eight hooks and about 24 inches wide is enough.
For a family, go wider before you go taller — a 36 to 48 inch rack will serve you better than a narrow deep one.
The key spacing consideration is hook depth.
Piano key racks look cleanest when the hooks extend 3 to 4 inches from the wall.
Anything less and coats brush the wall and leave marks.
(I have a faint gray smudge behind mine that I’m pretending isn’t there.)
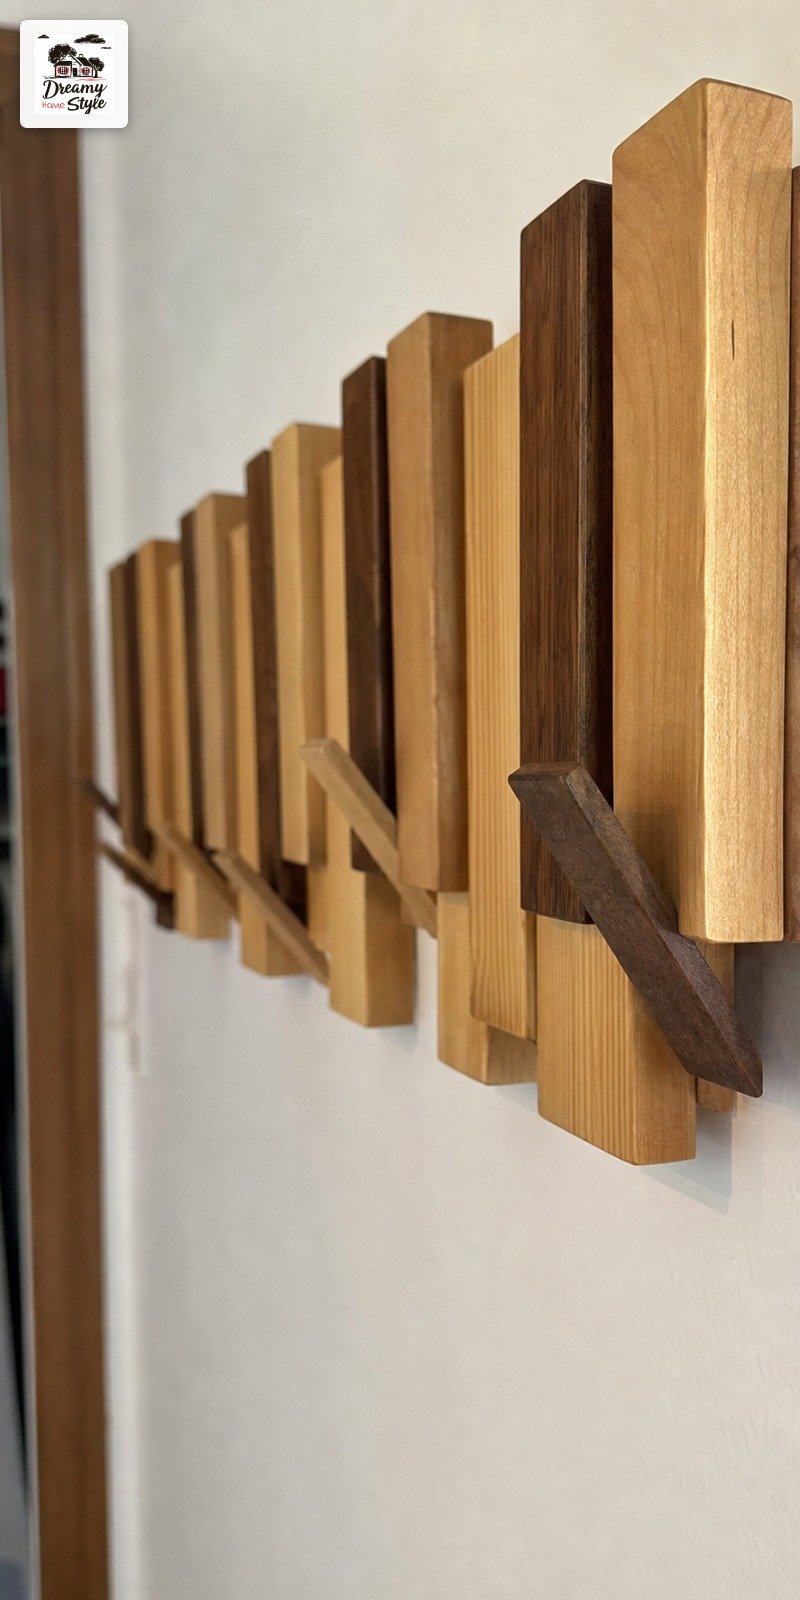
Hook spacing along the rack matters too.
If the hooks are too close together, everything bunches up and you lose the piano key visual entirely.
Six inches center-to-center is a comfortable minimum.
Measure your actual wall before ordering.
I know that sounds obvious but I once ordered a rack that was four inches too wide for the wall I had in mind and spent two weeks trying to figure out where else to put it.
DIY It or Buy It — I’ve Done Both and Here’s the Truth
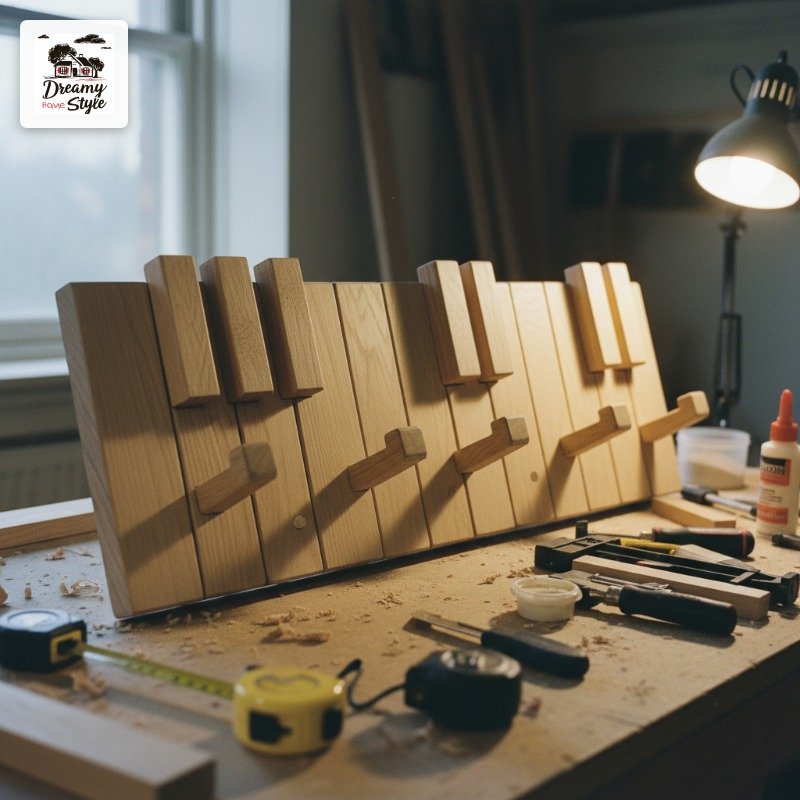
DIY costs less if you already own a miter saw and a drill.
I built a version from a single oak board and some square dowels for about $22 in materials.
It took me a Saturday afternoon and one YouTube video I watched three times.
The hard part is getting the hook cuts clean.
The piano key shape needs precise angled cuts on each individual hook piece, and if your saw isn’t dead square, the whole thing looks sloppy.
First one I made had a wobbly hook and I couldn’t unknow it was there.
Buying a premade version is more expensive — anywhere from $35 for a basic pine one to $120+ for a solid walnut version — but the cuts are clean and it takes fifteen minutes to mount instead of a whole day to build.
Honestly?
If you’re handy and patient, DIY is incredibly satisfying.
If you just want it on the wall by dinner, buy it.
Both are valid.
Styling the Hooks So It Doesn’t Just Look Like Stuff Hanging on a Wall
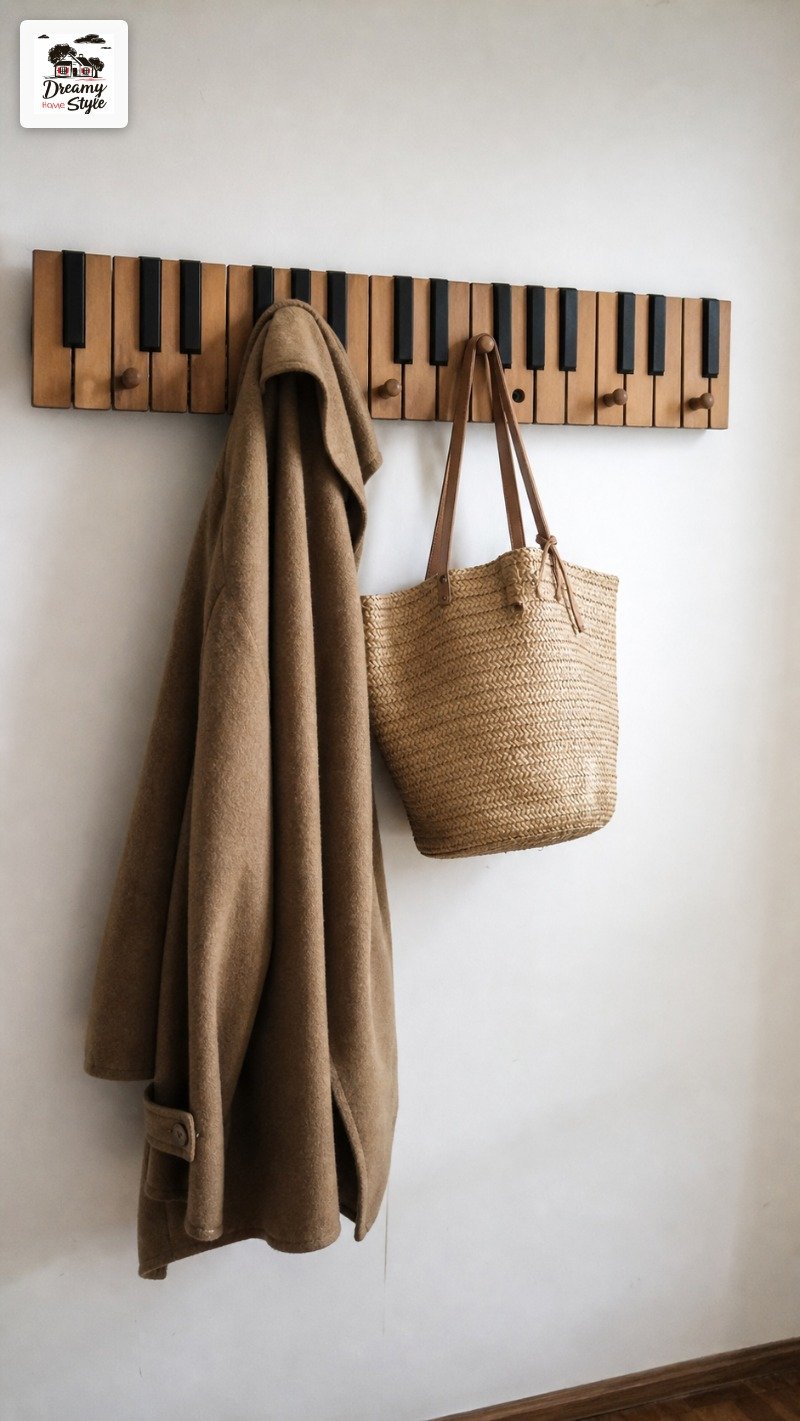
This is where people lose the plot.
The rack is beautiful — then they hang eight mismatched things on it and it looks like a yard sale.
Edit down.
Choose two or three pieces that you actually hang there daily and let the rest of the hooks show.
Negative space makes the rack itself visible.
That’s kind of the point.
A chunky woven bag looks incredible on a piano key rack.
Same with a structured hat.
Thin synthetic coats make every coat rack look cheaper than it is — if you’re taking a photo, swap in a wool or canvas coat for the shot.
(I’m not above this.)
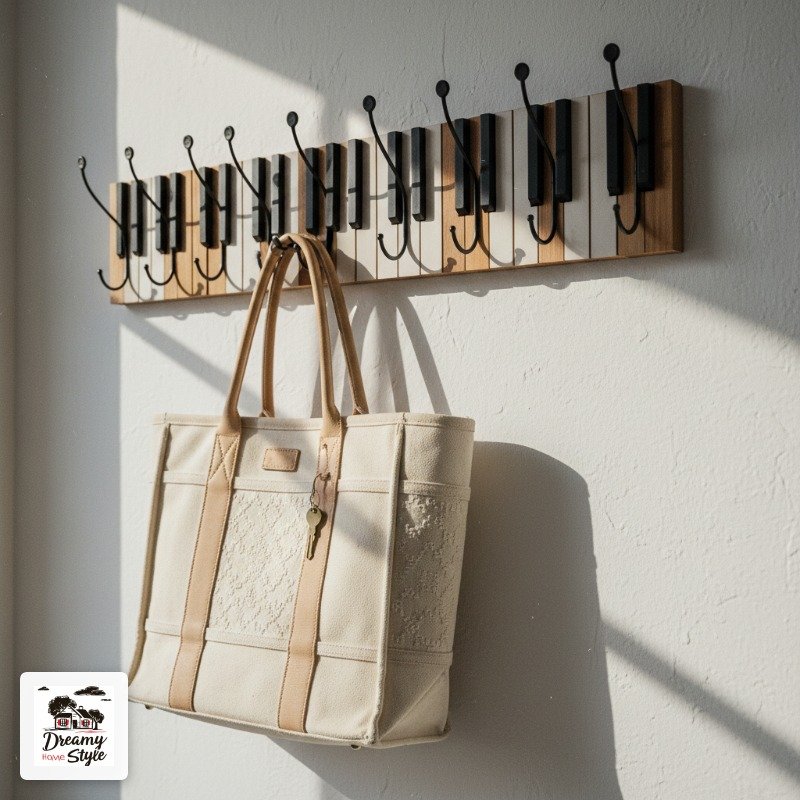
A small plant hanging from one hook on a leather loop is a look I’ve seen exactly twice and loved both times.
Biscuit would absolutely eat any plant in my entryway so I live this idea vicariously.
Colors That Make the Rack Pop on Your Wall
 Colors That Make
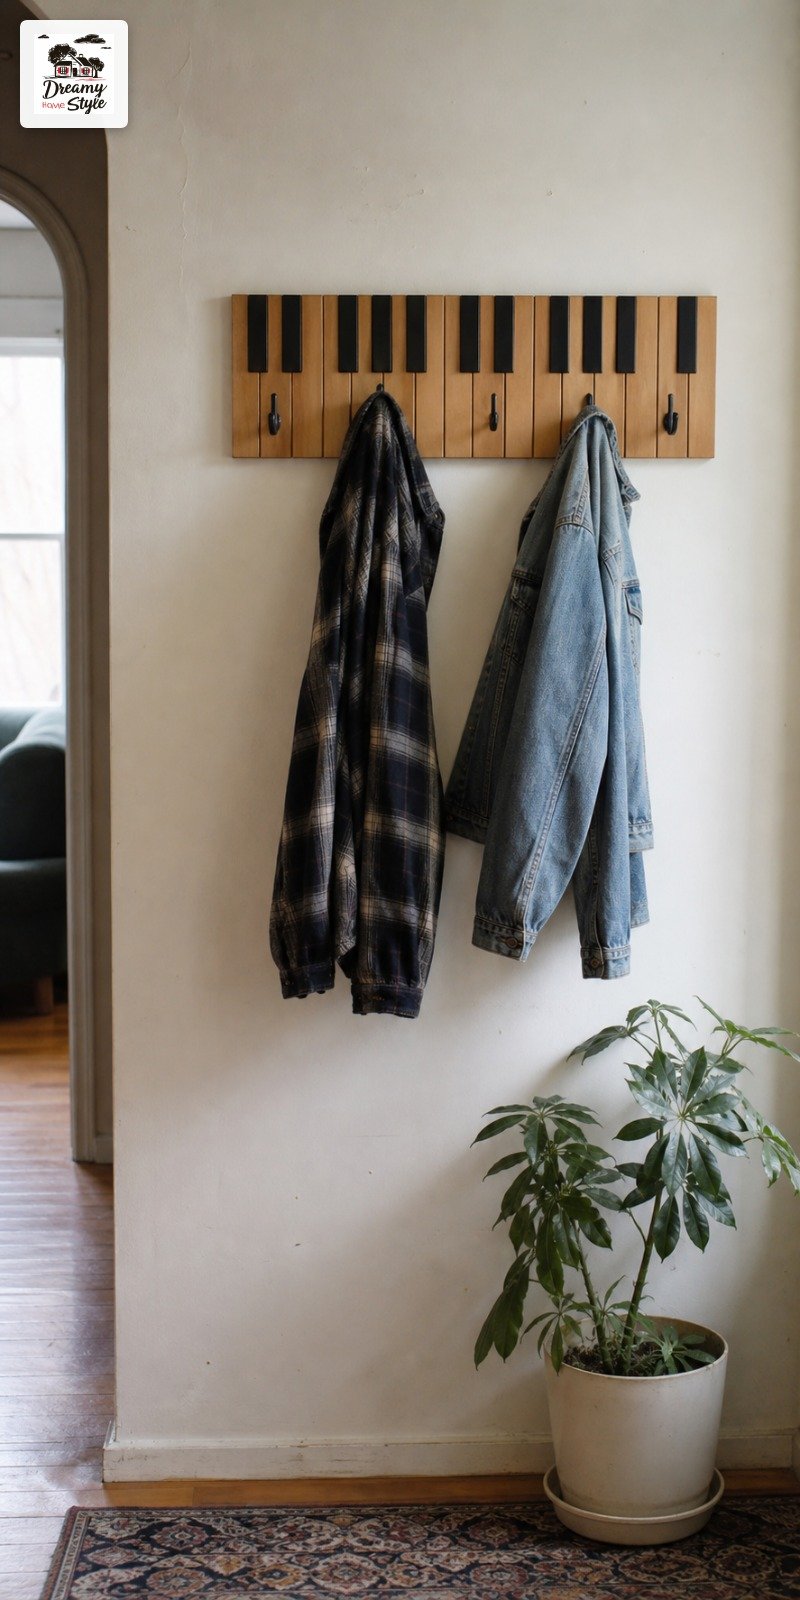
White wall, natural wood rack: classic, always works, easy.
This is the safe answer and also genuinely the right answer for 80% of walls.
Warm greige or cream wall with a walnut or dark stained rack: very rich, very intentional.
This combo makes everything feel a little more elevated without trying hard.
Sage green or terracotta wall with a natural pine or oak rack: this one is my personal favorite combination that I haven’t actually done yet because my entryway is currently a sad beige that I keep meaning to paint.
The warm wood against a muted earthy green is really something.
Dark navy or charcoal wall with a natural wood rack: dramatic.
The wood glows against dark paint.
If you’re not scared of a dark wall in a small space, do this.
The one combo I’d avoid: a super warm yellow-toned wall with a very orange-toned wood.
They fight each other in a way that makes both look worse.
The One Mistake I See Over and Over
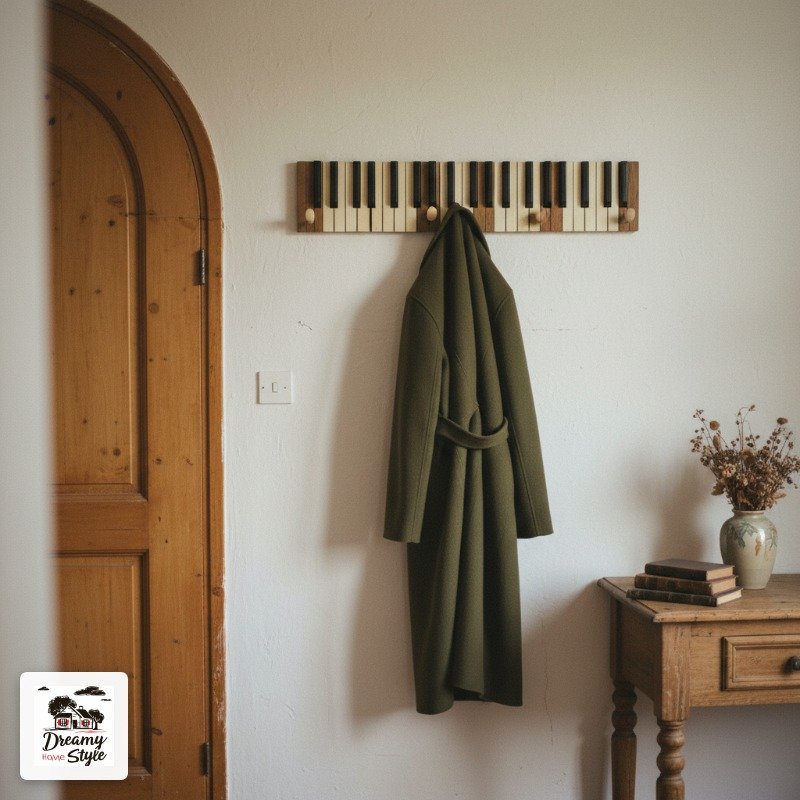
Mounting it too low.
It happens constantly and it makes the whole thing look like an afterthought.
If long coats are touching the floor or dragging against the baseboard, the rack is too low.
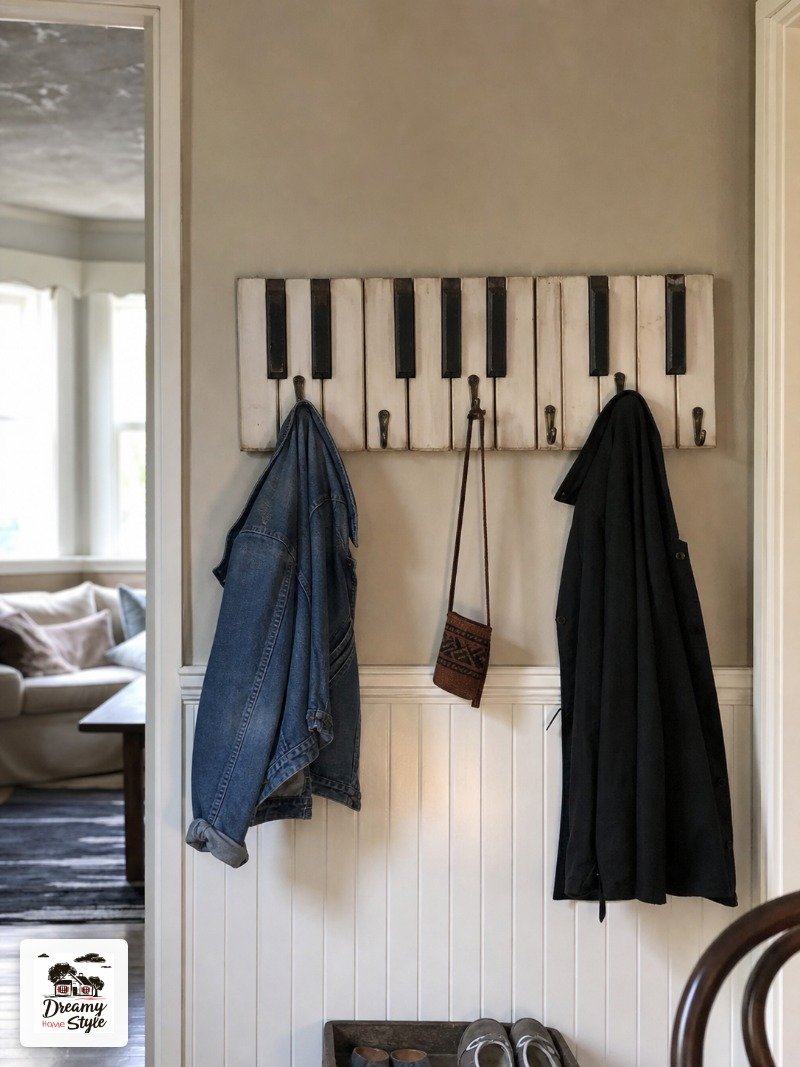
The second most common mistake is mounting it too centered on a very wide wall.
A piano key rack has strong horizontal energy and it reads better slightly off-center, above a console table or near a doorway where there’s a visual anchor point nearby.
Third: hanging too much on it and hiding the shape.
I said it before but it keeps being the thing.
The staggered silhouette is what makes this rack special.
If every hook is loaded with three items each, you just have a lumpy coat pile on your wall.
These aren’t catastrophic mistakes — I made the first one my first week with mine and just remounted it six inches higher.
Takes twenty minutes.
Not the end of the world.
Related read: Things I Wish I Knew Before I Decorated My First Home — Instant PDF + Kindle download. Secure checkout by Stripe

