
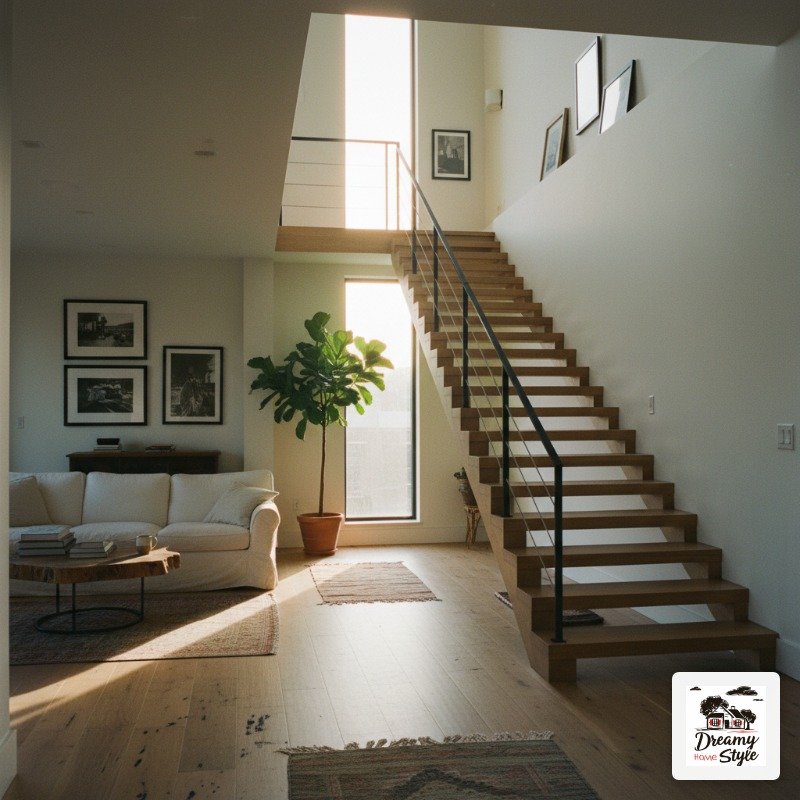

I walked past my stairs every single day for two years and treated them like a hallway you have to survive to get to the good stuff.
Then one afternoon I was sitting on the bottom step with Biscuit, drinking my third coffee, just staring at them, and I thought — wait.
This whole vertical wall of opportunity is just… painted beige?
The stairs in most homes are genuinely the most architecturally interesting thing in the space and we all collectively ignore them.
I’m not doing that anymore.
And honestly, once you start seeing your staircase as a design moment instead of a functional obligation, you cannot unsee it.
The Staircase No One Talks About (But Everyone Notices)
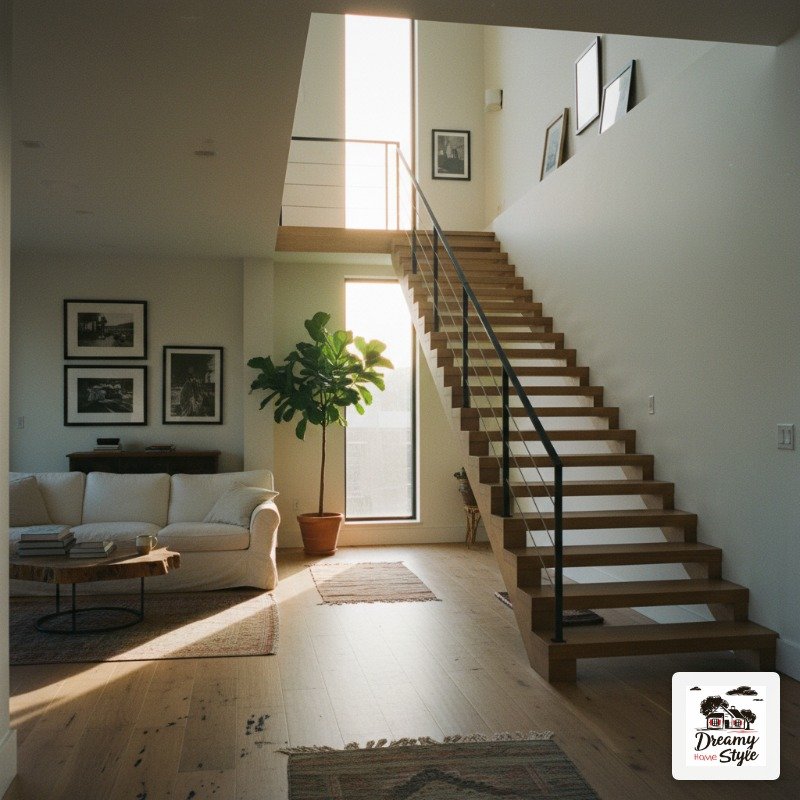
Here’s the thing I didn’t realize until I started paying attention at other people’s houses: you notice the staircase the second you walk in.
Every single time.
It’s usually one of the first things your eye lands on in a foyer or open living space.
And yet most of us treat it like infrastructure.
Paint it white, carpet it in whatever came with the house, and move on.
I had that beige-and-builder-grade situation for way too long.
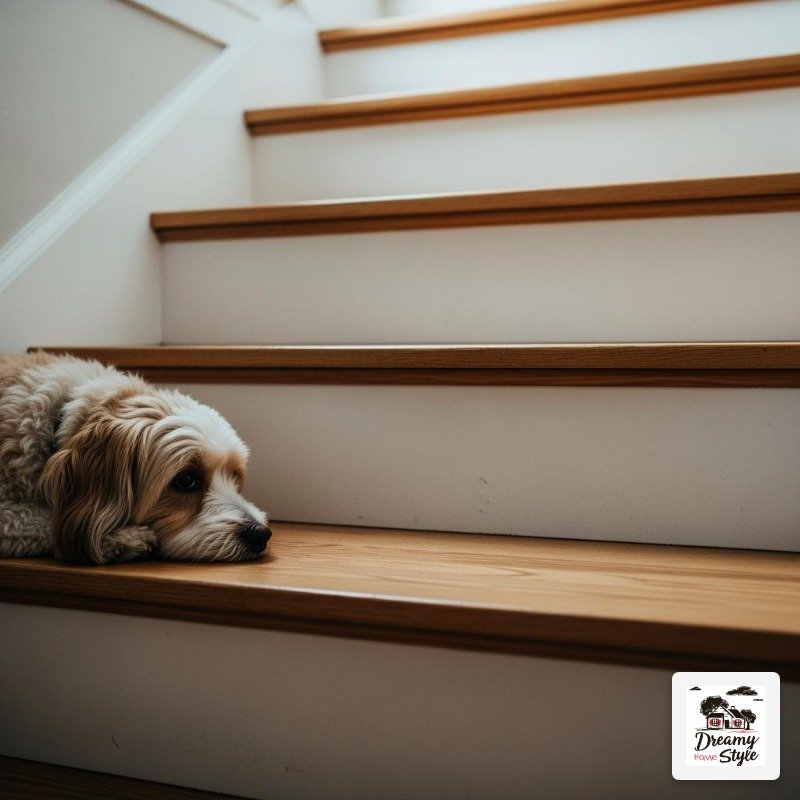
The carpet was this sad taupe color that showed every single piece of Biscuit’s fur.
It was depressing.
Replacing it felt overwhelming, so I just… kept not doing it.
The moment I finally stripped that carpet off and saw the actual wood underneath, I understood what I’d been ignoring.
The bones were good.
They always kind of are.
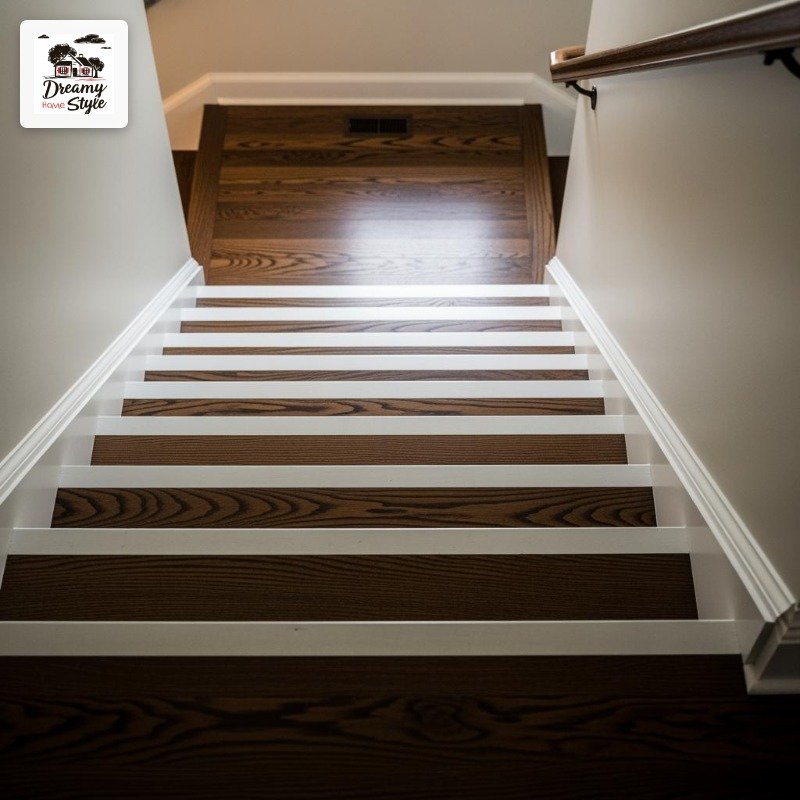
Painting the Risers: The Cheapest Wow I’ve Ever Made
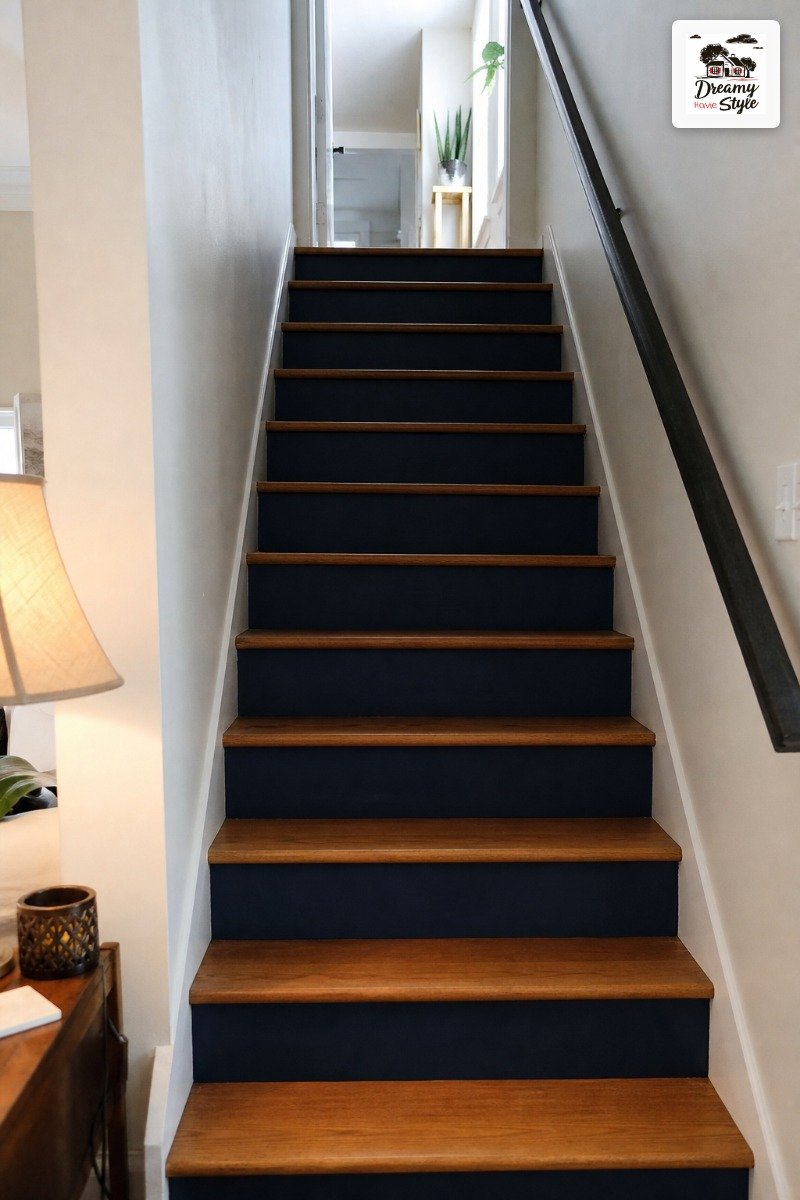
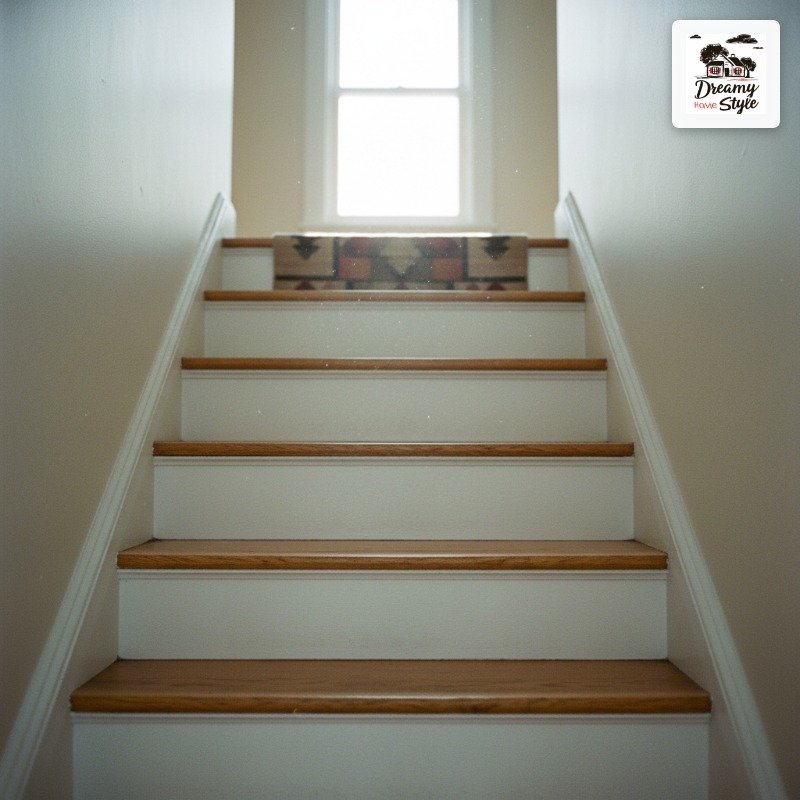
Painted risers are the gateway drug of stair design.
I say that with zero shame because mine cost me like $18 in paint and completely changed how the entire room felt.
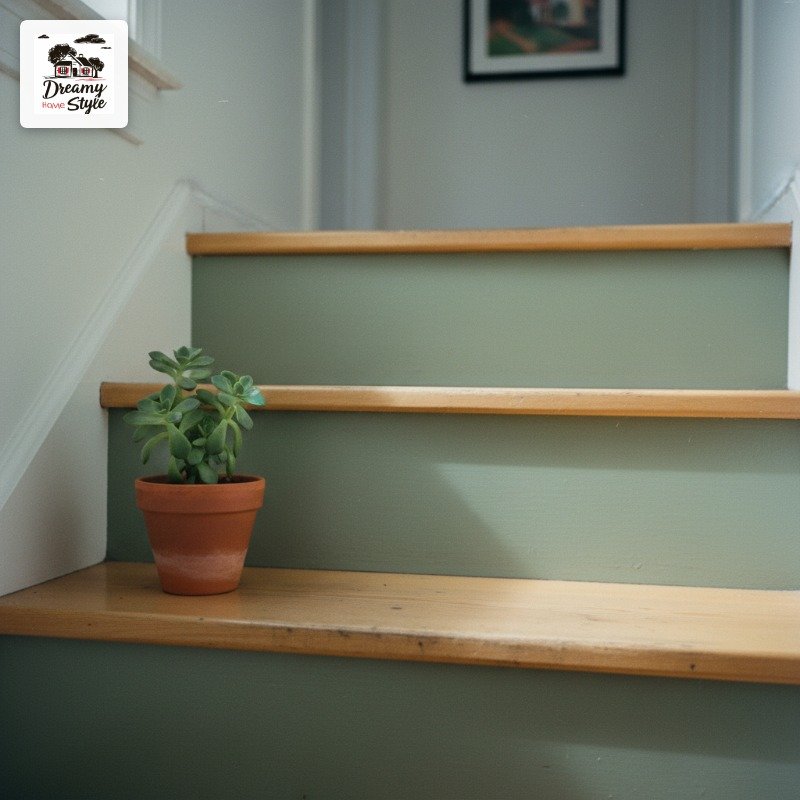
I went with a deep navy on the risers and kept the treads natural wood.
The contrast was so good I stood at the top of the stairs just looking down for an embarrassing amount of time.
You don’t have to do a bold color.
Some people do a soft sage, a terracotta, even just a bright white against dark stained treads.
The point is the contrast.
That’s what does the work.
One caveat: use a paint with a satin or semi-gloss finish.
I used flat the first time (I know, I know) and it scuffed within a week.
Lesson learned the slightly annoying way.
The Runner Rug Situation (My Opinions Are Strong Here)
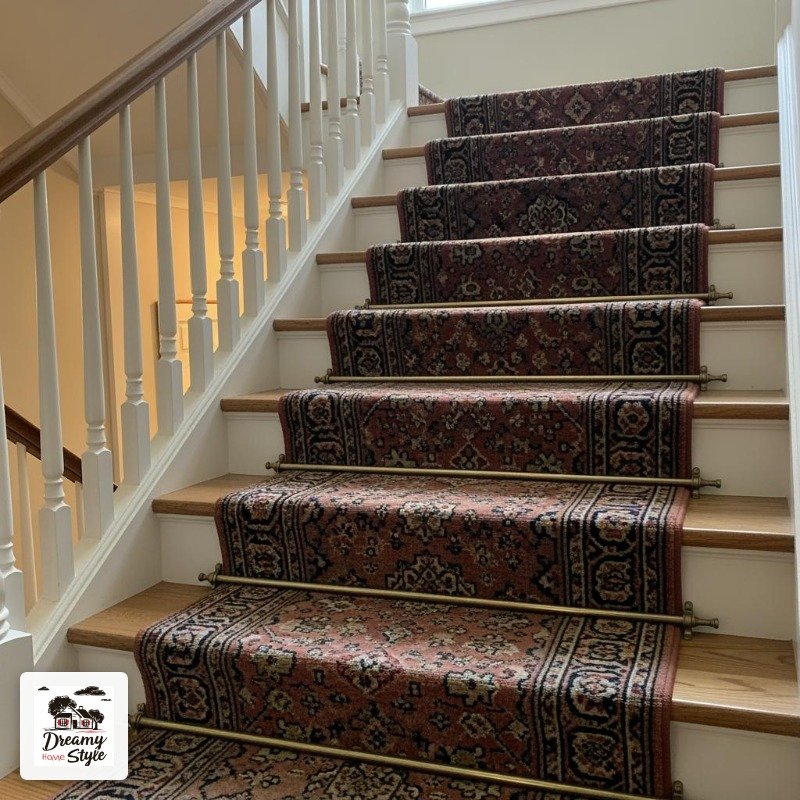
I’m going to say something that might be unpopular: wall-to-wall carpet on stairs is almost always a mistake if you’re trying to make them look intentional.
It swallows the shape of every individual step.
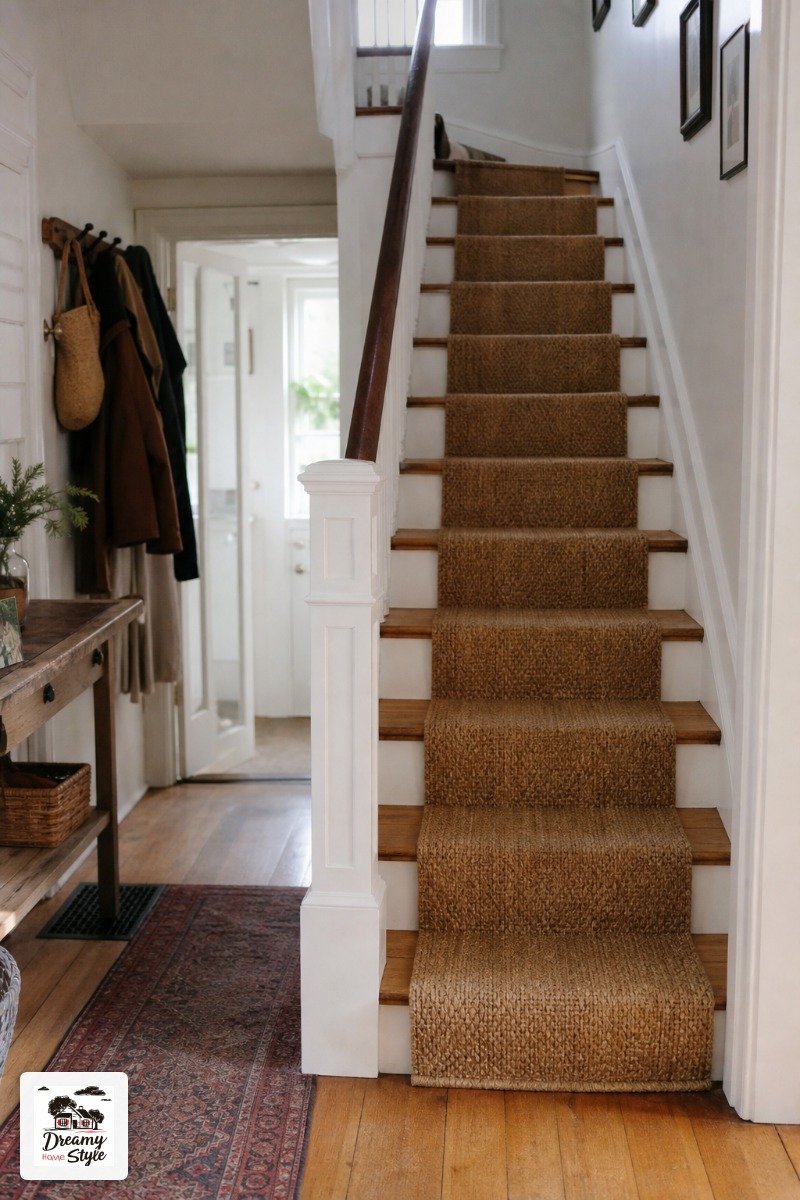
A runner, though?
A runner is a whole different conversation.
The right runner makes a staircase look like it belongs in a house someone actually thought about.
I found mine at a rug liquidator for $60 and it’s a faded Persian-style pattern in muted reds and blues.
People ask about it constantly.
The installation part is fiddly, not gonna lie.
You need stair rods or a staple gun and some patience.
I watched about four tutorials before I felt confident.
But it’s doable on a weekend.
If you have dogs or kids, go for something with a tighter weave.
Biscuit’s fur hides surprisingly well in the pattern of mine, which feels like a win.
What the Railing Is Actually Doing to Your Whole Look
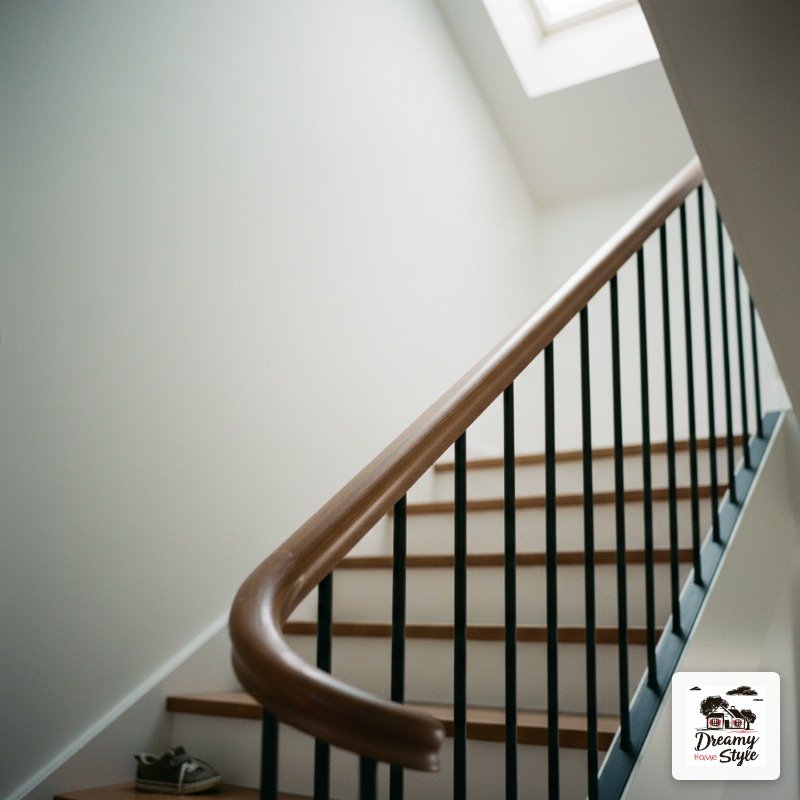
The railing is the thing most people replace last.
I’d argue it should maybe be first, or at least second, because it’s what your eye follows the entire length of the staircase.
Spindle-style balusters in that dated colonial shape age a space so fast.
Swapping them for something sleeker — square black metal, simple round dowels, even flat cable rail if your budget allows — makes the whole staircase look newer immediately.
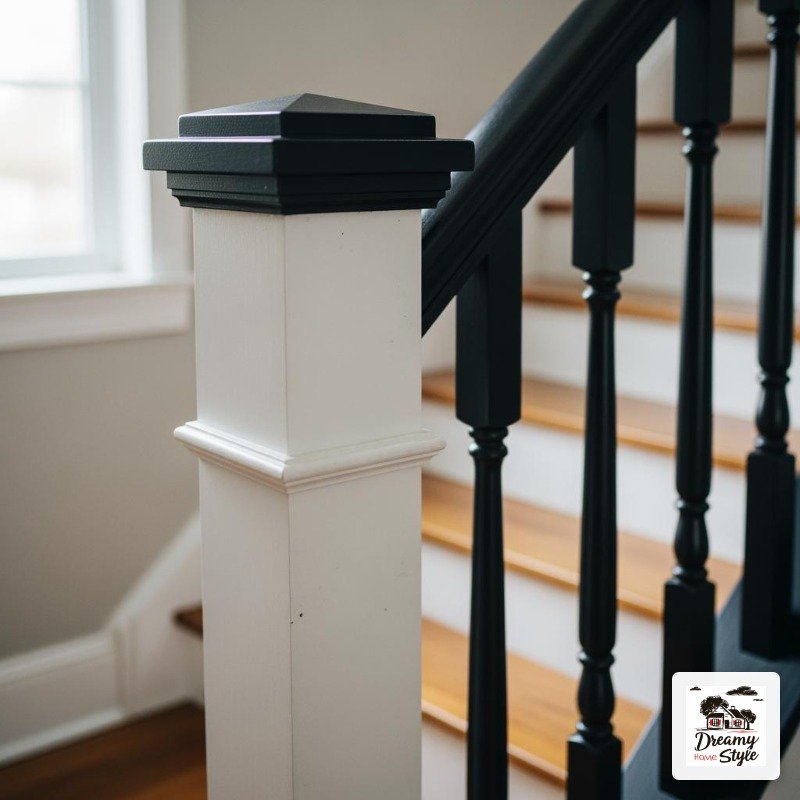
I painted my existing wood balusters black with a foam roller and a good trim paint.
Total cost: one can of paint, about $14.
It looked like a completely different staircase.
I’m not exaggerating.
The handrail itself matters too.
Rounded wood handrails in a warm stain feel so much better to touch and look at than the stock stuff.
If yours is wobbly, fix it.
A wobbly handrail is the kind of detail that quietly makes everything feel neglected.
Using the Wall Beside the Stairs (Please Stop Leaving It Blank)
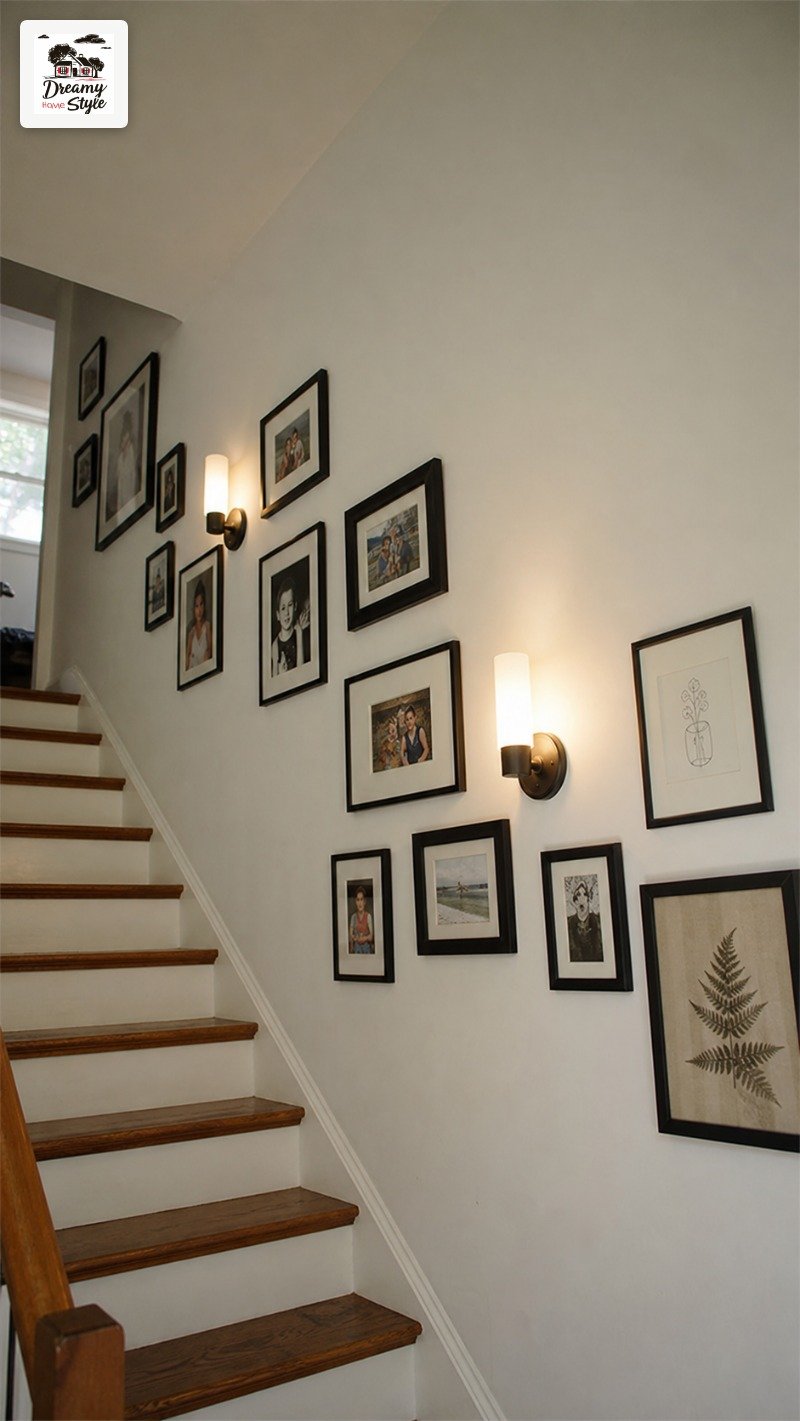
A blank wall running up alongside a staircase is one of the most underused spaces in any home.
It’s basically a built-in gallery wall frame and most people just paint it beige and call it done.
I hung a grid of thrifted frames going up mine — different sizes, same color frames — and it made the whole climb feel like a little experience instead of just getting from floor to floor.
The trick with staircase gallery walls is to lay everything out on the floor first.
Seriously.
I skipped that step once and ended up with holes all over the wall at slightly wrong heights.
Very fun to fix.
Not a gallery wall person?
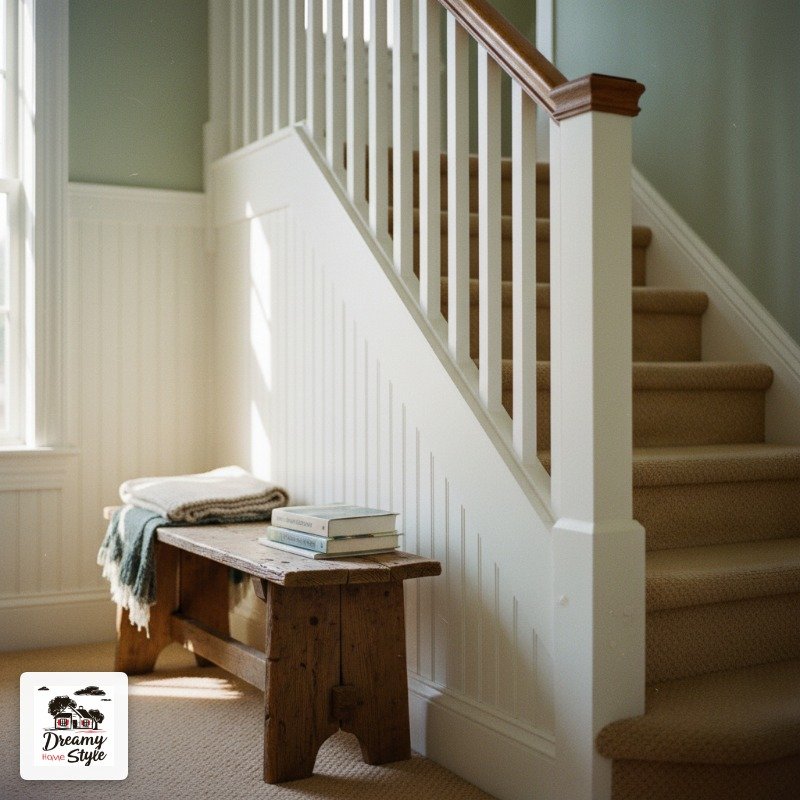
Wainscoting or board-and-batten on that wall is gorgeous, especially painted in a soft contrasting color.
Even just a single long vertical mirror can make the space feel taller and more open.
Lighting the Staircase (Overhead Lighting Is Still a Crime, Yes Even Here)
 Overhead Lighting Is Still a Crime
You already know my stance on overhead lighting.
A single harsh ceiling fixture blasting down onto a staircase is not ambiance.
It’s a surgical suite.
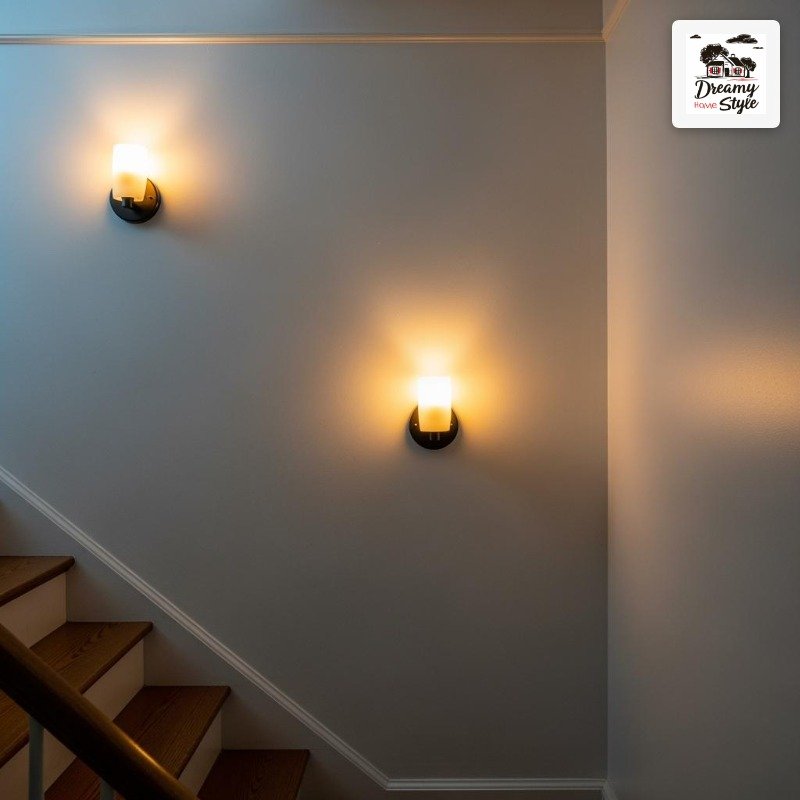
Sconces along the wall are the move.
Even one well-placed sconce halfway up completely changes the feeling.
The light gets warm and directional and the space suddenly feels intentional.
If hardwiring isn’t in the budget, plug-in sconces exist and they look just as good.
I used command hooks and a cord cover kit on one section of my wall and it looks completely built-in.
Nobody has ever questioned it.
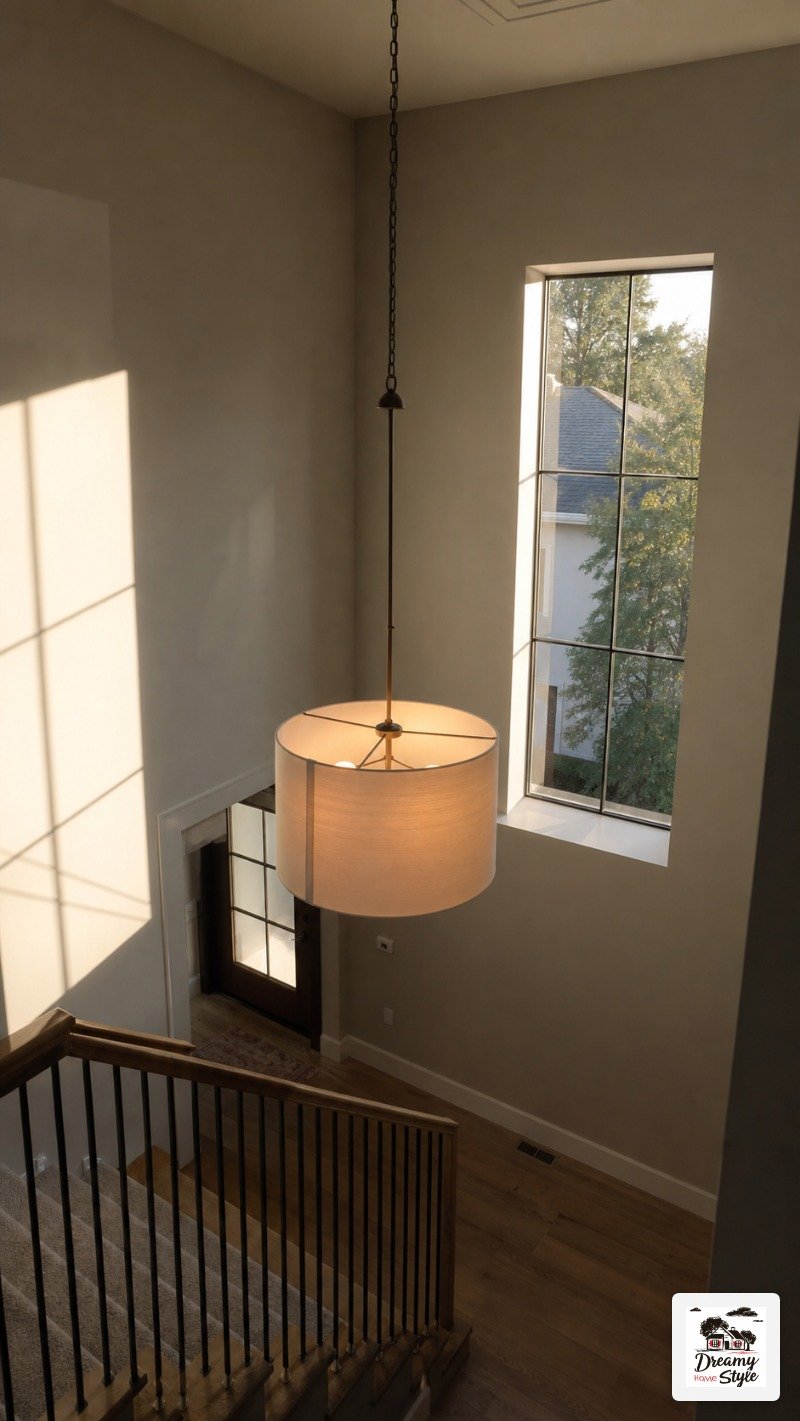
Pendant lighting at the top of a stair landing is another thing I’m genuinely obsessed with.
If you’ve got a double-height ceiling there, a dramatic pendant hanging down into that space is honestly one of the most impactful things you can do.
Under the Stairs: The Space Everyone Wastes
If you have an open area under your stairs and you’re storing random stuff under there with no thought, I say this gently: we can do better.
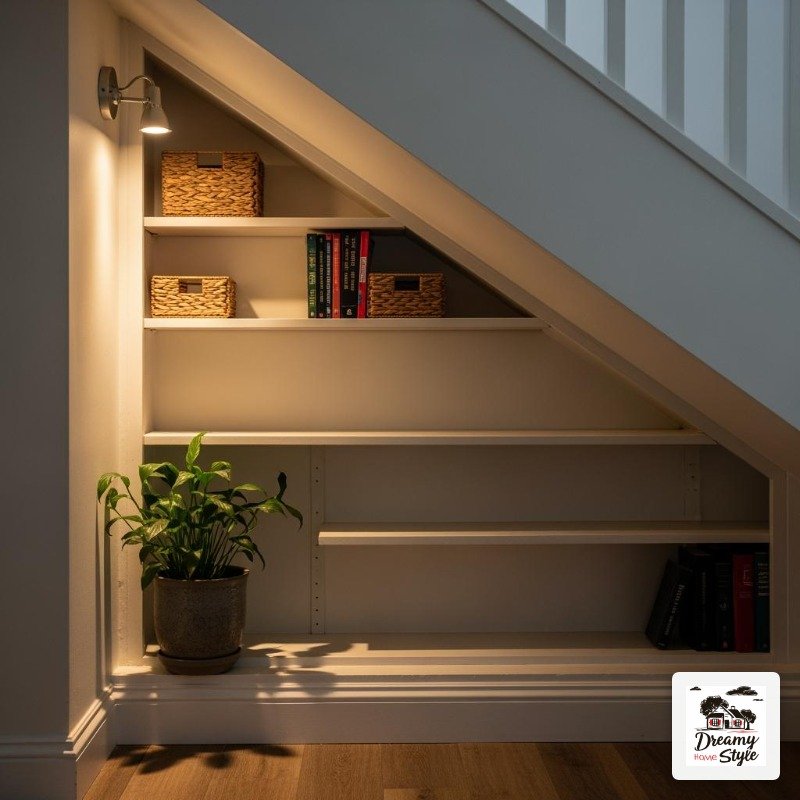
The most functional version is built-in shelving or cabinetry.
Custom is obviously expensive, but IKEA hacks using Billy bookcases fit under standard stair rises surprisingly well.
I’ve seen people pull this off for a few hundred dollars and it looks incredible.
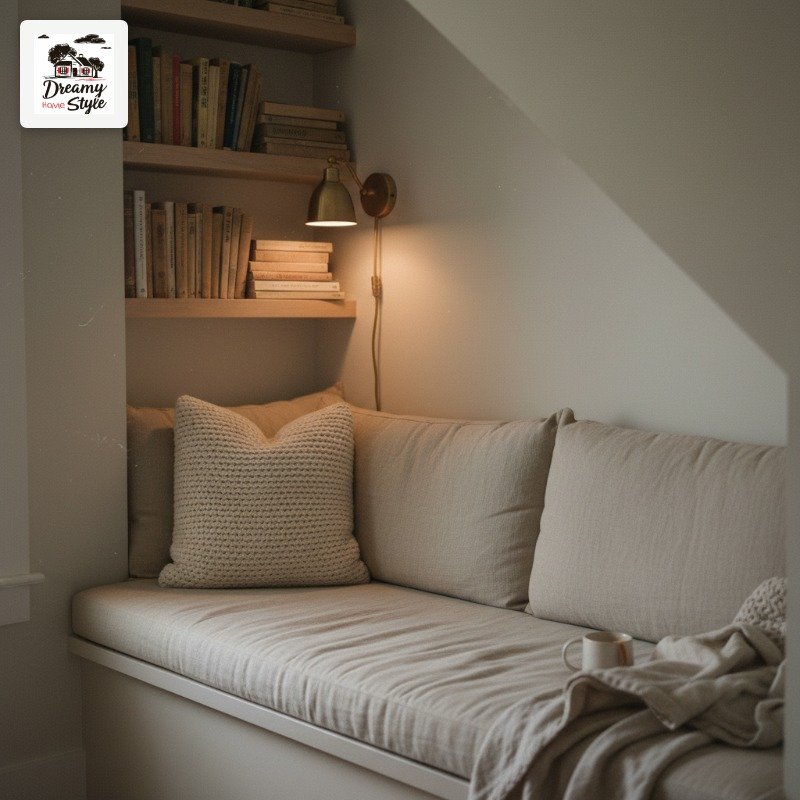
A smaller version I actually did myself: I put a little reading nook under the lowest part of the stair slope.
Just a cushioned bench, a little shelf above, and one plug-in lamp.
Biscuit has claimed it as her personal space but in theory it’s for me.
Even just painting the inside of that under-stair area a different color makes it feel like a purposeful alcove instead of an accident.
Staircase Wallpaper: Worth the Drama
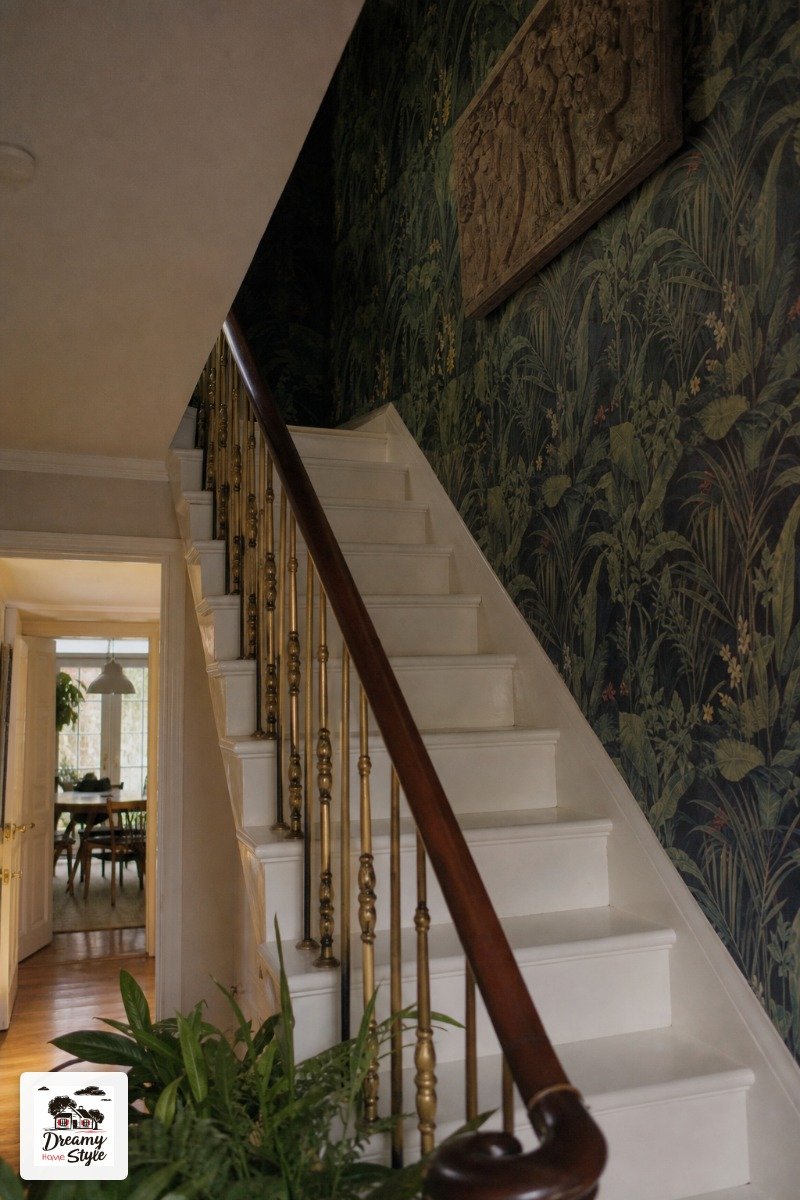
Wallpaper on the staircase wall is the kind of thing that feels terrifying to commit to and then you do it and you spend the next six months being smug about it.
The staircase wall is actually a good place to try a bold pattern because it’s a transitional space.
You’re moving through it, not sitting in it, so something bolder feels exciting rather than overwhelming.
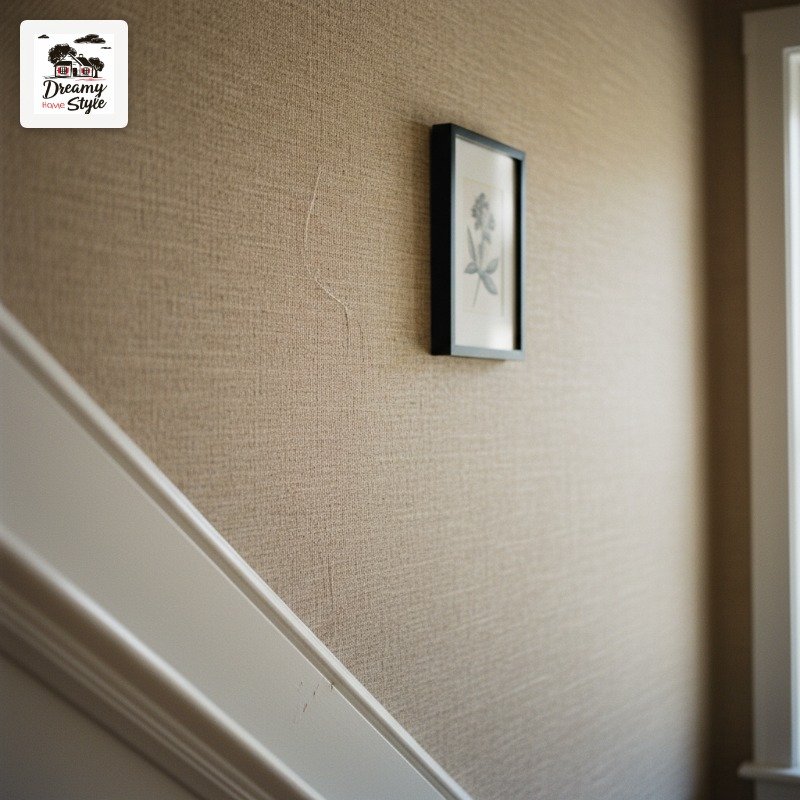
I used a removable grasscloth-look wallpaper on mine.
It wasn’t as durable as real grasscloth but it was $28 for a roll and it looked so good in photos that I kept it for almost a year before trying something else.
If you’re nervous about full wallpaper, try just the wall between the treads and the railing, or on an accent wall at the top of the landing.
A smaller commitment that still reads as really intentional.
Going Monochrome on the Stairs (Hear Me Out)
This one surprised me.
I thought monochrome stairs would look flat and boring.
I was completely wrong.
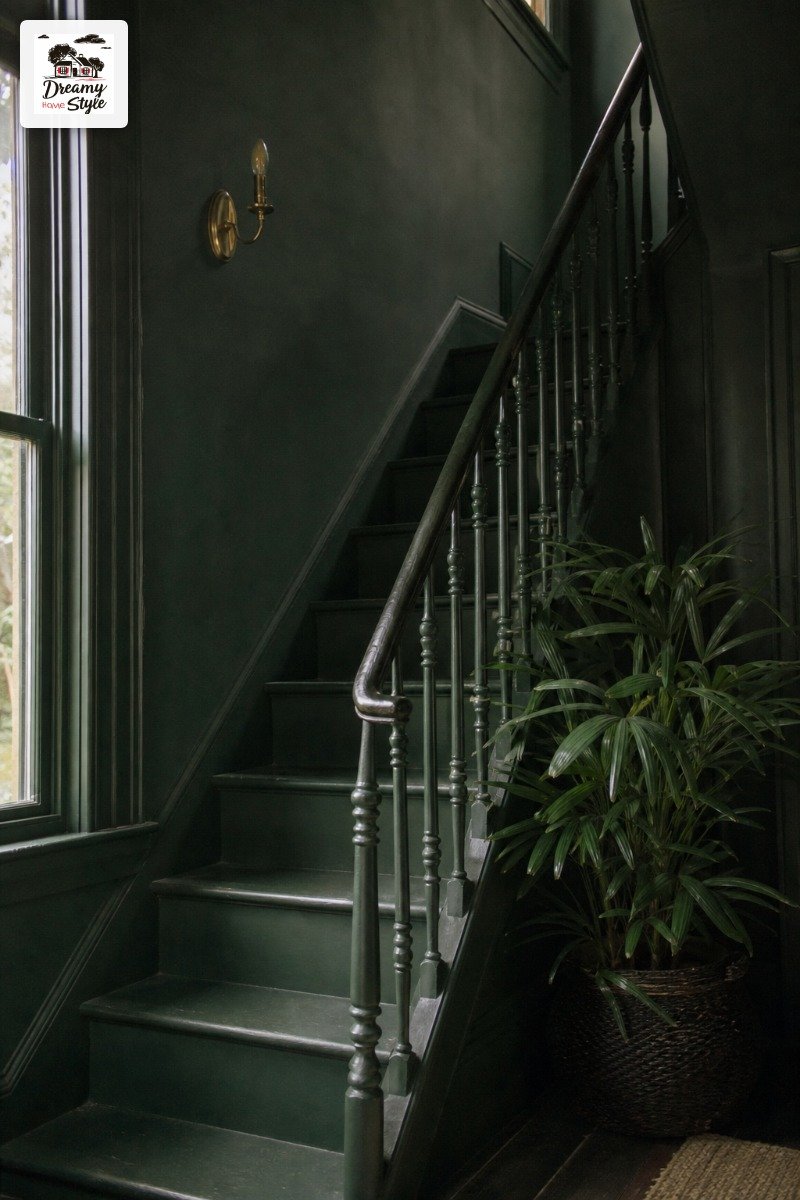
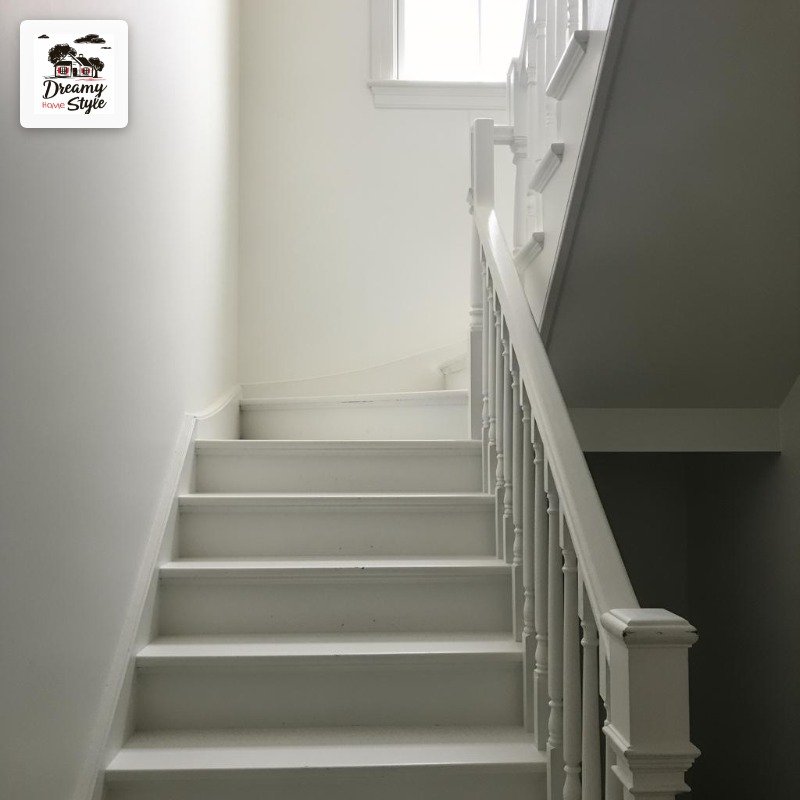
Painting the treads, risers, railing, spindles, and surrounding wall trim all the same color — a soft white, a warm greige, a moody dark green — creates this really calm, sculptural look.
The staircase becomes a shape instead of just a collection of parts.
I’ve seen this done in an off-white that just makes the whole thing disappear into the architecture of the house in the best way.
It’s very European-feeling.
Very “old house in the French countryside” if that’s a vibe you want.
It’s honestly the lower-commitment option because you’re only making one color decision.
And if you hate it, one coat of something new changes everything.
Adding Texture With the Treads Themselves
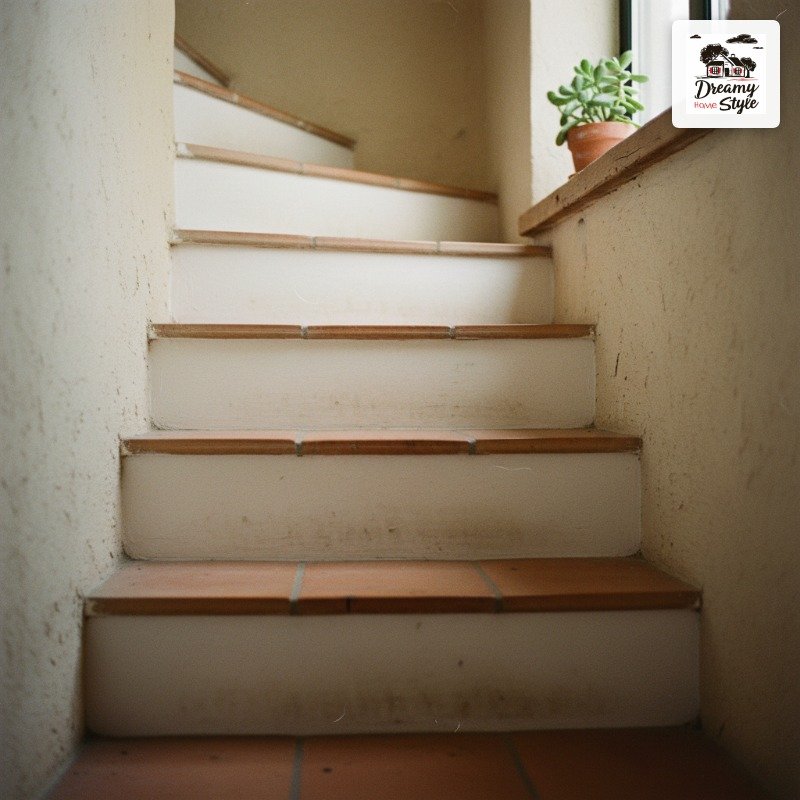
Not every staircase has salvageable wood underneath the carpet.
Sometimes you pull it up and it’s plywood.
That happened to me on the three bottom stairs and I want to be honest about that.
Plywood doesn’t have to be a disaster.
You can tile those treads in a contrasting material — cement tile, terracotta, even a vinyl tile that looks like concrete.
It actually looks intentional when you lean into the contrast.
If your wood is in decent shape but not gorgeous, a dark stain does more than most people expect.
It hides imperfections and adds this depth that bare unstained wood just doesn’t have.
Rubber stair treads in a solid matte black are also underrated.
They’re practical, quiet underfoot, and they photograph so well.
Not glamorous, but genuinely good.
The Newel Post as a Statement Piece
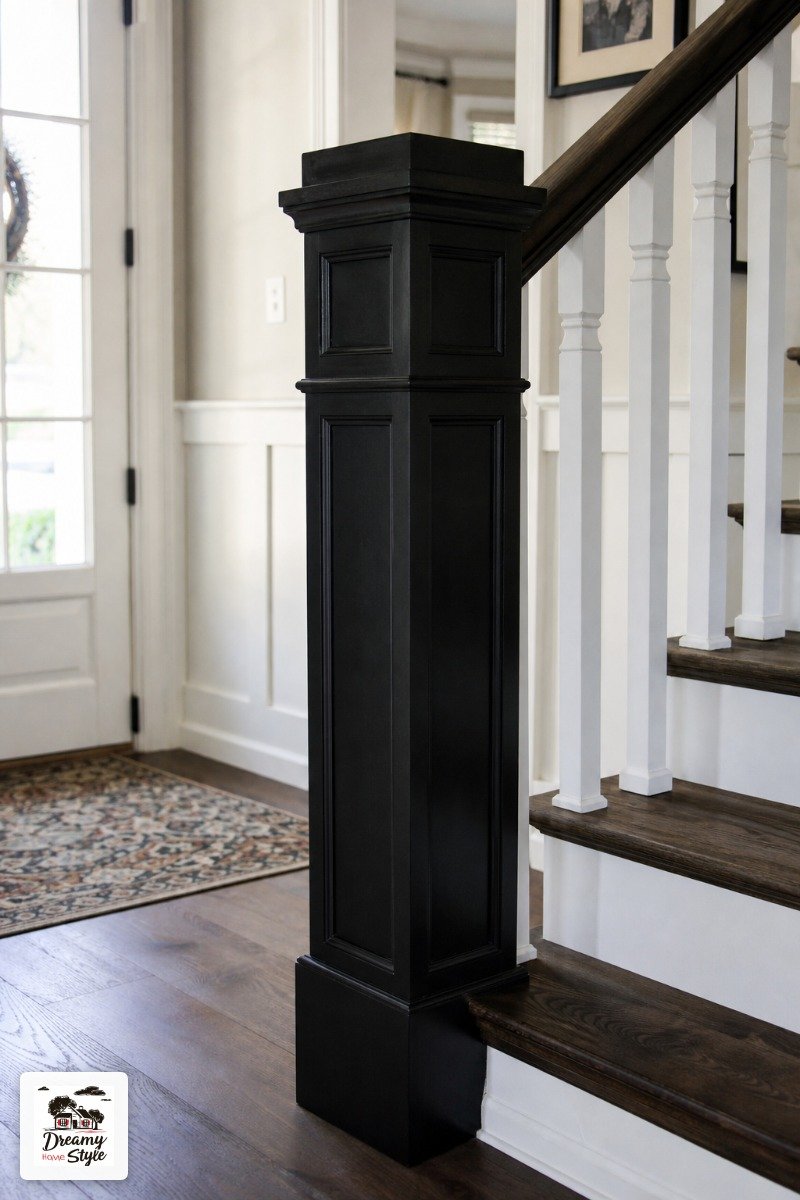
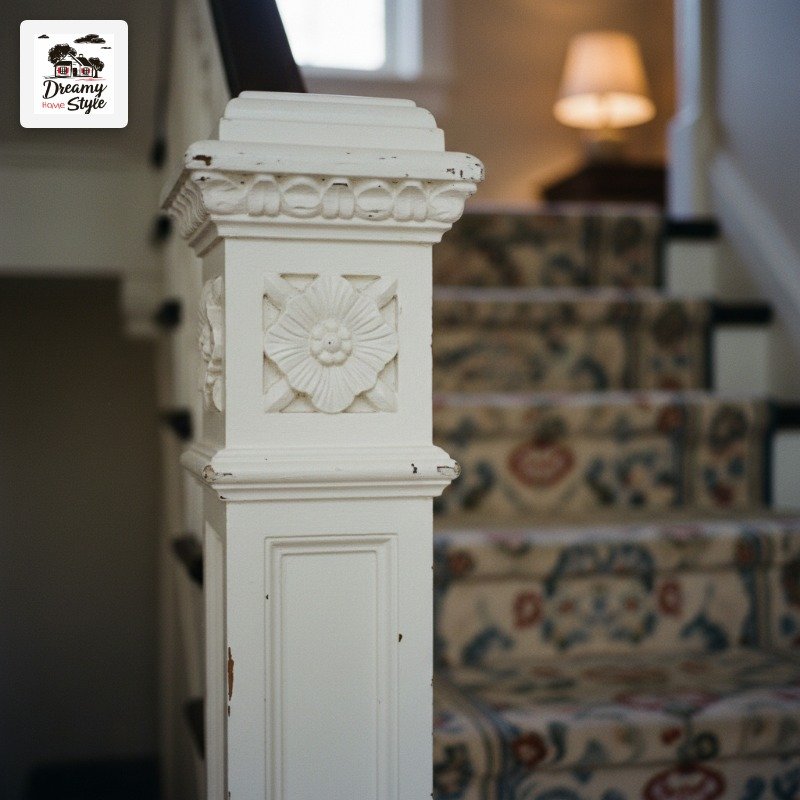
The newel post is the big post at the bottom of the railing.
Most homes have a perfectly fine, completely forgettable one.
A chunky, oversized newel post is one of those things that makes a staircase look expensive without actually being that expensive.
You can buy replacement newel posts at Home Depot for under $80 and they install in an afternoon.
I painted mine a matte black and added a simple square cap to the top.
The whole thing cost me maybe $65 and it’s the detail that gets the most comments from people visiting my house.
More than the gallery wall.
More than the runner.
You can also wrap an existing newel post in wood trim to make it feel beefier without replacing it entirely.
Takes a little patience with a miter saw but it’s doable.
Small Styling Touches That Actually Add Up
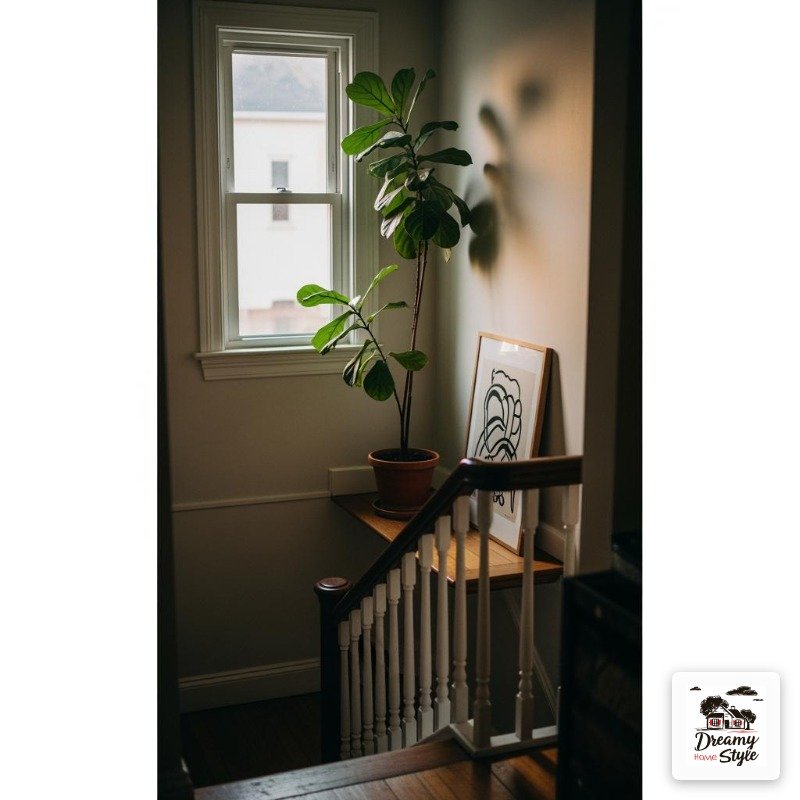
You don’t have to do a full renovation to make a staircase feel considered.
Sometimes it’s really small stuff.
A single plant on the landing.
One good art print at the top of the stairs.
A small tray with a candle on the bottom step (not a trip hazard, just aesthetically placed to the side).
These things matter more than they should.
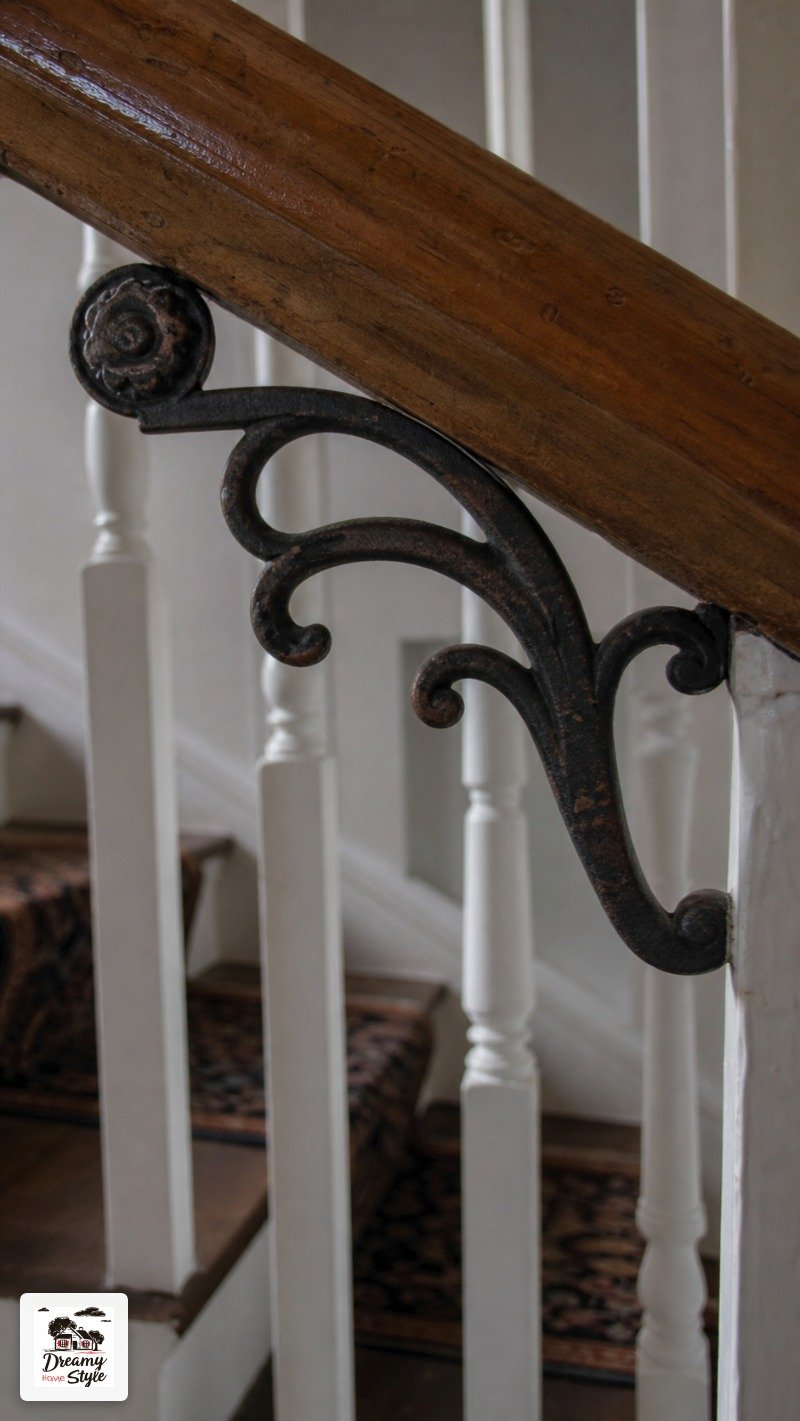
I added these little cast iron stair brackets under my handrail as a purely decorative detail.
They cost me $4 each at a salvage shop and they look like they’ve been there for a hundred years.
That’s the whole point.
Swapping standard hardware — screws on the railing brackets, newel post cap details — to a brushed brass or matte black finish ties everything together so quietly.
Nobody notices consciously, but everyone feels it.
If You Only Do One Thing to Your Stairs
Paint the risers.
I’ll stand behind this forever.
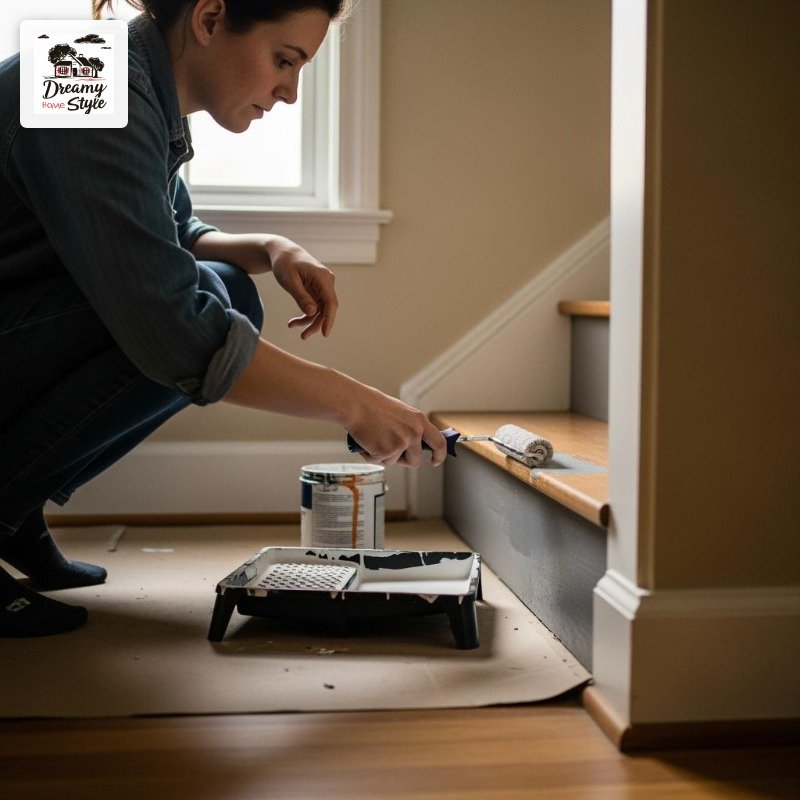
It’s the lowest cost, lowest commitment, highest visual return thing you can do to a staircase.
You can do it in a single Saturday.
You don’t need special tools.
The materials are genuinely cheap.
I tell everyone this and then I have to watch them look at me like maybe I’m overselling it.
Then they do it and they text me a photo at like 9pm because they can’t stop staring at how different the whole space feels.
After the risers, if you get the bug — and you will — the runner, the railing color, the gallery wall, all of it starts to feel very doable.
It’s one of those projects where the momentum is the thing.
You just have to start.

