
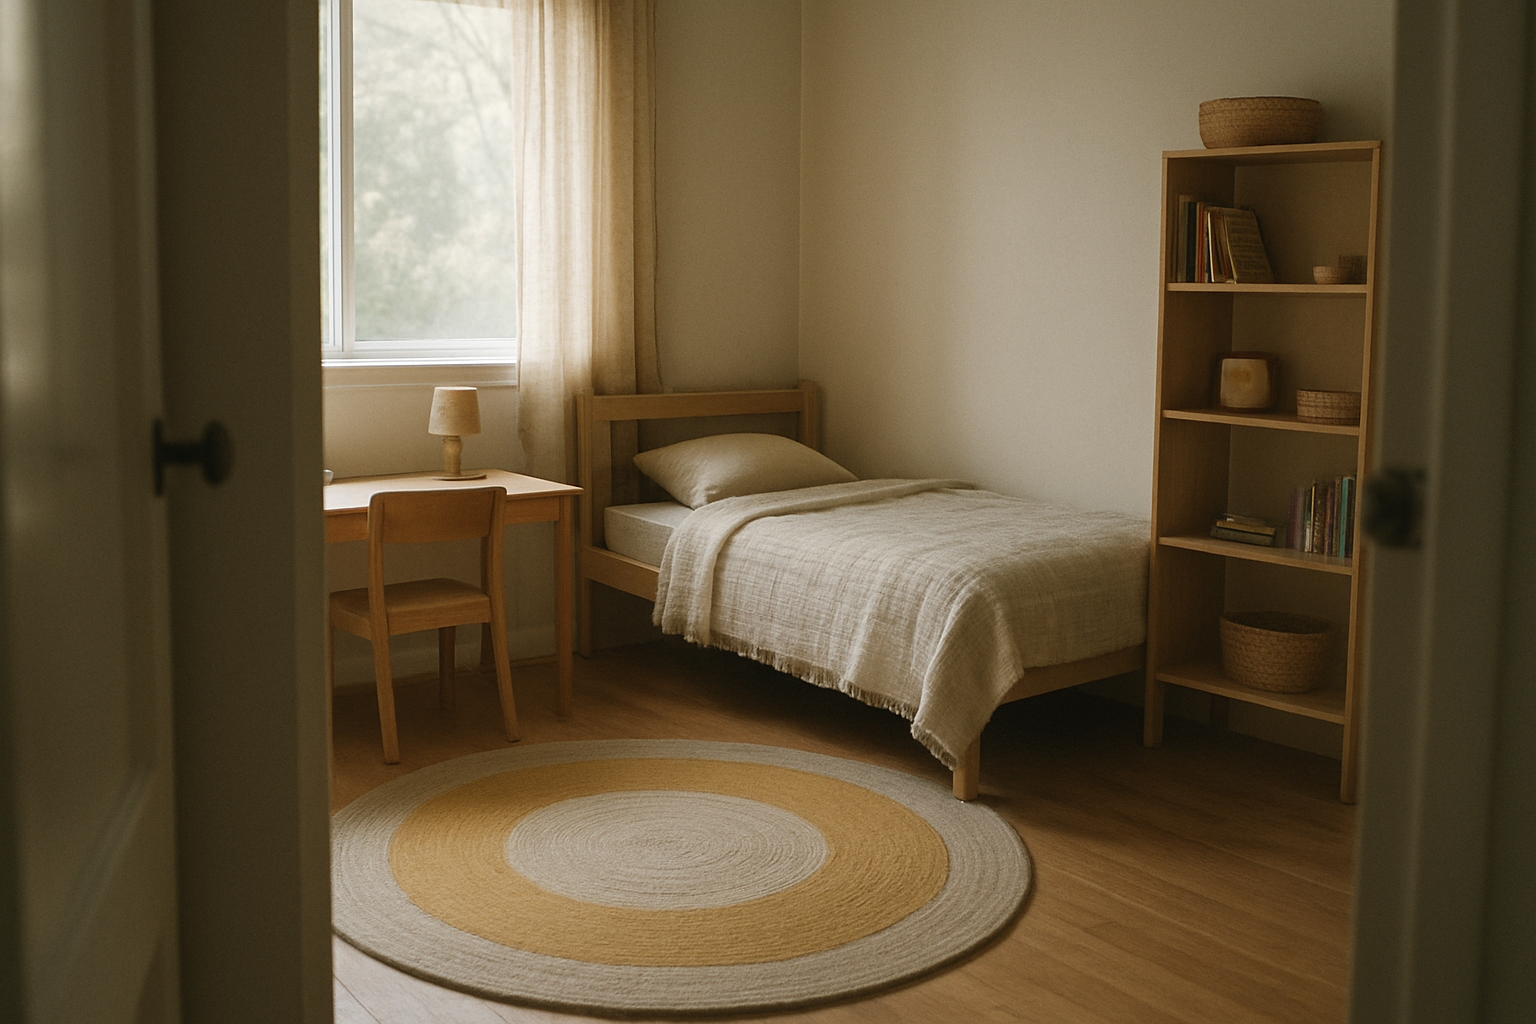

The bed under the window looks great in the listing photo.
It looks terrible at 7am when the sun hits your five-year-old’s face through a corded blind two feet from the crib rail.
And so often, the bed is dead center under the window, like it’s auditioning for a catalog spread.
Here’s the thing, though: it’s not really a kid’s-room decision.
You borrowed it straight from adult bedrooms, and in a kid’s room it’s wrong in a way that actually matters.
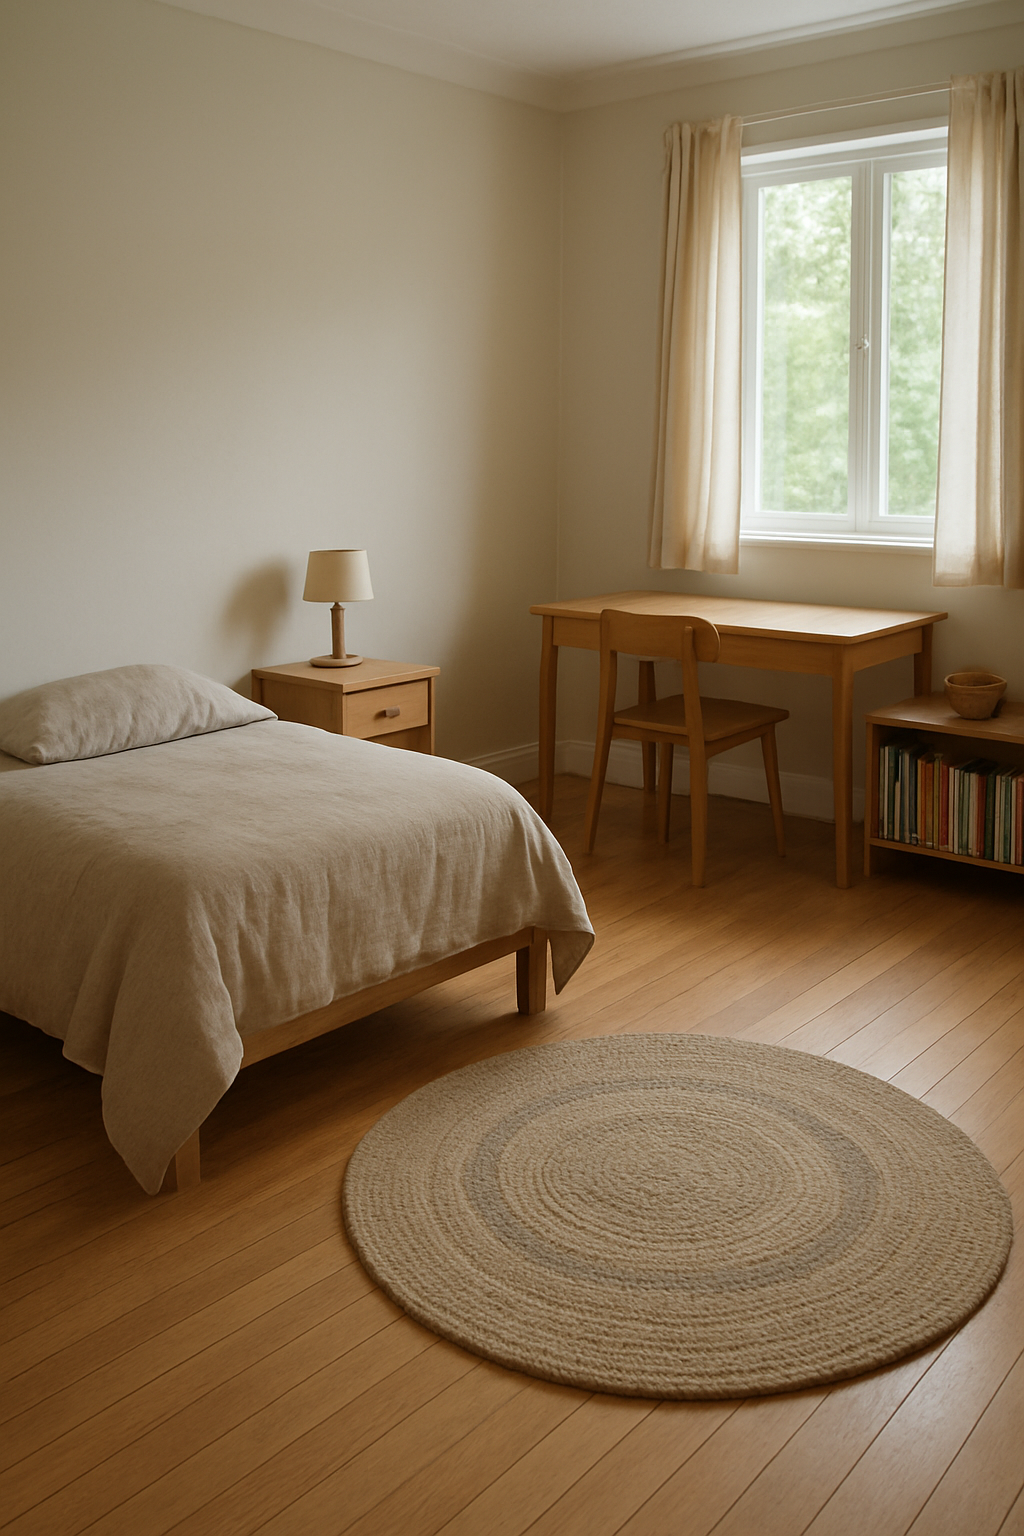
Free floor plan: Open this kid’s room layout in the free room planner — furnished, to scale, and yours to move around →
Push the Bed to a Wall — and Away From the Window
Centering the bed under the window is one of those things nobody questions, because it’s just what beds do in every catalog ever printed.
But think about what that spot actually is for a second: it’s the best light in the room.
And you’re putting a mattress there instead of a desk, or a reading chair, or literally anything else that could actually use that morning sun.
Meanwhile your kid’s face is two feet from glass, blinds, and whatever cord situation is happening on that window.
Not great.
Put the bed against a solid wall instead.
I don’t care if it’s the “worse” wall visually — do it anyway.
Leave 24 to 36 inches of walkway along the side of the bed and at the foot of it, as a rule of thumb.
That’s room to make the bed, room for a laundry basket to squeeze through, room for a kid to not stub a toe at 2am.
If you’re just eyeballing “wherever it fits” instead of measuring that clearance first, you’ll end up with a bed jammed into a corner — eight inches of crawl space on one side, tops.
Making the bed in that gap every morning is a total pain, no joke.
Measure the Play Floor Before You Buy Anything Else
Here’s my actual hot take: if you can’t point at the play floor and describe its exact shape and size, it isn’t a zone.
It’s just whatever space is left over once the furniture lands, and leftover space always shrinks.
First the desk creeps in.
Then a bookshelf “just for now.” Then it’s a six-inch strip of carpet nobody can build a block tower on.
So plan the play floor first — before the bed, before the desk, before you’ve bought a single toy bin off a clearance shelf.
A play rug is the easiest way to do this.
A 5×7-foot rug is usually the smallest size that actually reads as a zone instead of a doormat, so start there.
Pick the size, lay it down (or tape out the footprint if you’re still shopping around), and that rectangle is the play floor, full stop.
(Biscuit already thinks it’s his personal nap spot, but that’s a fight for another day.) Nothing gets to encroach on it.
Everything else gets built around that boundary, not the other way around.
I know it sounds backwards to plan the “fun” part first, but it’s the only part of the room that reliably disappears if you don’t defend it on paper.
Chase the Daylight for the Desk, Not the Wall That’s Left Over
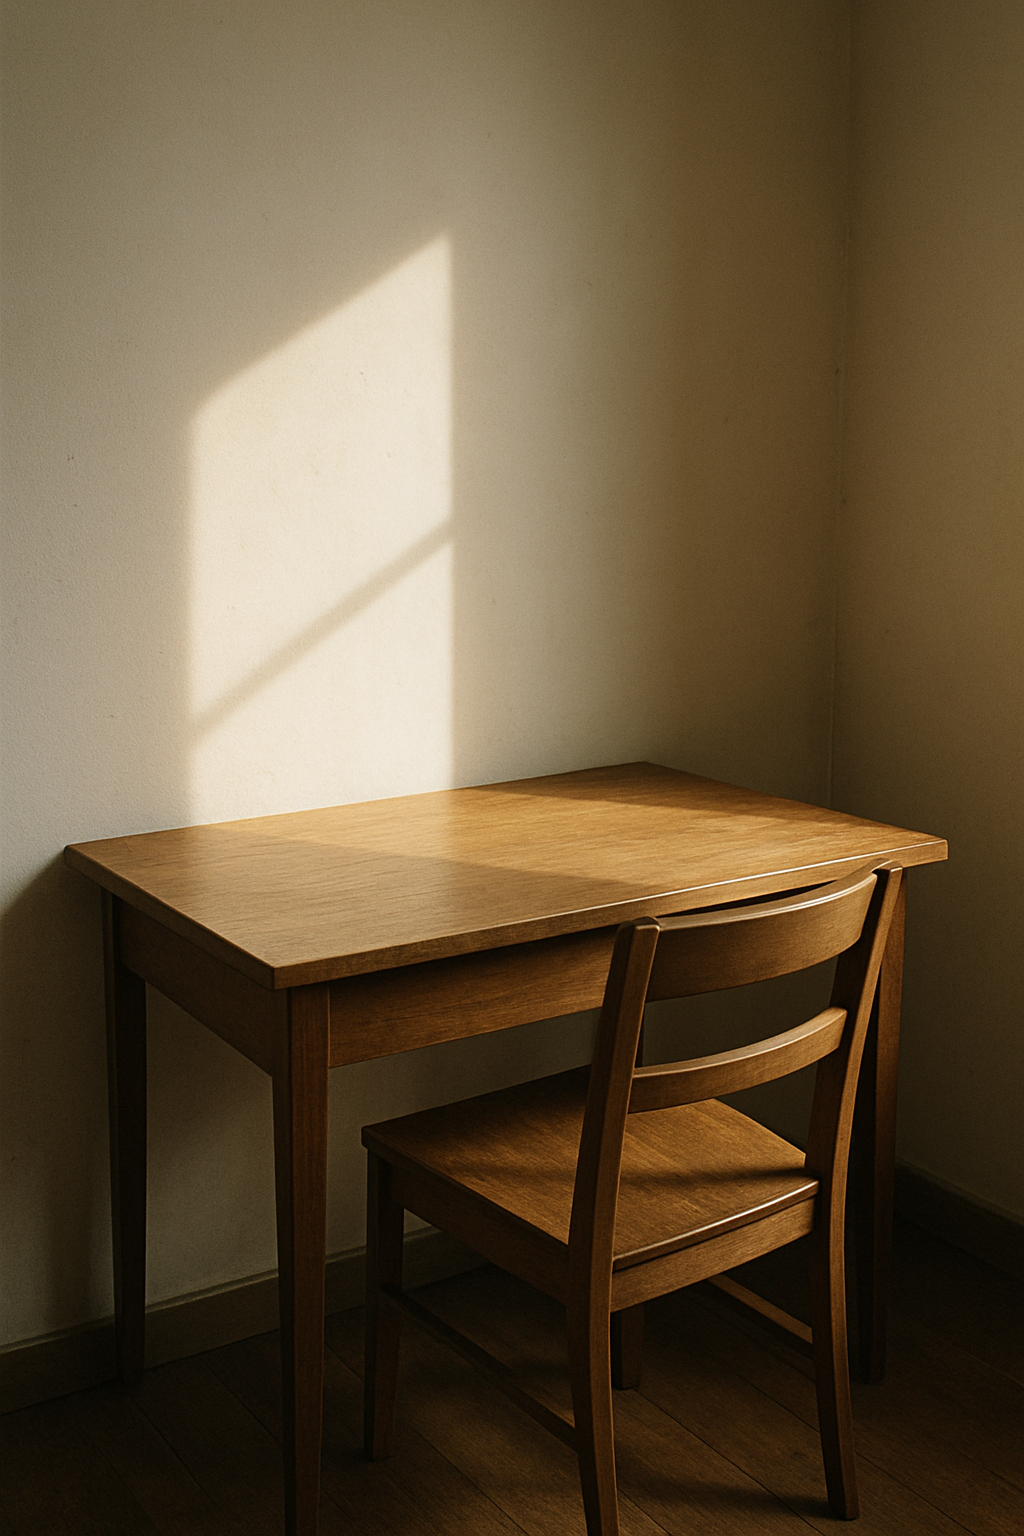
By the time the bed and the play rug are placed, there’s usually one wall left, and that’s where the desk goes by default.
Sometimes that wall’s fine.
A lot of the time it’s the darkest corner in the room, and everyone just shrugs and accepts it because “that’s where it fits.”
A desk lamp is a patch, not a fix.
I think a desk lamp can’t fix what a bad location causes: no lamp makes homework time feel good if the desk is shoved into a corner that never sees daylight.
Trust me, I’ve tried to lamp my way out of a bad spot before.
It just doesn’t work.
Turn the desk perpendicular to the window instead.
That way light falls across the work surface from the side, rather than straight into a kid’s eyes or bouncing glare off a laptop screen.
It’s a small rotation — ninety degrees — and it changes the whole feel of sitting there.
If the desk has to go against an interior wall because that’s genuinely the only option, fine.
But at least try the window-adjacent spot first before you settle for the leftover wall.
Read next: Very small bedroom ideas for kids
Read next: Plan a bedroom layout to your own measurements
Read next: Find the right rug size for the room
Reach-Test the Storage Before You Commit to It
I have opinions about storage that’s never once been reach-tested by an actual child, because I’ve bought that storage myself and regretted it.
Tall, narrow shelving units look sharp in a showroom.
In real life, turns out the top two shelves become a place where things go to be forgotten.
Or worse, a place you have to put things away yourself, because a five-year-old physically cannot reach a shelf that’s 48 inches off the ground without dragging a chair over.
Storage that requires you to do the putting-away isn’t storage.
It’s a chore you built for yourself and disguised as furniture.
Keep shelves and bins at or below about 36 inches high, as a rule of thumb, even if that means going wide and low instead of tall and tidy-looking.
Low, open bins a kid can actually see into are way better than a beautiful closed cabinet with a top shelf nobody under four feet tall will ever use.
Anchor Everything Tall to the Wall
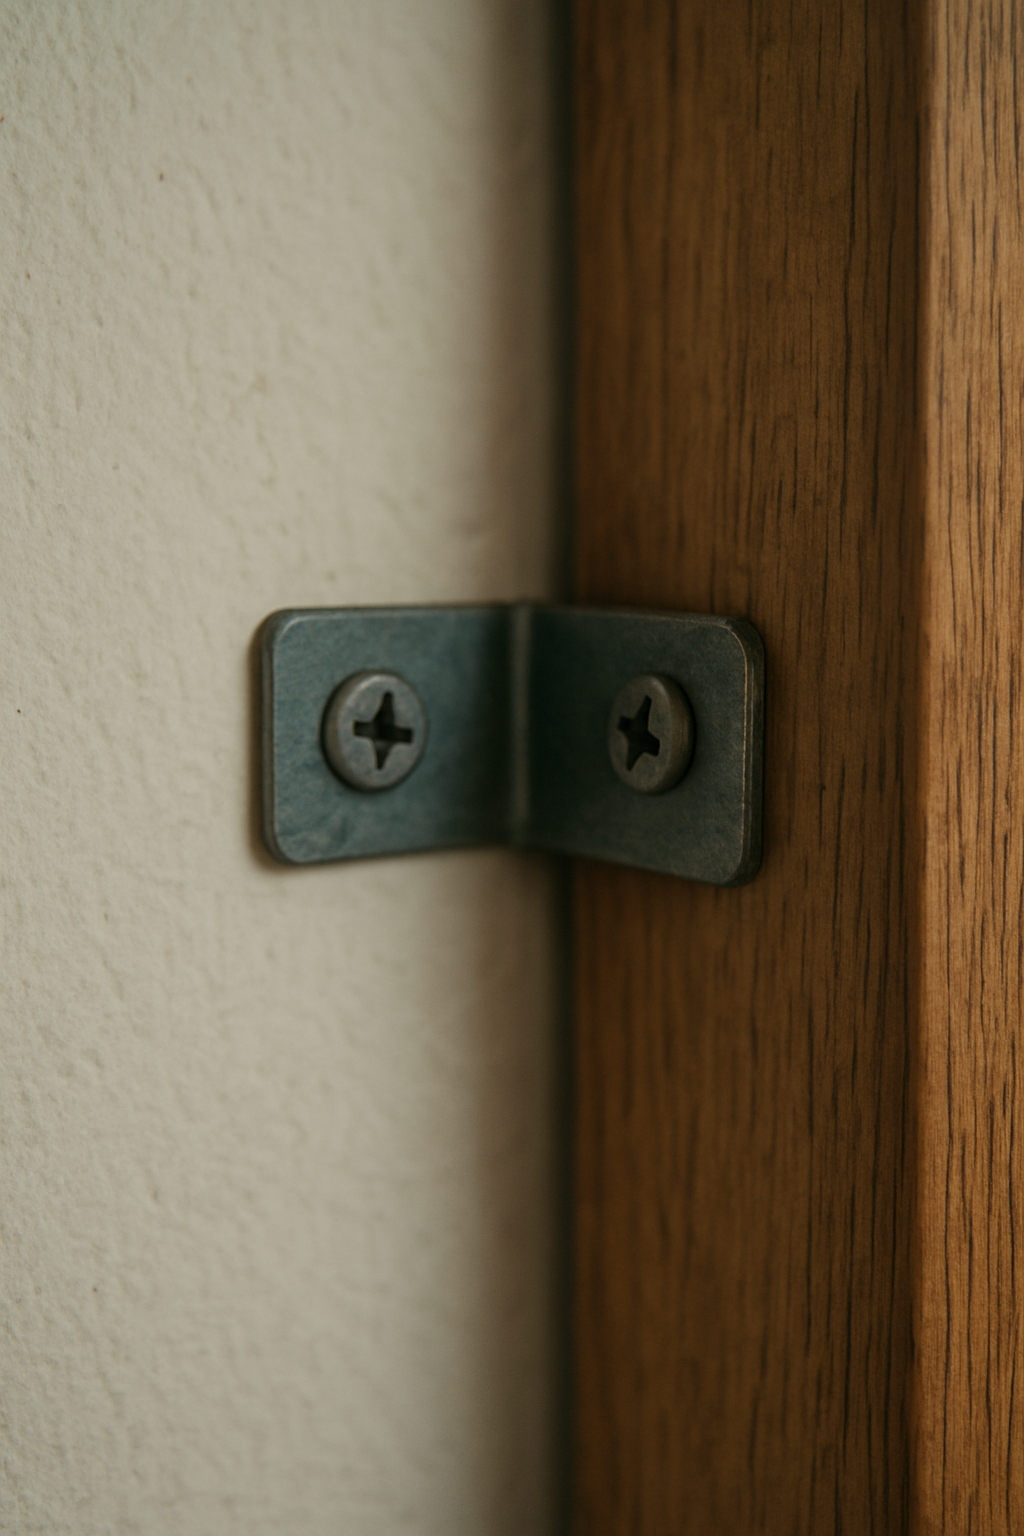
This is the one section where I don’t have a stylistic opinion, because it isn’t a style question.
Any dresser, bookcase, or TV in that room that’s tall enough to tip needs to be anchored to the wall.
That’s it.
Doesn’t matter how the rest of the layout shakes out.
Doesn’t matter if the piece is against the “good” wall or the leftover one.
The CPSC runs an entire campaign around this called Anchor It!, because a tipping dresser or TV is one of the most common hidden dangers in a kid’s room.
And this isn’t just a toddler-room issue you get to put off until later.
A seven- or eight-year-old climbing a dresser to reach a top drawer is exactly how these things tip.
On the clothing storage side, the STURDY Act led to a mandatory federal stability standard for clothing storage units that went into effect in 2023.
So dressers made after that point actually have to pass a tip-resistance test.
Older dressers, thrifted ones, hand-me-downs from a grandparent’s house?
None of that history applies.
Anchor it anyway.
Yes, even the thrifted one that seemed like too good a deal to pass up.
Cut the Cords Out of the Layout Entirely
A cord dangling six inches from a headboard or a crib rail is a strangulation hazard, full stop, and the fix for that specific hazard is the blind, not the floor plan.
Cordless blinds get rid of the dangling cord completely — there’s nothing left to wrap around anything.
If you’ve got cord-wrapped blinds anywhere near a crib or a bed, that’s the swap to make, and it’s not optional in my book.
Moving the bed away from the window is a good idea too, but it’s solving a different problem.
A bed shoved right up against a window means more glare in the morning, more draft in the winter, and eventually a kid using the headboard as a launchpad to climb toward the glass.
None of that is the cord issue — it’s just its own separate reason to keep the bed off that wall.
So do both, but know why you’re doing each one.
Cordless blinds (or cords secured high and well out of reach if cordless isn’t an option) handle the cord itself.
Keeping the bed and the play floor clear of the window area handles everything else.
Treat one as a stand-in for the other and you’ll end up thinking you’ve solved a hazard you’ve only half addressed.
Grow the Layout, Not Just the Furniture
“Grows with them” is a phrase on a furniture tag, not a plan.
What actually has to change over time isn’t the crib-to-toddler-bed conversion kit.
It’s the whole layout.
A toddler’s world happens on the floor.
A seven-year-old’s world happens at a desk with a shelf of chapter books.
Those aren’t the same room wearing different sheets.
The play rug that dominated everything at age three shrinks in priority by age eight, and the desk that didn’t exist at all becomes the anchor of the room.
This matters concretely with bunk beds, which get bought early all the time because they “save space long-term.” The CPSC is specific here: children under 6 shouldn’t sleep on the upper bunk.
If the plan is a bunk bed now because it’s efficient, someone’s sleeping on the bottom for at least 3 or 4 years regardless.
That’s fine — just plan the layout around that reality instead of around the bunk bed’s theoretical future efficiency.
Free floor plan: Try it on your own measurements: open the kid’s room plan and drag the walls to your room →
Open the Free Plan and Move Things Around
All of this is easier to see than to describe, which is why there’s a free plan to open.
It’s got a play rug, twin bed, nightstand, study desk, desk chair, bookshelf, toy storage, floor lamp, and a little succulent for good measure.
The window and door are already placed too.
Every piece is movable, resizable, or deletable.
Treat it as a starting argument, not a finished answer.
Open it up some weekend with your coffee, drag the bed off the window wall, and watch what happens to the walkway math in real time.
Try the desk perpendicular to the window instead of jammed in the corner.
Shrink the play rug down to 4×6 and see how fast the “extra” space it frees up gets eaten by something else.
The template isn’t going to match your walls exactly — nobody’s does — but that’s not really the point.
The point is testing the logic against your actual room, on your actual budget, before you buy a single piece of furniture based on how it looked in someone else’s photo.
Related read: The IKEA Kallax Bible — Instant PDF + Kindle download. Secure checkout by Stripe

