

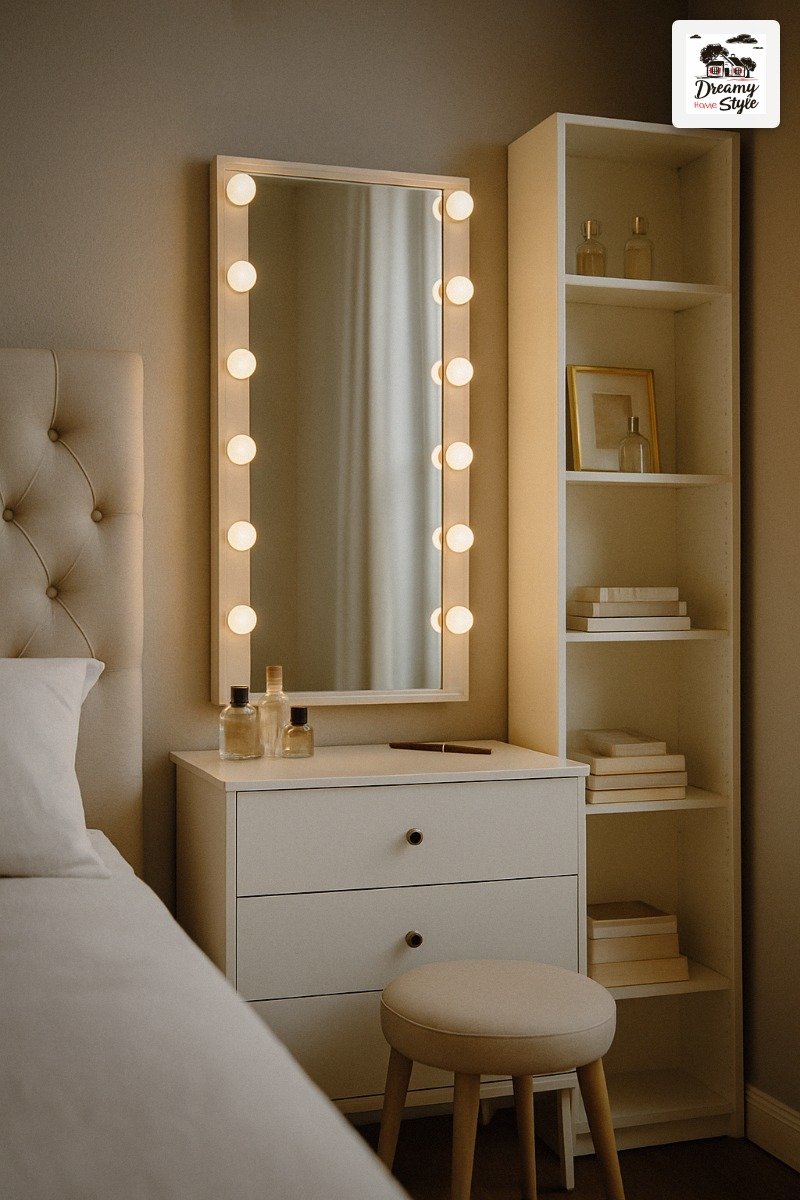
A $40 Mirror Looks Like a $40 Mirror Until You Do This First
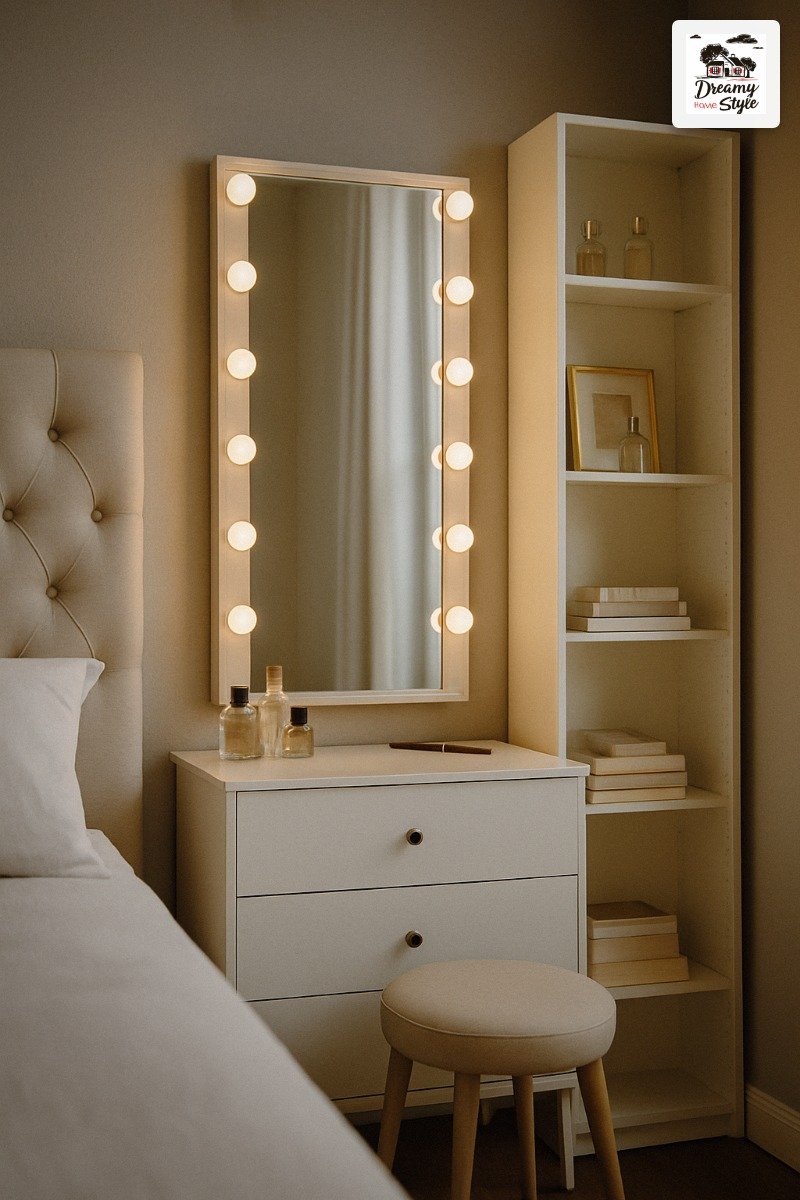
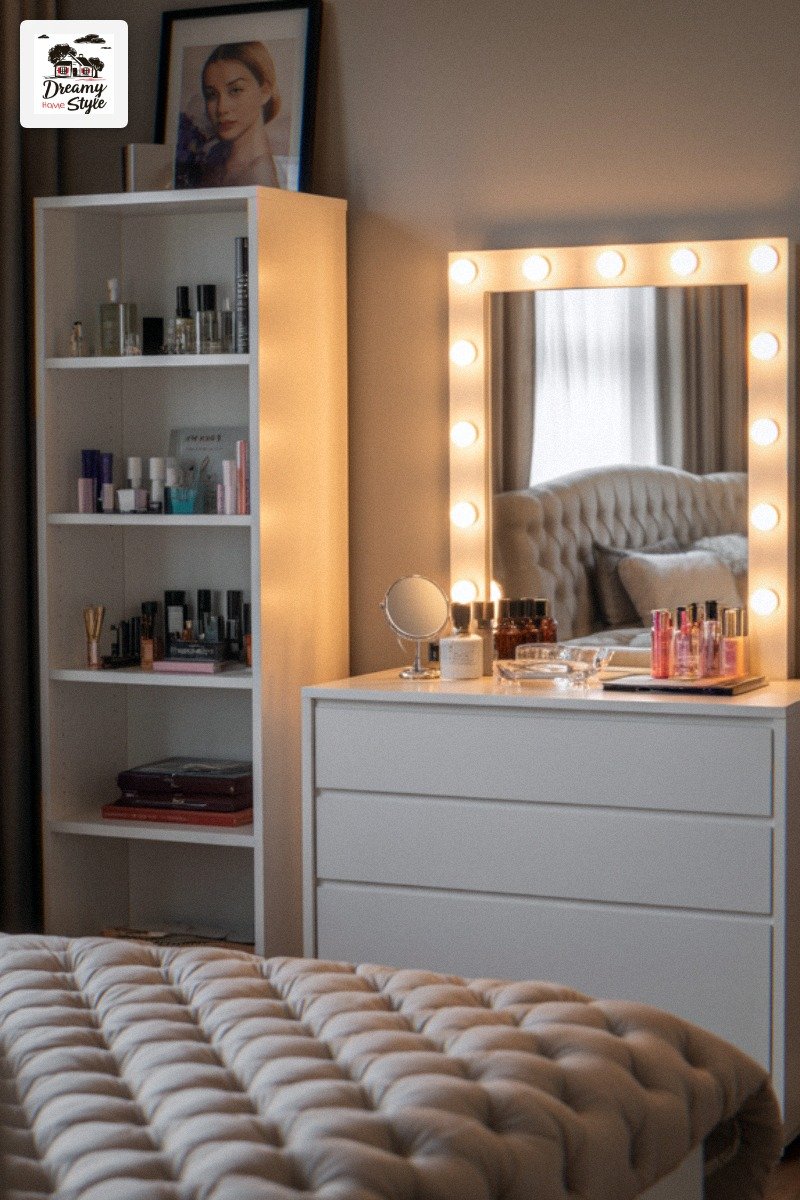
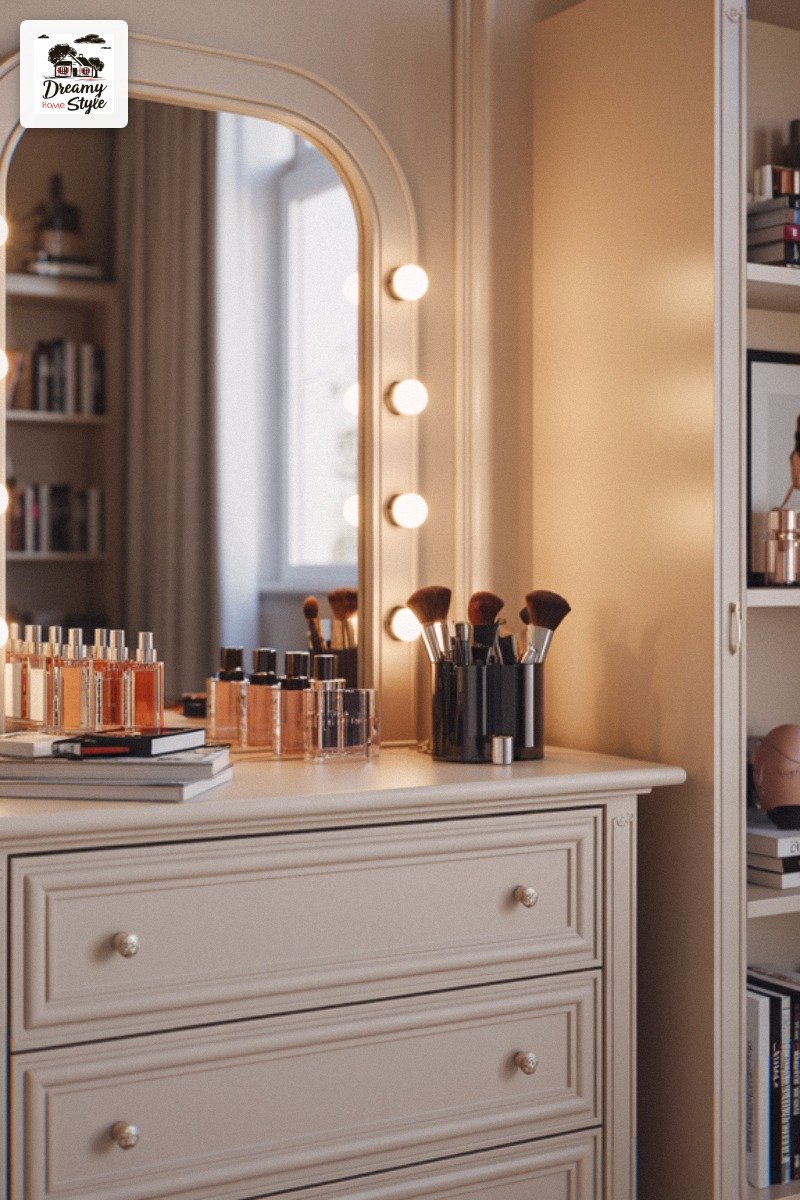
Mount a $25 plug-in sconce at exact eye level on either side of it and suddenly that same mirror looks like it belongs in a boutique hotel bathroom.
I know because I did this backward three times before I figured out the order matters more than the budget.
Styled first, lit last, and honestly?
My pretty little nook looked like a CVS bathroom no matter what I put on it.
Every single time.
The sequence is everything.
Lighting first.
Wall treatment second.
Surface third.
Styling dead last.
If you flip that order — which every other guide will have you do — you will spend money decorating around bad light and the whole thing will read cheap forever.
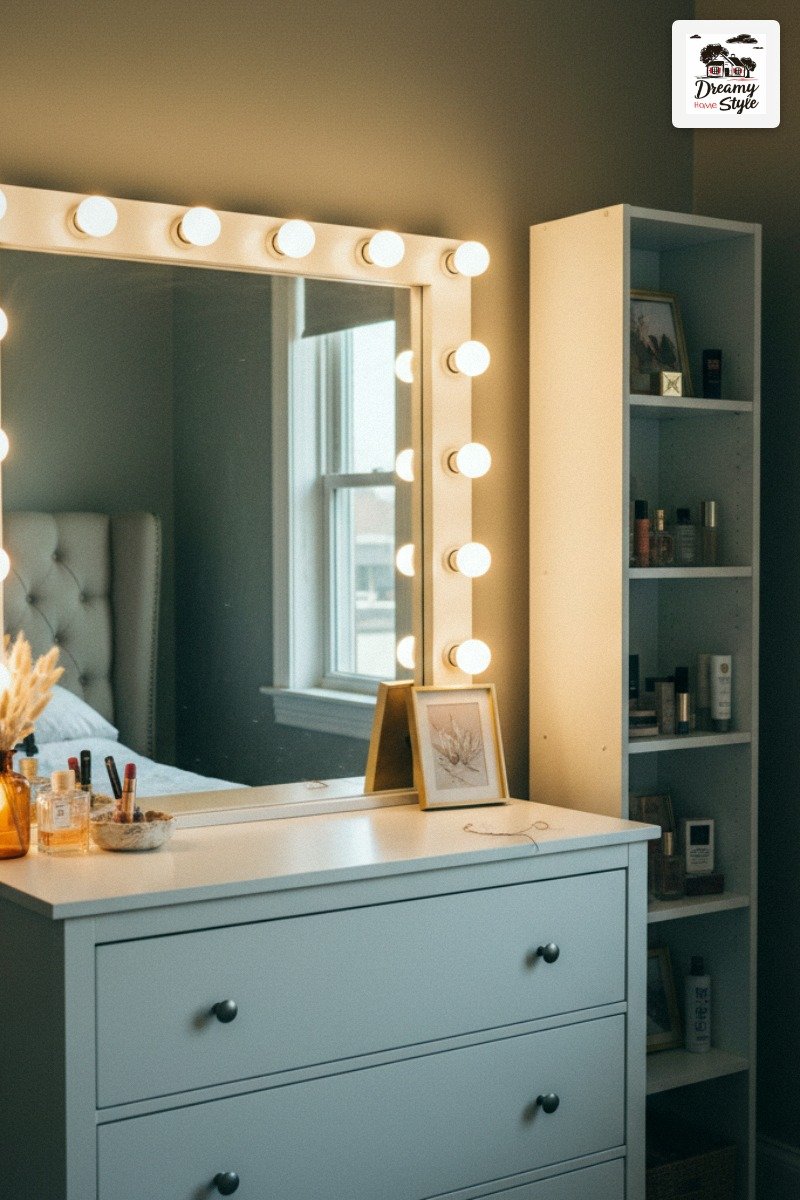
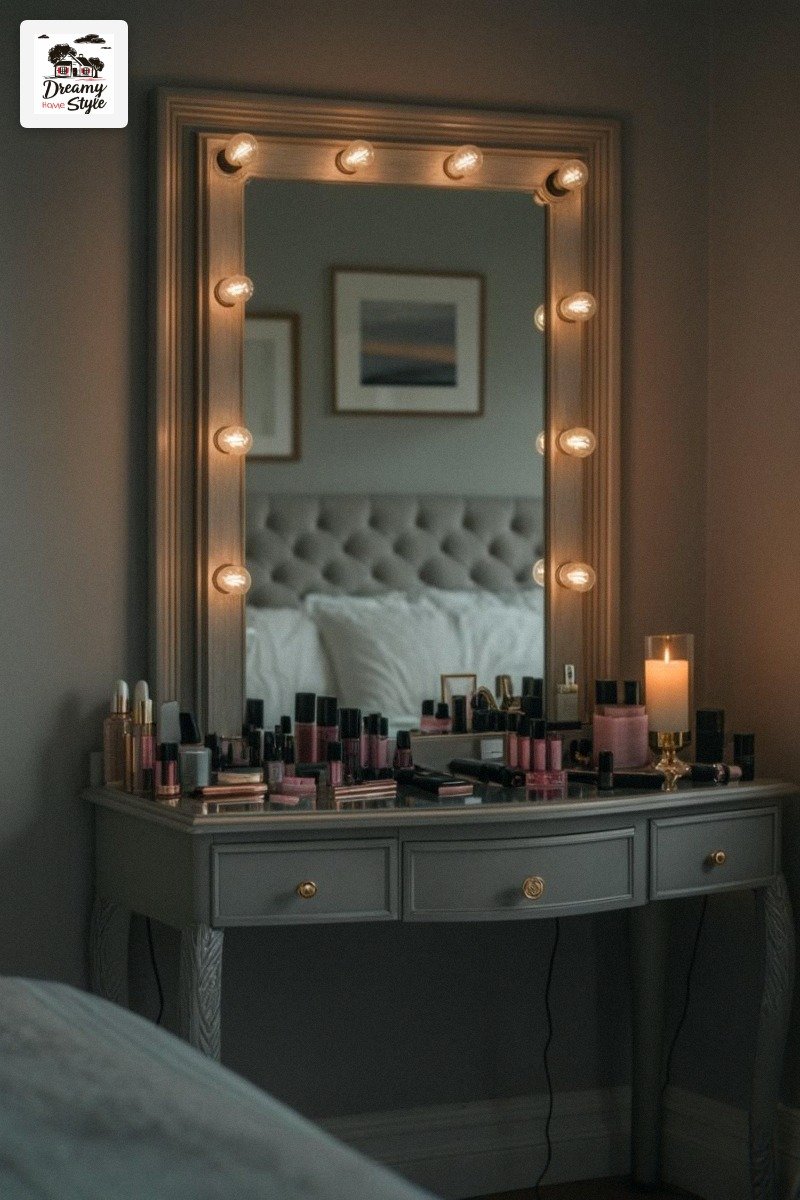
One more thing before we get into it: a Hollywood bulb mirror is the single most common reason vanity nooks look like a college dorm.
It solves lighting and mirror in one object but does both badly.
The bulbs run too cool, the shadows are wrong, and the whole thing signals “I bought the starter pack.”
We’re not doing that.
Buy your mirror in step three, after the lighting infrastructure already exists.
For flattering makeup light, you want bulbs between 2700K and 3000K. Warmer than you think.
Cooler than candlelight.
That range is the whole ballgame.
Sconce Placement: The Exact Numbers That Make Any Mirror Look Custom
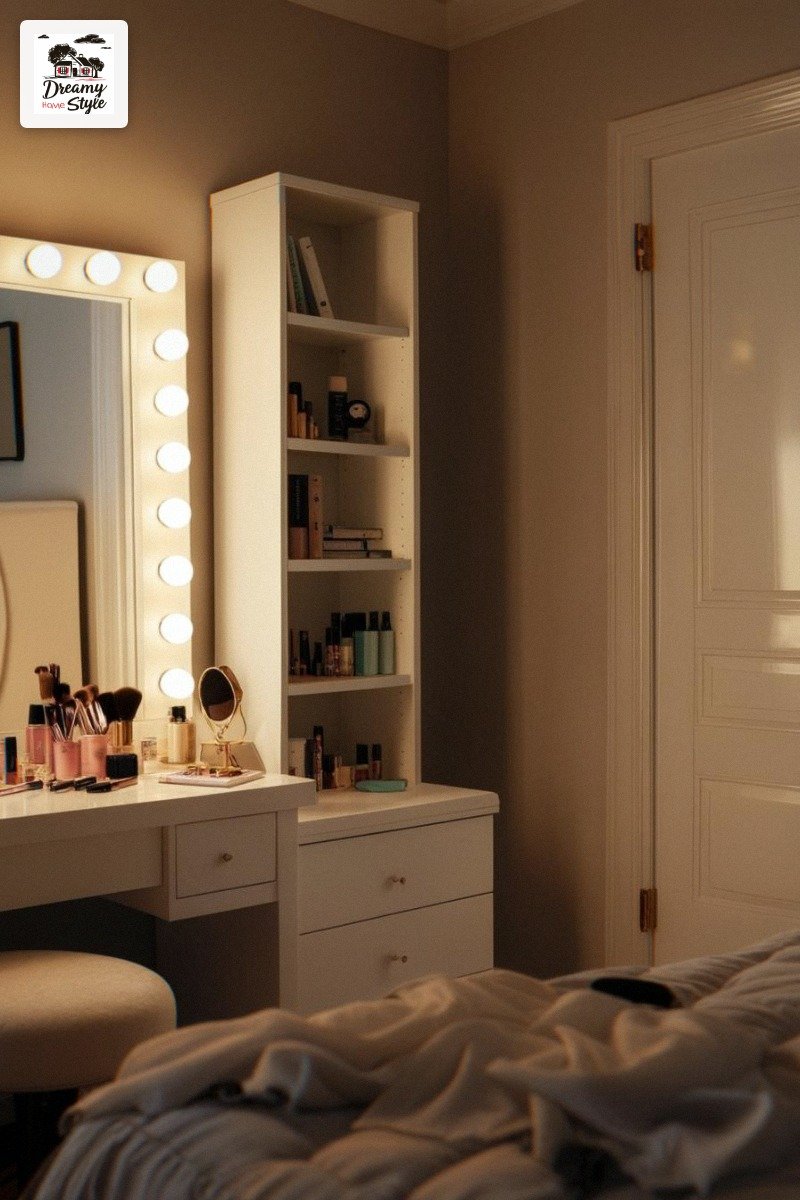
The center of each sconce should sit 60 to 65 inches from the floor.
That’s average eye level.
Not above the mirror.
Beside it.
When you mount sconces above a mirror, the light falls down onto your face and creates shadows under your eyes and chin — the opposite of flattering, and the opposite of what a $400 Hollywood mirror costs you to avoid badly.
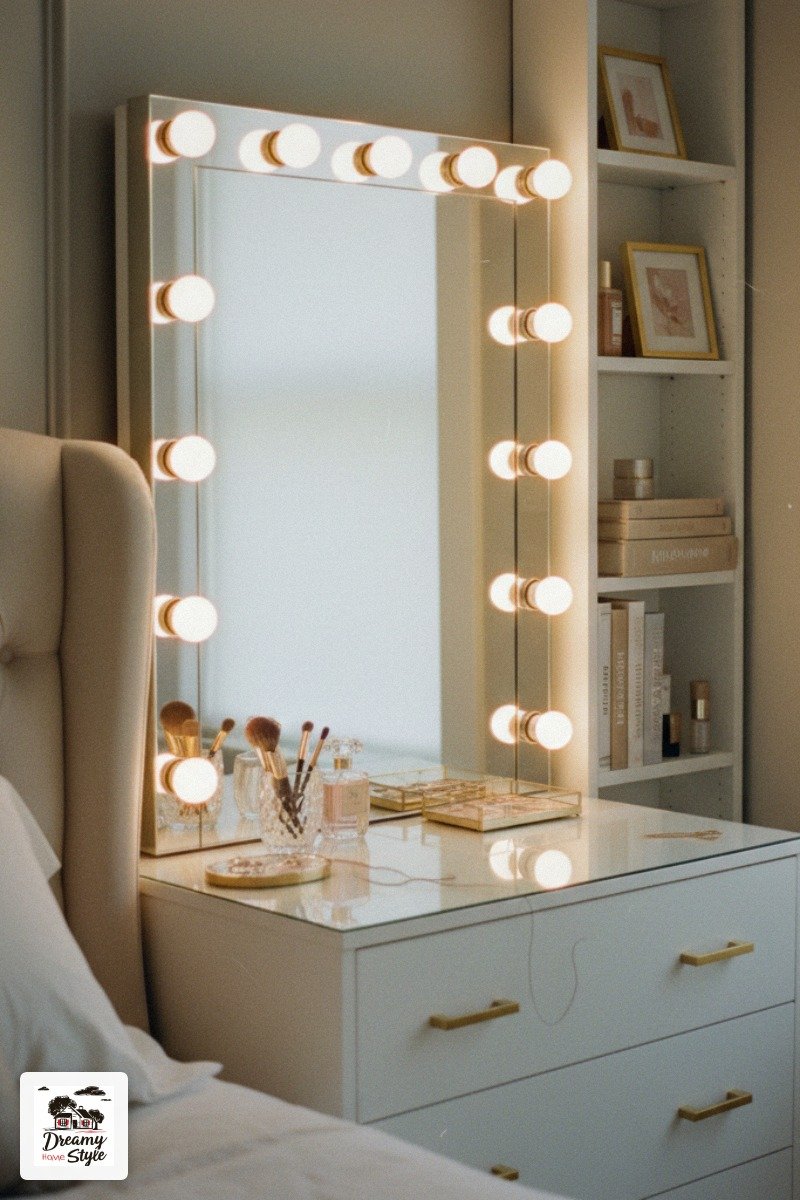
For a standard 24-inch mirror, your two sconces need at least 28 inches of separation between them.
That gives the light room to cross and fill without creating hot spots.
And please, use plug-in sconces with cord covers rather than battery-operated lights.
I know the battery option feels easier.
But a cord cover from Home Depot costs under $12 and signals permanence in a way that a battery pack never will.
Permanence reads as expensive.
The D-Line raceway I’ll mention later works here too.
Corner vs. Alcove vs. Wall Flat: Pick the Right Footprint First
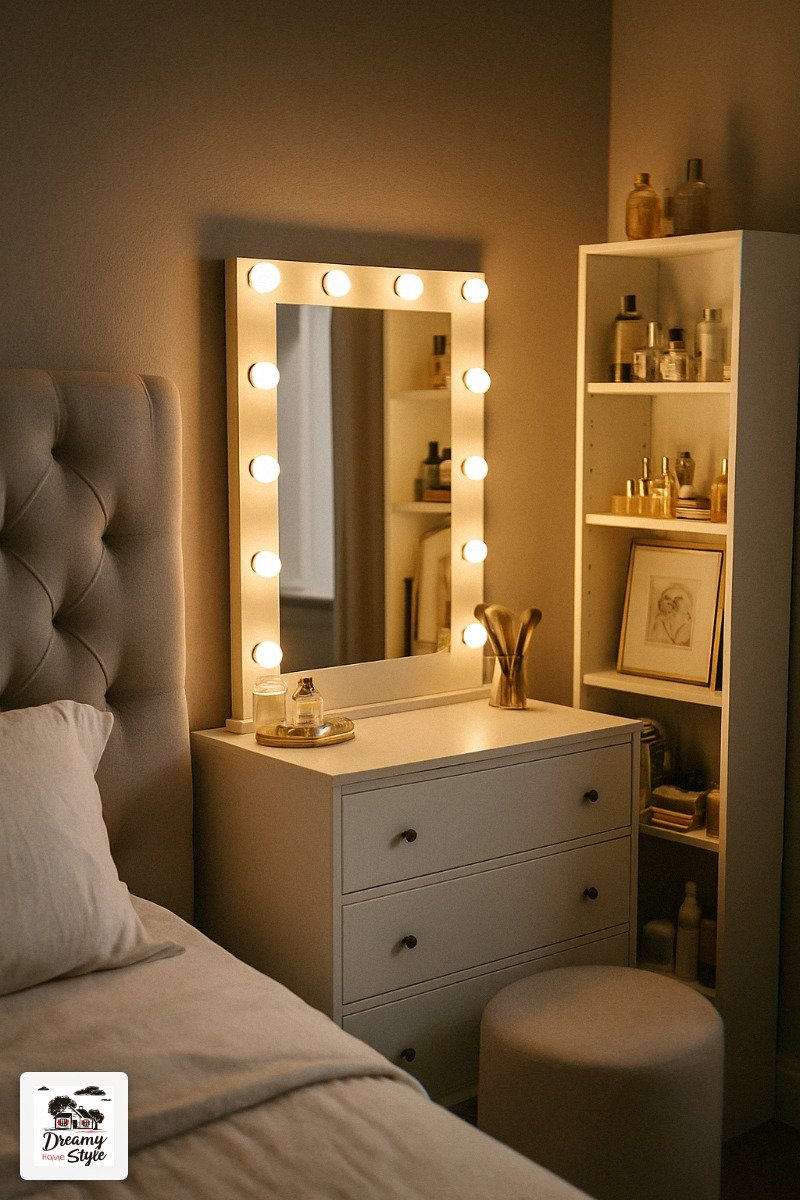
Corner nooks are all over Pinterest and I’m going to mildly die on this hill: they’re overrated for small bedrooms.
A corner setup needs at least 36 inches wide by 20 inches deep to not feel cramped, and the diagonal positioning makes flanking sconce placement genuinely awkward.
I tried it in my bedroom last spring.
The right sconce kept bumping into my curtain rod.
Total mess.
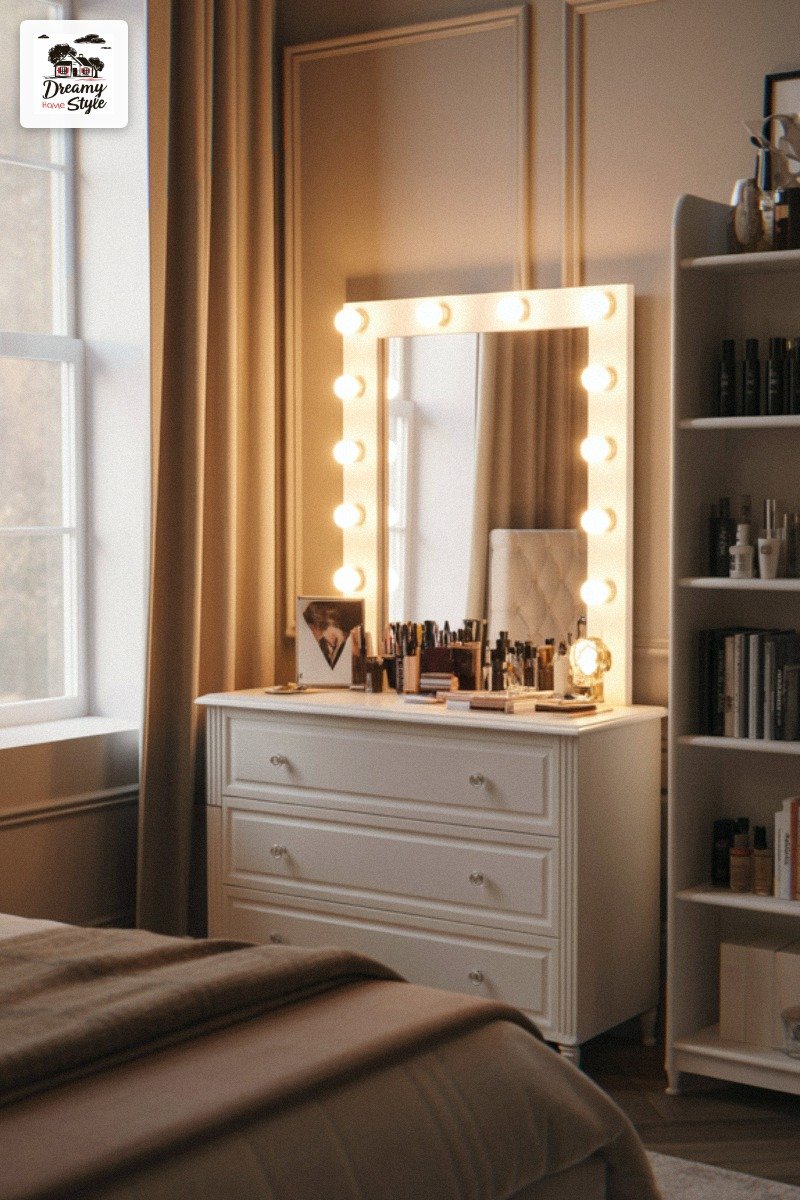
An alcove nook is ideal if you have the space.
Forty-two to 48 inches wide gives you walls on two sides and makes even a budget setup photograph like something built-in.
But a wall-flat nook works in as little as 30 inches of linear wall space and consistently looks better in photos than a corner setup twice its size.
Flat, intentional, symmetrical.
That’s the visual language of expensive.
Floating Shelf vs. Vanity Table: One of These Reads as Built-In and It’s Not the Expensive One
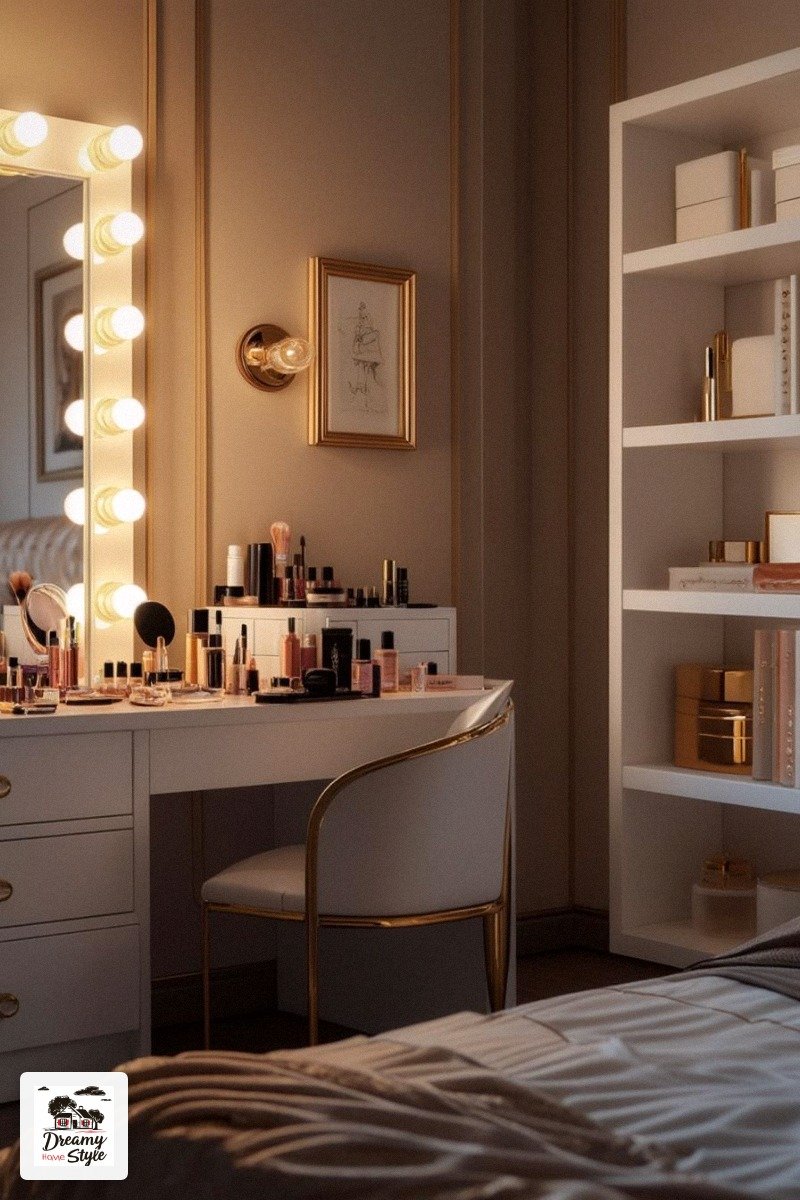
An Ikea LACK wall shelf costs $19.99, holds up to 55 pounds, and mounted at 30 to 32 inches from the floor (which matches standard desk ergonomics) it performs identically to a $200 freestanding vanity table.
Identically.
The floating shelf removes all the visual leg clutter that makes freestanding furniture read as furniture-store, not built-in.
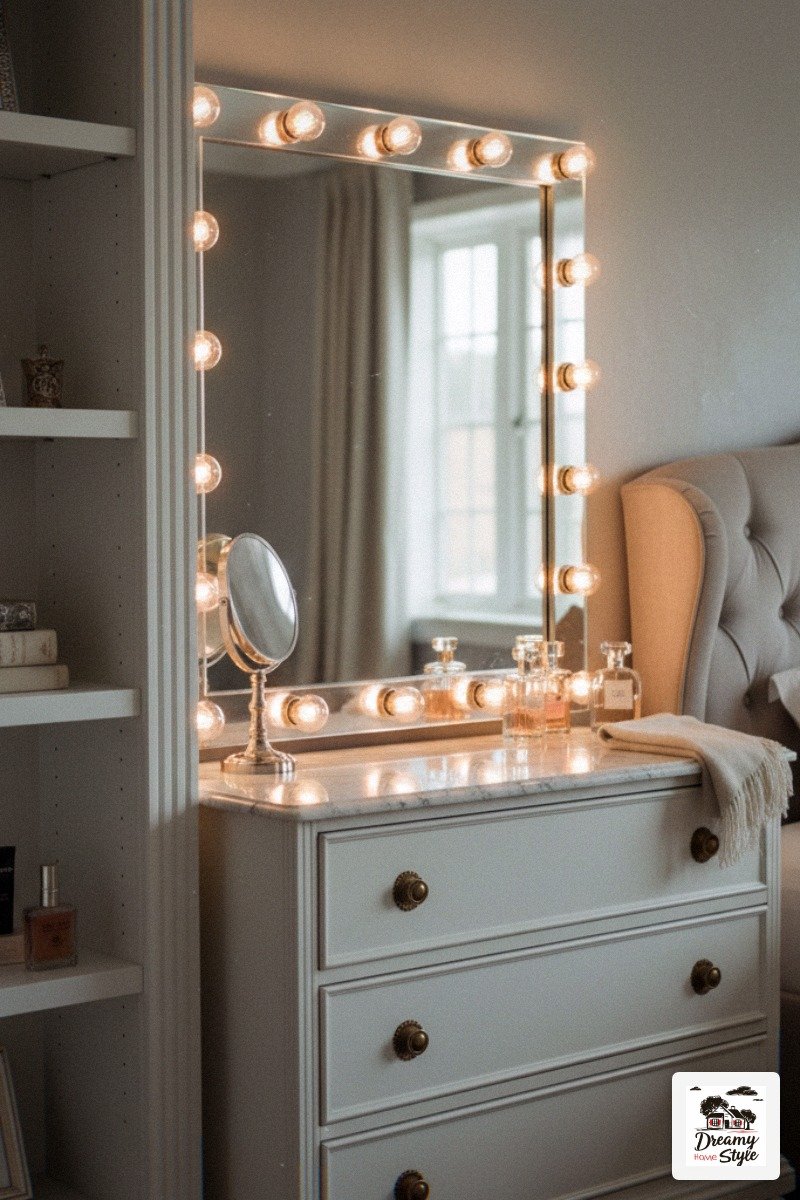
A $20 floating shelf with a $15 can of matching wall paint behind it reads more expensive than a $200 freestanding table sitting in front of a plain white wall.
I know that sounds unhinged.
But the surface isn’t the signal.
The intentionality of the whole zone is the signal.
Freestanding vanity tables in the range that actually look expensive run $120 to $350, and even at $350 they still float in the room like furniture.
The shelf disappears into the wall.
That’s what you want.
That One Painted Panel Behind the Vanity Is Worth More Than Any Mirror You’ll Buy
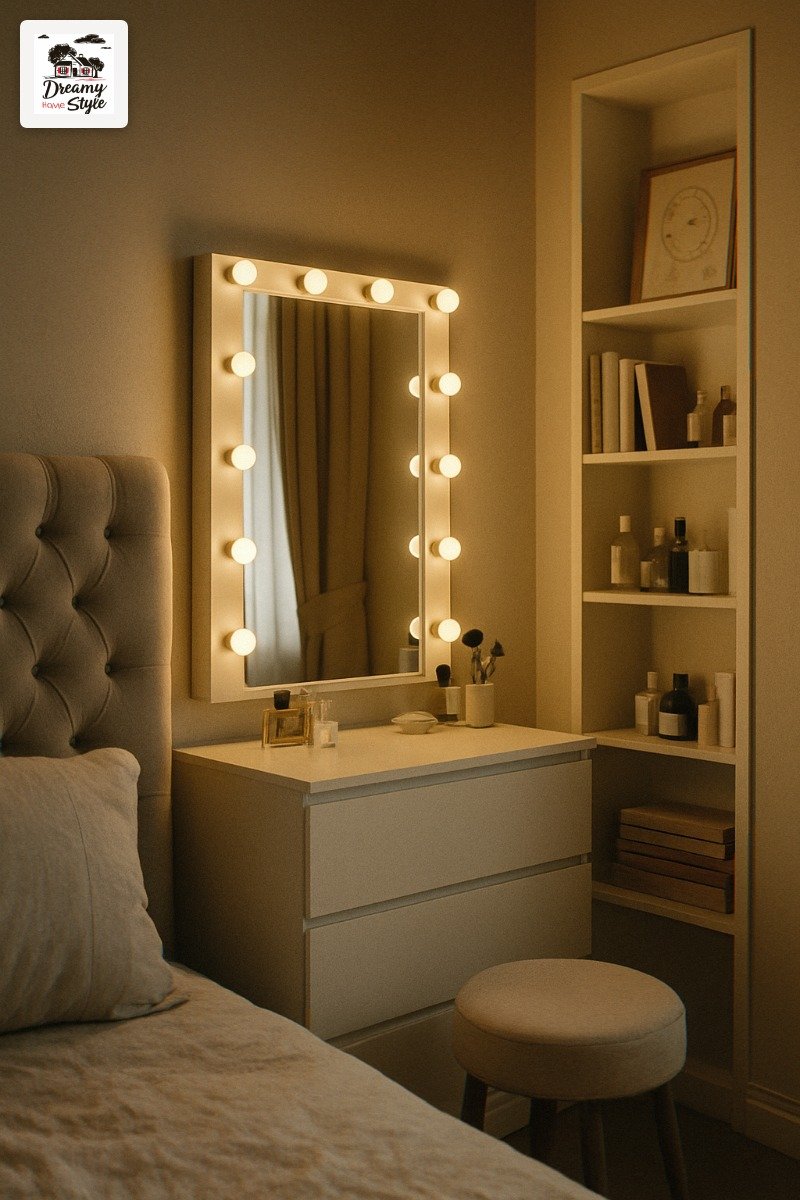
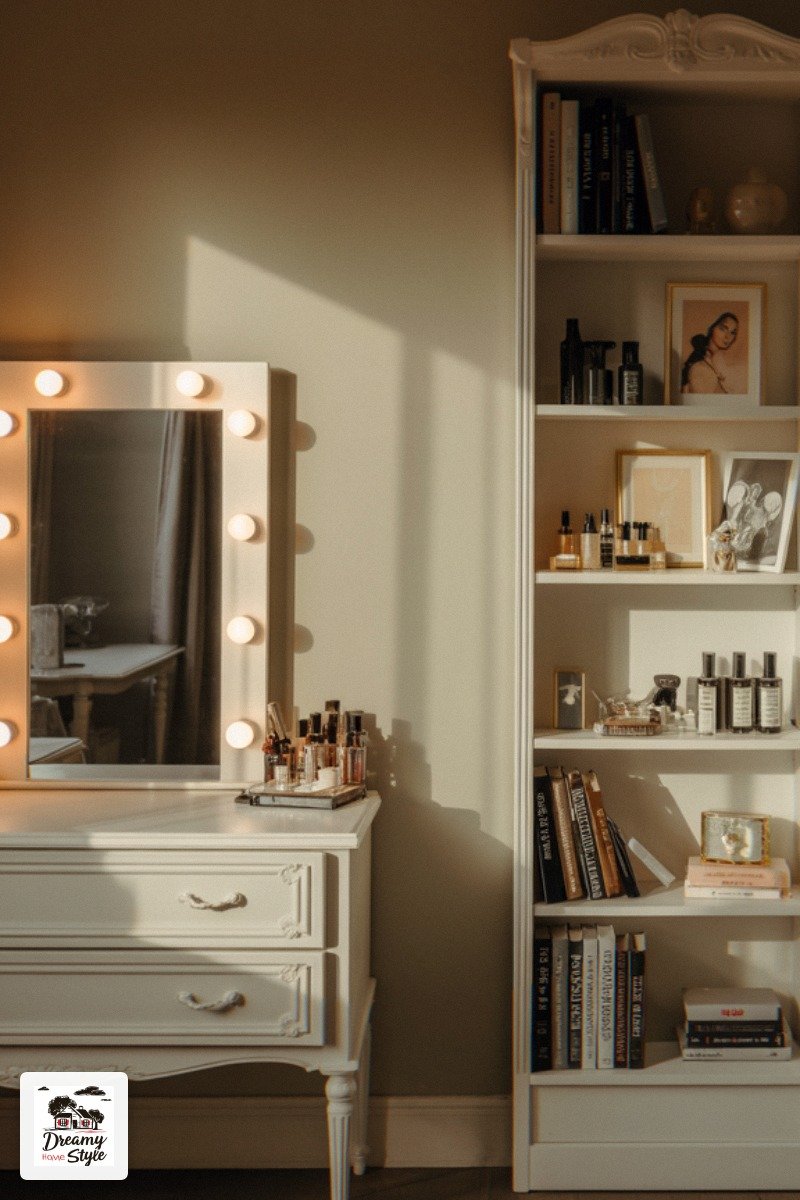
Paint a single floor-to-ceiling panel behind your vanity.
Not a full accent wall.
Just the panel, the width of your surface plus six inches on each side.
This creates a designated zone.
It tells the eye that this space was planned, not assembled.
Benjamin Moore Hale Navy HC-154 and Sherwin-Williams Tricorn Black SW-6258 are the two I’d use without hesitation.
High contrast, deeply architectural, and they make a $20 shelf and a $65 mirror look like they cost four times more.
The floor-to-ceiling height is non-negotiable.
Stopping the panel at chair-rail height is the most common mistake I see — it looks like an afterthought, like someone got halfway through a decision and gave up.
Take it all the way up.
The ceiling feels higher, the zone feels intentional, and the whole nook reads as something a designer touched.
Mirrors Under $150 That Read Expensive (and the Shape I’d Skip)
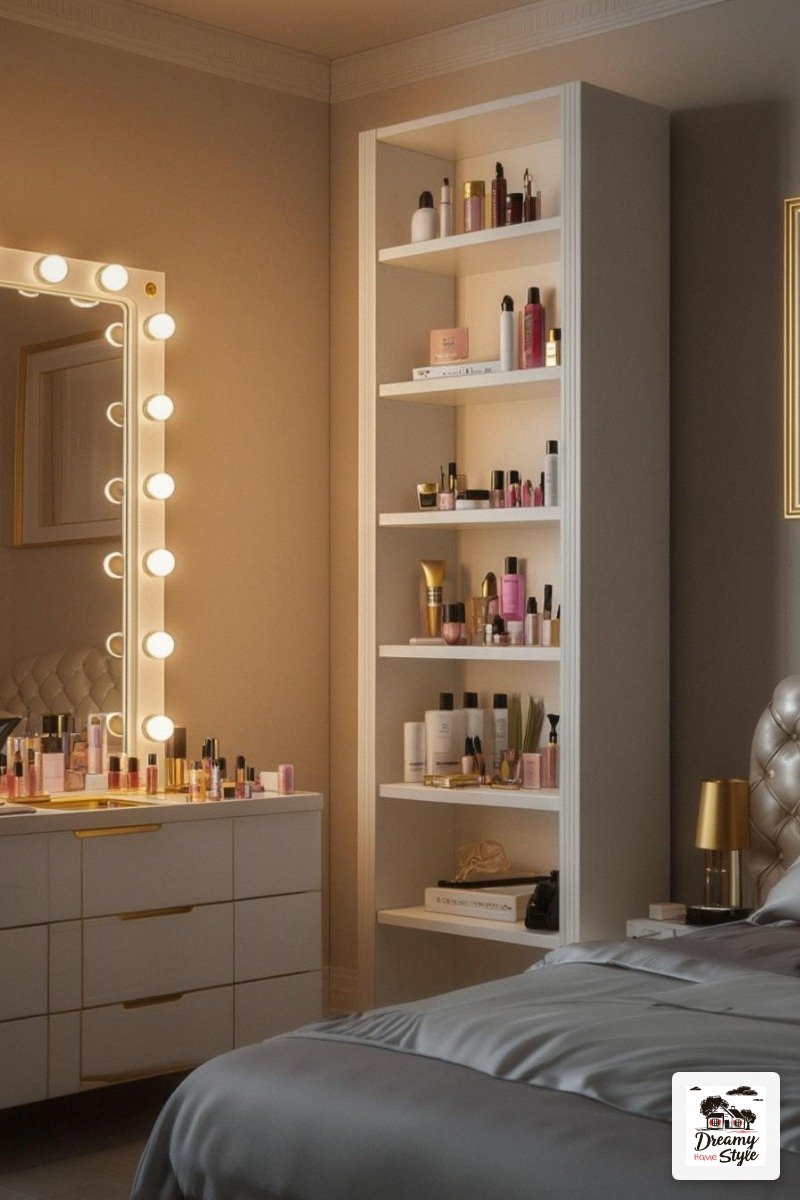
Round mirrors are everywhere right now and I want to gently tell you they’re wrong for a small vanity nook.
They waste the vertical real estate that an arched or rectangular mirror uses to make the ceiling feel taller.
In a nook under 40 inches wide, vertical is your best asset.
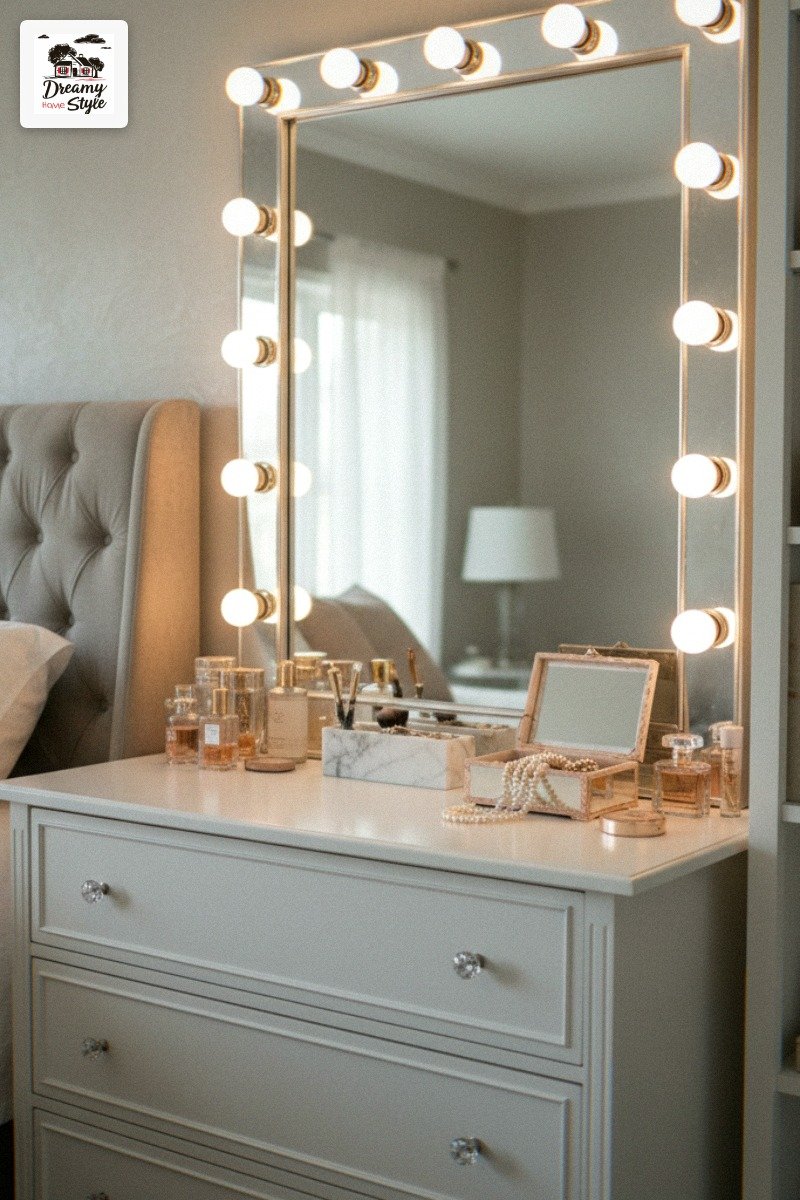
For an arched mirror, minimum size is 24 inches wide by 36 inches tall.
That’s the floor for a nook that reads proportional.
Above $150, you hit serious diminishing returns in a compact space — the wall treatment and lighting are doing more visual work than the mirror is, so spending $300 on a mirror here is genuinely wasted money.
Avoid anything under 20 inches wide.
That width creates what I call the camping-bathroom effect.
You know the one.
Also: don’t buy the largest mirror that fits.
Oversized in a tight nook doesn’t read as bold.
It reads as someone who didn’t measure.
Stool Height Math (Because Most Vanity Stools Are Actually Too Short)
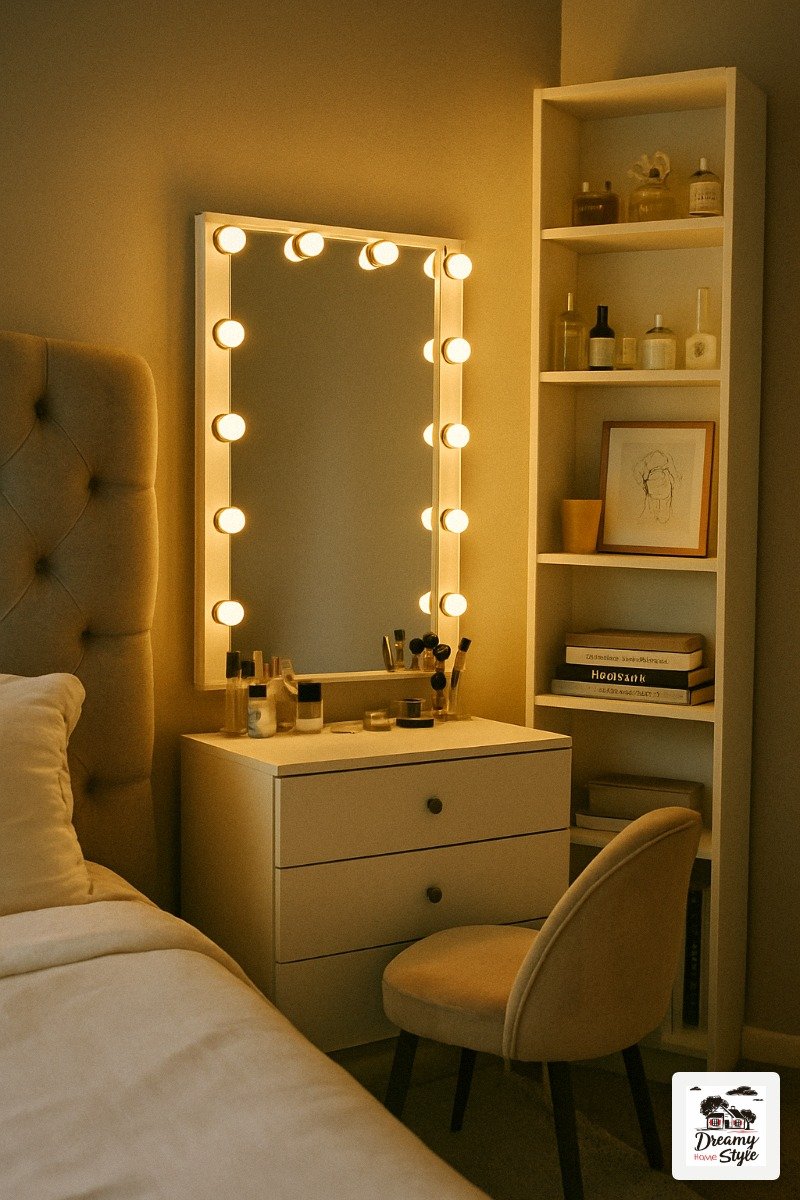
The formula is: surface height minus 10 to 12 inches equals your correct stool seat height.
If your floating shelf sits at 30 inches, you want a stool with a seat between 18 and 20 inches.
Standard retail vanity stools are almost always 18 inches, which is fine for a 30-inch surface but a disaster if your surface is any higher.
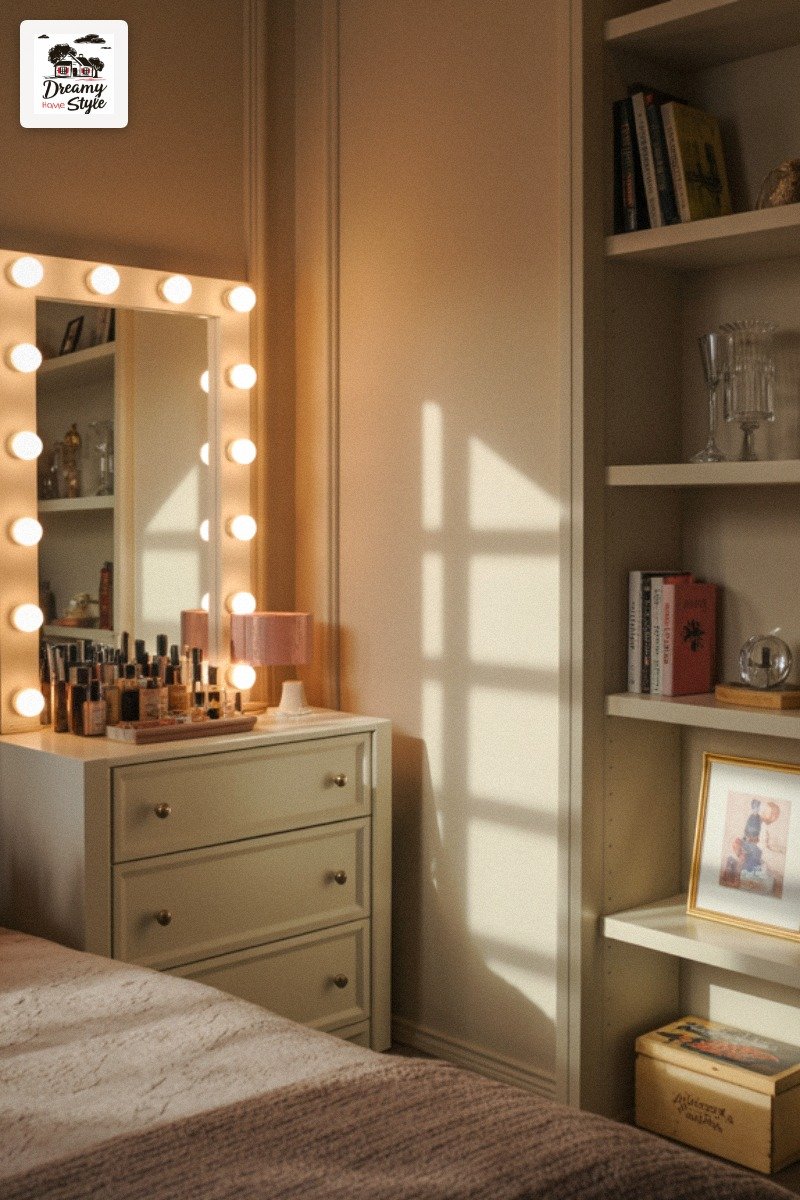
Most styled vanity photos you see use stools where the model isn’t actually sitting comfortably.
They’re perched.
The stool is 4 to 6 inches too low and nobody mentions it because it photographs fine.
You will stop using a vanity nook that’s ergonomically wrong within two weeks.
I did — and an uncomfortable setup doesn’t get used, and a nook nobody uses is just a dusty shelf with Biscuit hair on the seat.
Amazon adjustable velvet stools in the $35 to $65 range can hit 18 to 24 inches and are worth every penny for the adjustability alone.
Cord Management: The Detail That Cancels $500 of Decorating If You Ignore It
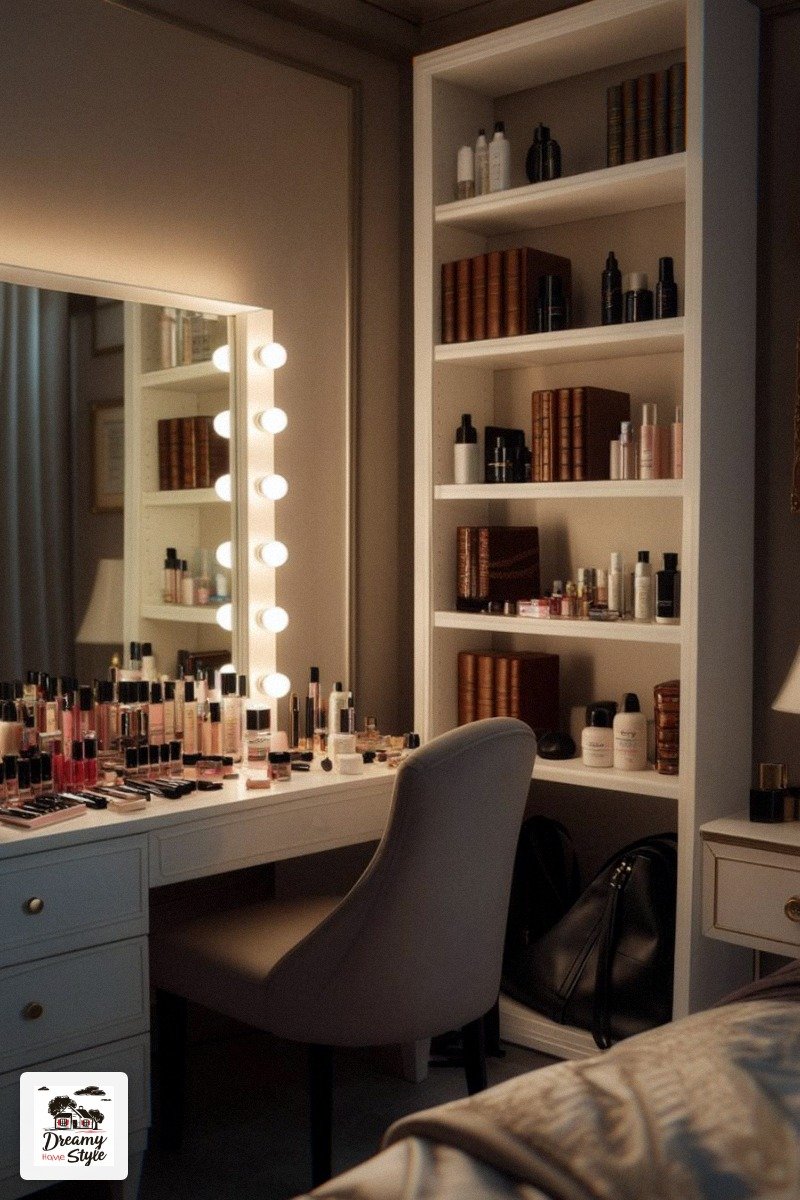
One loose cord running across your vanity surface undoes everything.
I mean that.
Surface cords are the number-one reason vanity nook photos look cluttered in the reader submissions I get, and it’s completely fixable before you style a single thing.
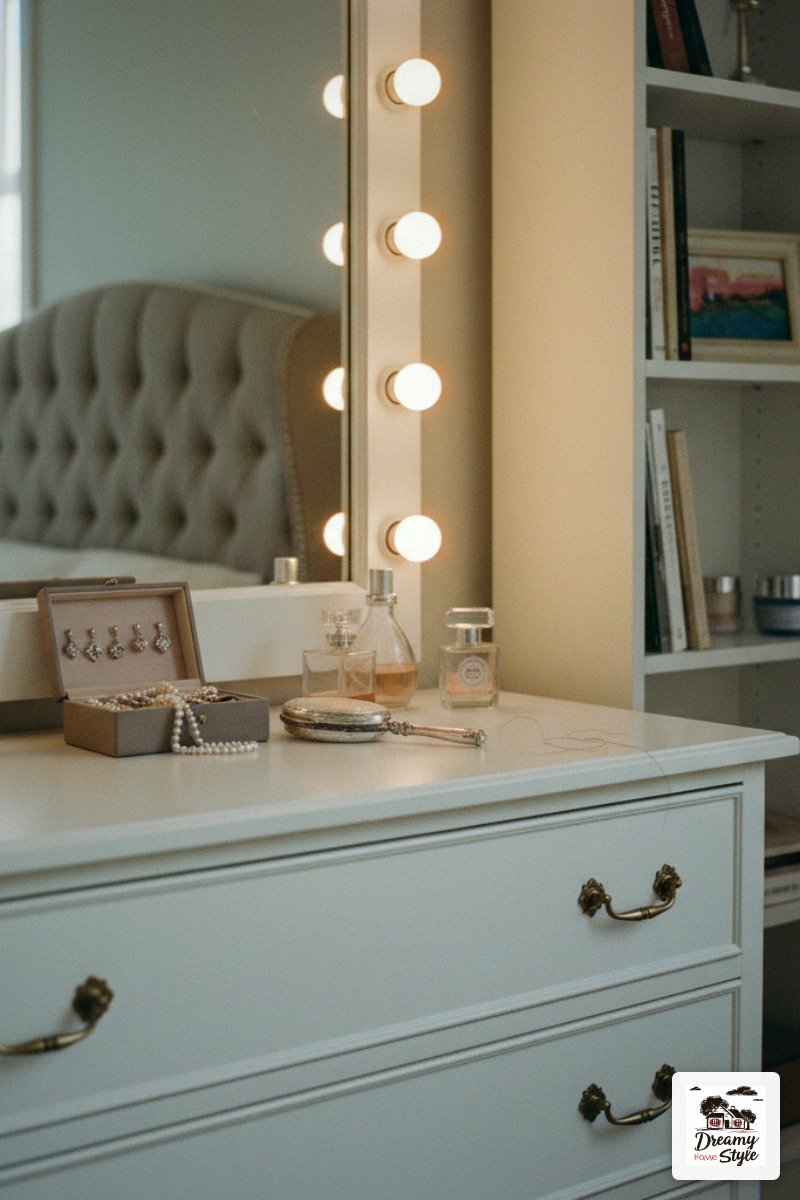
The D-Line raceway cord cover in white or paintable gray runs $14 for a five-foot kit and handles your sconce cords cleanly along the wall.
For hot tools (curling irons, straighteners) mount a hot tool holster inside a drawer or on the side panel of your shelf.
Cords stay off the surface entirely.
Phone charger runs through the raceway or gets a small adhesive clip behind the shelf.
Handle all of this before you put a single tray or bud vase down.
Cord management is infrastructure, not styling.
Tray Logic: The Object Count Rule I Wish Someone Had Told Me Earlier
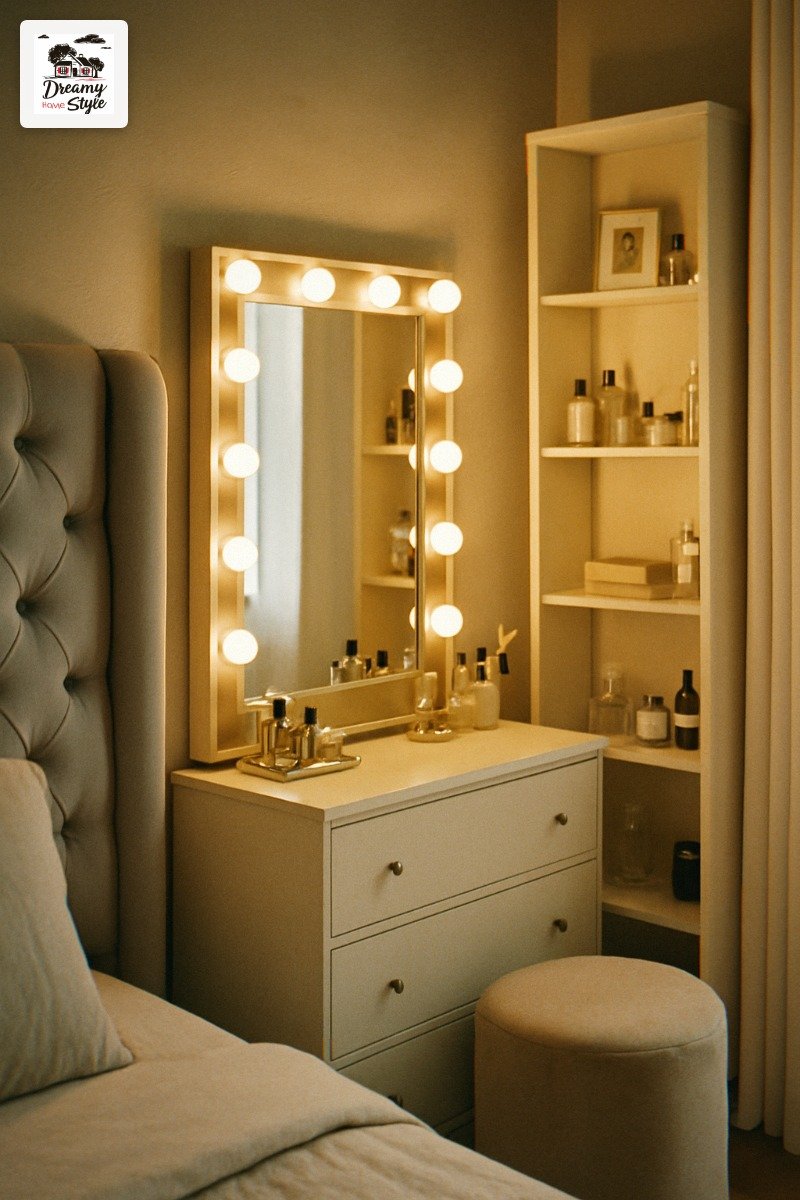
Seven.
Maximum seven visible objects on a vanity surface before it tips into cluttered.
I counted mine once — on a Sunday morning, third cup of coffee, genuinely horrified — and had fourteen.
Fourteen.
No wonder it looked like a Sephora sample table.
One tray anchors the surface and signals curation.
Two trays signal a storage problem.
Use a drawer or a hidden organizer for overflow, not a second tray.
For the tray itself, 10 by 14 inches minimum so things don’t look cramped inside it.
A marble-effect resin tray under $25 on Amazon reads identically to real marble in photos.
I’ve had people ask me where I got mine and felt genuinely guilty telling them.
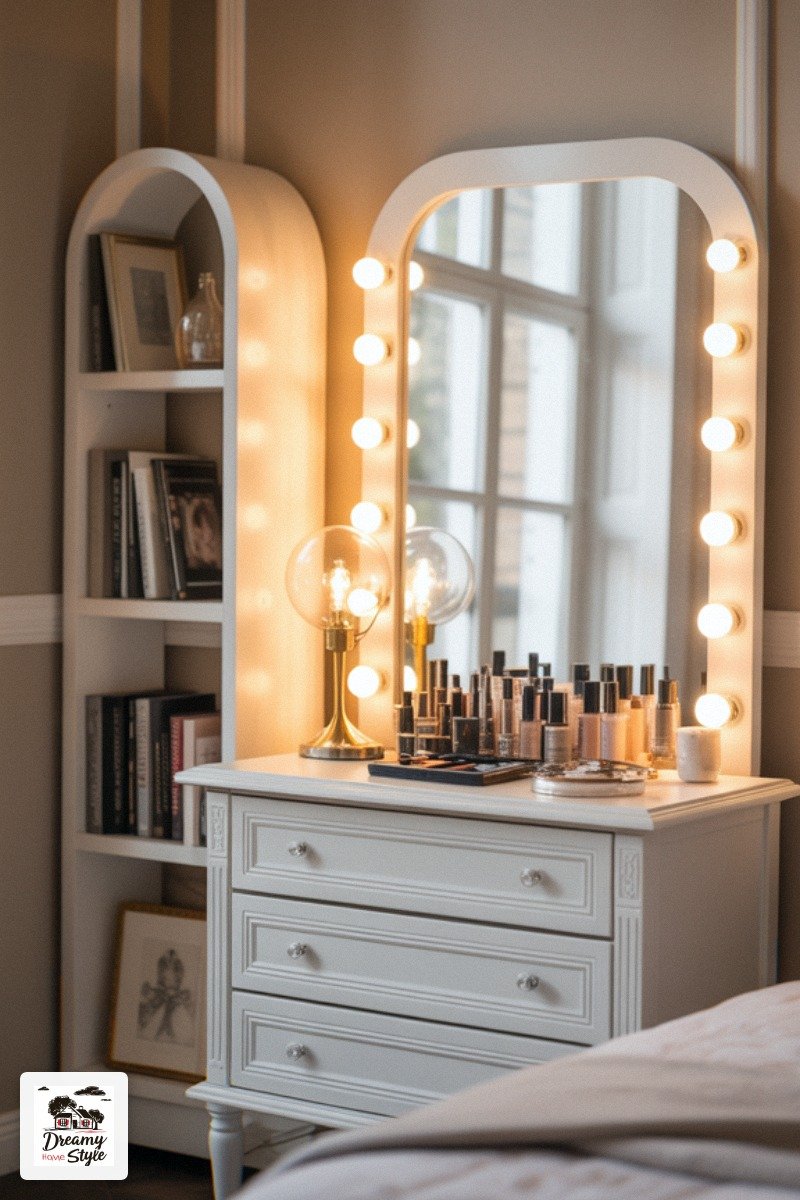
Style the surface for daily use, not for a photo.
If it only looks good when you’ve removed the actual stuff you use every morning, it doesn’t work.
No Window? Good. Controlled Artificial Light Beats Natural Light Anyway
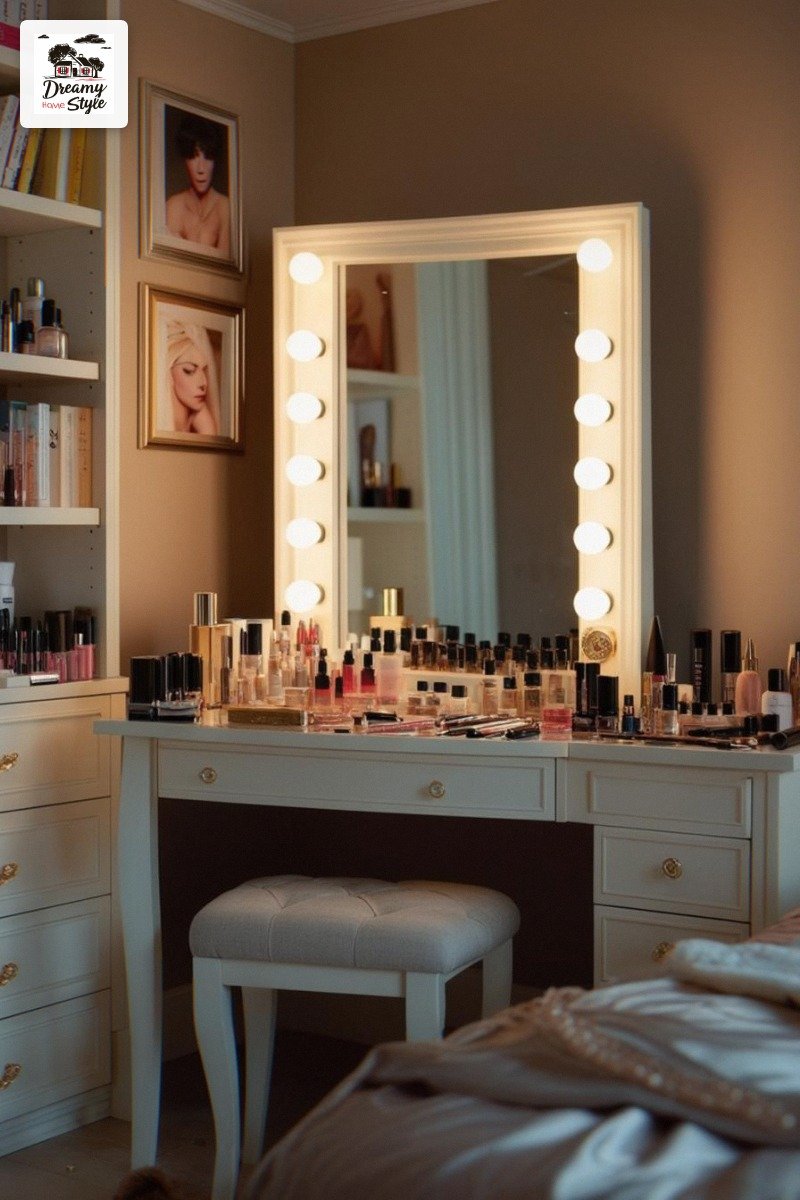
North-facing windows and afternoon-only light change color temperature by the hour.
That’s not a lighting plan, that’s weather.
Controlled artificial light with the right specs beats inconsistent daylight every single time for makeup application.
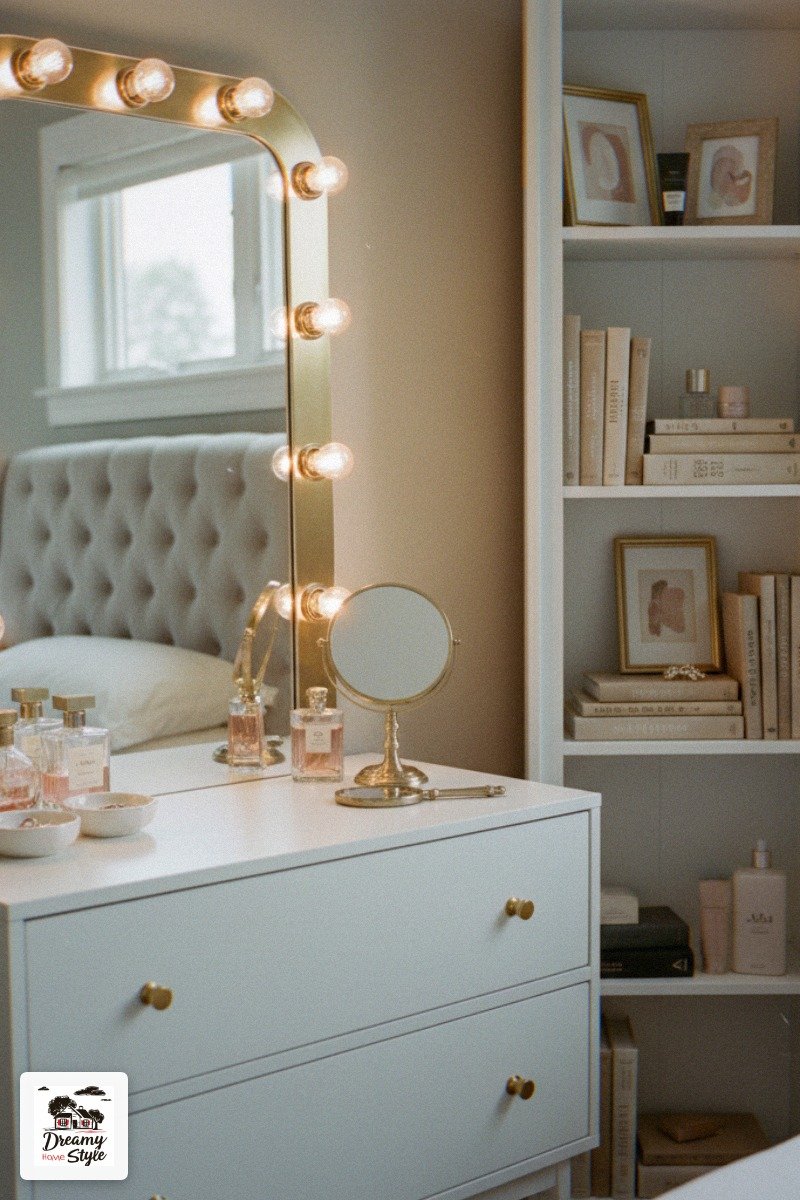
You need a CRI of 90 or above for accurate color rendering.
Most cheap bulbs sit at CRI 80 or below, which is why foundation looks one shade in your bathroom and completely different outside.
Feit Electric BR30 bulbs at 2700K run under $8 each and are what I use in the overhead fixture nearest my nook — yes, I have overhead lighting there, I know, I hate it too, but a bulb swap at least keeps it from actively lying to my face.
Add a secondary LED strip behind or below your mirror shelf at 3000K. Not 6500K, which reads blue and harsh and will make you look like you’re being interrogated.
The layered effect fills shadows the way side sconces alone can’t quite reach.
Renters: What You Can Actually Mount Without Losing Your Deposit
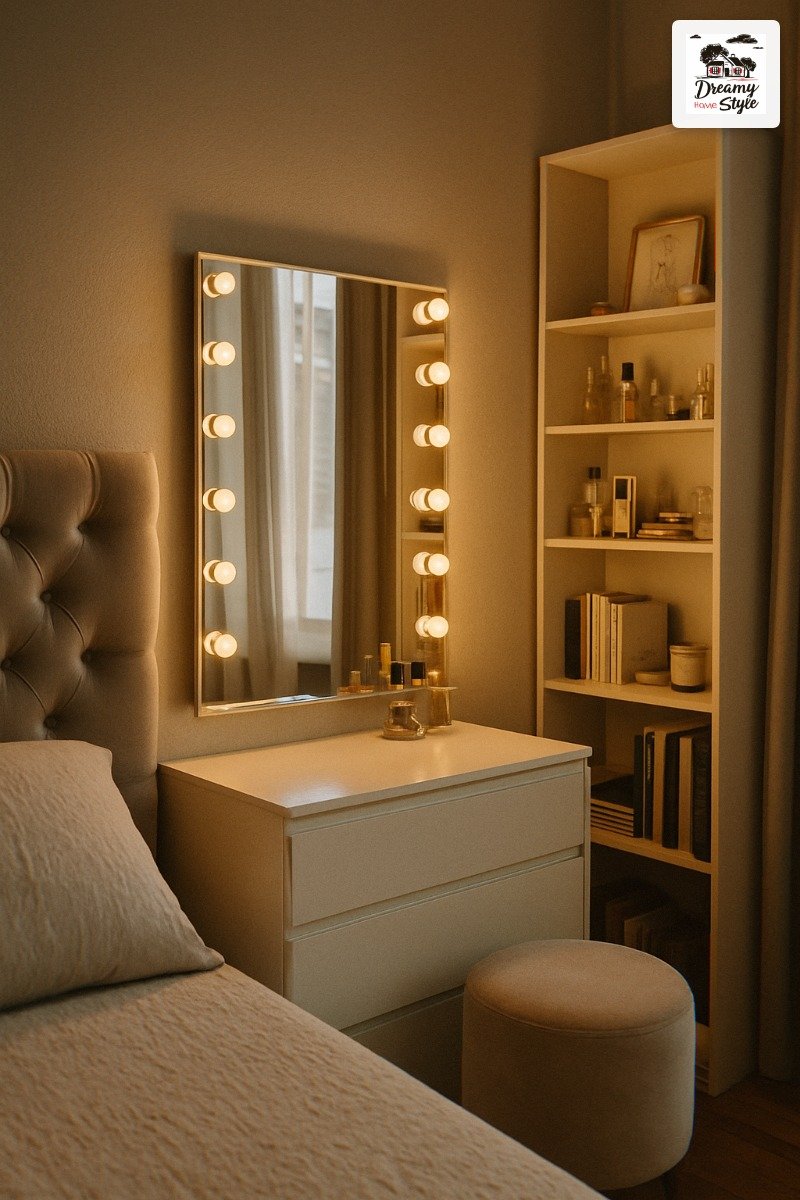
Command strips for anything over 8 pounds on a vanity are a liability.
A mirror falling off the wall at 2am is a worse outcome than a small security deposit deduction for two small anchor holes.
I’ve seen people use Command strips on 15-pound mirrors and I hold my breath every time.
For mirrors up to 20 pounds, use three pairs of 3M Command Large Picture Hanging Strips, rated to 16 pounds per pair — three pairs gives you real margin.
For a floating shelf on toggle bolts, you’re looking at two quarter-inch holes in the wall.
Spackle and touch-up paint to restore them costs under $8 total.
Hardwall anchors for plaster walls cost $4 and leave an eighth-inch hole versus the standard three-eighths.
These are not equivalent solutions.
Command strips, adhesive hooks, and toggle systems have completely different weight tolerances and most renters treat them as interchangeable.
They’re not.
What the Whole Thing Actually Costs: Three Real Tiers
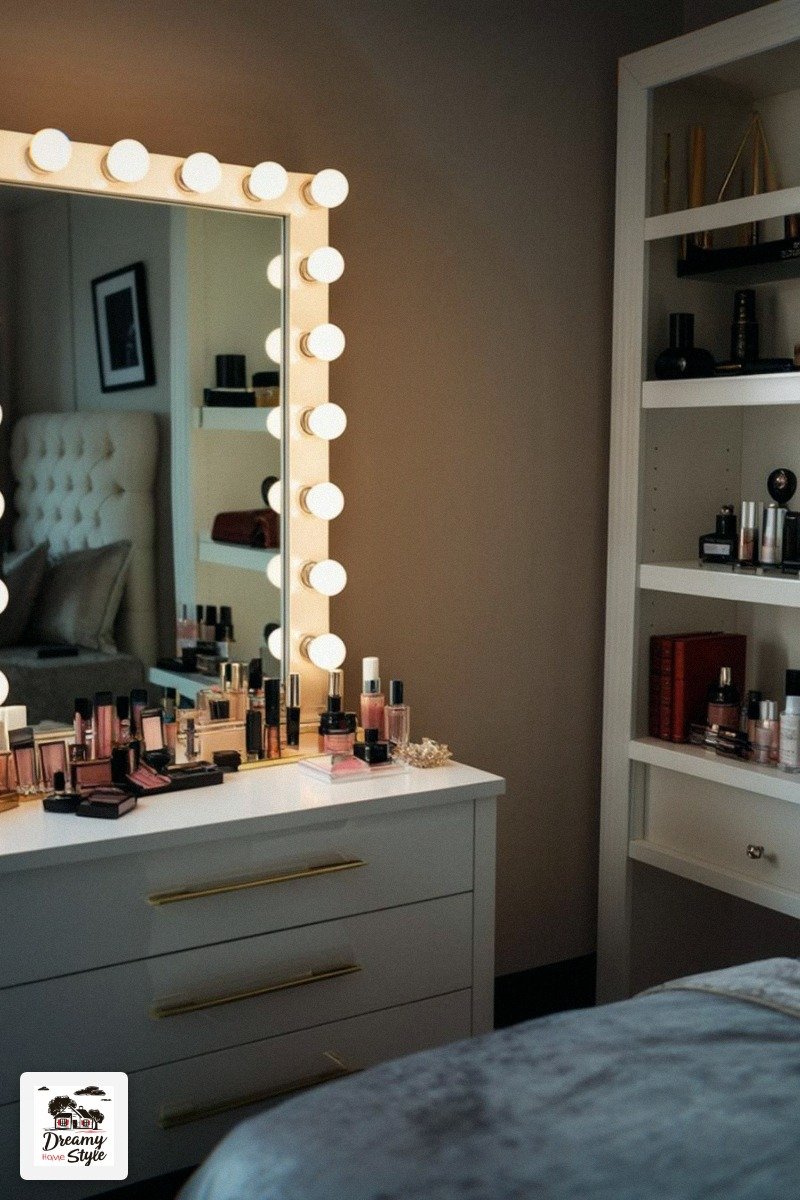
Under $200: floating shelf $20, two plug-in sconces $50, cord covers $12, mirror $65, stool $40, tray $15, paint sample $8.
That’s $210 and it looks like it cost four times that if you built it in the right sequence.
The under $400 tier adds a dedicated quart of panel paint at $45 and a lighted mirror upgrade at $120.
Under $700 adds either a custom-width floating shelf or an Ikea ALEX drawer unit at $179 — allow 45-plus minutes and a power drill for that one, it’s not a quick weekend afternoon project.
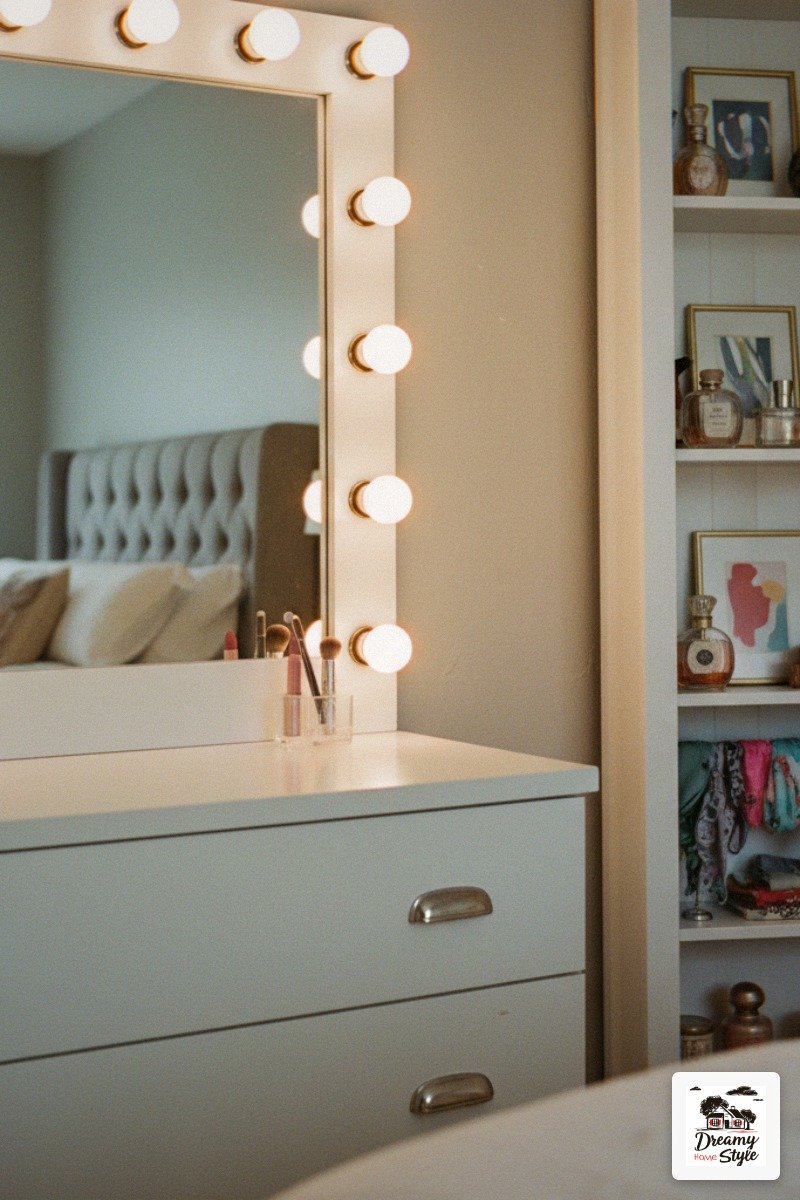
The $200 tier built correctly looks more expensive than the $400 tier built in the wrong order.
Sequence outperforms budget.
Every time, without exception.
That’s the whole post.
Three Finishing Details That Cost Under $20 and Read Like a Designer Did It
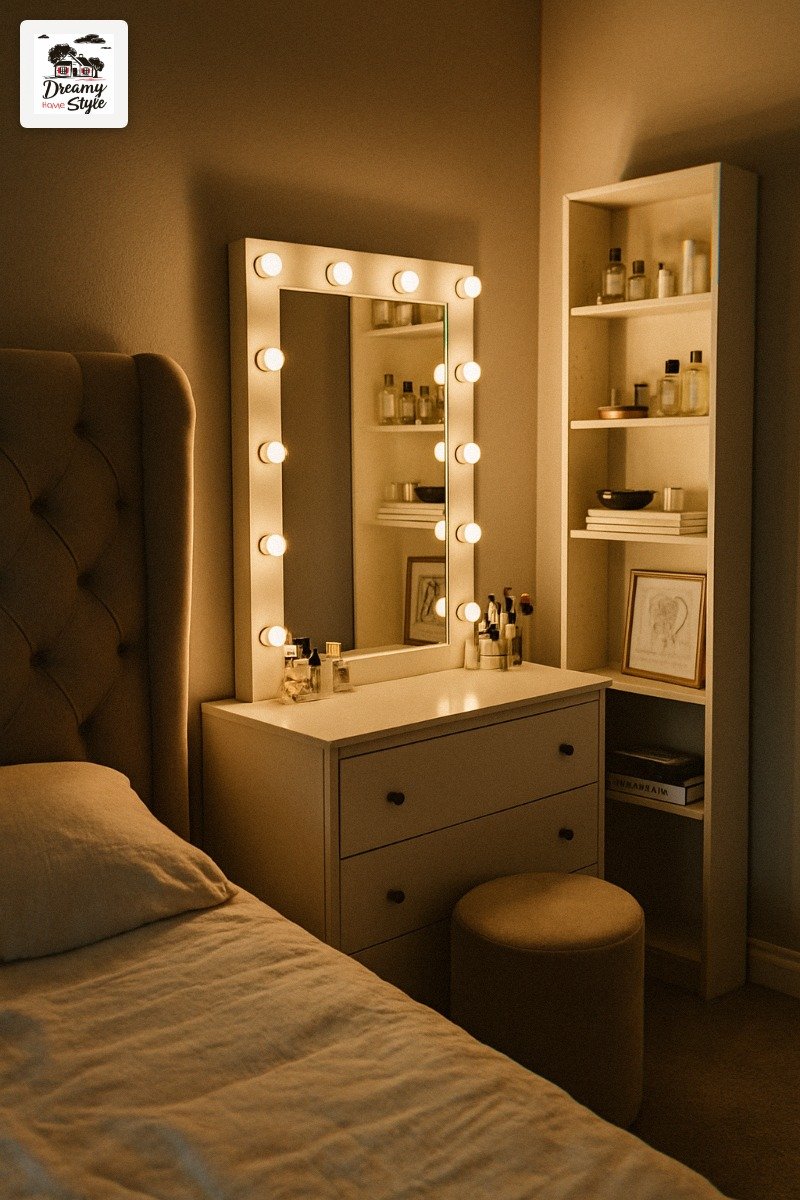
A brass or matte black cabinet knob screwed into the front edge of your floating shelf costs $4 to $9 at Rejuvenation or Amazon and adds hardware weight that makes the shelf read as furniture.
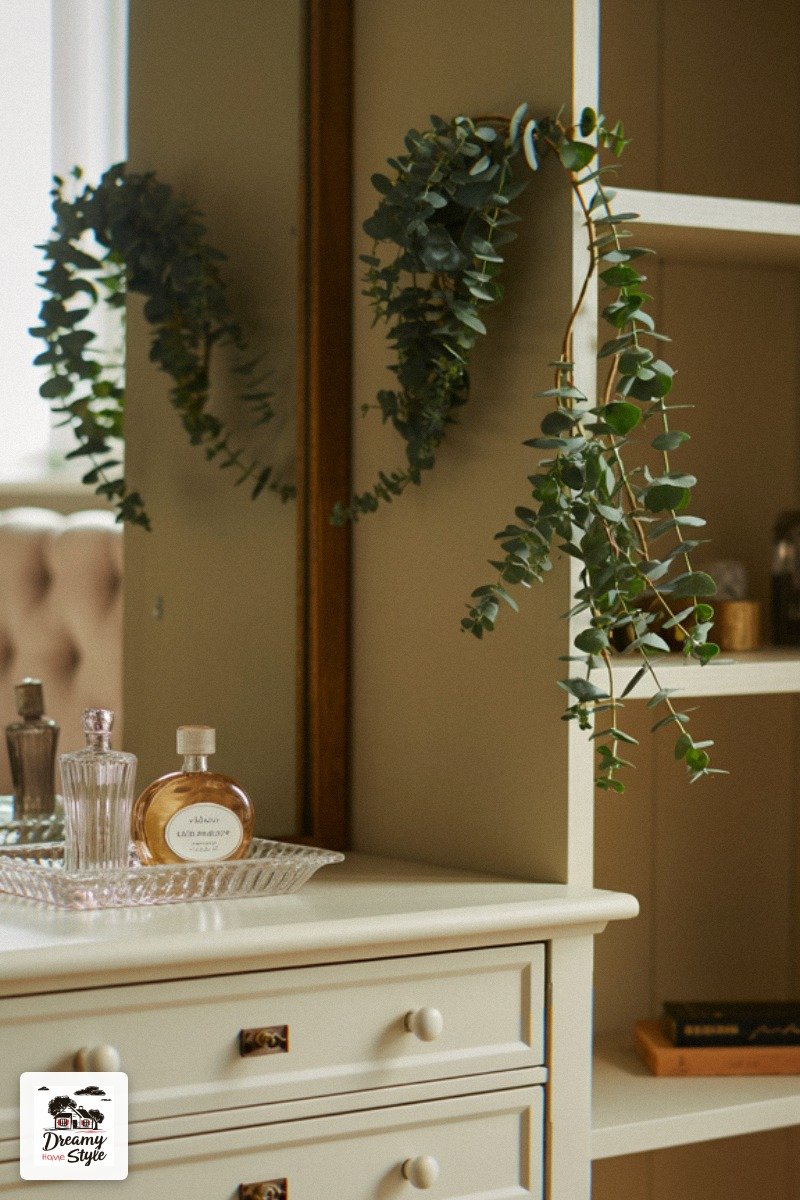
One dried stem (pampas or eucalyptus) in a bud vase under 6 inches tall adds organic texture without competing with the mirror.
Small.
Intentional.
Done.
But the highest-ROI detail in this entire post is lining the inside of a drawer or shelf with peel-and-stick wallpaper remnant.
I found mine at a thrift store for $2 — some partial roll someone had left over from an actual project.
Nobody asked for it.
Nobody will see it unless they open the drawer.
That’s exactly why it works.
A space that’s finished in places no one is supposed to look signals that someone cared about the whole thing, not just the parts that photograph.
That’s the definition of luxury, and it costs $8 and twenty minutes.
Do it last, after everything else is right.
Finishing details only land on solid infrastructure.
Put them on a bad lighting setup and they just look like decoration on top of a problem.
Related read: The IKEA Kallax Bible — Instant PDF + Kindle download. Secure checkout by Stripe