

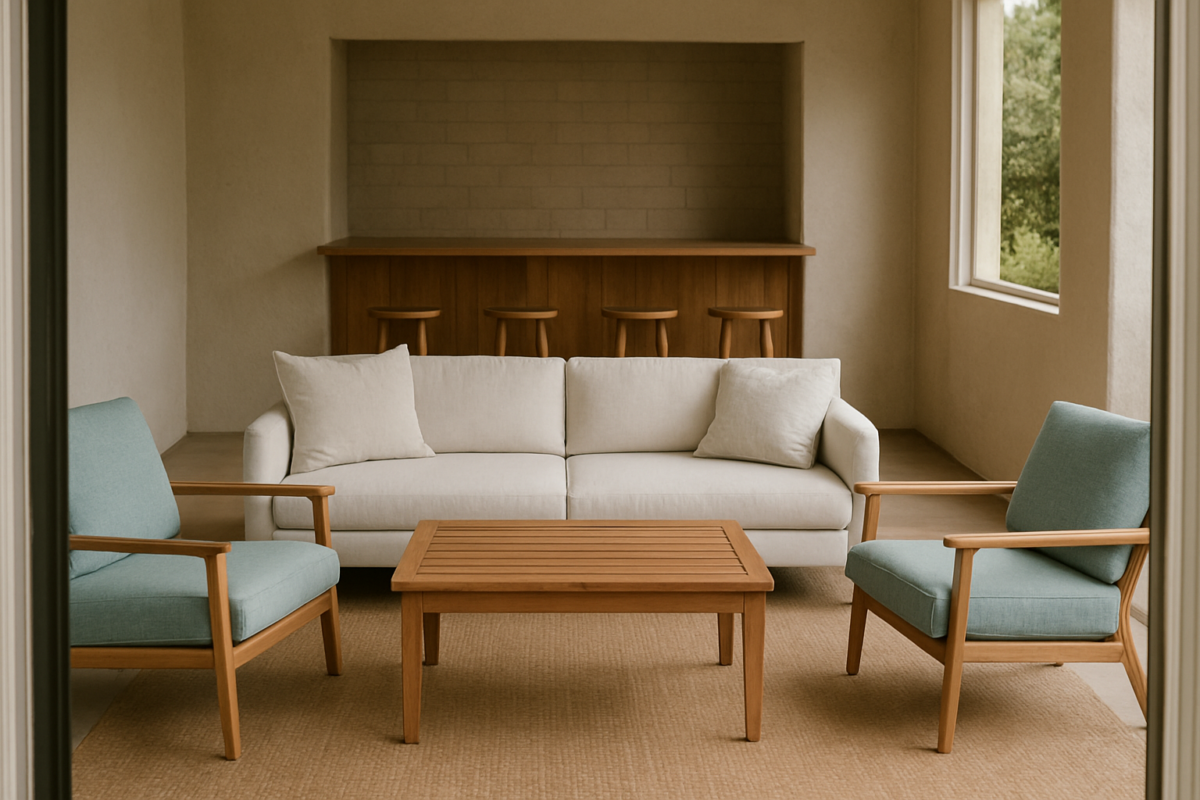
This post walks through how to lay out a pool house so it actually holds up to wet feet and dripping swimsuits, not just how it photographs.
Below, you’ll find room-by-room reasoning on the wet path, flooring, seating, the bar, the door, and towel placement, plus a free floor plan template that puts all of it into practice.
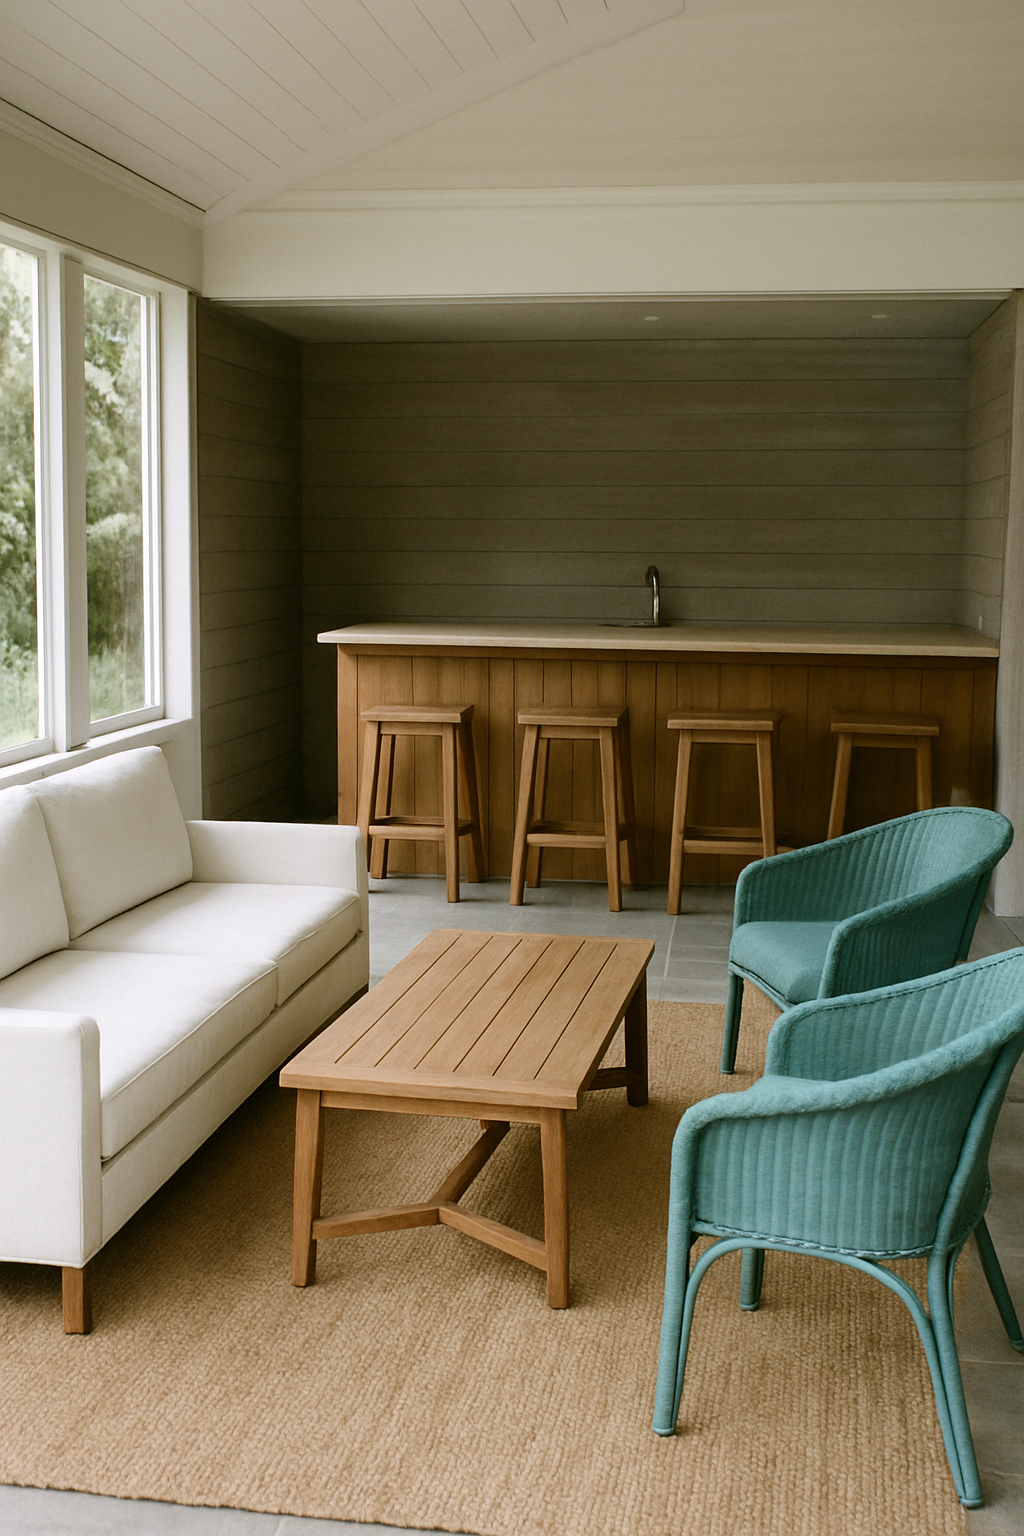
Free floor plan: Open this pool house layout in the free room planner — furnished, to scale, and yours to move around →
Trace the Wet Path First
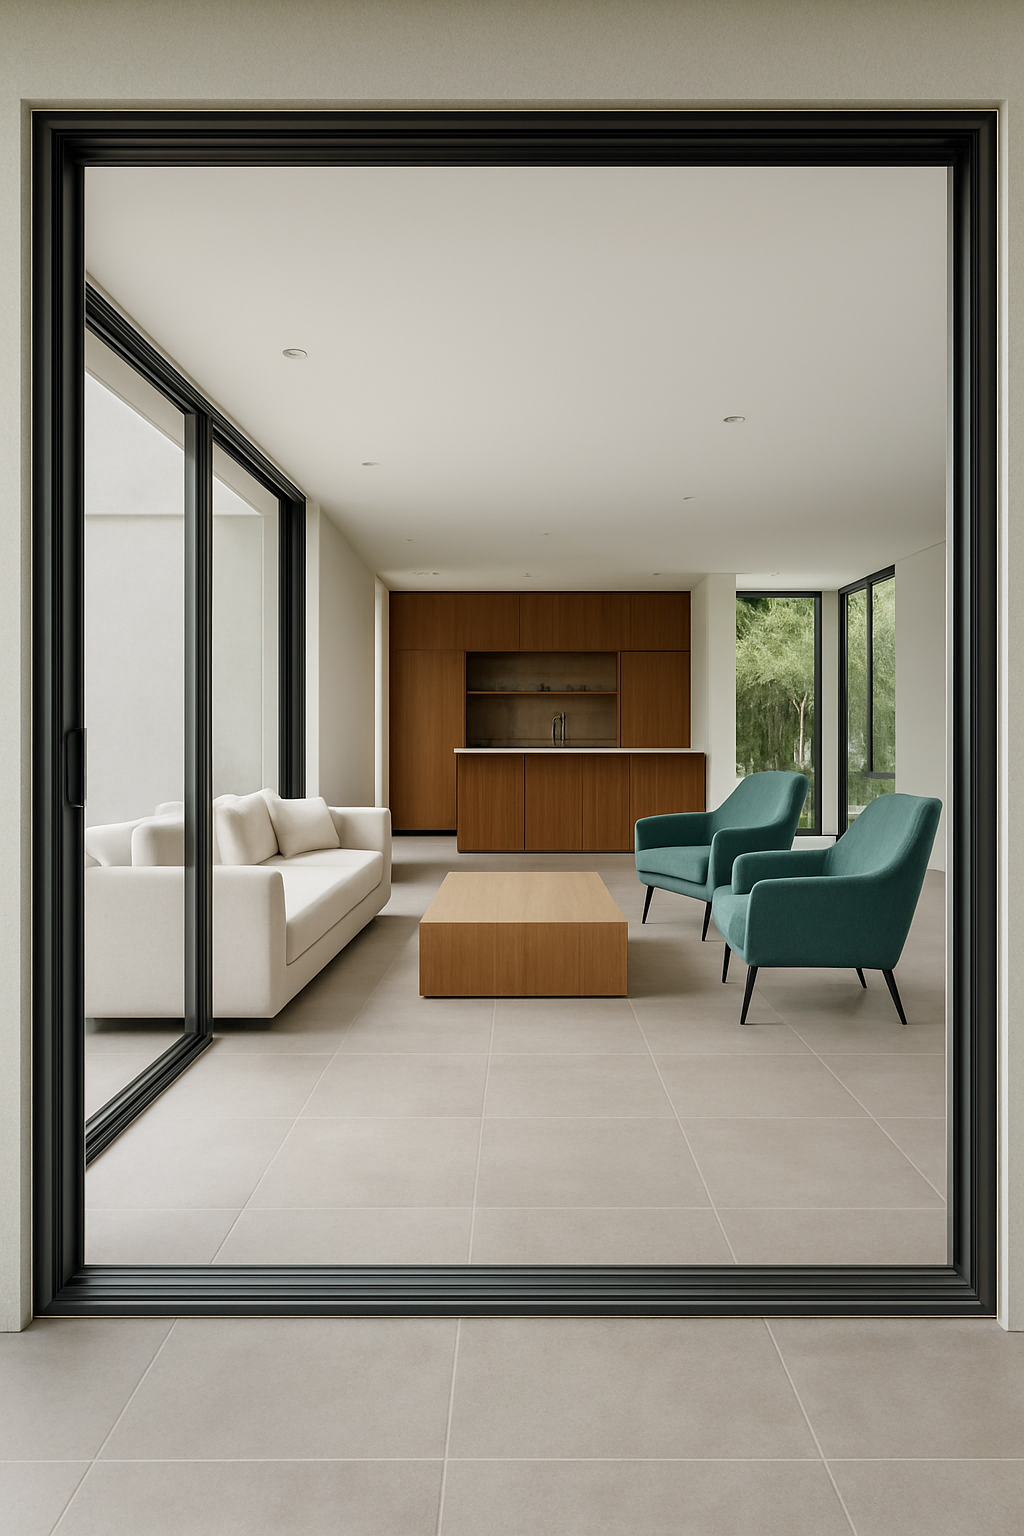
The first thing that ruins a pool house isn’t the paint color.
It’s a wet footprint on the arm of a white sofa within twenty minutes of the first swim.
Everyone admires the tile while a kid in dripping trunks flops straight onto the good cushions, because that’s where the couch is.
Nobody thought about where wet bodies would actually walk.
Before you pick a single piece of furniture, walk the room in your head starting at the pool access door.
That’s your origin point, always.
From there, trace where a dripping person goes next: toward the bar, toward the towels, wherever.
This is a routing exercise, not a design one.
Give the main path through the room about 36 inches of clear width.
Secondary paths, the ones that branch off to a chair or a side table, can get away with 24 to 30 inches, but they still need to be real, deliberate paths and not gaps that happened to be left over.
The mistake people make is treating this as something they’ll “figure out with a rug” later.
A rug doesn’t stop water.
A rug doesn’t redirect a ten-year-old who wants a towel right now.
Draw the path first, on paper if you have to, and then let the furniture arrange itself around it.
Backwards planning — sofa first, path improvised — is exactly why so many pool houses end up soggy in the exact spots people actually stand within the first week of using the room.
Flooring That Forgives Water
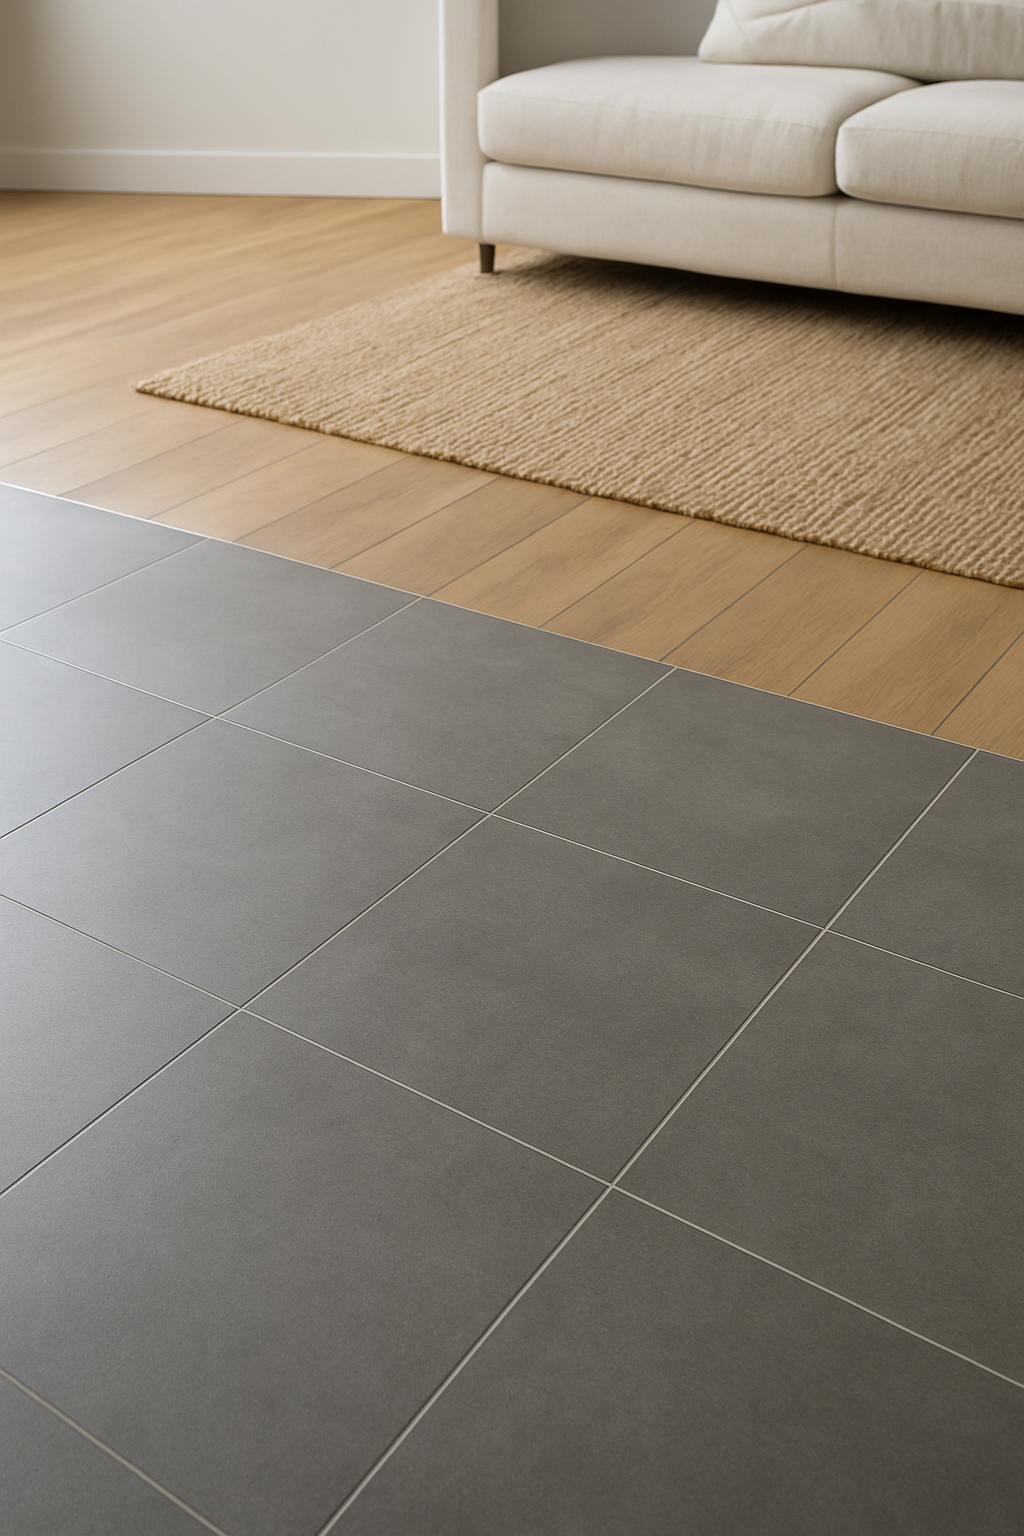
Once you know where the wet path runs, the floor along that route has one job: don’t let anyone slip on it.
This isn’t the section where you get to chase a showroom look.
Matte or textured porcelain tile is the safe, boring, correct choice for the wet path.
It grips even when it’s slick, and it doesn’t care about pool chemicals or bare feet.
Sealed concrete works too, and honestly I kind of love the industrial-meets-cabana look of it, though it can run cold underfoot if the room isn’t heated, especially anything under about 65 degrees.
What you avoid, full stop, is high-gloss tile.
It photographs beautifully.
It’s also genuinely dangerous the second a wet bare foot lands on it wrong, and someone’s going down.
I don’t care how good it looks in the listing photos of some pool house on a design blog.
Gloss and water do not mix, and this is not the spot to compromise for aesthetics.
Here’s the trap: people pick flooring for the dry side of the room, the part near the sofa where it feels like a living room, and then just let whatever’s left cover the wet path.
That’s backwards too.
The wet path gets chosen first, on its own terms.
The dry side can be whatever you want, that’s where you get to play.
The wet path doesn’t get a vote.
Free calculator: Work out how much flooring you need →
Give Seating the Dry Side of the Room
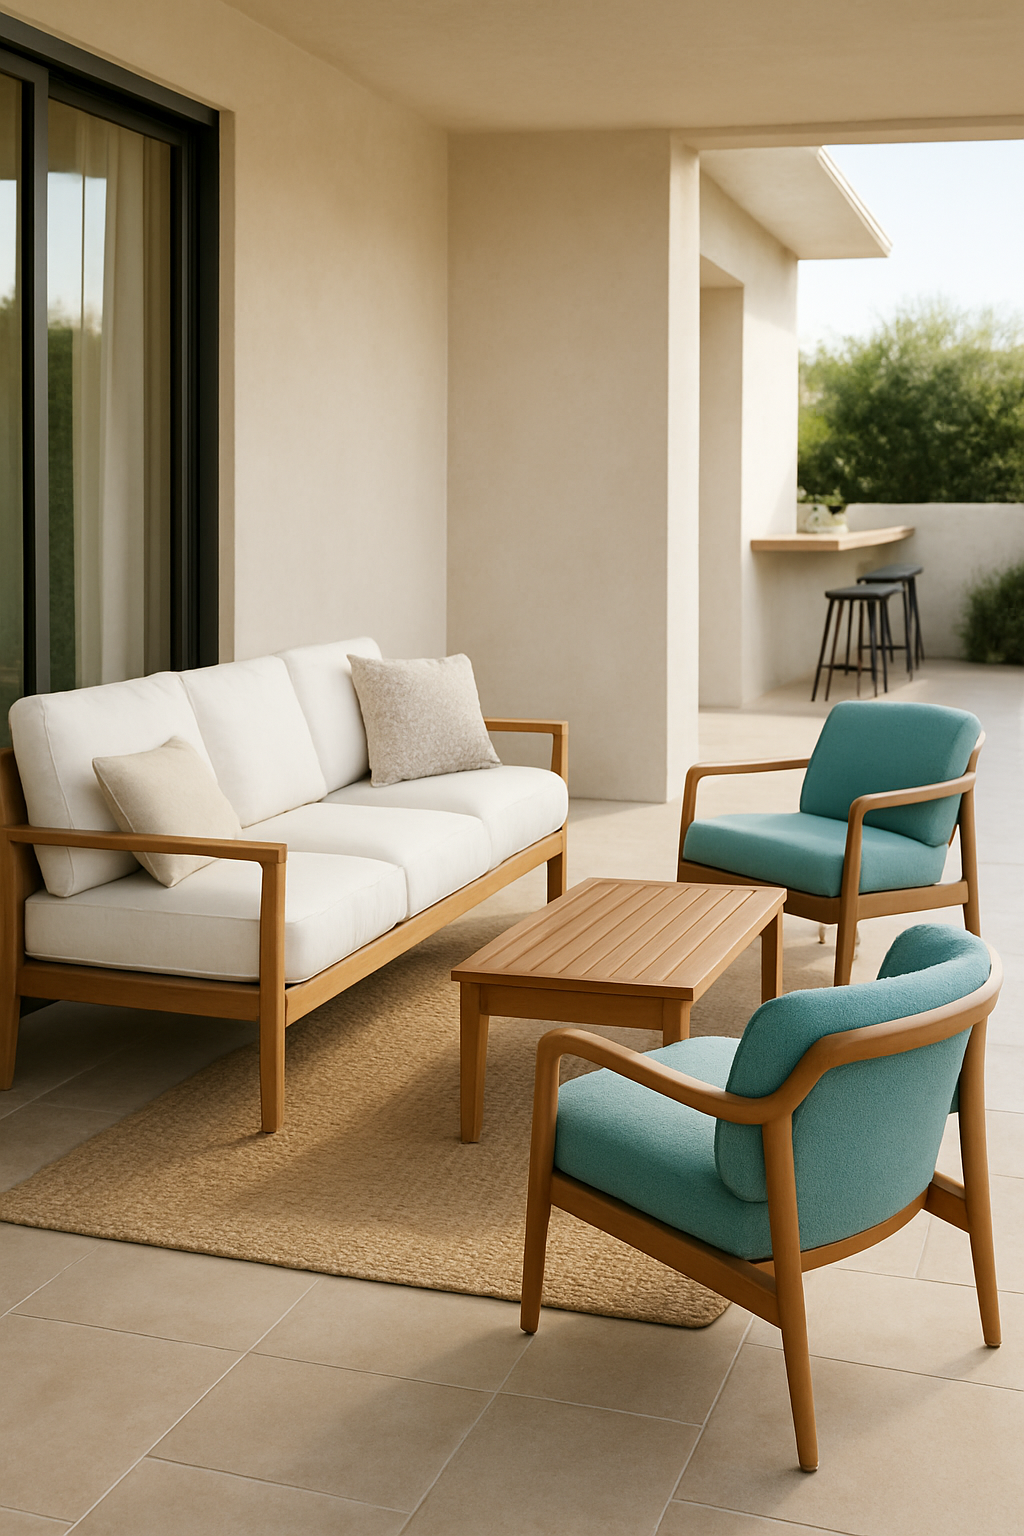
Upholstery goes where the drips don’t.
That’s the whole rule.
In this layout, that means tucking the white outdoor sofa and the two aqua accent chairs to the side, away from the direct line between the pool door and the bar, with a teak coffee table anchoring them into their own little zone that isn’t in anyone’s way.
I’ll say something a little contrarian here: even though the sofa is upholstered in outdoor-rated fabric, that doesn’t mean it belongs in the splash zone.
Outdoor fabric can handle a spill, sure.
It can handle rain if it has to.
But “it can handle water” is not the same as “it should have to.” Fabric that’s constantly getting hit with chlorinated drips and sunscreen residue is going to fade and grime up faster than fabric that just occasionally catches a stray splash.
Give it distance anyway.
Think of the outdoor rating as insurance, not an invitation.
This is where people go wrong constantly.
They see “outdoor-rated” on a tag and figure that clears the fabric for anywhere in the room, including right off the pool door.
It doesn’t.
Rating and placement are two separate decisions, and skipping the second one is how a good sofa ends up looking tired well before it should.
Read next: Pool deck ideas
Bar Clearances Come Before Bar Height
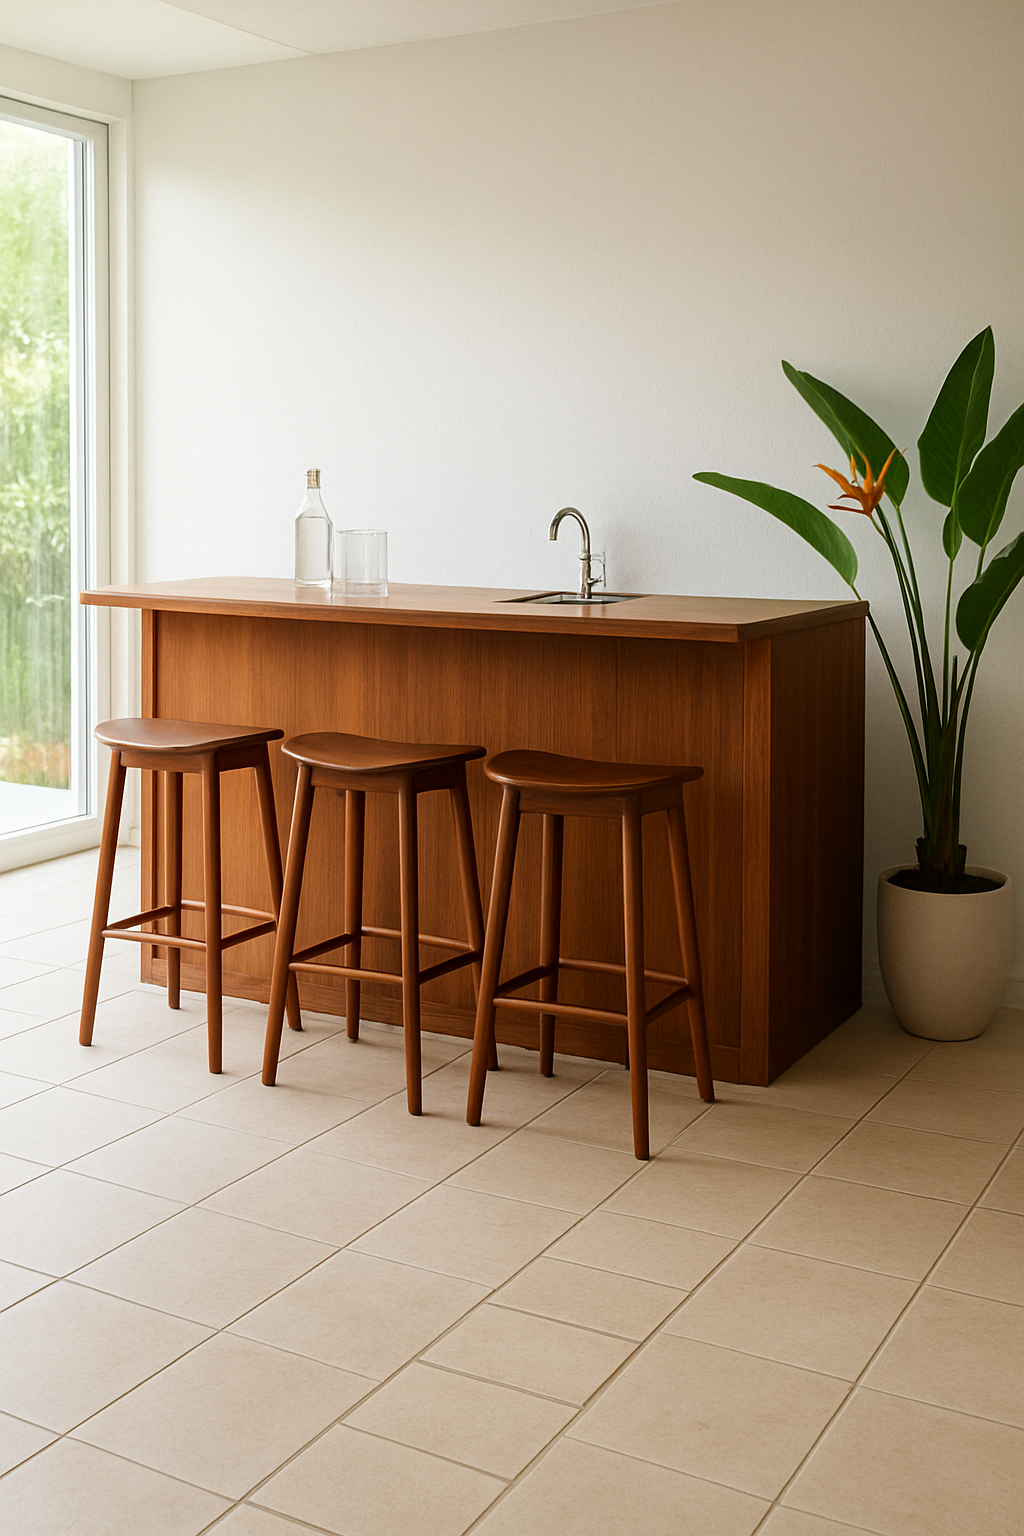
Put the teak wet bar along the wet path, which makes sense.
It’s the natural stop between the pool and the seating.
But where it sits matters less than what’s behind it.
Whatever bar stools you use need real clearance to pull out and be sat in by someone who’s still dripping and not thinking gracefully about spatial awareness.
Give the walkway behind the stools real room: NKBA’s seating guidelines, which designers use for bars and dining too, want 36 inches for someone to edge past a seated person and 44 inches to walk past one.
Skimp on that and the bar becomes the one spot in the house where everyone bottlenecks.
This plan uses three bar stools.
Not five.
I know the instinct is to maximize seating: more stools, more people, more fun, right?
Wrong, in this context.
A pool house bar that tries to seat a crowd stops functioning as a stop along the wet path and turns into a jam where people are squeezing past each other with wet drinks in wet hands.
Three stools keeps it a stop, not a stall.
Sizing the bar for maximum seating instead of for actual clearance is one of those choices that looks generous on a floor plan and feels miserable in real life.
Ask anyone who’s tried to scoot behind a packed bar in a towel.
Free calculator: Get the right bar or counter stool height →
Sliding Glass Beats a Swinging Door
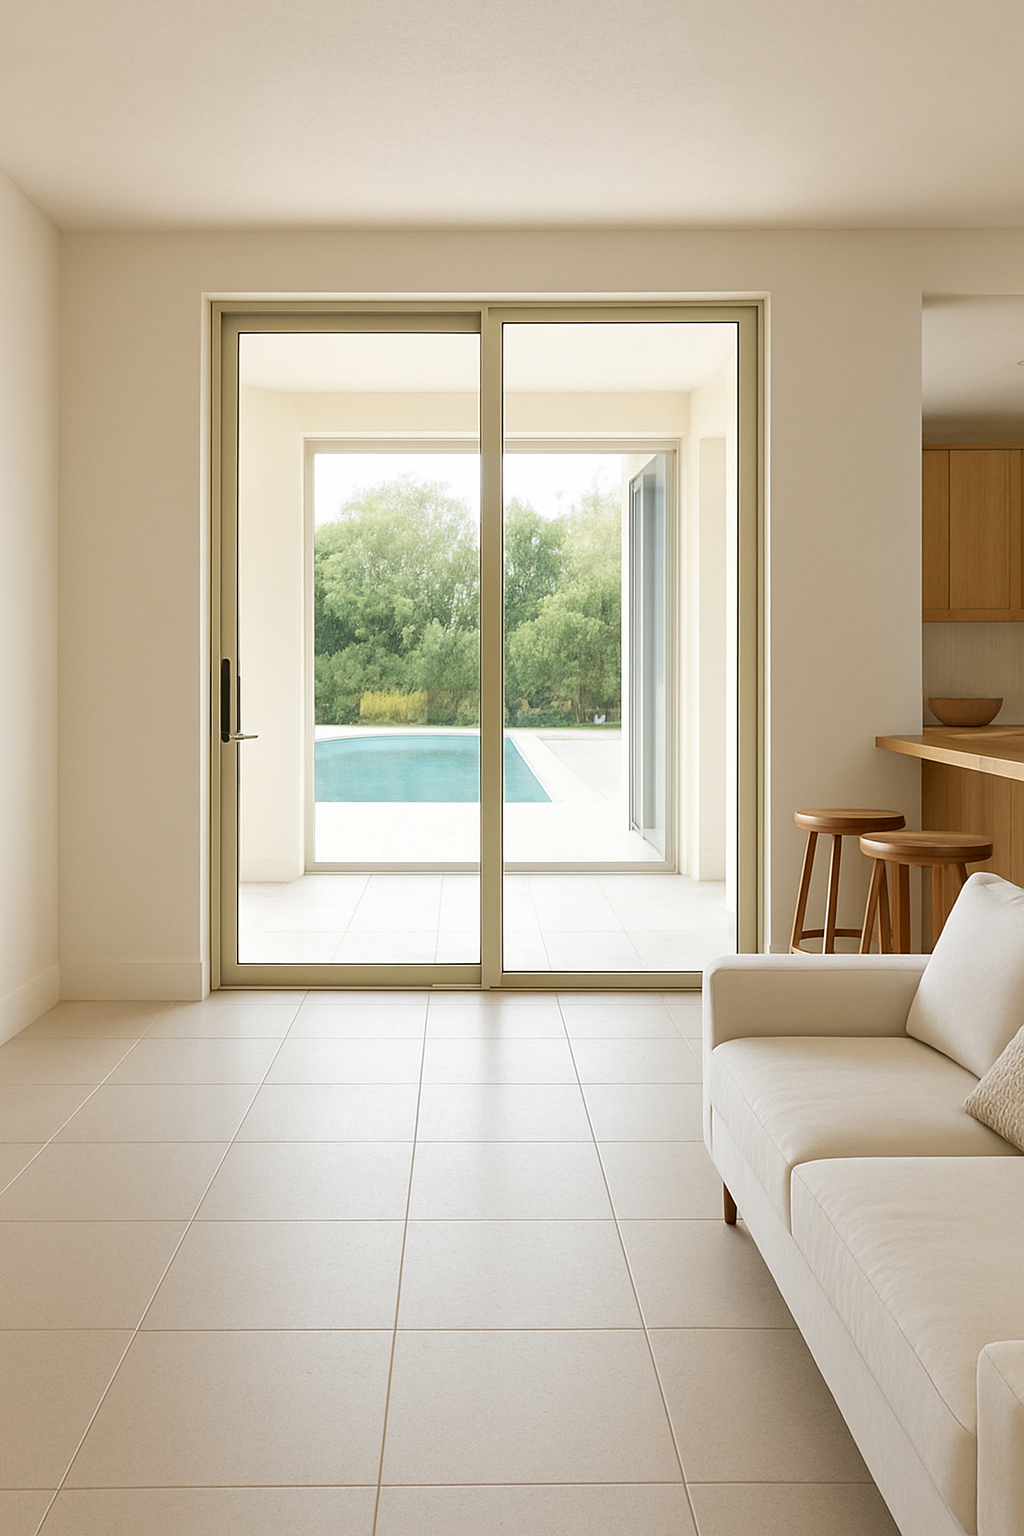
The door connecting the pool area to the room is doing more structural work than people give it credit for.
Where the wet traffic comes in, a sliding glass door (the plan has one, beside its pool access door) beats a hinged one, and that’s not an aesthetic preference so much as a clearance decision.
A hinged door eats a swing radius, usually somewhere around two and a half to three feet of floor space it needs clear to open and close.
On a dry path near a closet, fine, nobody notices.
Right at the pool access door, where the wet path starts and where furniture and bodies are already competing for room, that swing radius is exactly where you can’t afford to lose space.
A hinged door might read as more “architectural.” I get the appeal, French doors have a certain charm I’m not immune to.
But a slider doesn’t steal floor space from the one spot in the room that needs every inch it can get.
It just doesn’t.
This is a case where practicality wins over the fancier-looking option, and I’ll die on that hill right alongside my overhead lighting one.
Picking a door for curb appeal without checking what it does to clearance at the entry point is an easy mistake to make, because you’re standing outside looking at the exterior when you make the decision.
Walk back inside and check the swing before you commit.
Towels Belong at the Door, Not the Bar
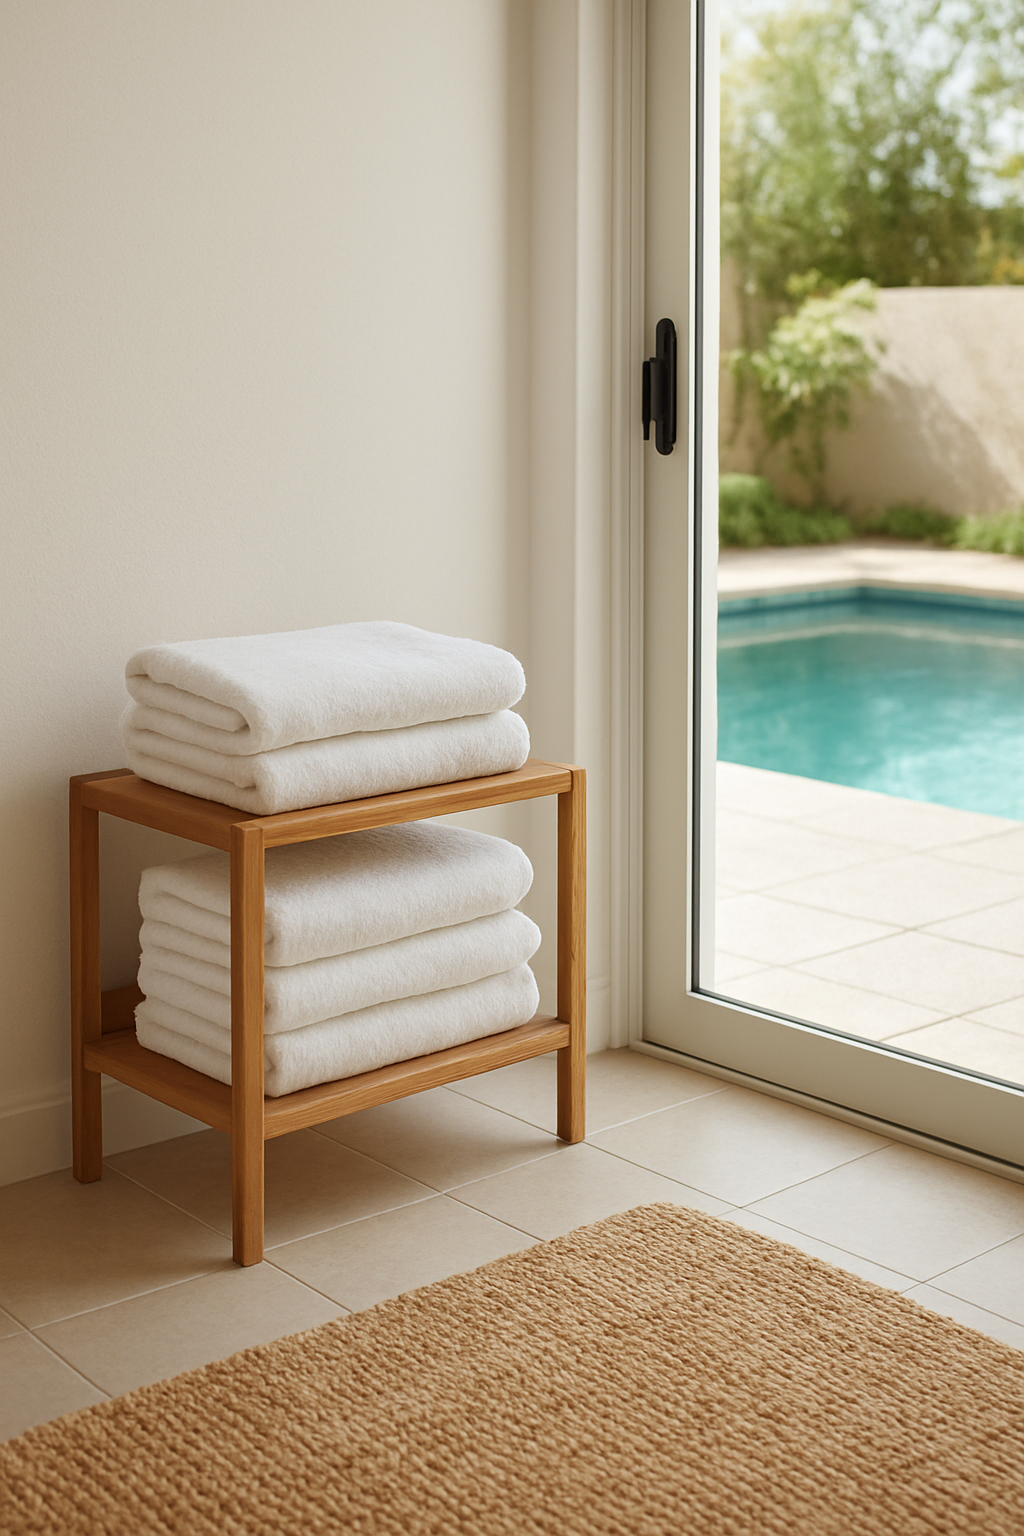
Towel storage should live within reach of the pool access door.
Not near the sofa.
Not near the bar.
At the door, where the wet path begins, so people dry off before they go any further into the room at all.
This sounds obvious written down, but it’s the thing almost every pool house I’ve seen gets wrong.
If the towels are stashed on the far side of the room, in a cabinet near the bar, say, because it looked tidy in the plan, people just track water straight past them to get there.
The drip has to stop before the bar, not after.
Placement is the entire function of a towel station.
A gorgeous folded stack of towels does nothing if it’s thirty feet from where the wet person walks in.
Treating towel storage as a styling afterthought, something you tuck in wherever there’s a gap on the shelf, misses the point completely.
It’s not decor.
It’s infrastructure, and it only works if it’s the very first thing someone reaches for.
Code Doesn’t Care About Your Layout
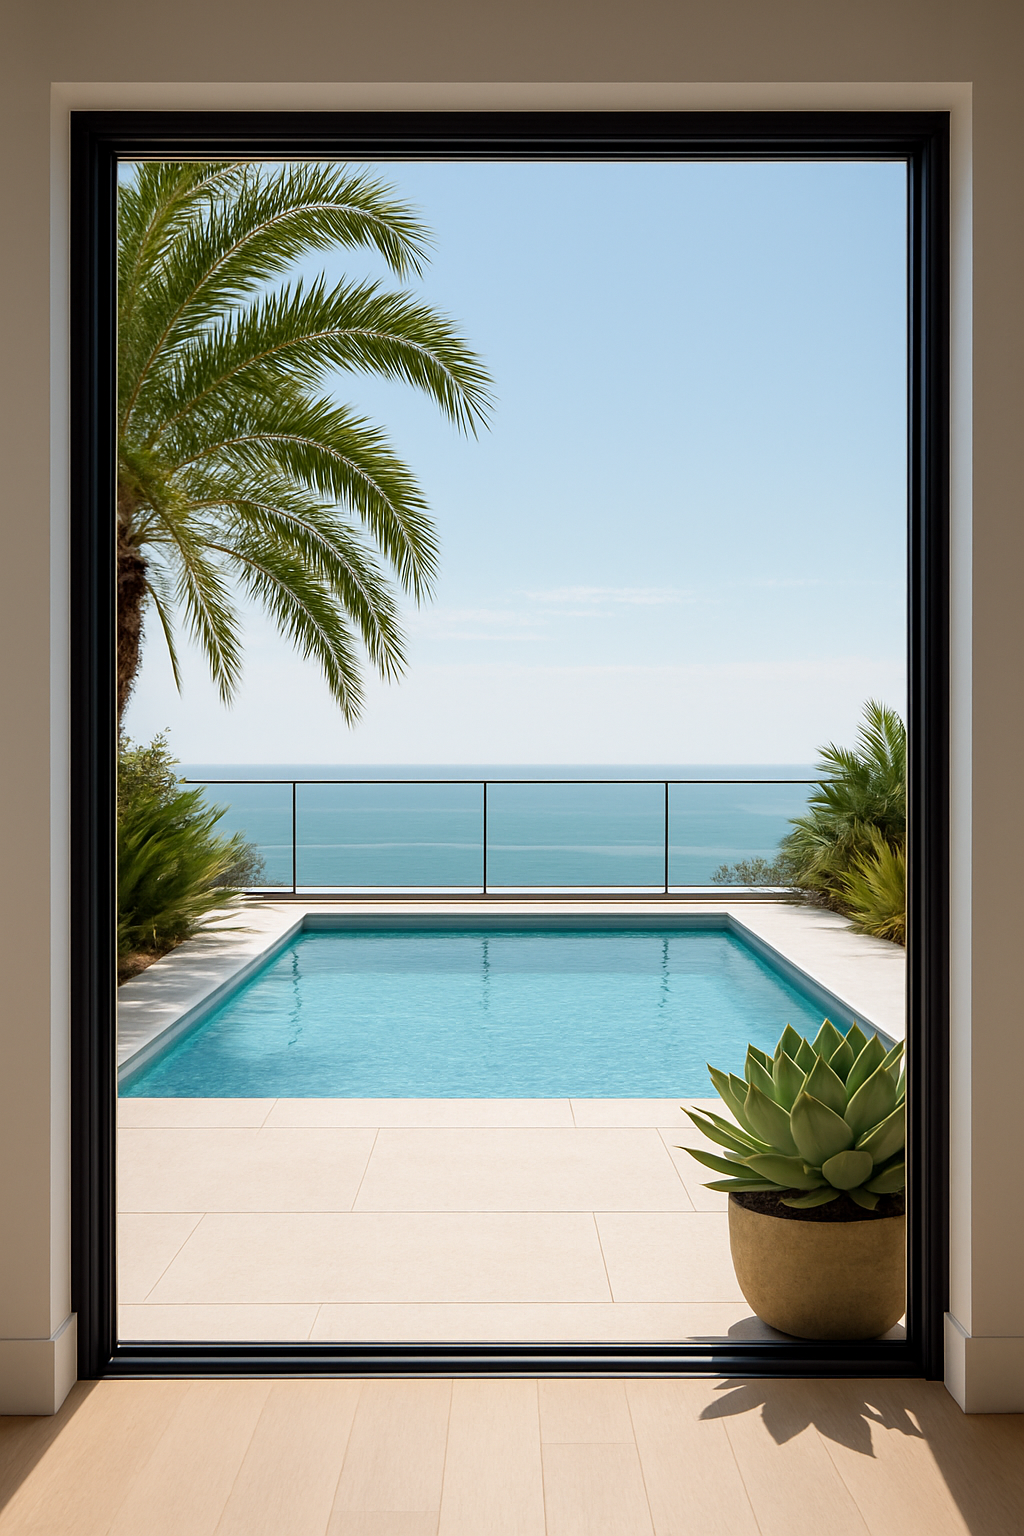
None of this, not the flooring, not the sofa placement, not the door choice, has anything to do with pool safety compliance.
That’s a separate layer entirely, and it’s not optional reading.
The CPSC Safety Barrier Guidelines for Residential Pools lay out what a safe barrier around the pool itself needs: a barrier at least 48 inches high, and gates that are self-closing and self-latching so a kid can’t wander through and leave it open behind them.
These exist independent of how thoughtfully you’ve routed the wet path or how nice the room looks.
I want to be blunt about this part: no amount of clever furniture placement substitutes for a compliant barrier.
A beautifully planned pool house with a gorgeous slider and a perfectly clear wet path does not, in any way, address whether the pool has a code-compliant gate around it.
Those are two completely different problems solved by two completely different things.
Don’t let a nice layout give you a false sense that the safety piece has been handled.
It hasn’t, and it’s the part that actually keeps a kid alive, not the part that gets photographed for a mood board.
Inside the Free Plan
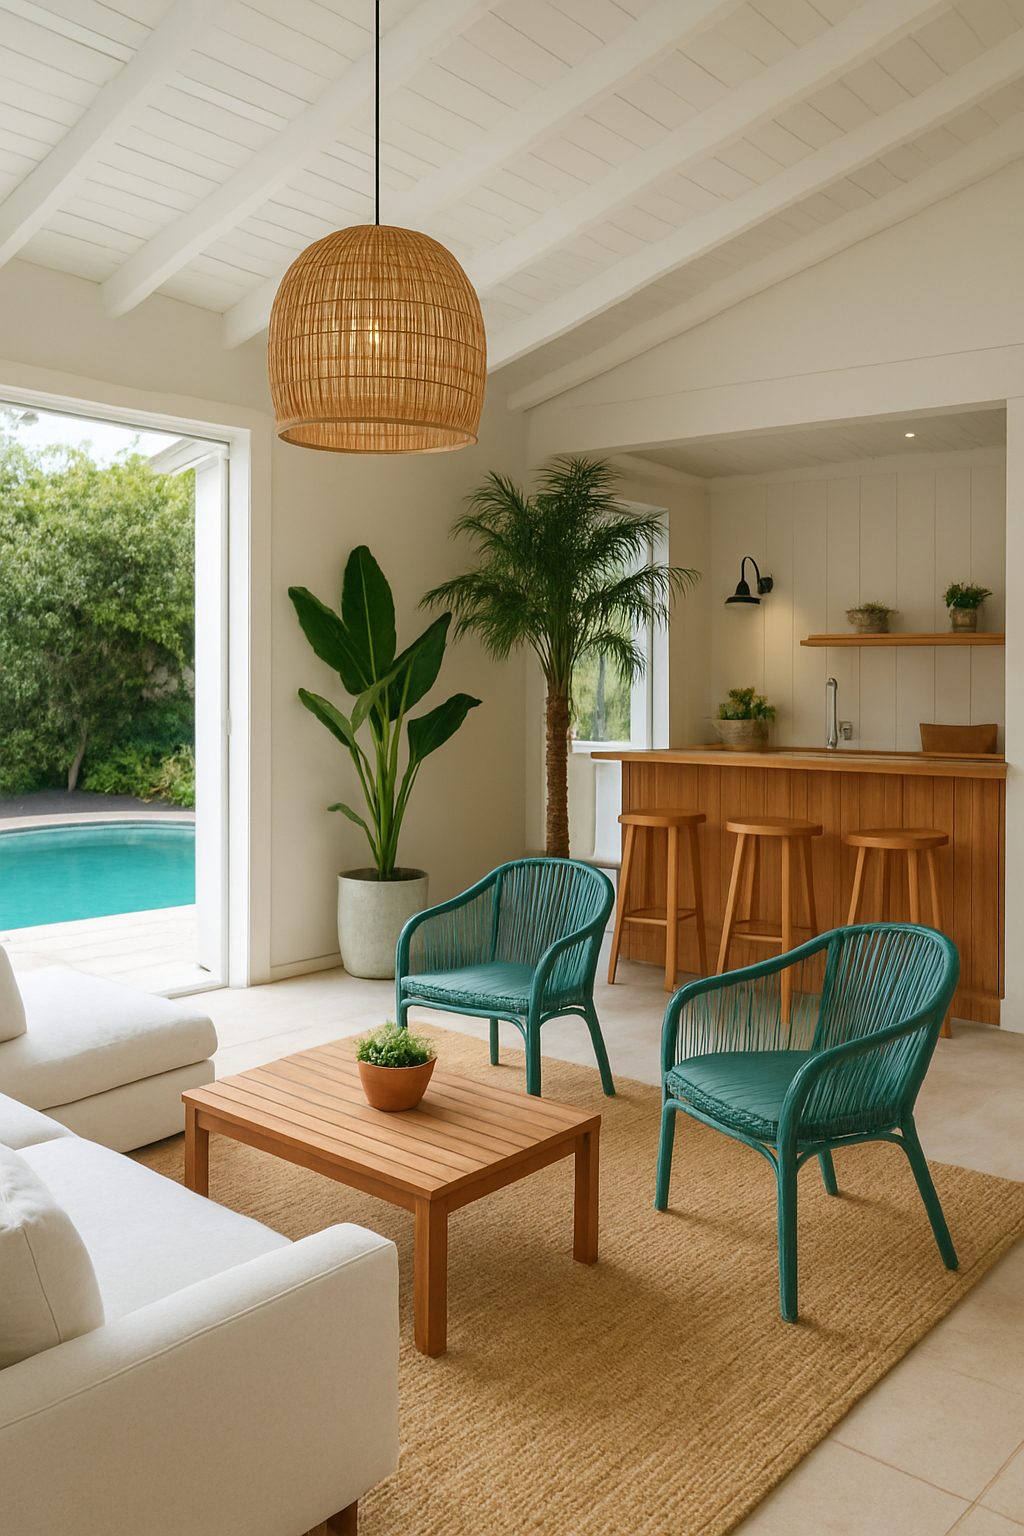
Here’s how to read the free layout piece by piece — not to copy it exactly, but to see where each item should land, and why.
Start at the pool access door.
The plan holds a jute outdoor rug, a white outdoor sofa, two aqua accent chairs, a teak coffee table, a teak wet bar with three bar stools, a tropical palm, a bird of paradise, a potted succulent, an outdoor lamp, a rattan pendant, a sliding glass door and a pool access door.
It has no towel storage, so that’s the first thing to add, right at the pool door.
From there the wet path runs toward the wet bar, with real clearance behind its three stools.
Off to the side, out of the direct route, goes the dry zone: the white outdoor sofa, the two aqua accent chairs, and the teak coffee table pulling them together.
Put the outdoor lamp near the seating for evening light, and let the rattan pendant be the one fixture overhead (no harsh overhead flood lighting here.
I said I’d die on this hill and I meant it).
The palm, the bird of paradise and the succulent fill the corners, none of them in anyone’s way.
Every single item on this list can move.
This plan is a starting point to drag around on paper or in your head, not a finished room you’re supposed to replicate inch for inch.
The value isn’t in the specific placement, it’s in the logic underneath it: wet path first, dry side second, code compliance as its own separate, non-negotiable layer.
Apply that logic to your own room’s dimensions and the plan will look nothing like this one by the time you’re done.
That’s the point.