
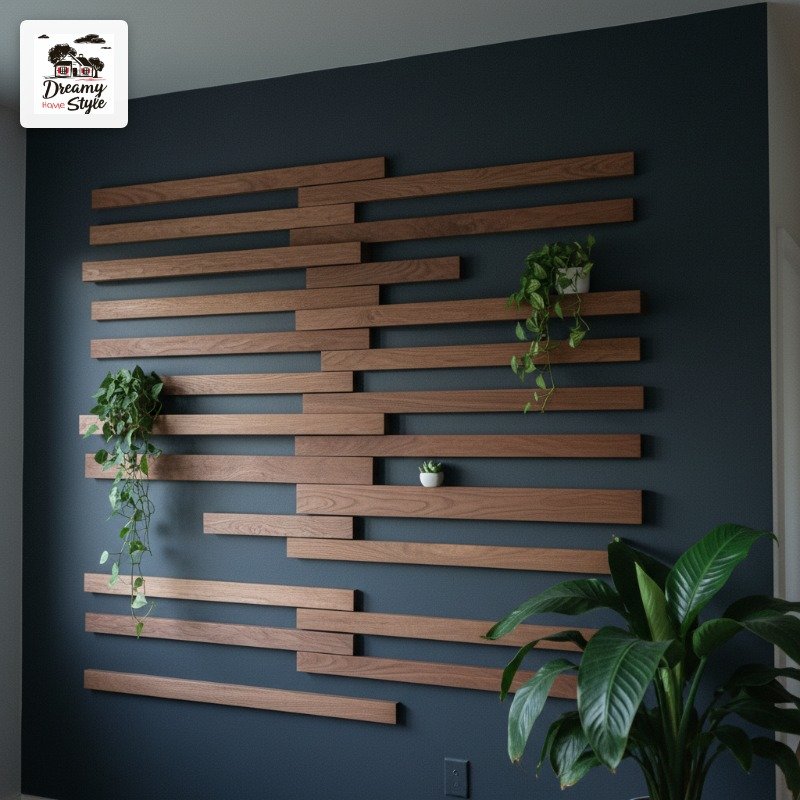

I ruined a Saturday, wasted a can of paint, and still ended up with the most-asked-about wall in my entire house.
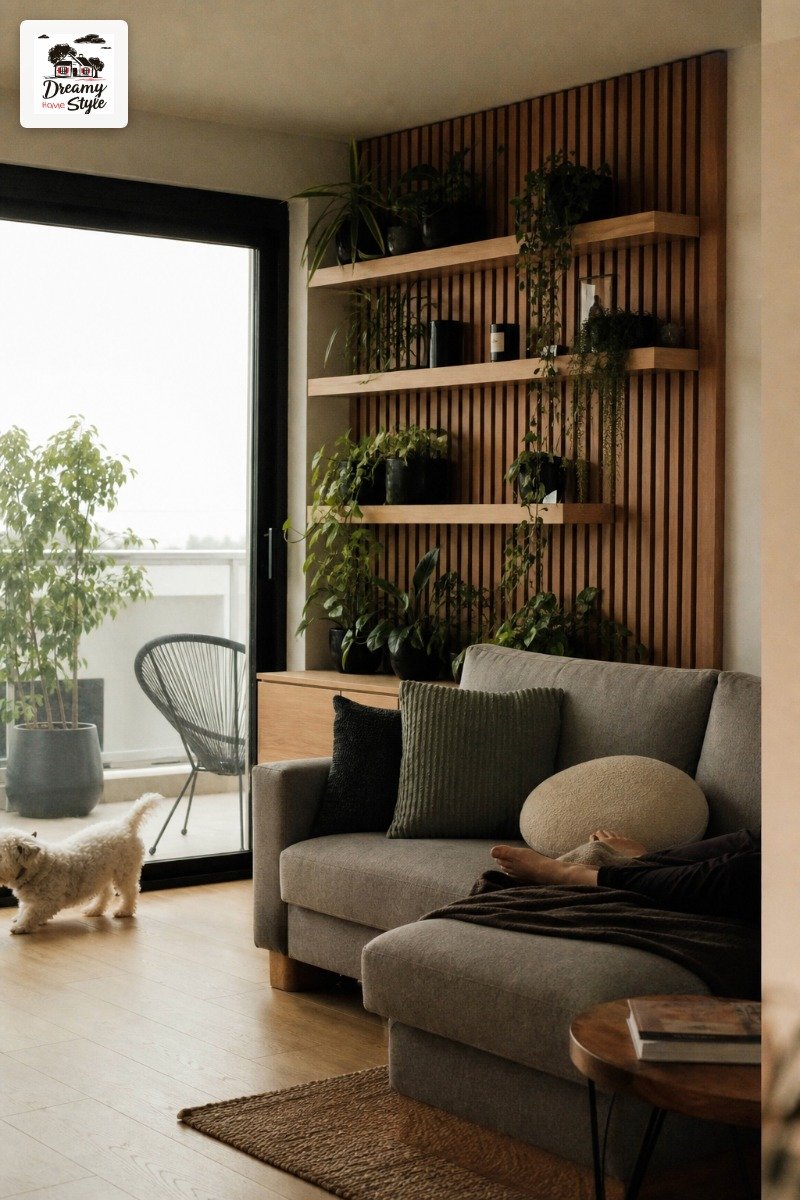
The wood slat wall in my living room with the little built-in plant shelves?
People lose their minds over it.
And honestly, it cost me under $80 in lumber, a long afternoon, and about three cups of coffee.
I’m going to walk you through exactly how I did it, what I’d do differently, and why this is the one DIY project I’ll actually tell you to drop everything and try.
Even if you’ve never touched a miter saw in your life.
Why This Wall Stopped Me Mid-Scroll
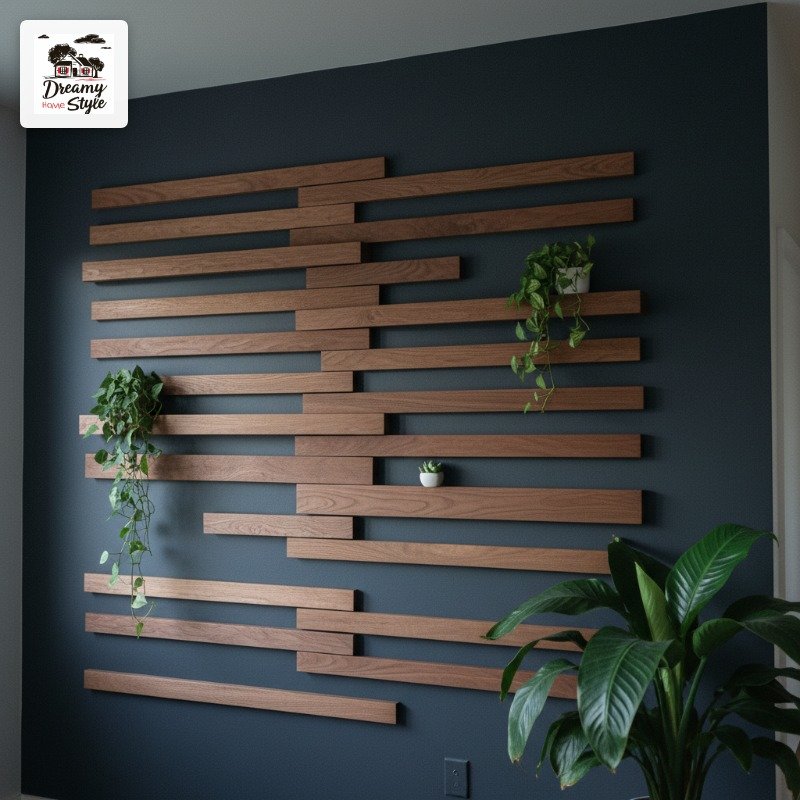
I saw a version of this on Pinterest at like 11pm on a Tuesday and immediately texted my sister a screenshot with zero context.
Just the photo.
She replied ‘do it’ and honestly that was all I needed.
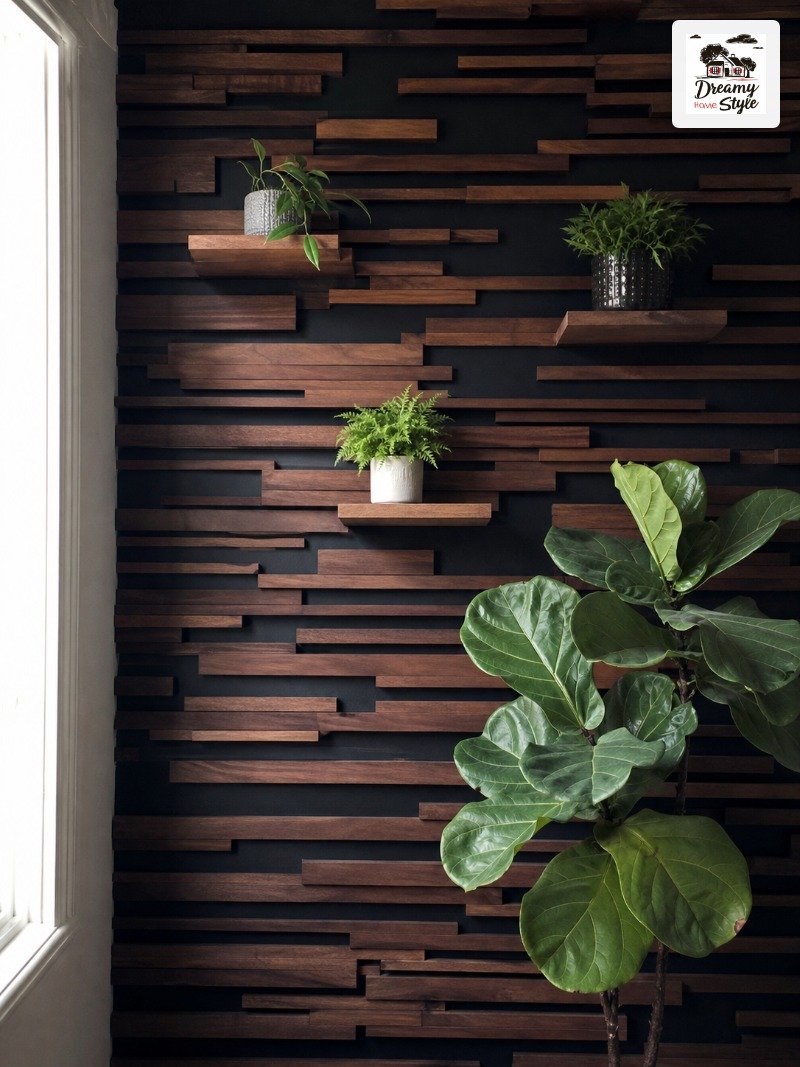
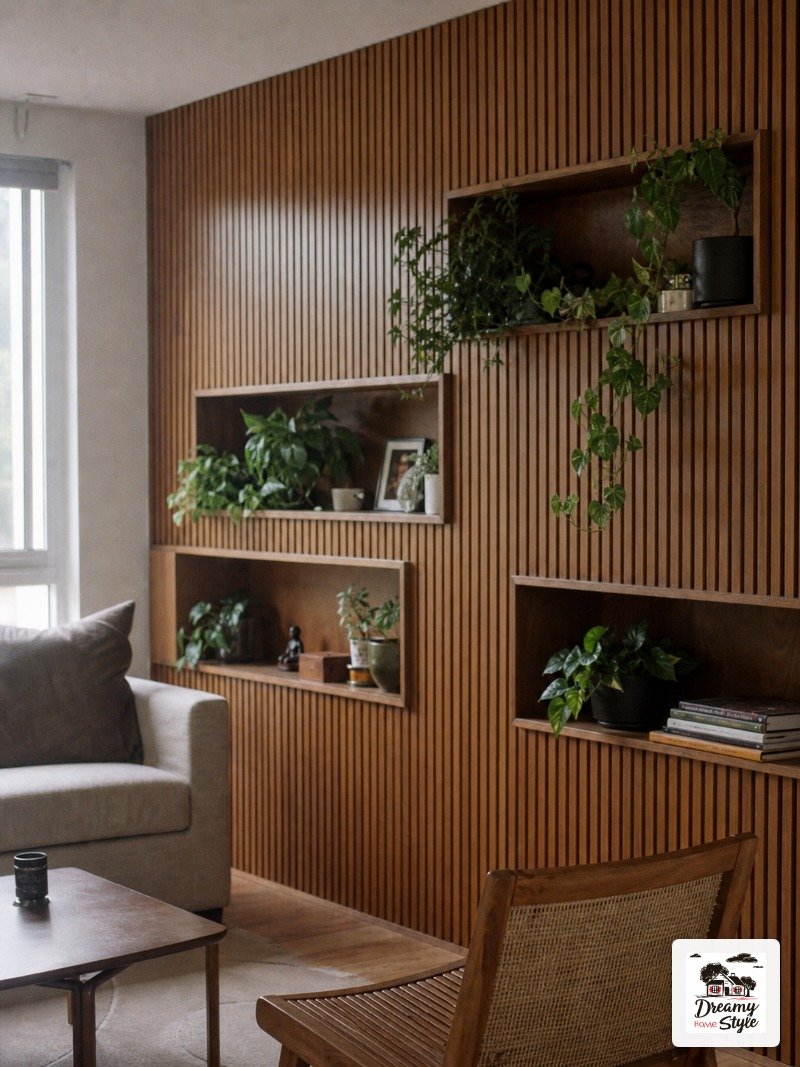
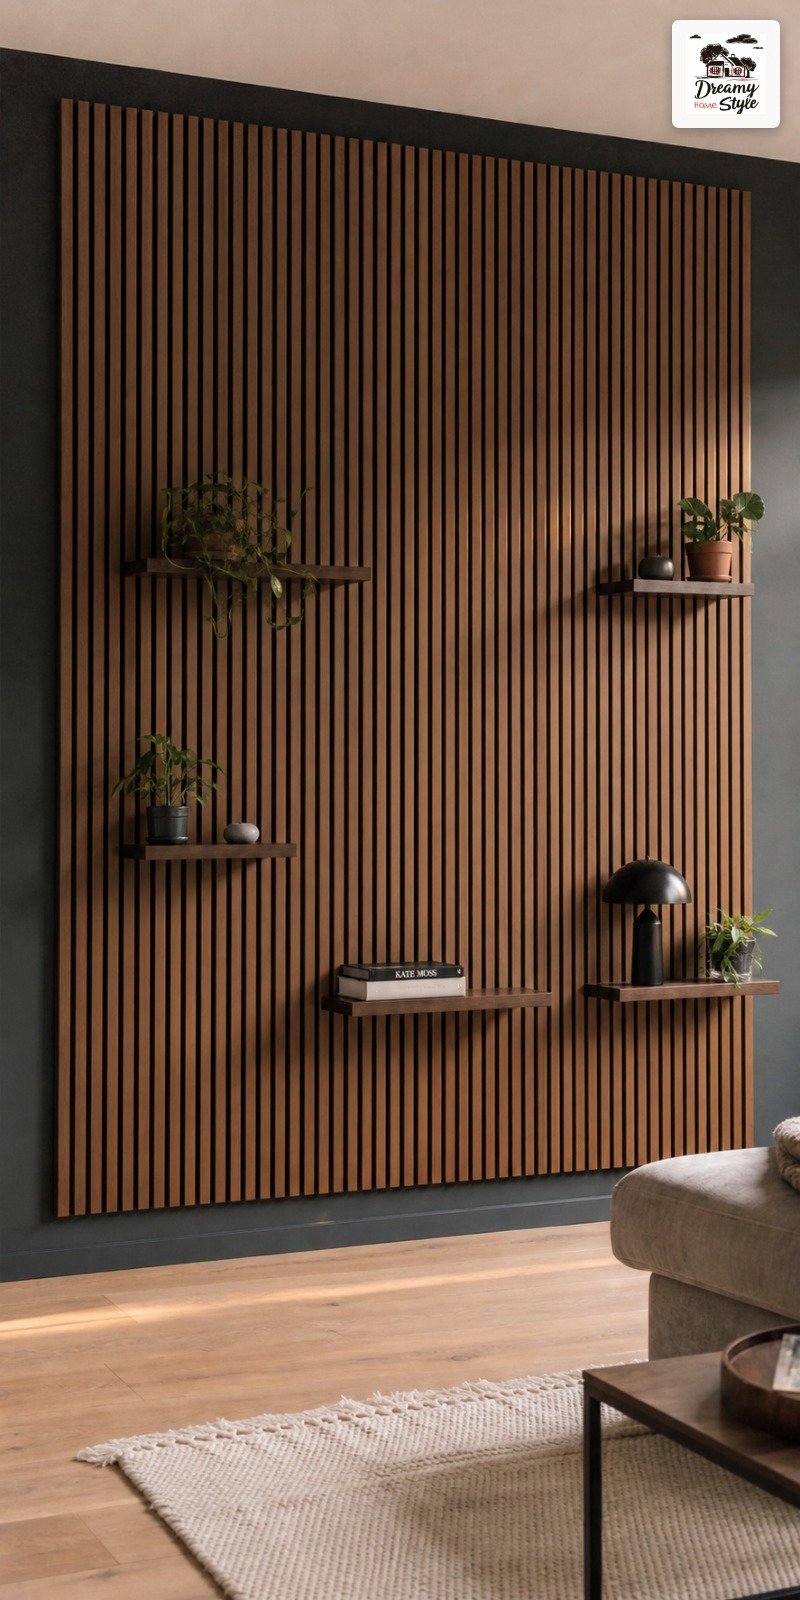
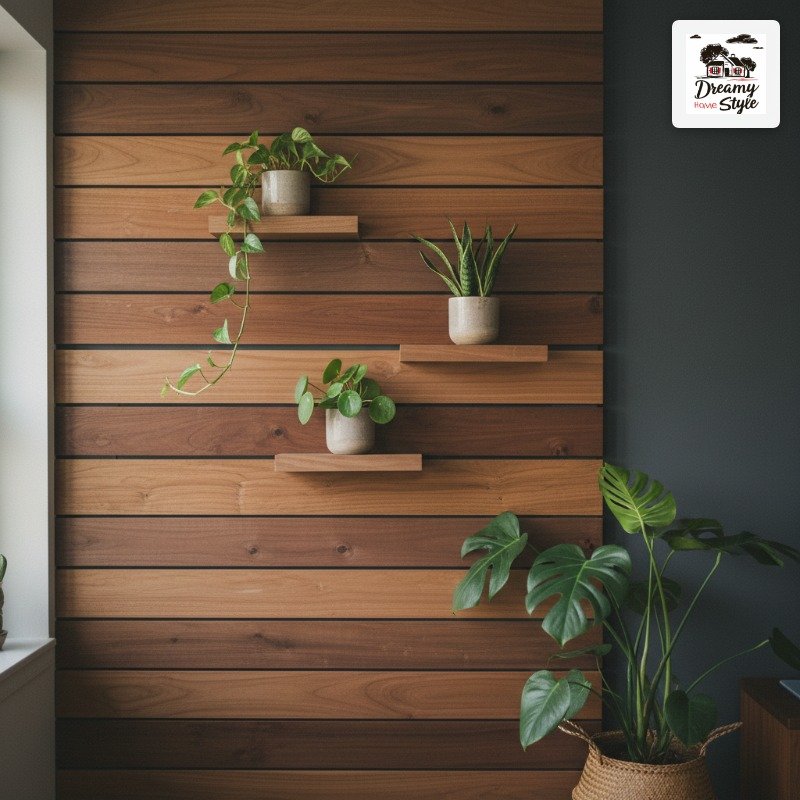
The combination is so specific and so good: dark charcoal wall, warm walnut-stained slats in different lengths, a couple of little potted plants tucked right into the gaps.
It’s got that mid-century modern thing without being cold or trying too hard.
What got me was the depth.
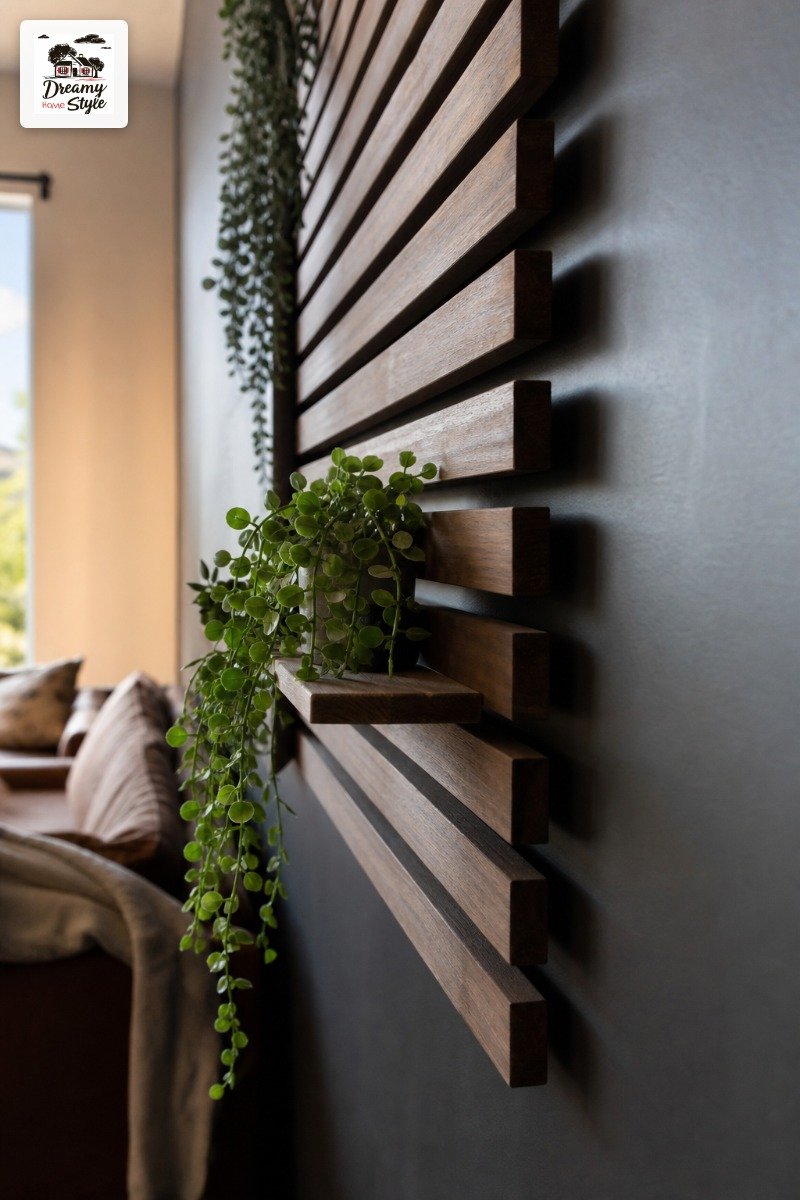
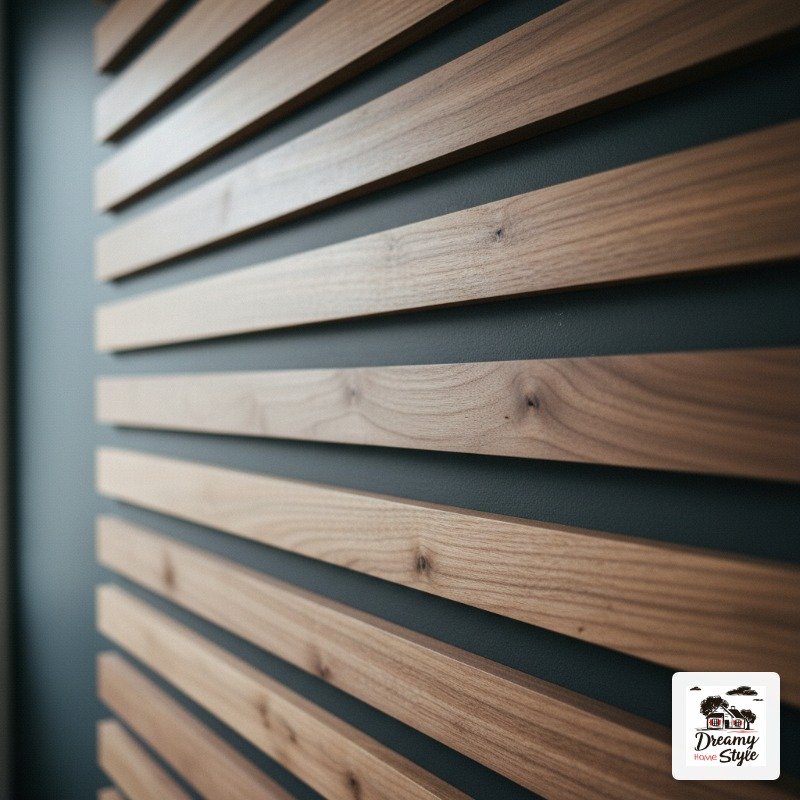
The slats float off the wall, so there are these thin shadow lines between them.
In the afternoon when the light hits it sideways, the whole thing looks like a piece of furniture.
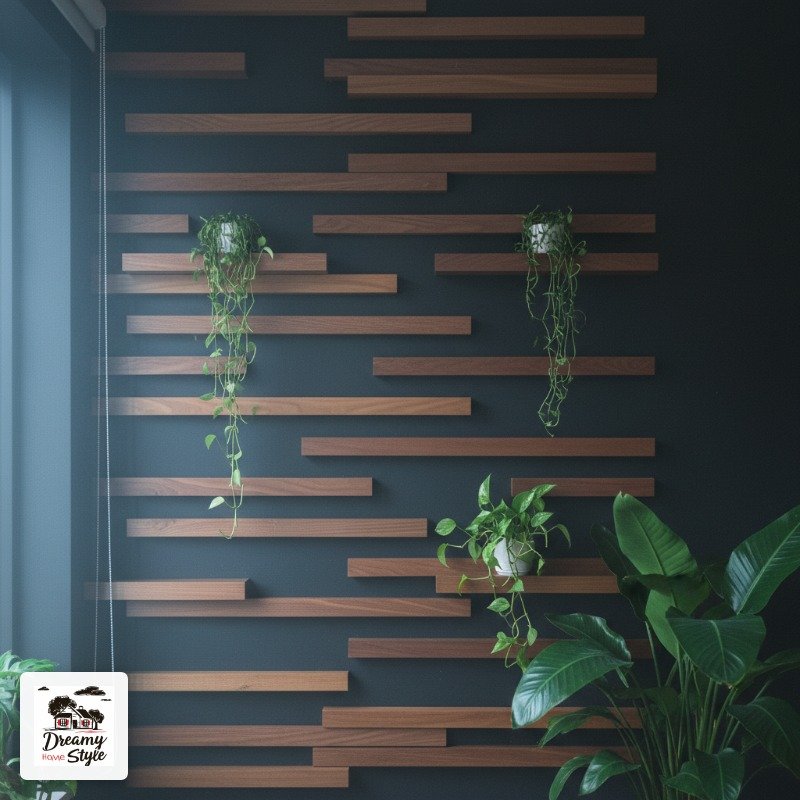
I’d been trying to do something interesting with my living room accent wall for two years.
Wallpaper felt permanent and expensive.
Gallery walls felt done.
This felt like mine.
The Wall That Makes Everything Else Look Better
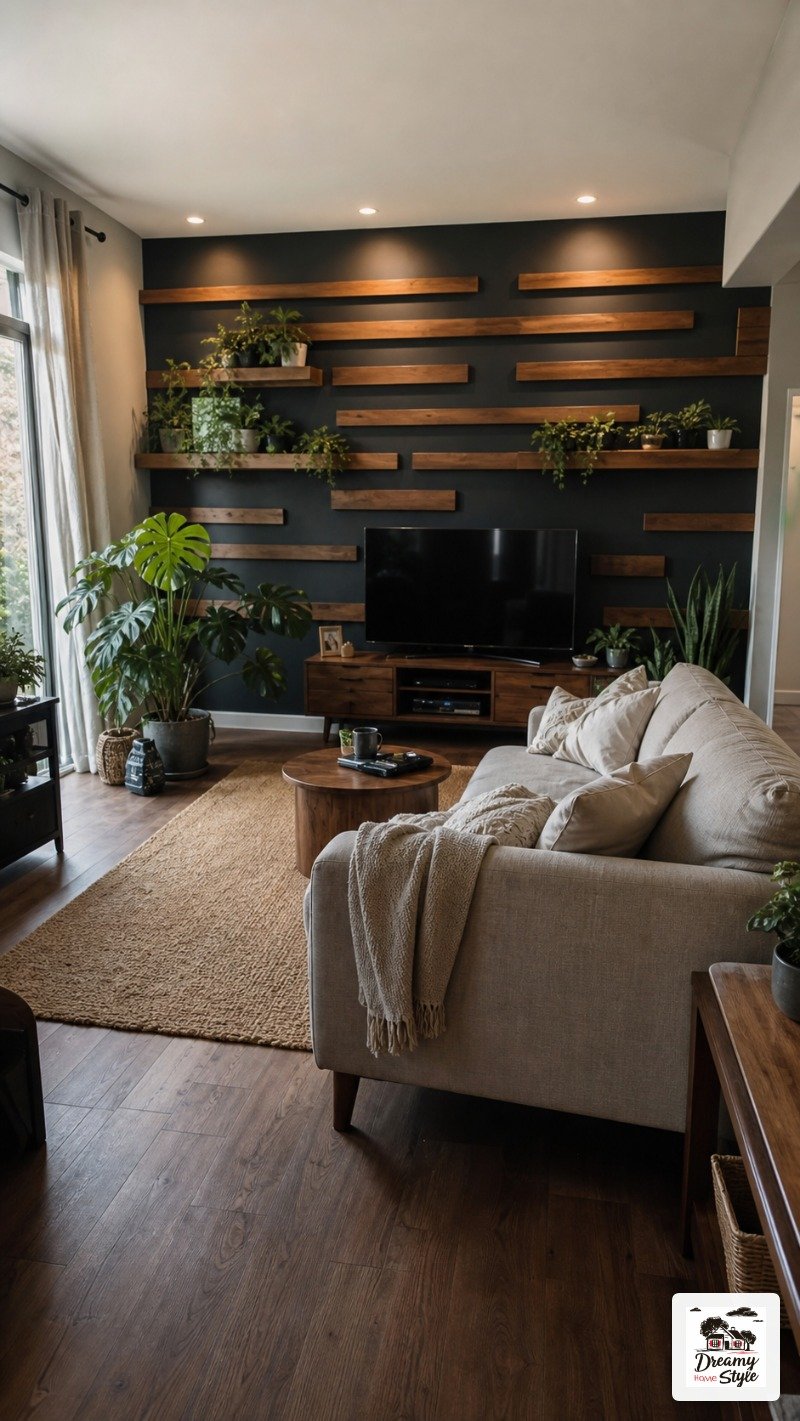
Here’s my actual before: beige wall, a secondhand couch, and a floor lamp I’ve been meaning to replace for three years.
Not bad.
Just… nothing.
After the slat wall went in, suddenly the couch looked intentional.
The rug looked chosen.
Even Biscuit’s dog bed in the corner looked kind of cute instead of just sad.
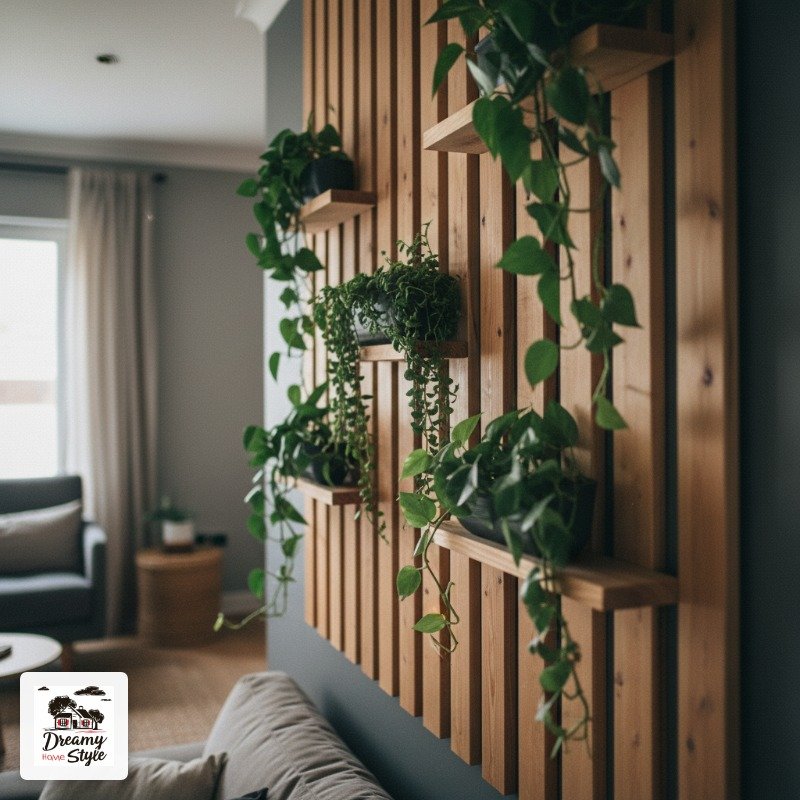
That’s what a strong focal wall actually does.
It creates a visual anchor so everything else in the room gets pulled toward it.
The whole room reads as more designed, even if you didn’t touch anything else.
I’m not saying paint your wall black and nail up some wood and your problems disappear.
But also, kind of, yes.
What You Actually Need to Buy
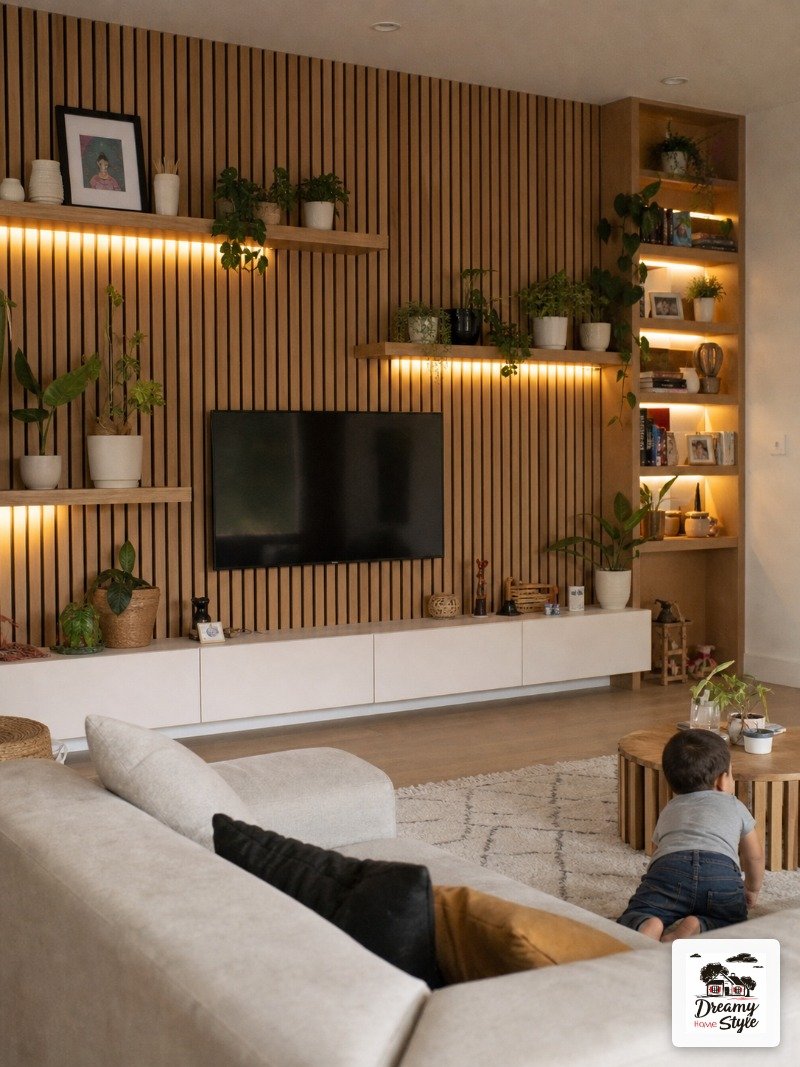
I used 1×2 pine furring strips for the slats themselves.
They’re cheap, they come in 8-foot lengths, and they take stain really well.
I got mine at Home Depot for about $1.40 each and bought 30 of them.
For the wall color under everything, I used a dark charcoal.
I went with Sherwin-Williams Urbane Bronze and it was exactly right.
Deep but warm.
Not blue-black, not flat gray.
You’ll also need: wood stain (I used Minwax Early American), a foam roller for the wall paint, a brad nailer or finishing nails, a level, sandpaper (120 and 220 grit), and wood glue for the shelf brackets.
Total materials cost for my 8×9 foot wall: $74.
Not counting the plants, which I already had, or the coffee I drank while staring at it.
One thing I wish I’d bought more of: sandpaper.
I ran out halfway through and drove to the store in paint clothes.
Very cute.
Painting the Wall First Is Non-Negotiable
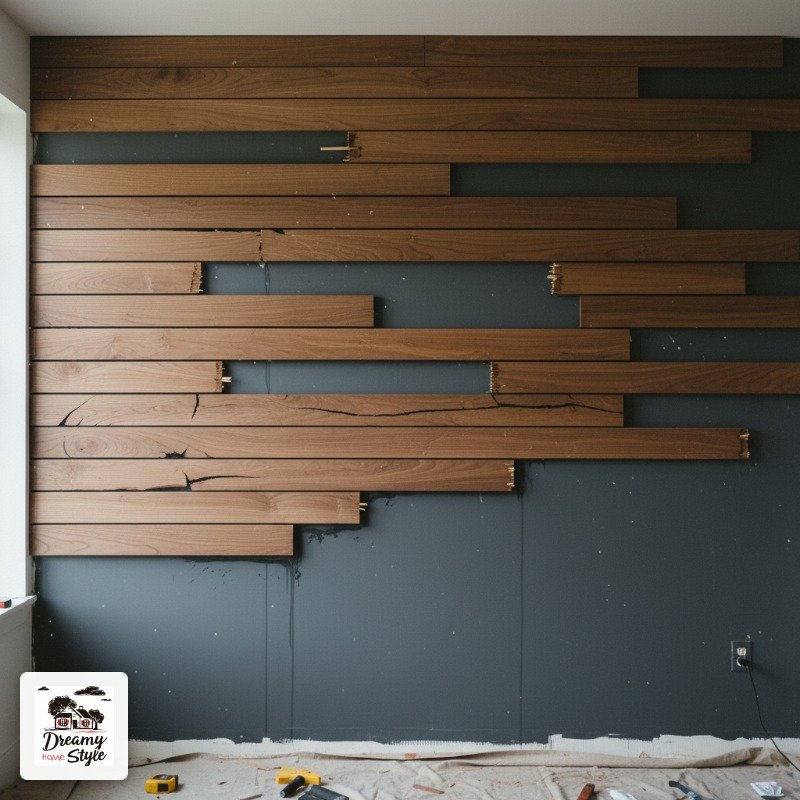
Do not skip this step.
I know it feels backwards to paint a wall you’re about to cover with wood, but the gaps between the slats are part of the look.
If your wall is white under there, it’ll show.
And it’ll ruin everything.
I painted the entire wall two coats of charcoal before touching a single slat.
Let it fully dry.
Like, overnight dry, not ‘it seems fine’ dry.
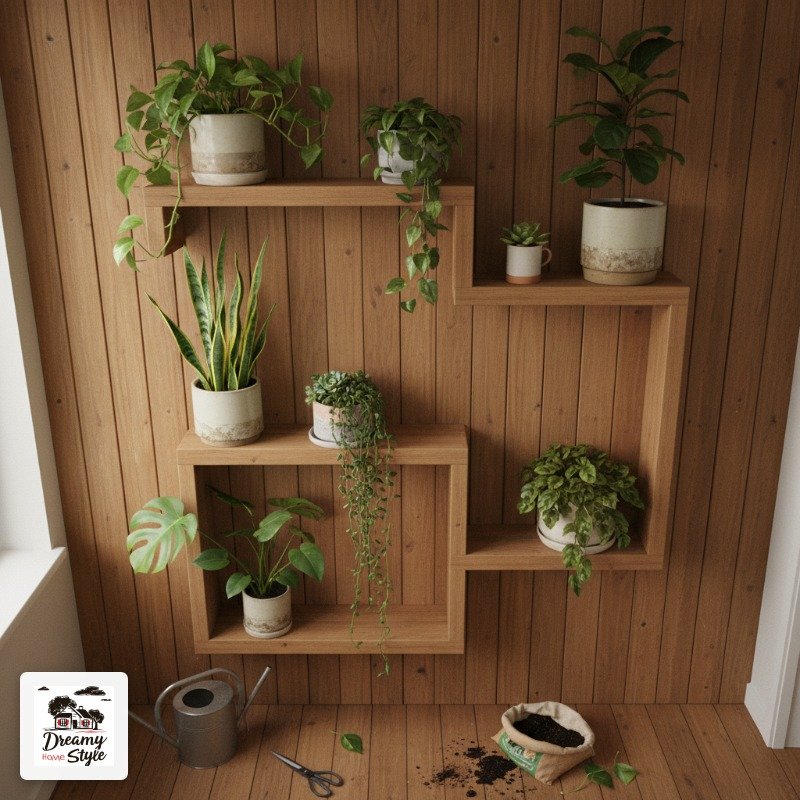
The dark wall behind the warm wood is what creates that moody, intentional look.
It’s the contrast that does all the work.
A light wall with light wood just reads as unfinished.
Also paint the top and sides of your slats before you install them.
Way easier than trying to get in there after.
Staining the Slats Before They Go Up
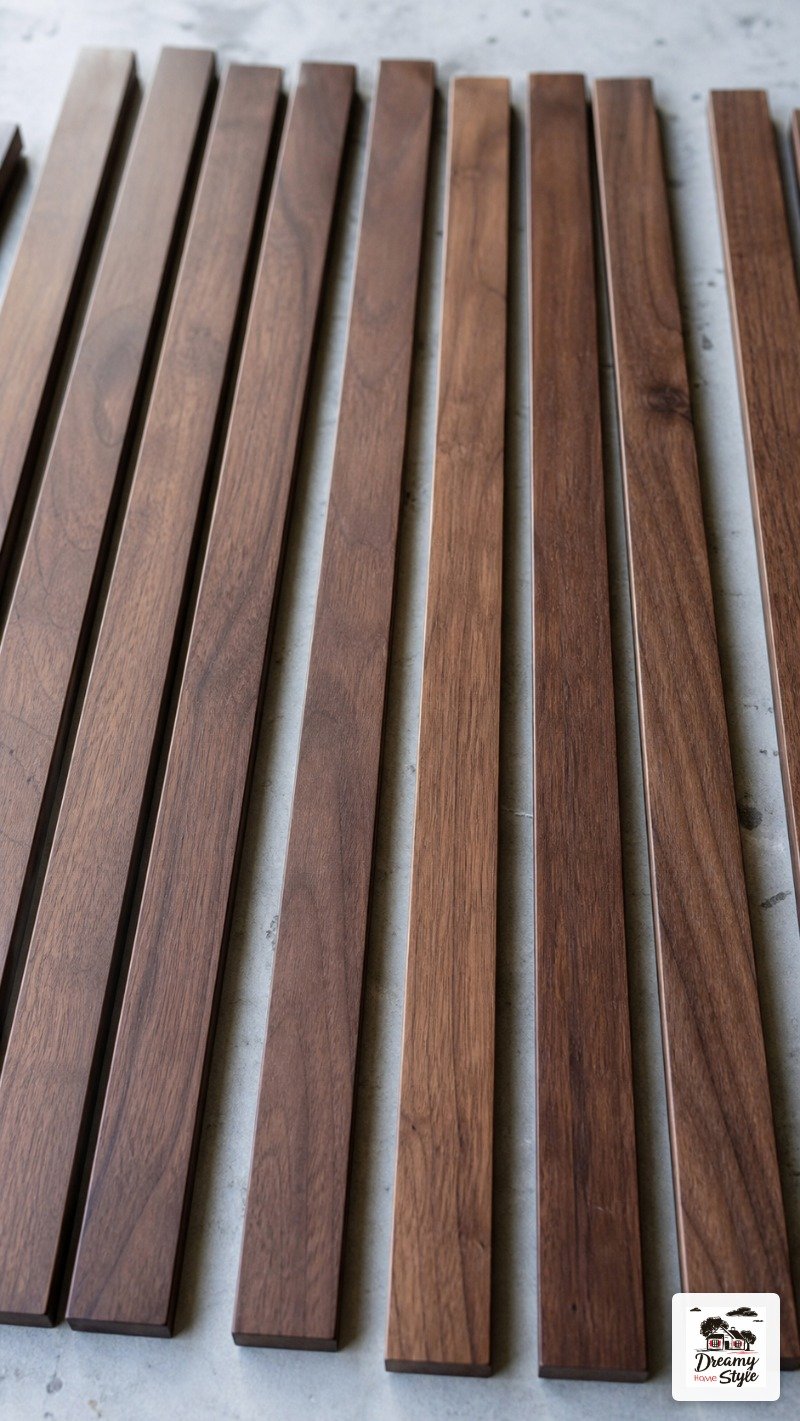
I laid all 30 strips out on a tarp in my backyard and stained them assembly-line style.
It took about 45 minutes and it was honestly one of the more satisfying parts of the whole project.
Minwax Early American gave me that warm walnut look without going too orange or too dark.
I did one coat, wiped off the excess after about 5 minutes, and let them dry for a few hours in the sun.
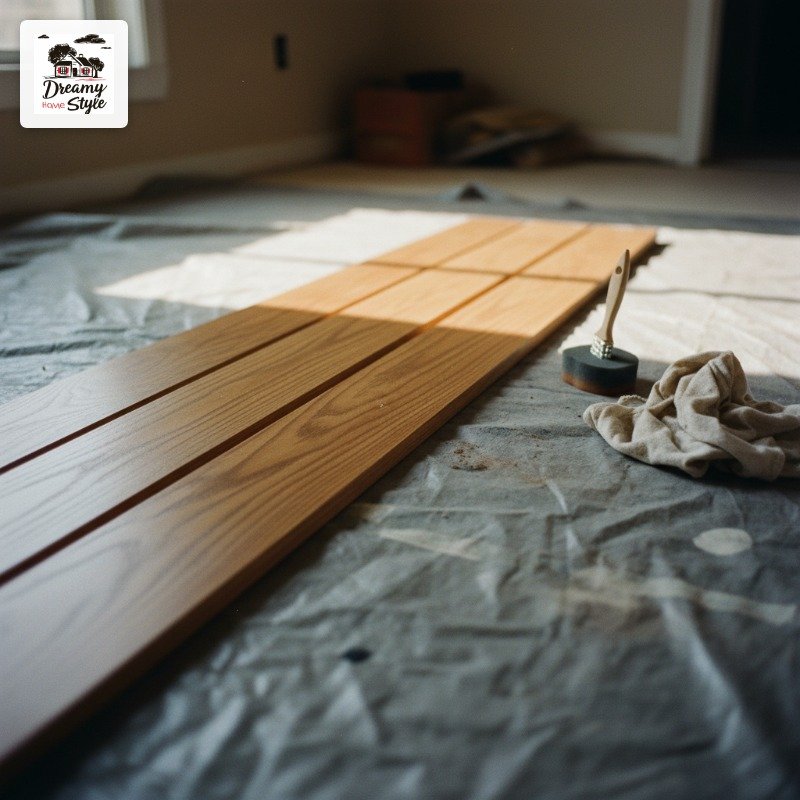
Sand lightly with 220 grit between coats if you want a smoother finish.
I did some and skipped some and honestly couldn’t tell the difference once they were on the wall.
The variation in how the wood absorbs the stain is actually beautiful.
Not every slat comes out identical and that’s what makes it feel handmade instead of fake.
The Layout That Makes It Look Like You Planned It
The staggered-length thing is everything.
Don’t cut all your slats the same.
I went with four rough sizes: full width (about 90 inches), three-quarter, half, and quarter.
Mixed them up.
I started at eye level and worked out from center.
It sounds fancier than it is: I just held up a slat, eyeballed it, and moved on.
Use a level.
Seriously.
I eyeballed one section and it’s 1/8 inch off and I see it every single day.
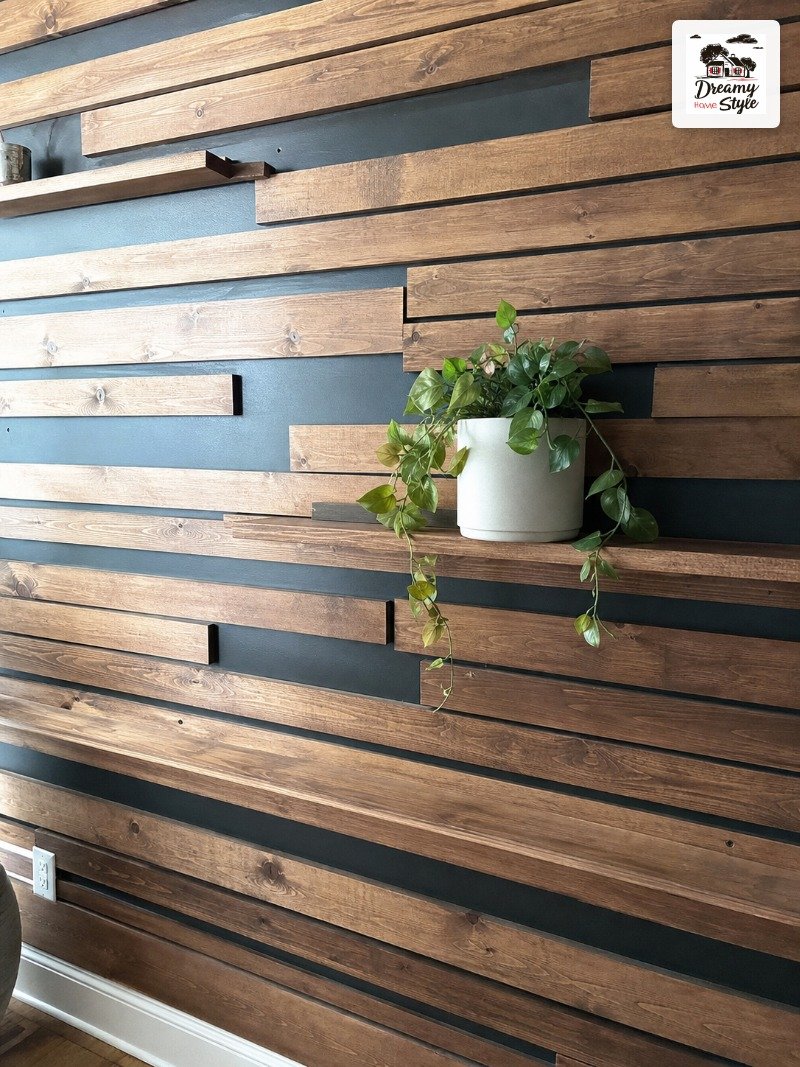
Space the slats about 1.5 to 2 inches apart.
That gap is where the dark wall shows through and creates the shadow lines.
Don’t overthink the pattern.
Just make sure no two same-length slats are next to each other and it’ll look intentional.
Nailing Them Up Without Losing Your Mind
A brad nailer is genuinely the right tool here.
I borrowed my neighbor’s and it cut the installation time in half.
If you don’t have one, finishing nails and a hammer work fine, just slower.
I nailed into the drywall and found studs where I could.
For the shelf pieces (more on those in a second), I made sure to hit studs because plants are heavier than you think.
Pre-drill if you’re near the ends of any slat.
I split two pieces by not doing this.
Learn from me.
Use a scrap piece as a spacer between each slat so your gaps stay consistent.
This is one of those tips I read, thought ‘yeah, yeah,’ skipped, and then spent an hour adjusting things.
Building the Plant Shelves Into the Slats
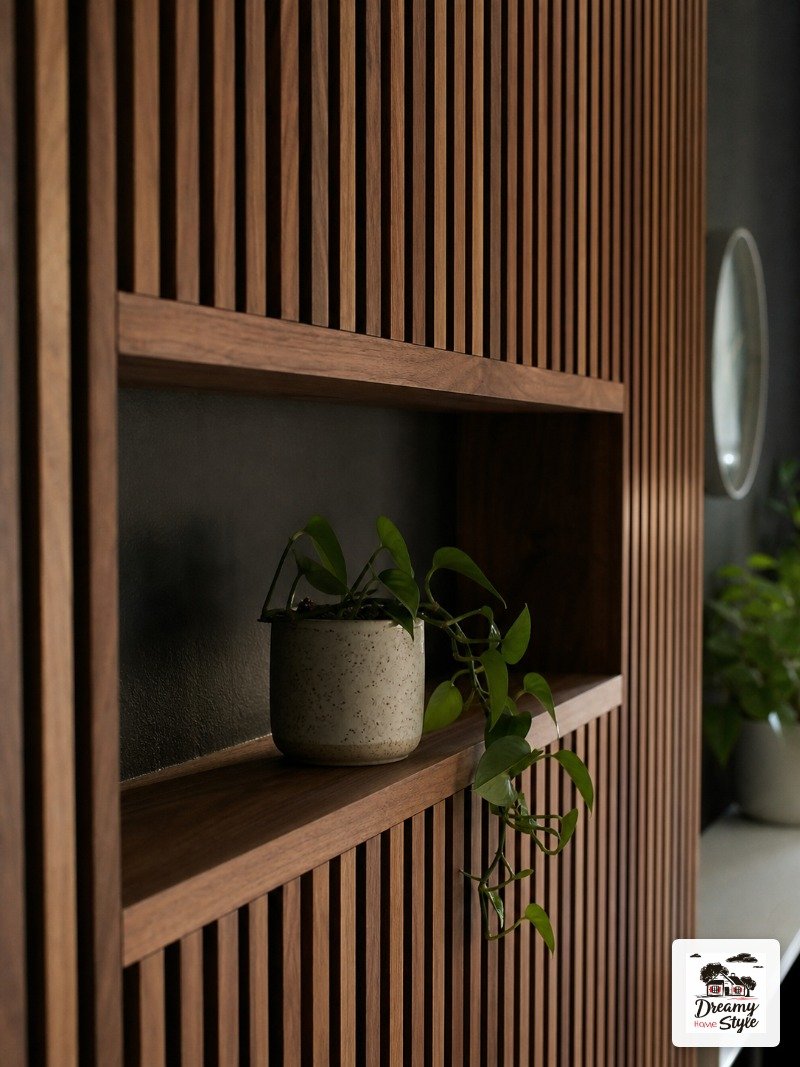
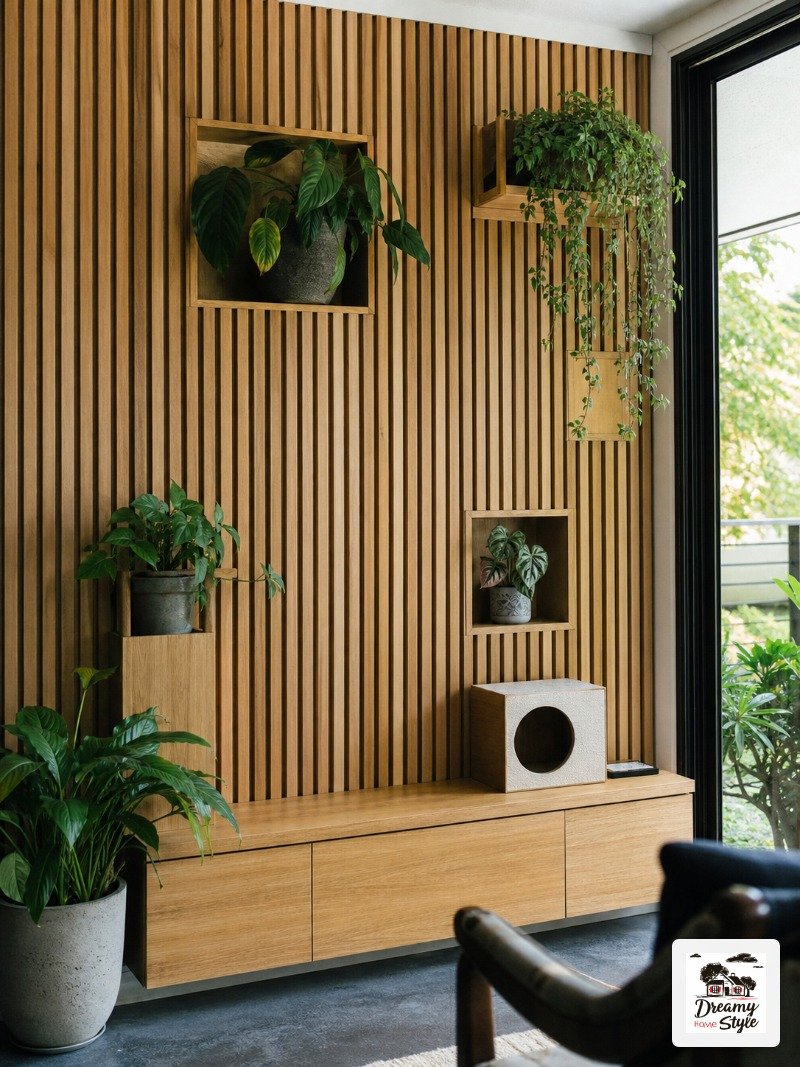
This is the part that makes people stop and say ‘wait, how.’ It looks complicated.
It’s not.
I added three small shelves by using two short vertical pieces of the same 1×2 lumber as brackets, screwed directly into studs behind the drywall.
Then I cut a slightly wider piece of stained wood (about 8 inches wide, 12 inches deep) and laid it flat across them.
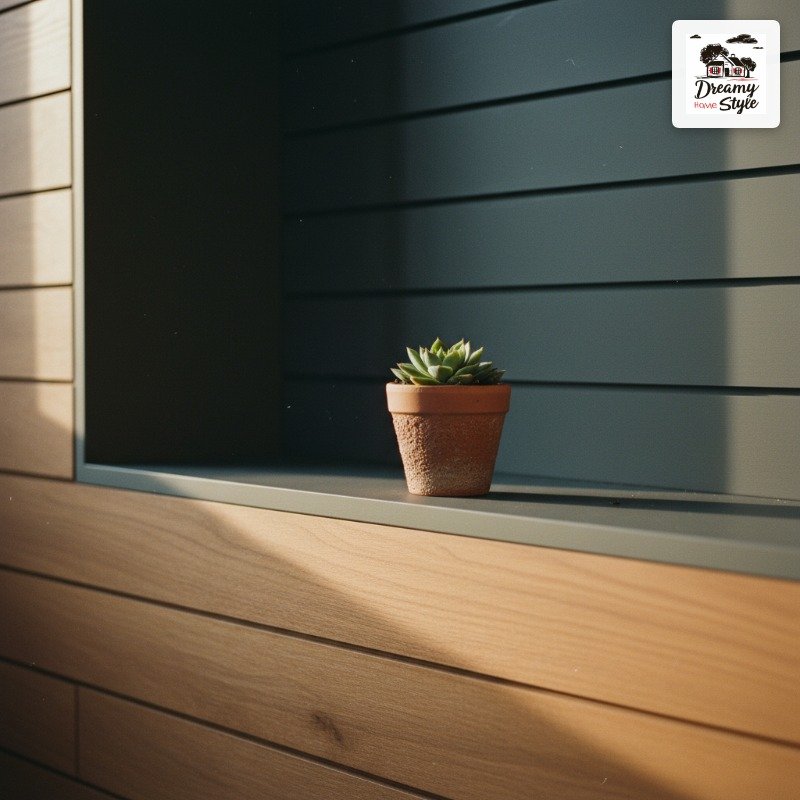
The trick is to position the shelves so they sit flush with the face of the slats, like the slats just… stop and a ledge appears.
It’s built into the rhythm of the wall.
I put one shelf at shoulder height, one in the middle, and one lower.
They hold small pots no problem.
I wouldn’t put anything heavier than a medium-sized ceramic planter up there, just to be safe (I learned this the slightly nerve-wracking way).
Picking the Right Plants for the Shelves
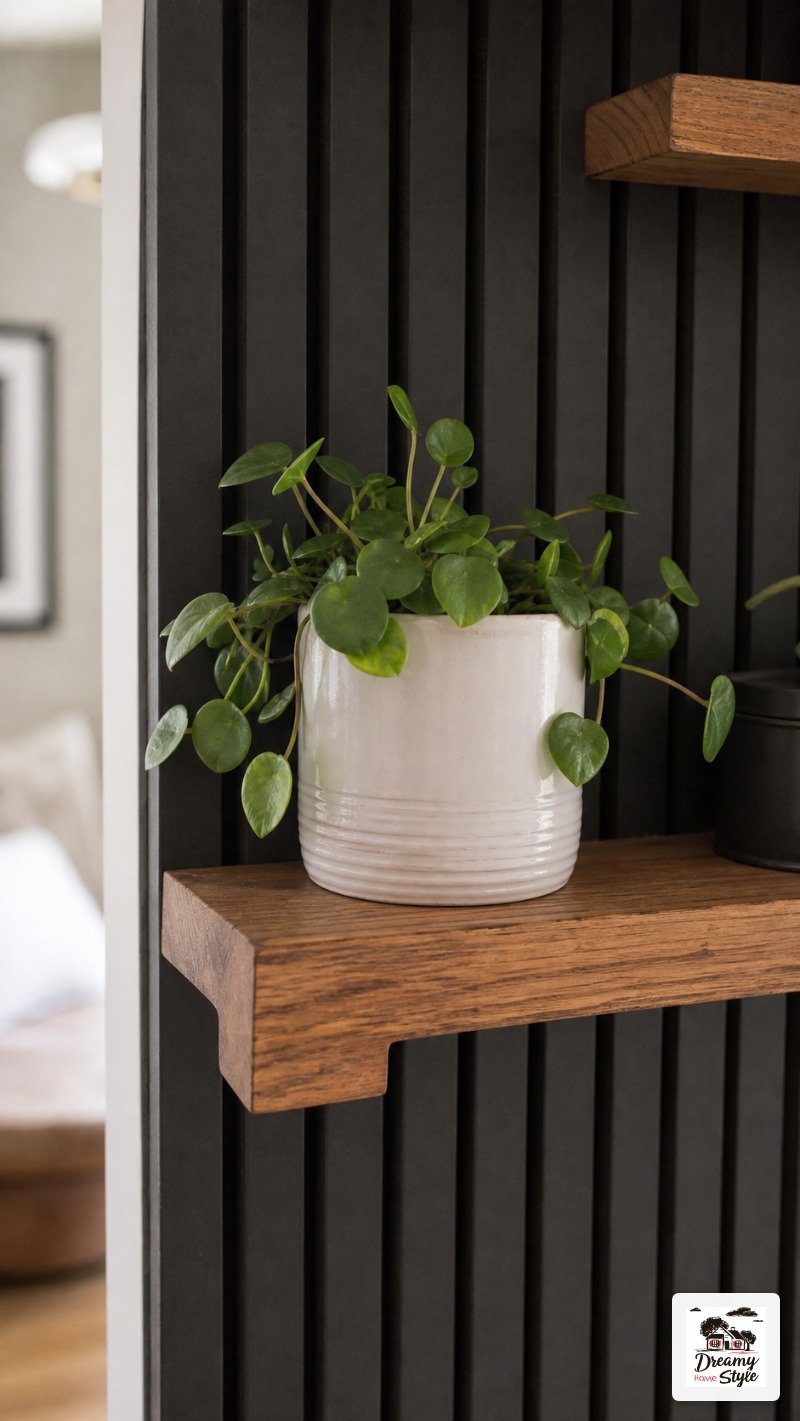
Small and structural is the move here.
I went with a little pothos that trails just slightly over the edge, a small snake plant, and a round-leafed peperomia.
All of them are low light tolerant, which matters because this wall doesn’t get direct sun.
The big tropical plant on the floor next to the wall is a bird of paradise I’ve had for two years.
It adds the scale.
The wall alone is striking, but the floor plant at the corner makes the whole thing feel like a living installation.
Don’t put anything that needs to be watered constantly on a wood shelf without a saucer underneath.
I do not speak from experience on this.
(I speak from experience on this.)
Trailing plants are especially good on the higher shelves because they soften the whole look and add movement.
The Lighting Situation (This Is Important)
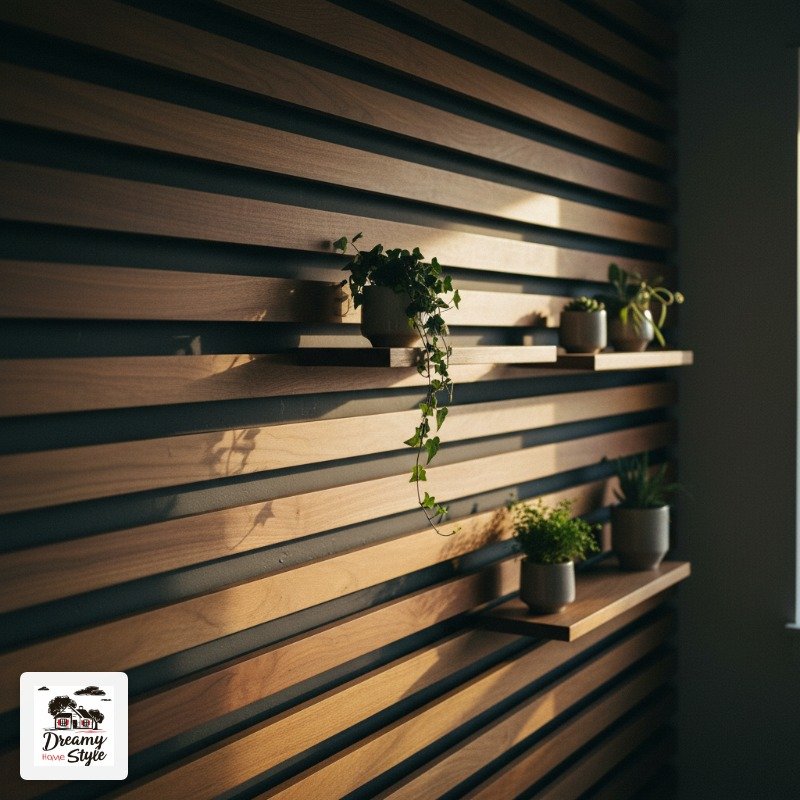
Overhead lighting is a crime and I will not be taking questions.
This wall is at its most gorgeous with side-light, floor lamps, or a simple plug-in wall sconce nearby.
I put a tall arc floor lamp about 4 feet to the left of the wall.
At night the light rakes across the slats and the shadows go deep.
It looks like a different wall than it does in the daytime.
Both versions are good.
If you’ve got natural light coming in from a window beside the wall, you already won.
That’s the setup in my house: a west-facing window throws afternoon light directly across the slats around 3pm and I basically just stare at it.
Warm-temperature bulbs only.
Anything cool or blue-white will kill the walnut tones completely.
Finish Details That Are Worth the Extra Hour
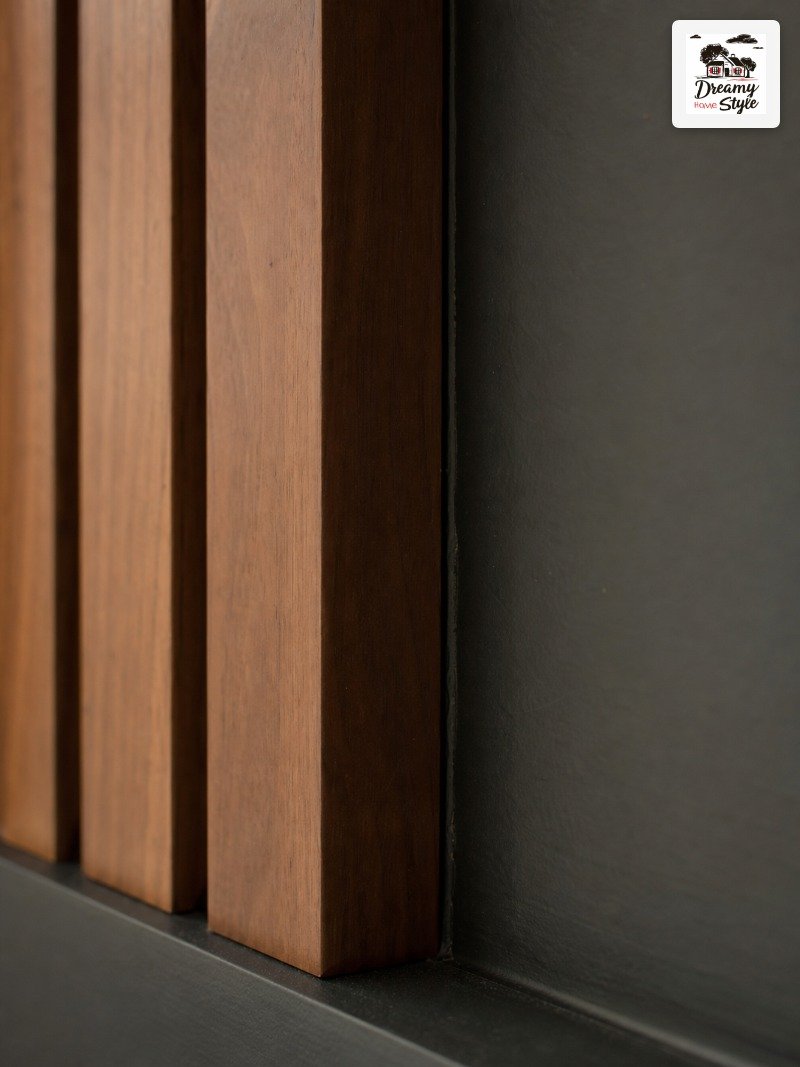
Caulk the edges where the outer slats meet the surrounding wall.
Takes 20 minutes and makes the whole thing look built-in instead of nailed-on.
I also touched up the charcoal paint in the gaps between slats after installation.
Some spots got scratched during install.
A small artist’s brush and 10 minutes fixed it.
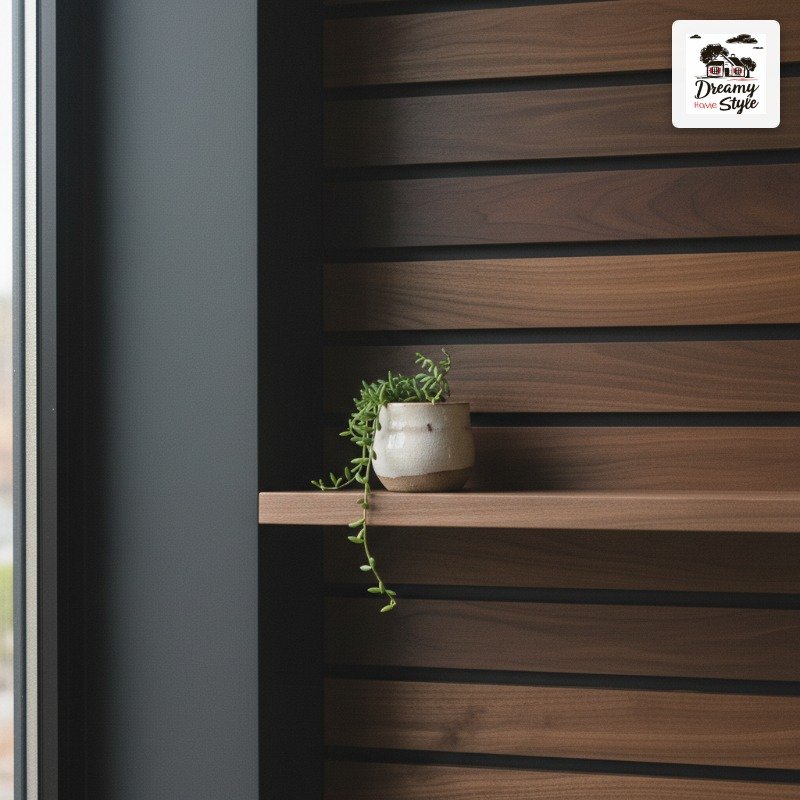
Sand any rough edges on your slats before staining.
I skipped one batch and got a splinter standing in my own living room.
Very glamorous.
The last thing I did was a light coat of Minwax Polycrylic (matte finish) over the stained slats.
Totally optional, but it protects the wood from moisture, which matters if your house has any humidity at all.
What I’d Do Differently
Honestly, not much.
Which is rare for me to say about any DIY project.
I’d buy pre-stained slats if I ever do this again, just to save time.
Some lumber yards sell them.
Worth asking.
I’d also make one of the shelves deeper (mine are 12 inches, I’d go 14) to fit larger pots.
Right now I’m a little limited on pot size and I keep eyeing this gorgeous big ceramic I found at a thrift store that doesn’t quite fit.
The only real mistake was not protecting my floors better during installation.
I got stain on my hardwood from a dropped slat.
It came out mostly with Murphy Oil Soap but it was a stressful afternoon.
Why This Project Actually Feels Worth It
I’ve done a lot of DIY stuff in this house.
Some of it was fine.
Some of it I painted over three months later (the dining room incident, we don’t talk about it).
This wall is the one I’d do again without hesitation.
Every time I sit on that couch and look at it, I still feel a little proud.
Biscuit has knocked a plant off one of the lower shelves twice but even that I can’t stay mad about because the wall looks so good.
It’s the kind of project that makes you feel like your home is becoming exactly what you had in your head.
That’s rarer than it sounds.
If you’re on the fence: the materials cost less than a throw pillow from a boutique shop, and it’ll change the whole energy of the room.
Start with one wall.
Just one.

