
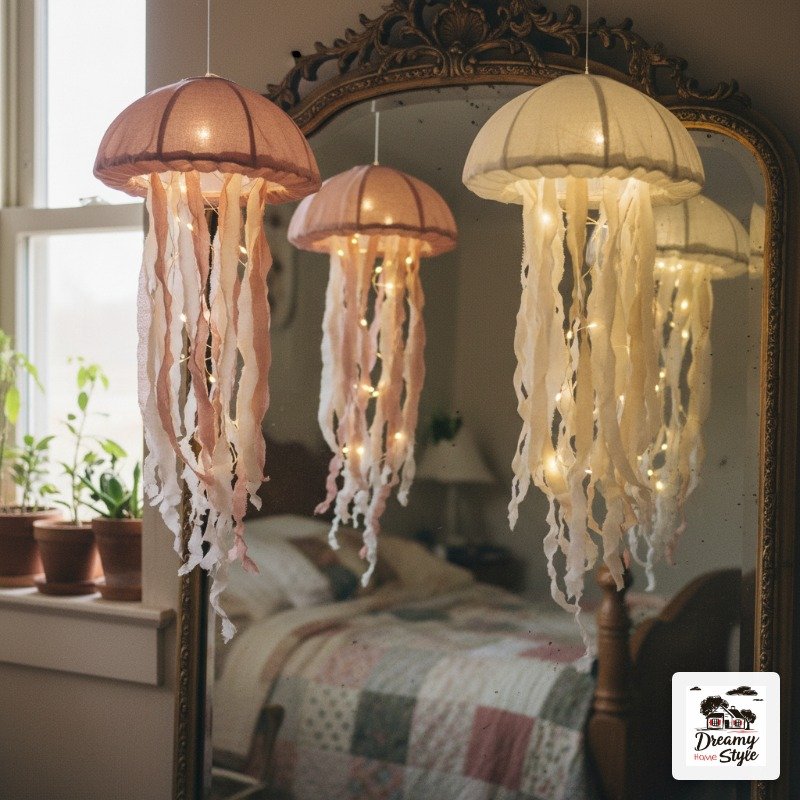

I made my first jellyfish light out of a $3 thrift-store colander and about four feet of tangled fairy lights I found in a Christmas box.
It looked, honestly, like a sad haunted mushroom.
But then I turned off the overhead light (crime, remember) and let just that little glow do its thing, and Biscuit stopped chewing my slipper long enough to stare at it.
So did I.
There’s something about a soft floating ball of light with drippy tentacles that makes a plain bedroom feel like an underwater dream.
And you don’t need to be crafty.
I’m proof.
Let me show you how I got from haunted mushroom to the blush-and-ivory pair hanging over my bed now.
What A Jellyfish Light Actually Is (And Why It Works)
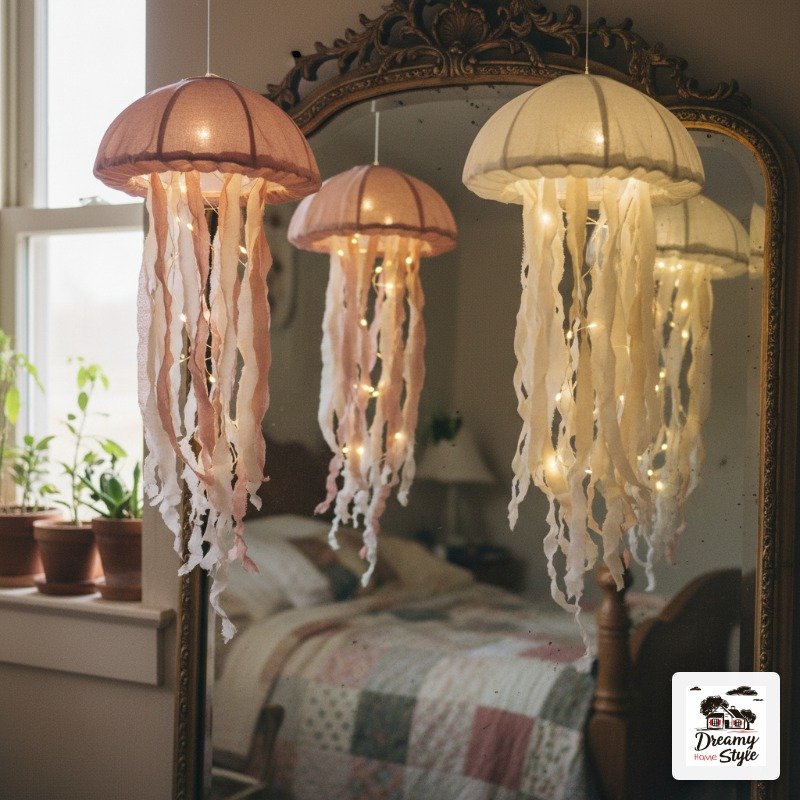
Strip it down and it’s dead simple.
A rounded dome for the “bell,” fairy lights tucked inside to glow, and some kind of trailing material for the tentacles.
That’s the whole trick.
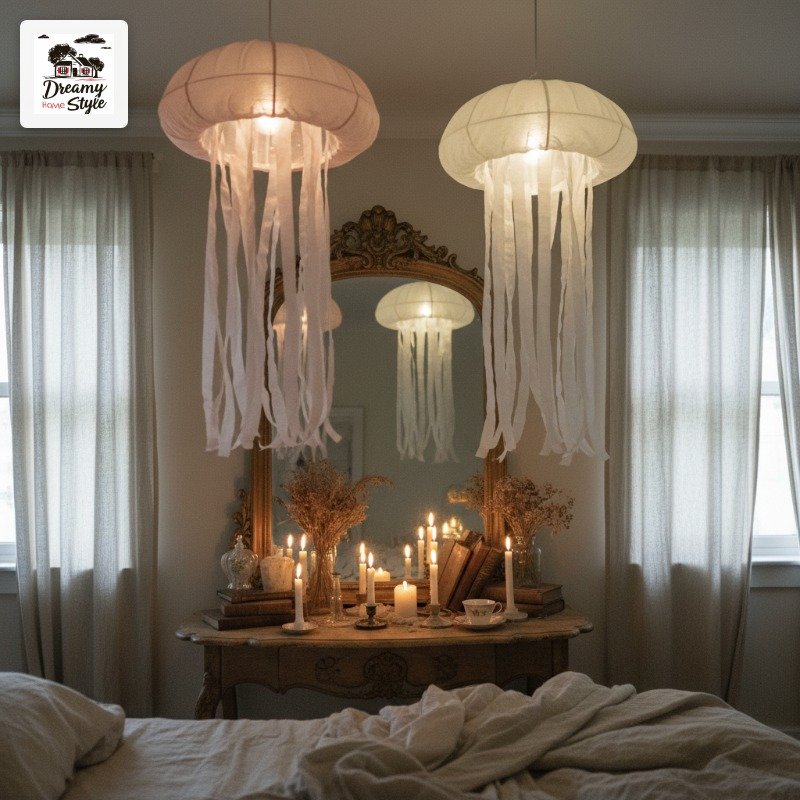
The magic is the light source.
You want warm white, tucked up inside so you never see the bulbs directly.
Bare bulbs read as a science project.
Diffused glow reads as magic.
I hang mine at slightly different heights so they look like they’re floating up, not stuck to the ceiling in a straight line.
Uneven is the goal here.
Real jellyfish don’t swim in formation.
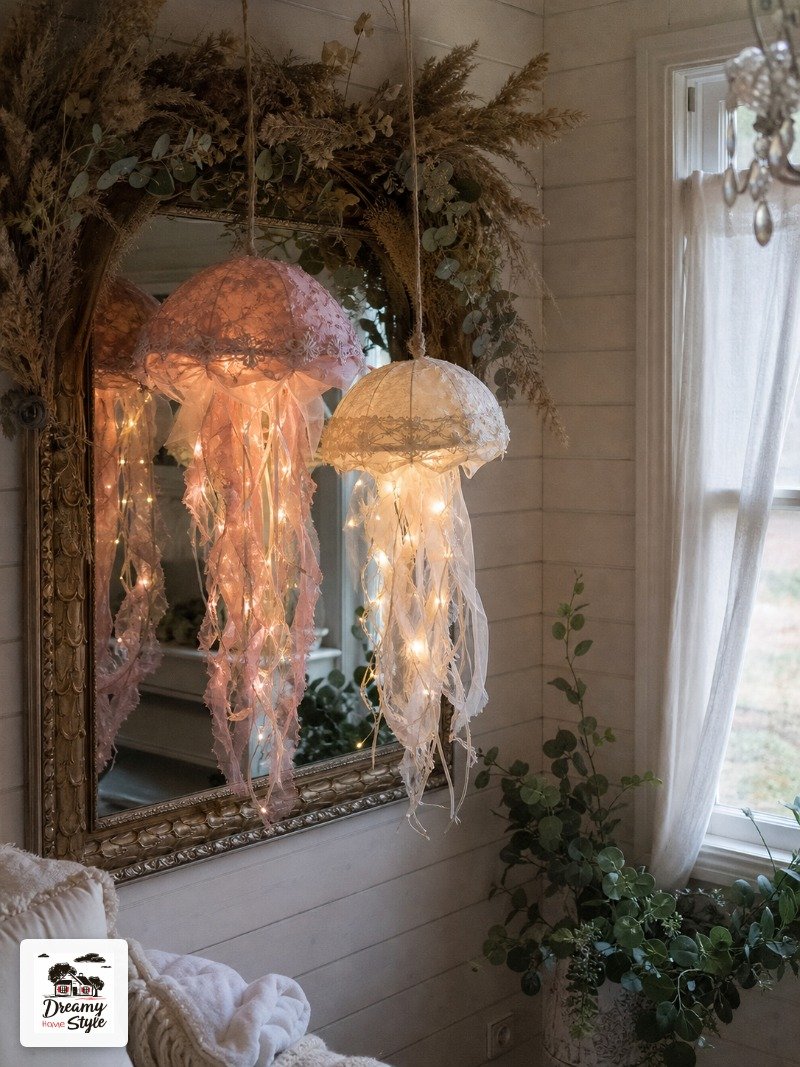
And no, it doesn’t light your whole room.
It’s a mood light, not a reading lamp.
I keep a little lamp on my nightstand for actual seeing.
The Quick Supply List Before You Start
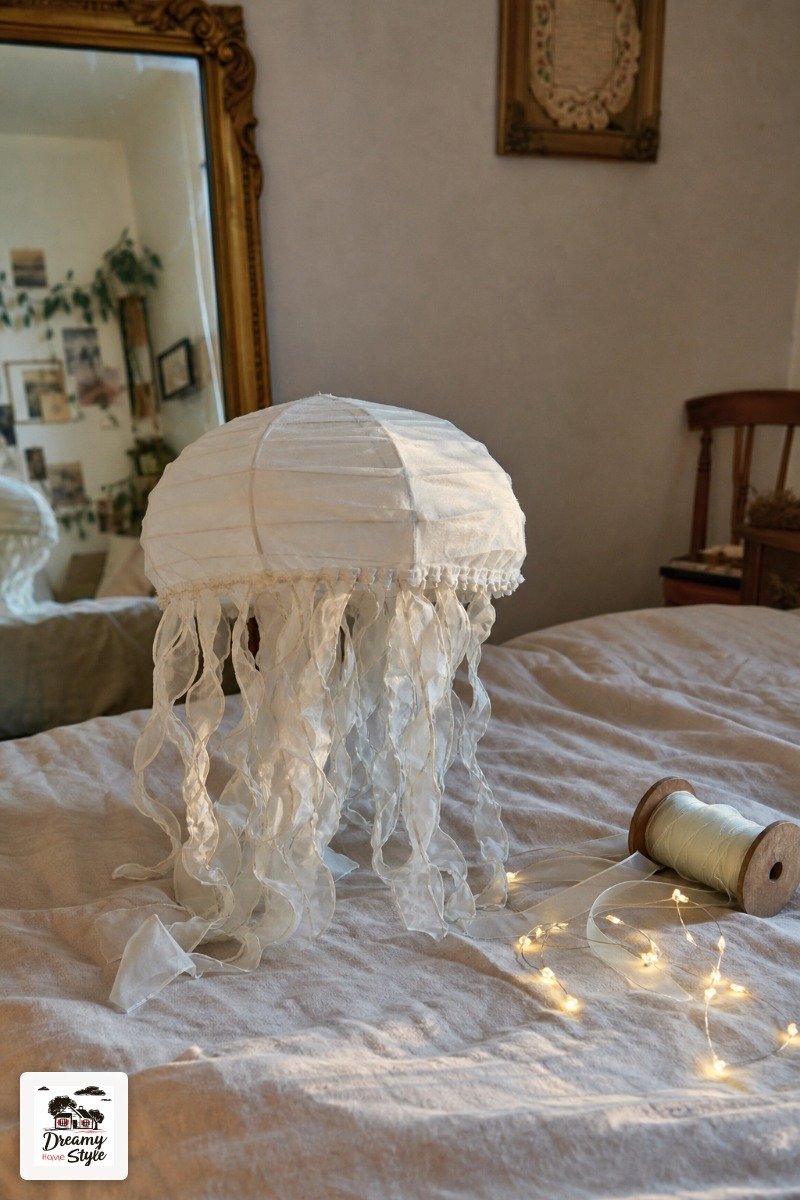
Here’s everything I actually used for one lantern, no fluff:
A rounded dome (paper lantern, clear plastic bowl, or a mesh colander).
Warm-white battery fairy lights, the copper-wire kind.
Sheer ribbon, tulle, or yarn for tentacles.
Hot glue gun.
Fishing line and one small ceiling hook.
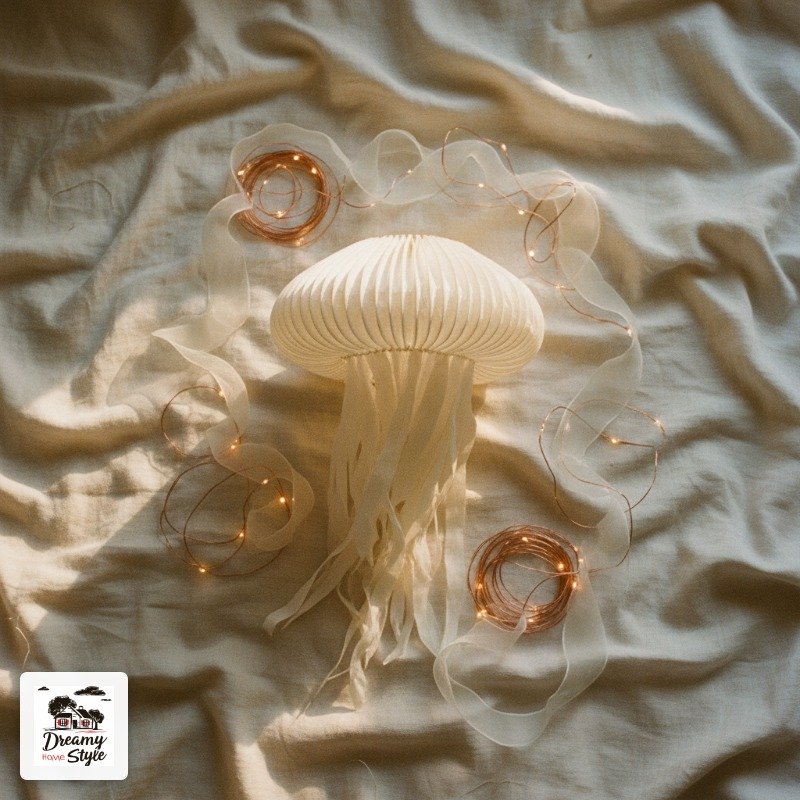
That’s it.
My whole first version came in under fifteen bucks because I already had the glue gun and half a spool of ribbon from a failed wreath.
One thing I’d skip: don’t buy the plug-in fairy lights for your first try.
The cord ruins the floating look and you’ll fight it the whole time.
Battery packs hide way easier.
Picking Your Bell (This Is Where People Overthink)
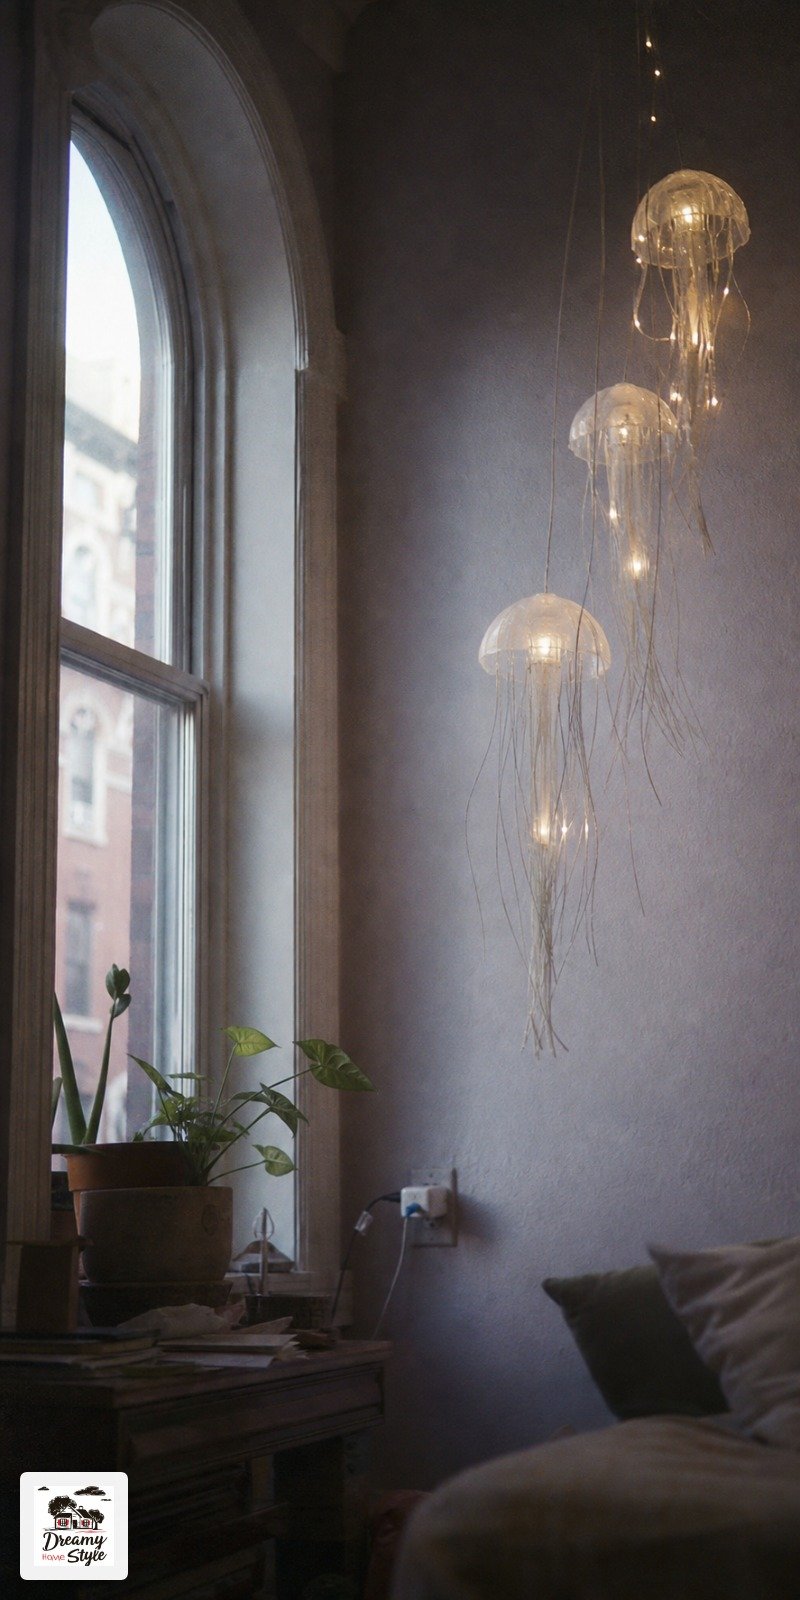
The dome shape matters more than the material.
You want something with a rounded, domey top so it reads as a bell and not a bucket.
My favorites, ranked by how they turned out: white paper lanterns (cheap, diffuse beautifully, a little fragile).
Clear plastic salad bowls flipped upside down (sturdy, need frosting spray).
Wire colanders (the holes make the light twinkle out, kinda gorgeous).
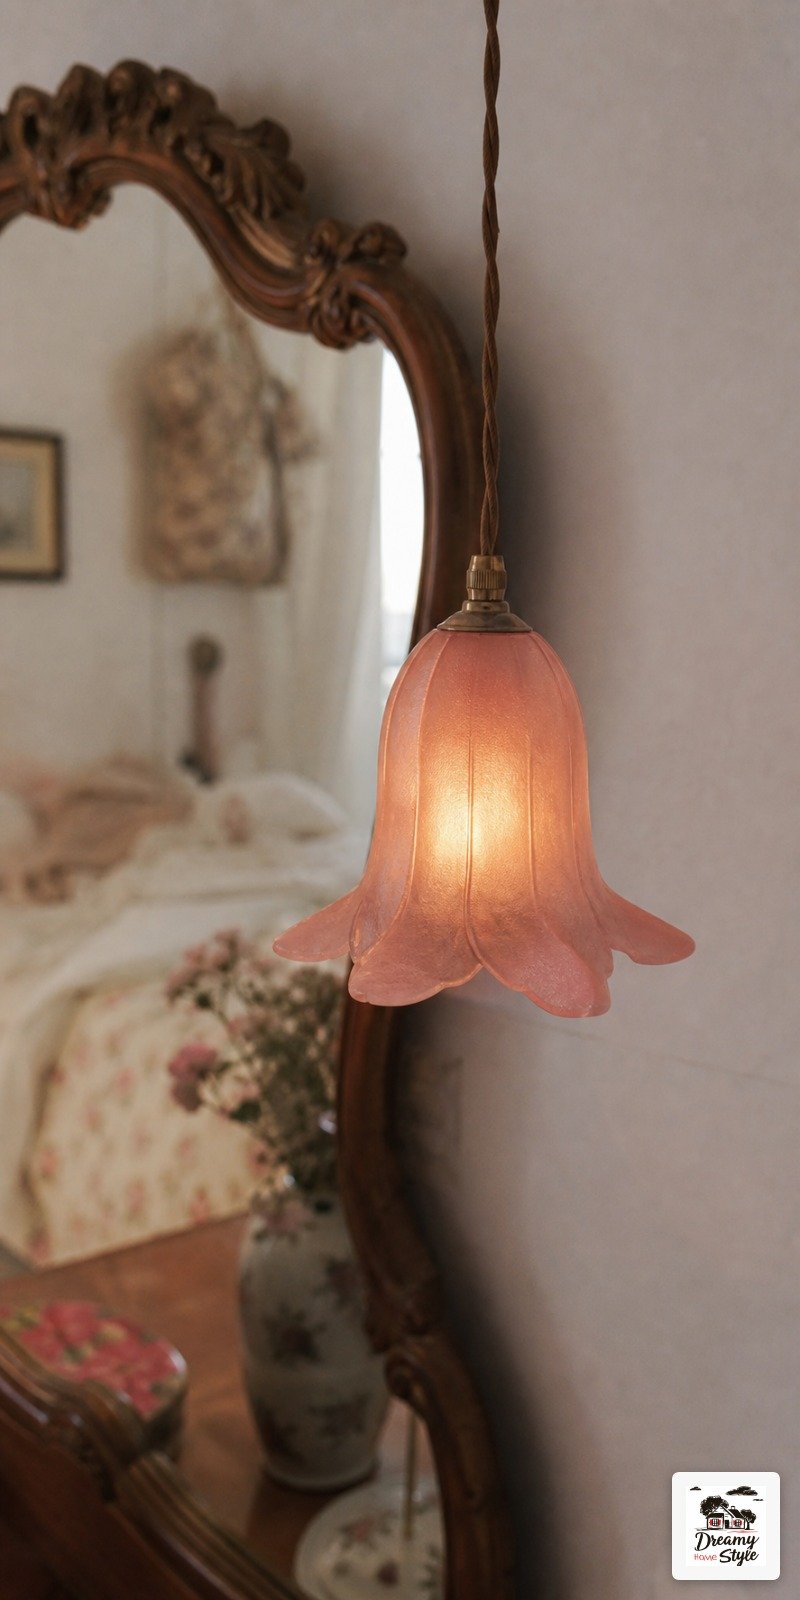
I frosted a clear bowl with a dollar-store spray meant for glass and it softened the glow instantly.
Skip that step and your lights look like harsh little dots.
Bigger isn’t better here.
A dome around ten to twelve inches wide is the sweet spot for over a bed.
My first one was huge and it looked like a UFO abducting my headboard.
Making Tentacles That Actually Look Dreamy
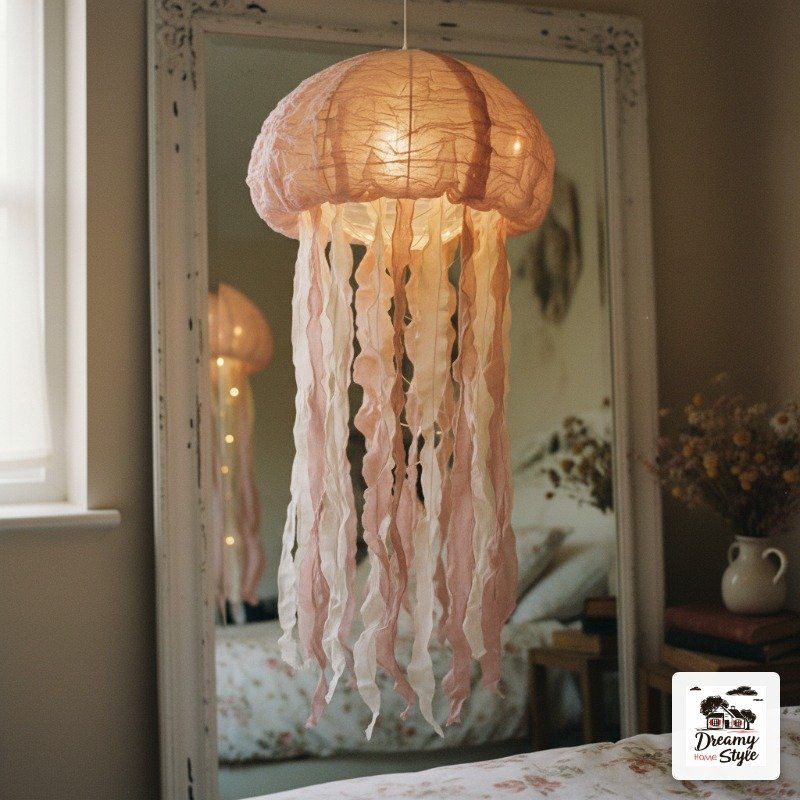
This is the part that sells the whole thing.
Skimpy tentacles and it just looks like a lamp with fringe.
I mix textures.
Long strips of sheer ribbon for movement, a few strands of thin yarn for softness, and one or two ruffled tulle strips for that curly wispy look.
Cut them at different lengths.
Uneven again.
Always uneven.
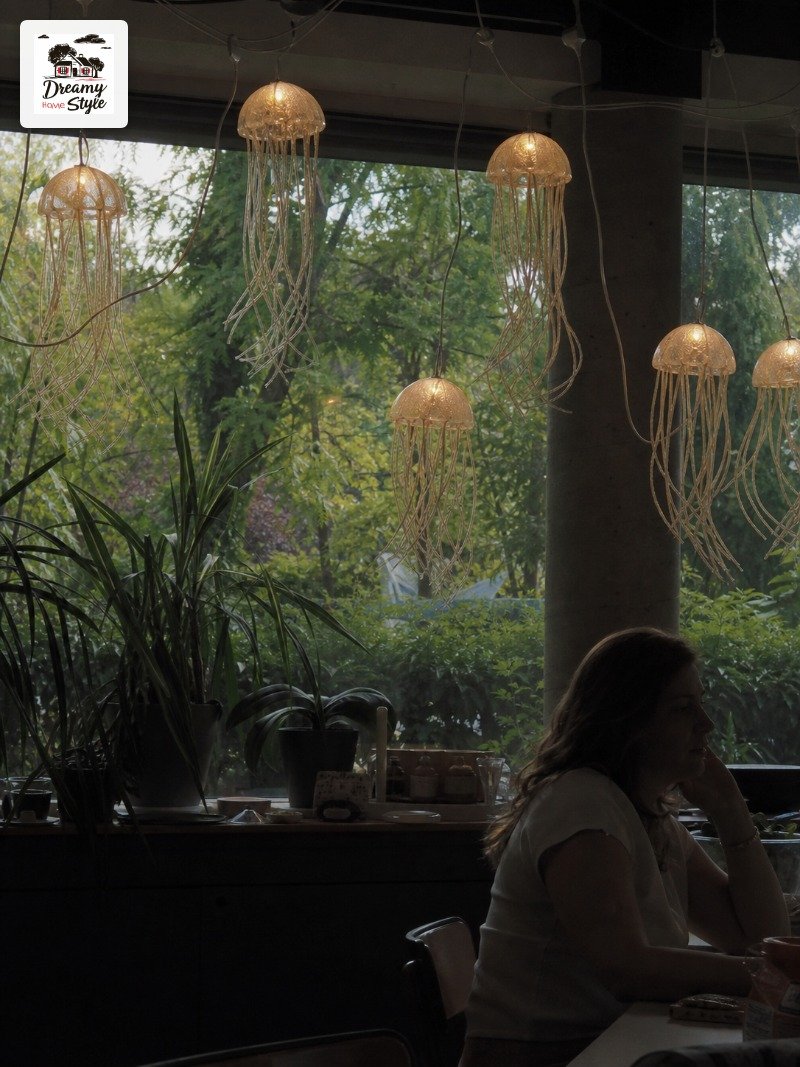
Curl the ribbon by running it along the edge of scissors, like you would gift ribbon.
It holds that gentle wave for weeks.
For a pair, I did blush and ivory tentacles to match the bells.
Matchy in palette, messy in length.
That’s my whole design philosophy really.
Hanging It Without Putting Holes In Your Ceiling
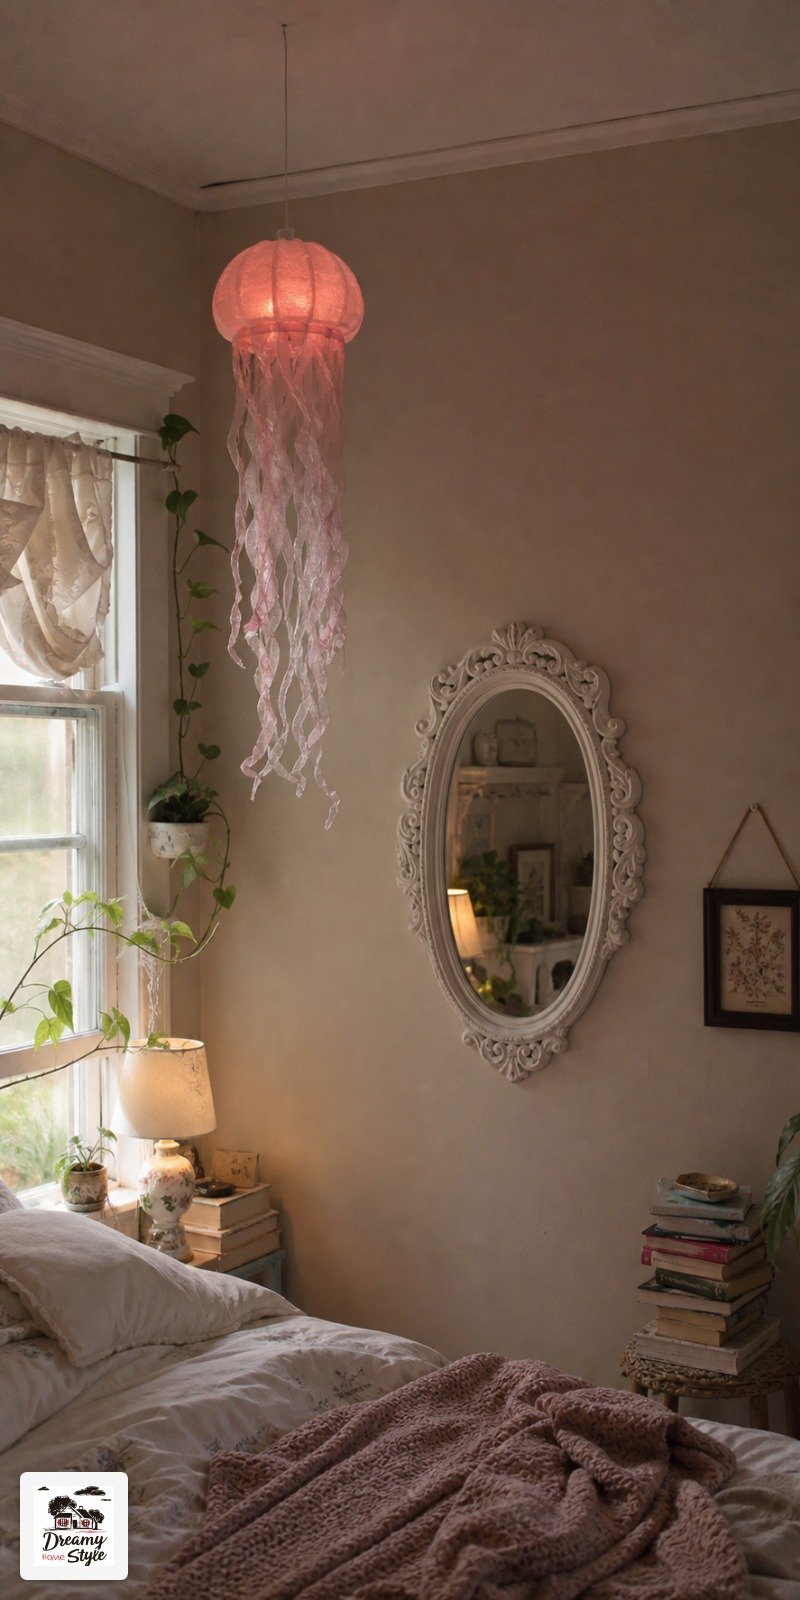
Renters, this one’s for us.
I don’t drill anything I’ll have to explain to a landlord later.
Adhesive ceiling hooks (the ceiling-rated kind, not the flimsy ones) hold a lightweight paper-and-ribbon lantern with zero problem.
Clean the spot with rubbing alcohol first, press for thirty seconds, wait an hour before you hang.
I rushed this once and woke up to my lantern on the floor.
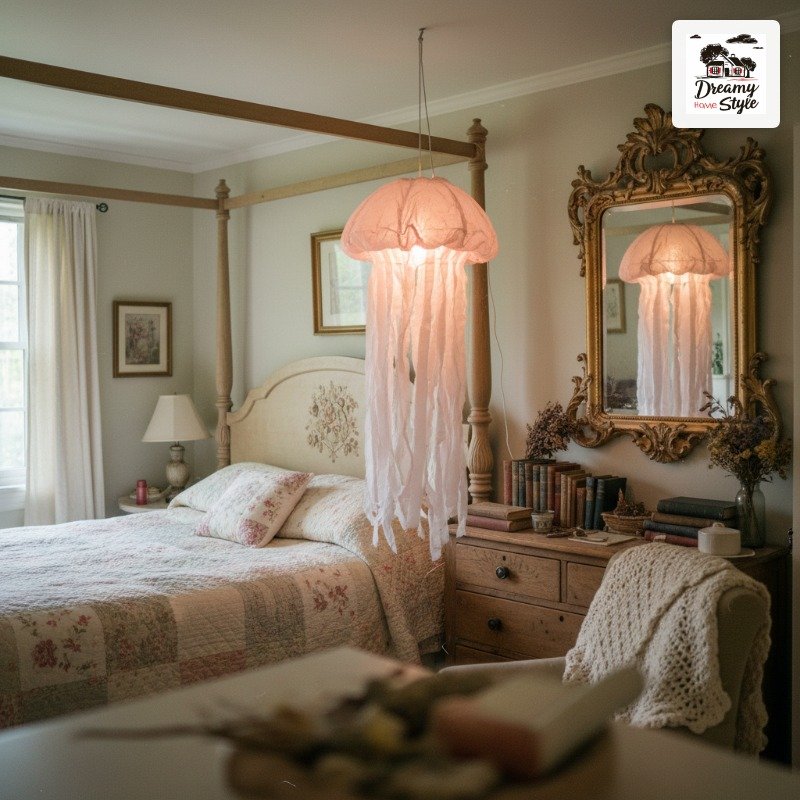
Fishing line is your best friend.
It disappears, so the lantern looks like it’s floating with no visible support.
If you’re really commitment-shy, hang it off a wall-mounted plant bracket or a curtain rod near the bed.
Off-center actually looks more intentional than dead-center anyway.
The Color Combo That Made Mine Look Expensive
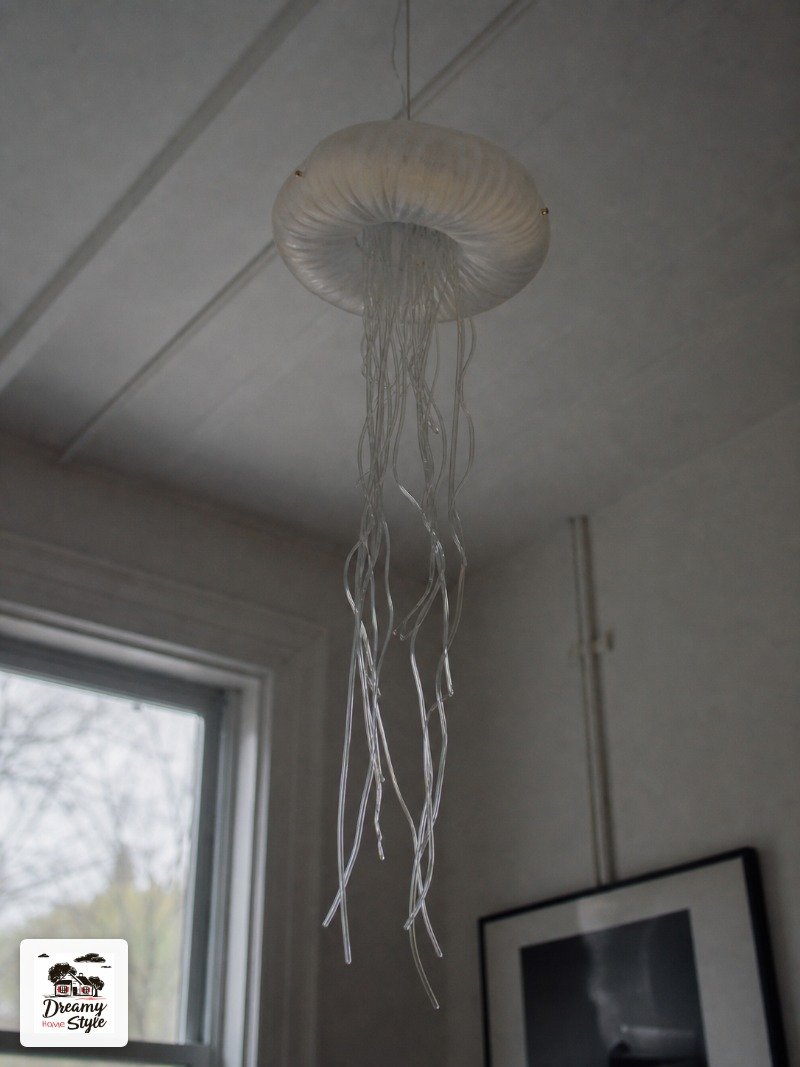
Blush pink and ivory.
That’s the pairing that took mine from craft-fair to “wait, where did you buy those.”
Two of the same color feels flat.
Two clashing colors feels like a kid’s party.
But a soft warm pink next to a creamy off-white?
They glow together like sunrise.
I’m obsessed and I don’t say that lightly.
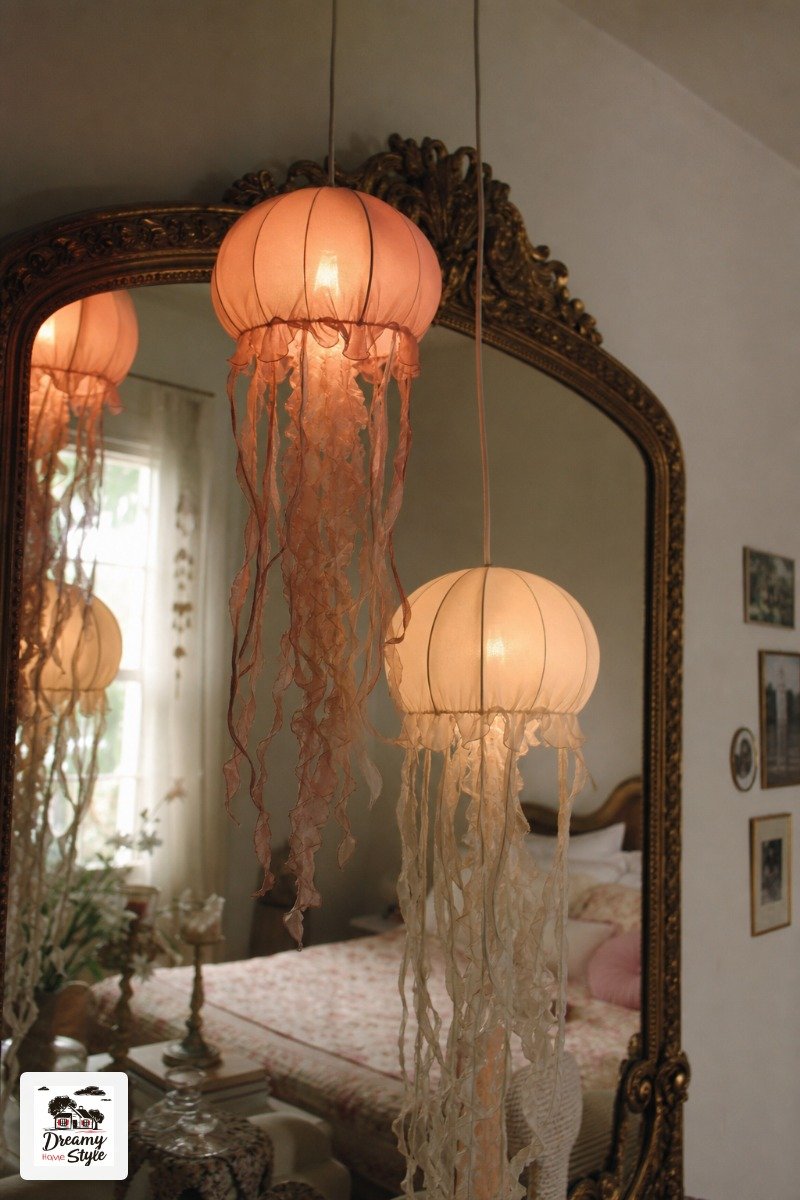
The warm-white fairy lights matter here too.
Cool white turns pink into a weird cold flesh tone.
Warm white makes it look like candlelight through a shell.
If pink’s not you, try sage and ivory, or a dusty lavender with cream.
Just keep one of them a neutral so your eyes have somewhere to rest.
Tucking The Fairy Lights In So You Never See The Battery Pack
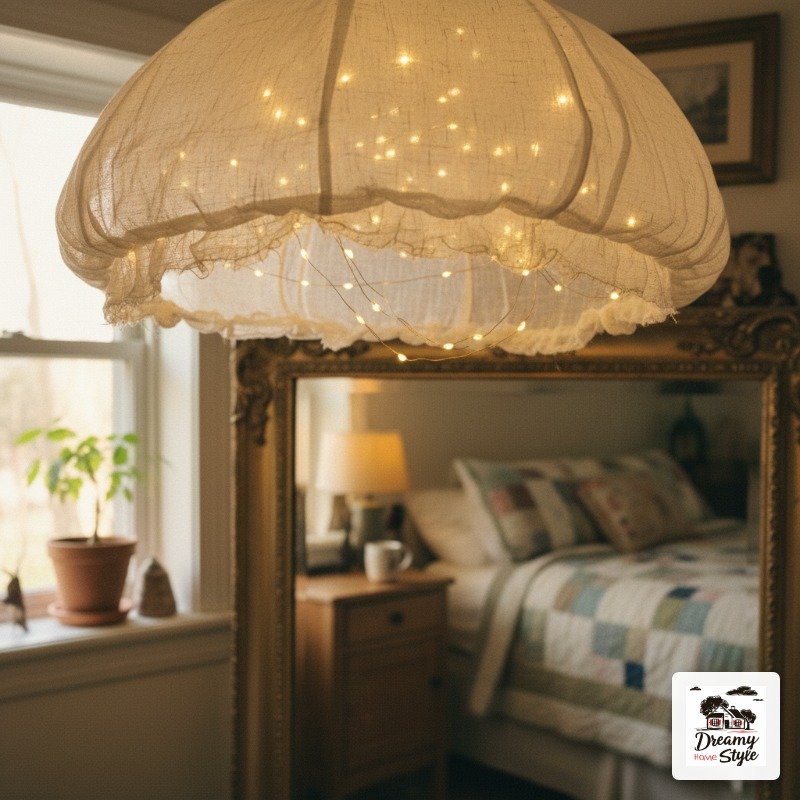
The battery pack is the ugly secret nobody talks about.
Left dangling, it kills the whole illusion.
I hot-glue the pack to the inside top of the bell, up near where it meets the ceiling, so it hides in the dome.
The switch faces down so I can reach up and click it without taking the whole thing apart.
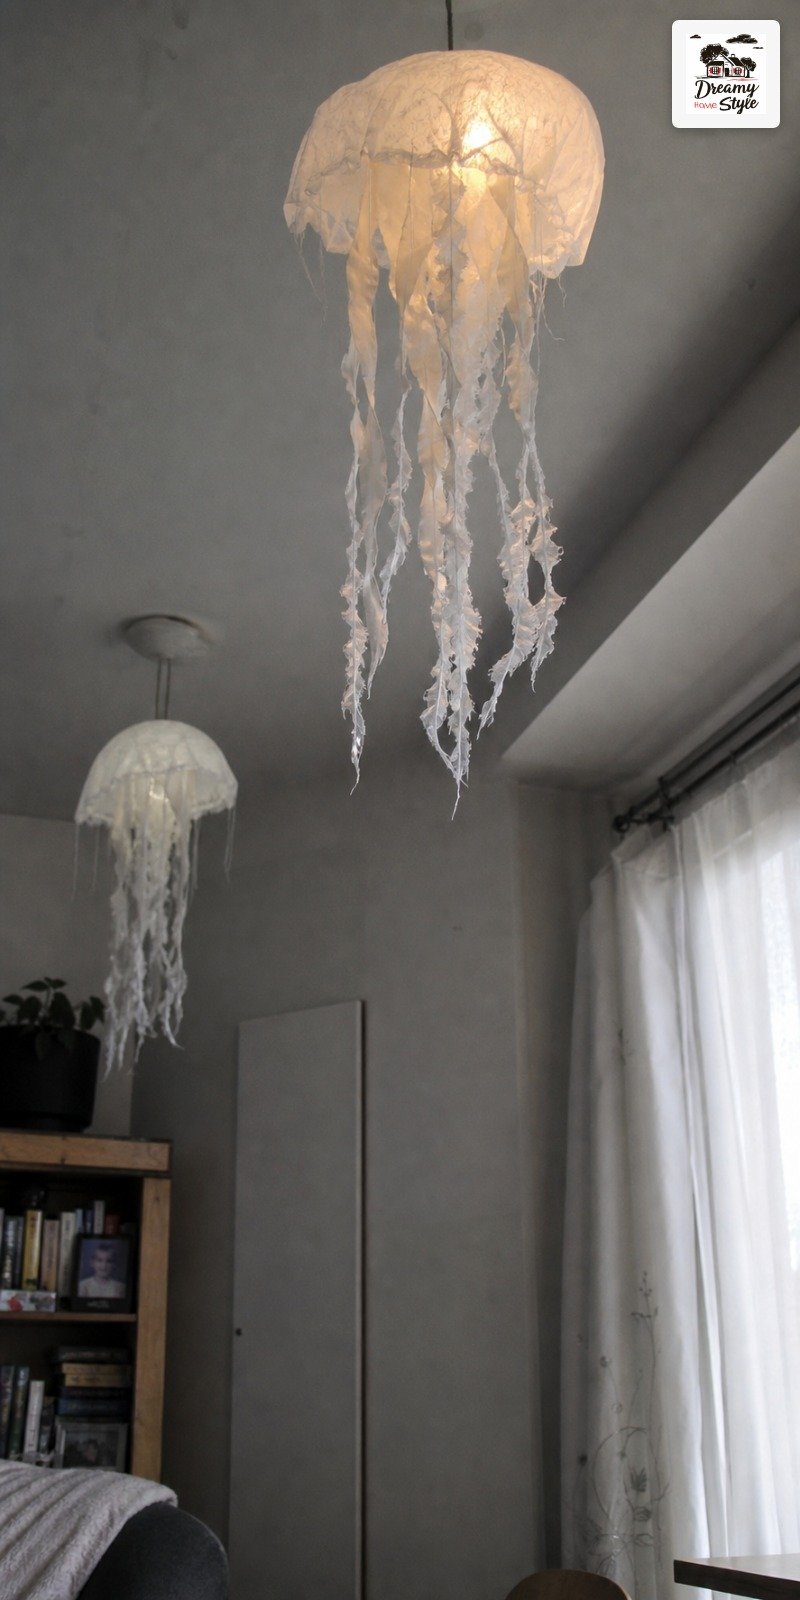
Coil the lights loosely inside.
Packed too tight and you get a bright hot spot.
Spread out and they glow evenly, like the whole bell is lit from the middle.
Rechargeable batteries.
Do it.
I burned through a pack of AAs in a week before I got smart.
Where To Actually Hang It In A Bedroom
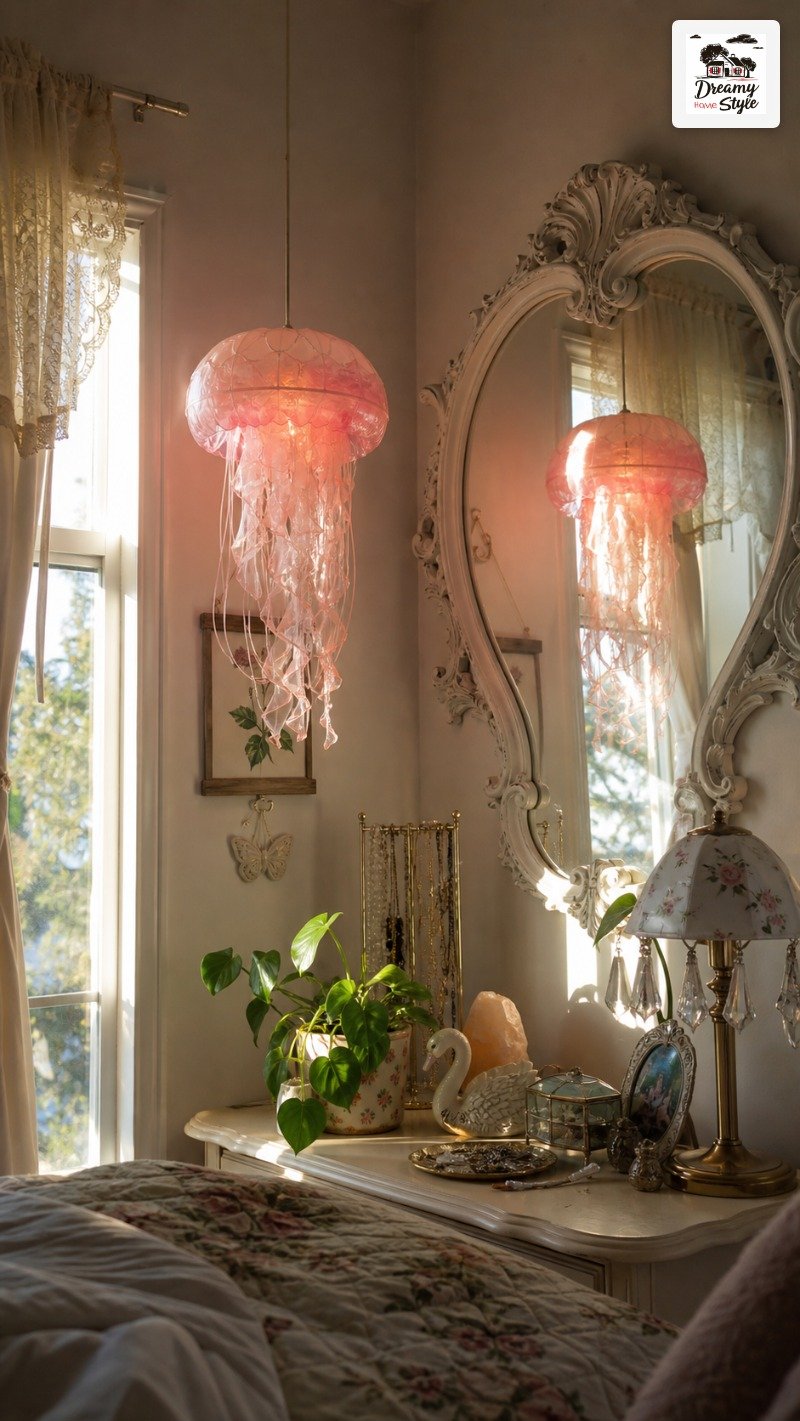
Over the bed is the obvious spot, and it’s obvious because it works.
A soft glow above you as you fall asleep is genuinely dreamy.
But my favorite placement is the corner that gets harsh 3pm light.
That corner used to feel dead and glary.
Now there’s a jellyfish floating there catching the last of the sun and it’s my favorite part of the room.
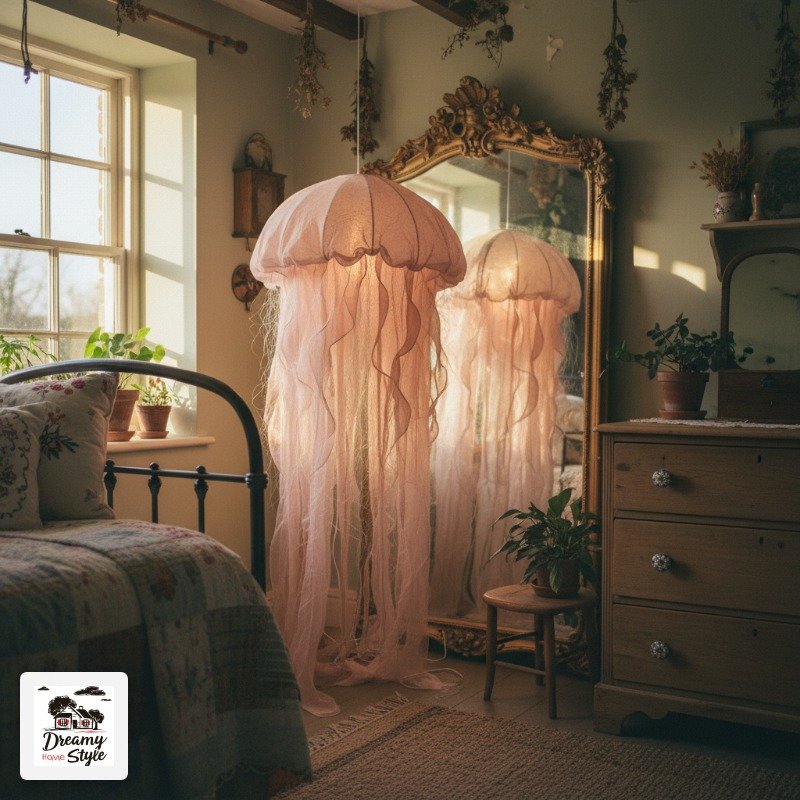
Above a reading nook or beside a mirror doubles the glow, because the reflection makes it look like there’s twice as much light.
That baroque mirror behind mine?
Total accident, best decision I made.
Just don’t hang it where you’ll walk into it.
Ask me how I know.
The Before And After That Sold Me On The Whole Idea
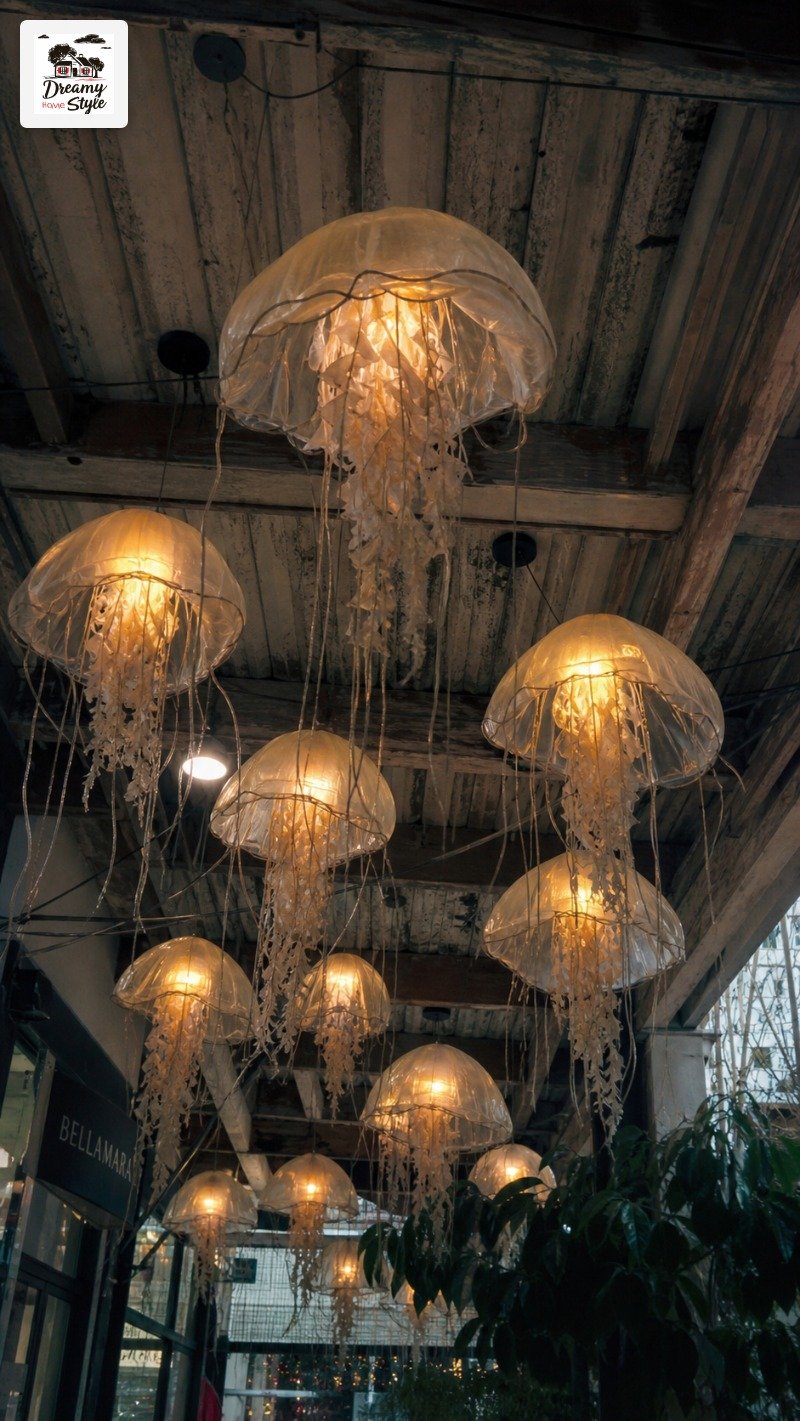 Before And After
Before: a beige rental bedroom with a builder-grade boob light on the ceiling that made everyone look tired.
I hated that light.
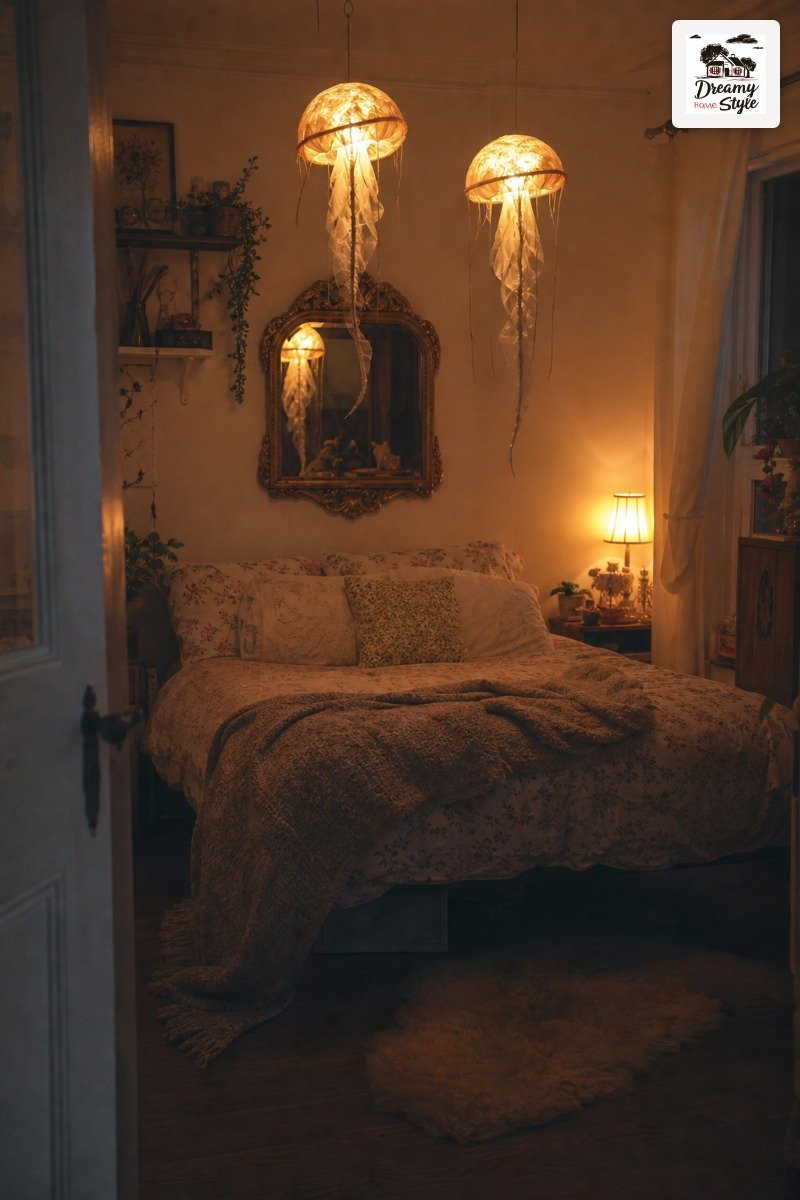
After: overhead switched off, two jellyfish lanterns floating over the bed, and a single warm nightstand lamp.
Same room.
Completely different feeling.
Warmer, softer, like the room finally exhaled.
The wild part is how little it cost.
Under thirty dollars for the pair.
I’ve spent more on a single throw pillow I didn’t even like.
It’s the cheapest “looks expensive” swap I’ve done in this house, and I’ve done a lot of swaps.
Cheap Mistakes I Made So You Don’t Have To
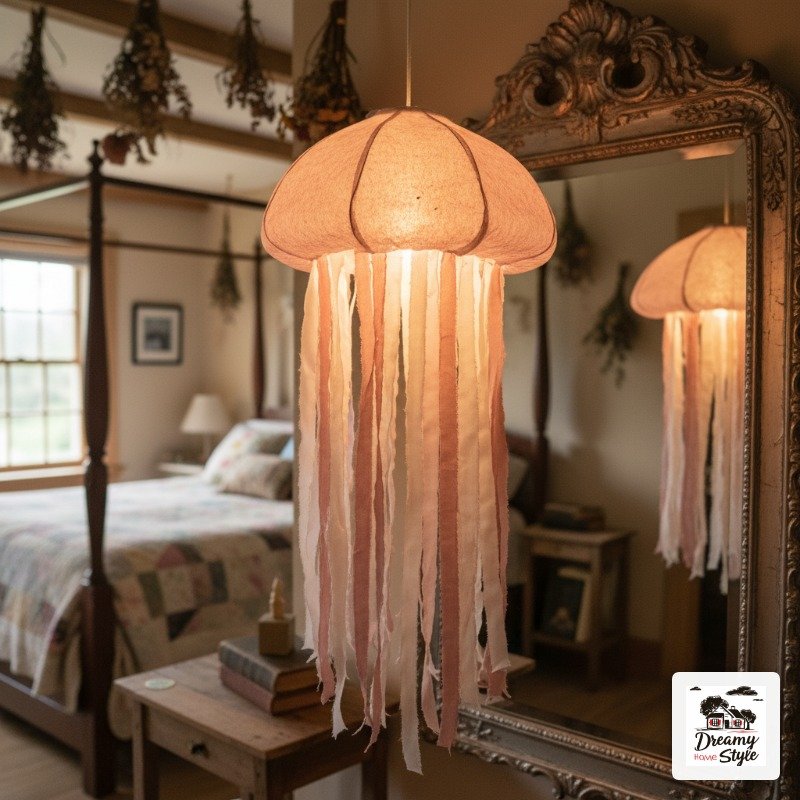
Buying cool-white lights first.
Threw the whole thing off.
Warm white or nothing.
Using a colander with sharp cut edges that sliced right through my ribbon over time.
Sand or tape any rough edges before you glue.
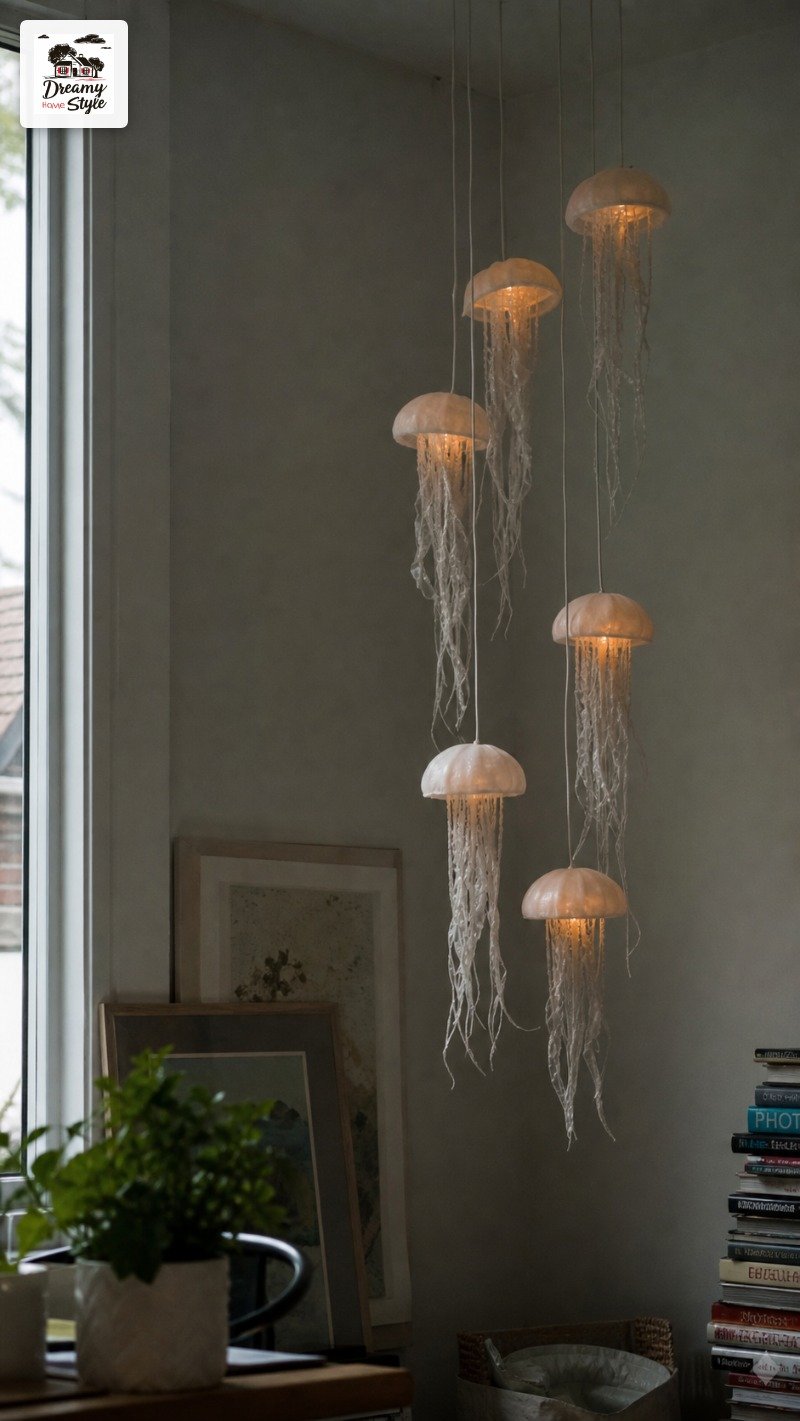
Making the tentacles too short because I got impatient.
They looked stubby.
Give yourself extra length and trim down, you can always cut more.
And overloading a paper lantern with heavy yarn until it sagged and creased in the middle.
Keep it light.
The bell should look like it’s barely holding on to the tentacles, not straining under them.
Making A Whole Little Cluster Instead Of One
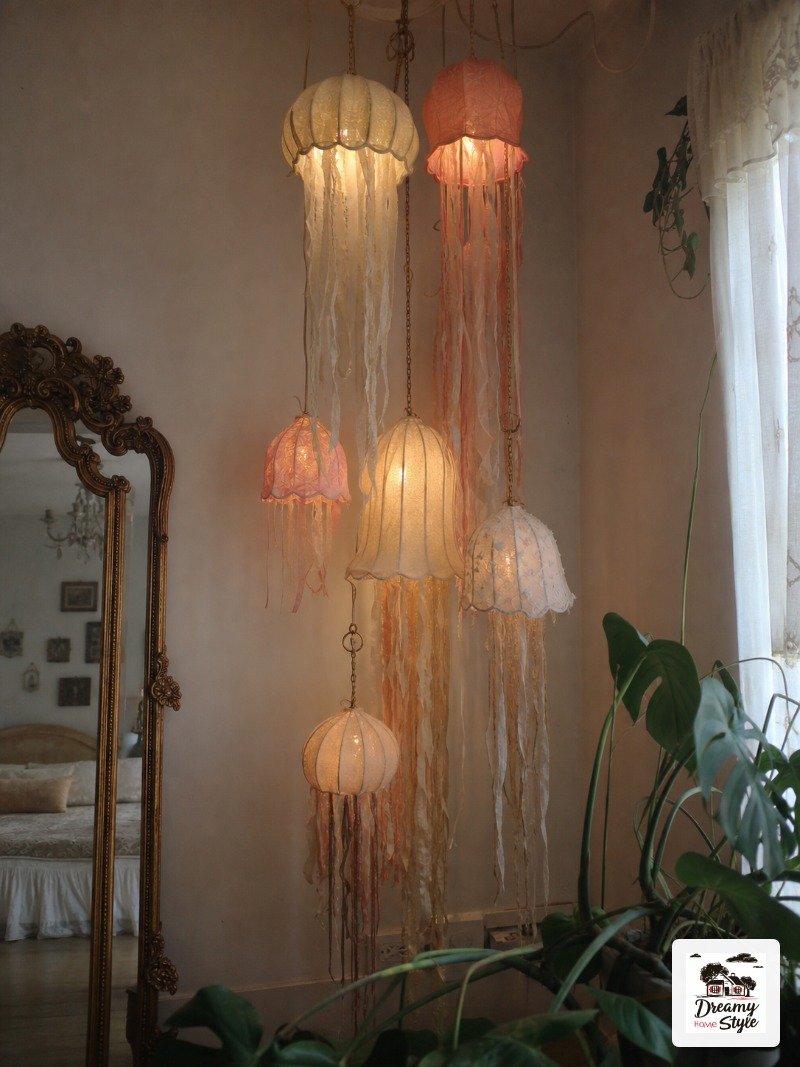
One lantern is pretty.
A cluster of three or four at staggered heights is a whole vibe.
I did a group in one corner, all different sizes, all blush and ivory, hung at heights that felt random on purpose.
From the bed it looks like they’re slowly drifting upward.
I catch Biscuit watching them.
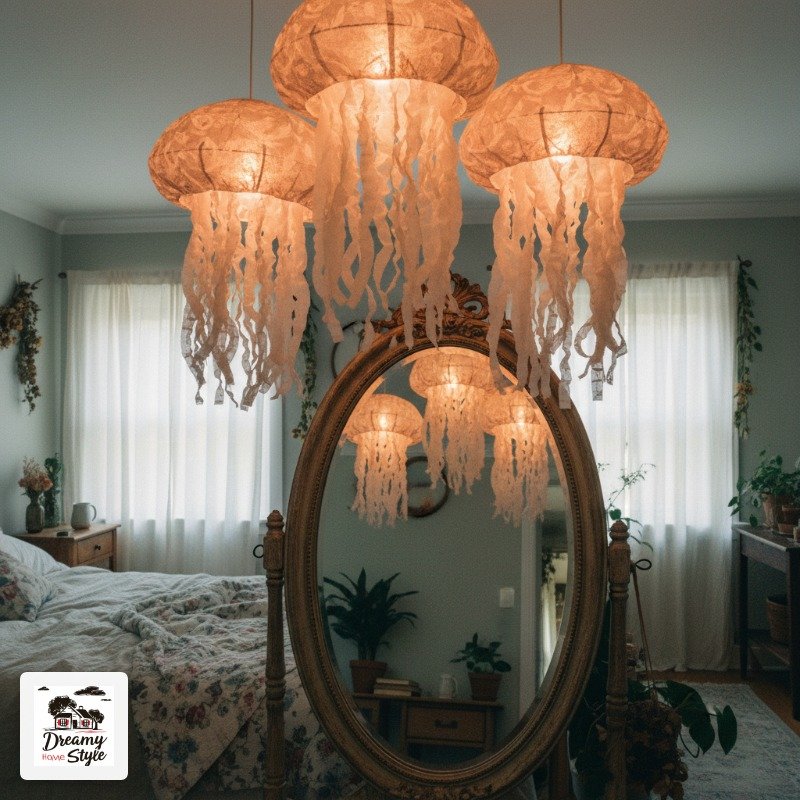
Mix your bell shapes a little in a cluster.
A paper lantern next to a frosted bowl next to a small colander gives it that collected-over-time look instead of matchy set.
Group odd numbers.
I know, I know, everyone says that.
It’s annoyingly true though.
Even numbers feel like they’re waiting for something.
How To Keep Them Glowing Without Constant Battery Swaps
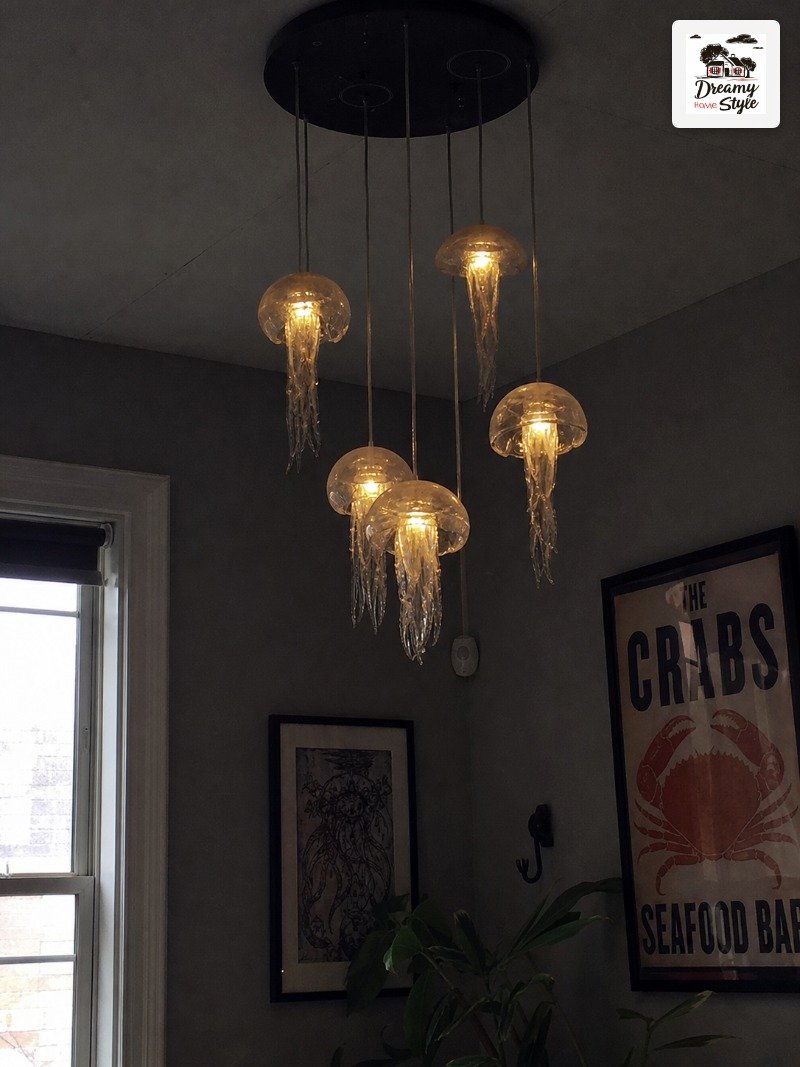
The battery thing nearly made me quit.
Constantly climbing on a chair to swap AAs is not romantic.
Two fixes.
First, rechargeable batteries and a little charger you leave on your dresser.
Second, get fairy lights with a remote and a built-in timer so they click on at dusk and off after a few hours on their own.
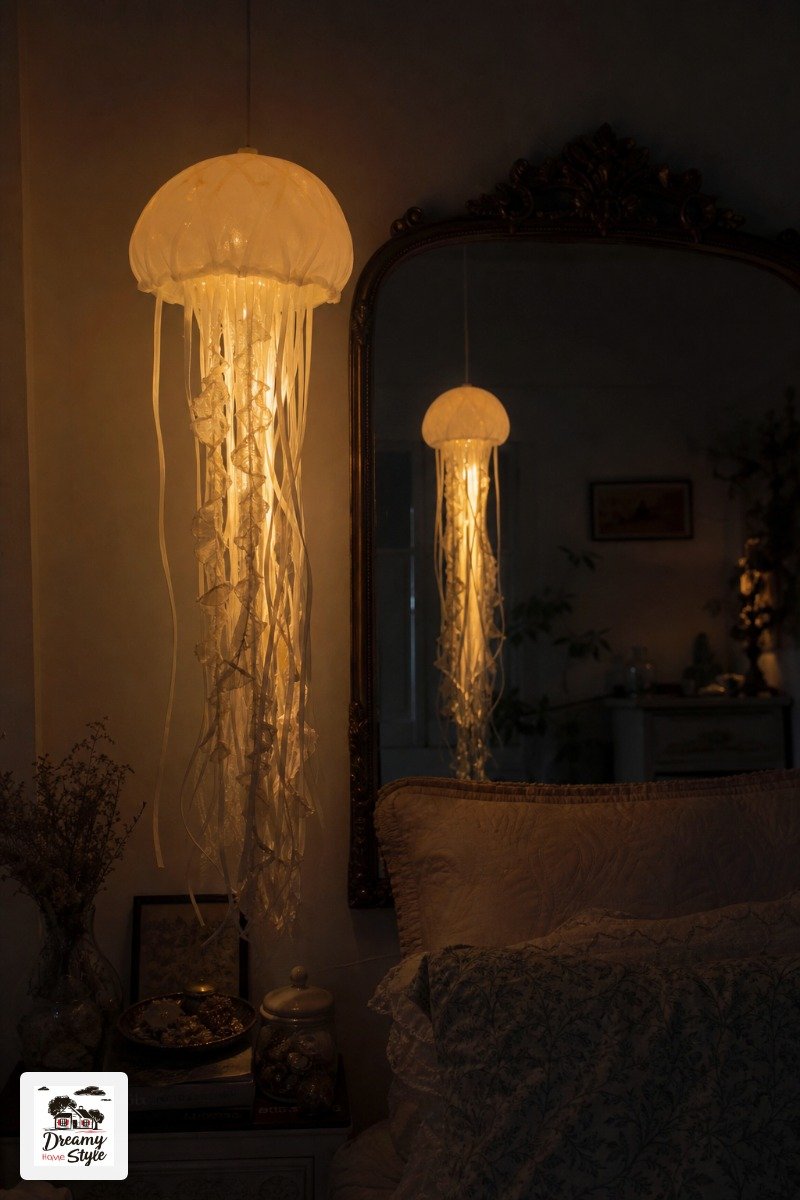
The timer one changed everything for me.
Mine flick on around the time I’m winding down and shut off after I’m asleep.
I don’t touch them for days.
If you’re near an outlet and don’t mind hiding a thin cord, USB-powered fairy lights last basically forever.
I run one of mine off the plug behind the nightstand and route the cord along the mirror frame where it disappears.
Styling The Rest Of The Room To Match The Glow
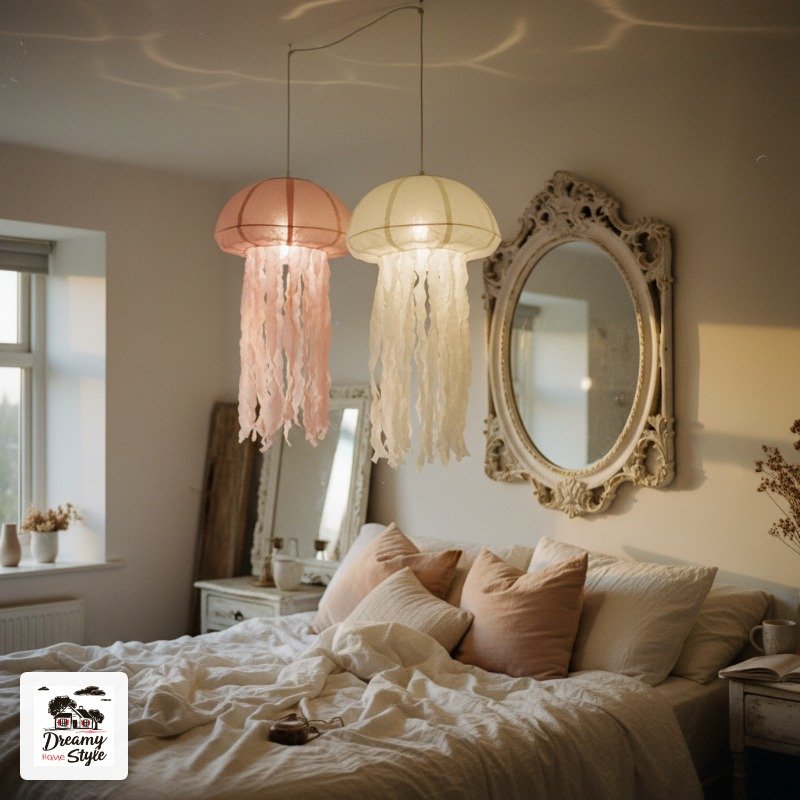
Once you’ve got that soft warm light floating, harsh stuff around it starts to look wrong.
Sharp black frames, cold metal, bright white bedding under a warm glow all fight it.
I leaned into soft.
Linen bedding in cream, a couple of blush throw pillows, and I swapped my glaring bedside bulb for a warm dimmable one.
Everything reads as one calm palette now.
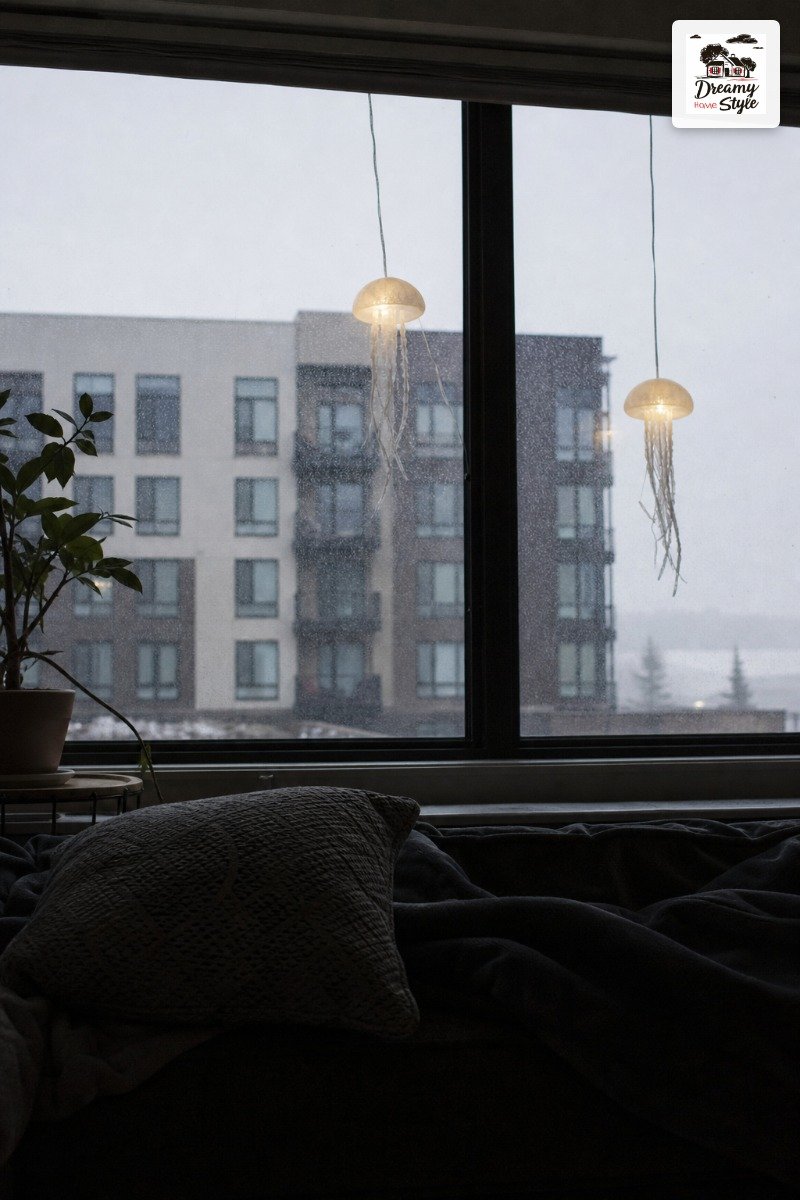
The ornate mirror is doing heavy lifting too.
It bounces the jellyfish glow around and adds that slightly romantic, old-world feel.
I found mine at a thrift store for eleven dollars and painted the frame white one lazy Sunday.
You don’t need much.
A jellyfish light forgives a plain room.
It just quietly makes the whole thing feel intentional, like you meant for it to be this dreamy all along.

