
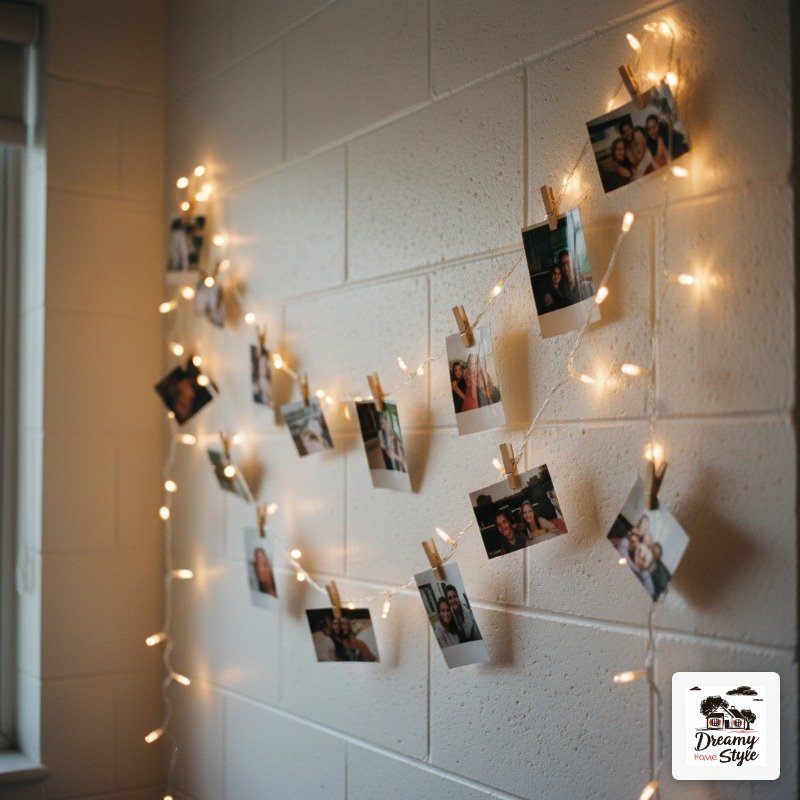

I still remember standing in my college dorm room the first time, looking at those concrete-block walls and that sad fluorescent light humming overhead, and thinking: absolutely not.
I had a mini fridge, a lofted bed I’d definitely fall off of, and like $40 to make it feel like mine.
That was enough, it turned out.
Because dorm decorating isn’t really about having a big budget or a big space.
It’s about knowing which small things make a room feel like you actually live there instead of waiting to be released.
These are my favorite DIY ideas — the ones I wish someone had told me about before move-in day.
Fairy Light Photo Walls That Actually Look Good
Okay, I know.
You’ve seen the fairy light photo wall a thousand times.
But hear me out, because most of them look a little sad, and the difference is all in the execution.

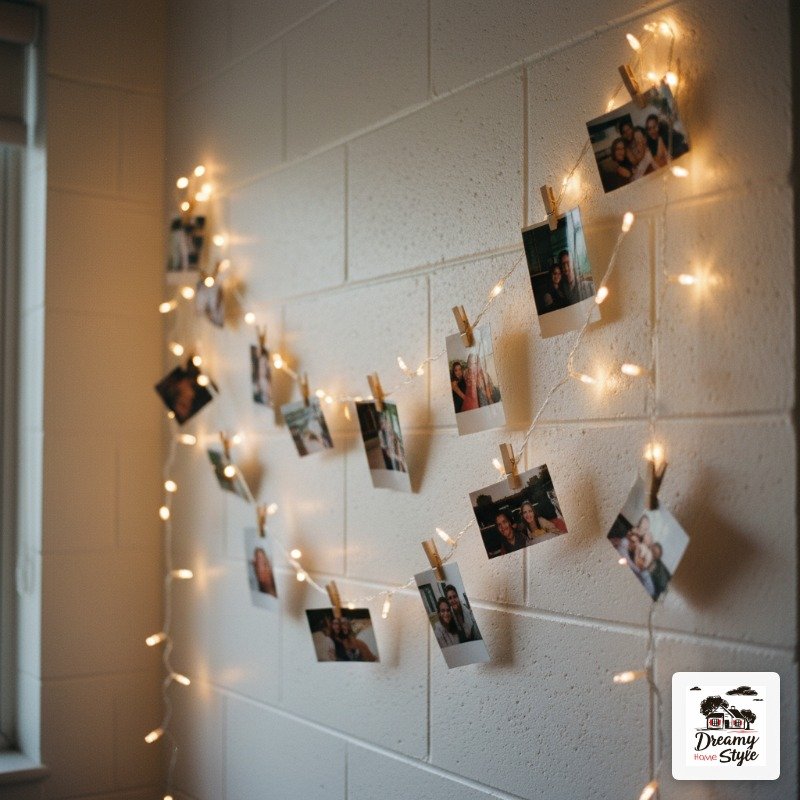
The trick is warm-white lights only.
Cool white lights make everything feel like a dentist’s office.
Get the ones with the tiny bulbs, not the big chunky ones, and use Command strips or washi tape to drape them loosely — not pinned perfectly straight, which always looks stiff.
For the photos, print them wallet-sized or 4×4 rather than standard 4×6.
Smaller prints clustered together look intentional.
Bigger prints spread out look like a CVS photo pickup.
I used wooden clothespins from the dollar bin at Michaels to clip mine.
Total cost was maybe $18, and it’s genuinely the coziest thing I’ve ever put on a wall.
Removable Wallpaper for One Accent Wall
This is the one I tell every incoming freshman about.
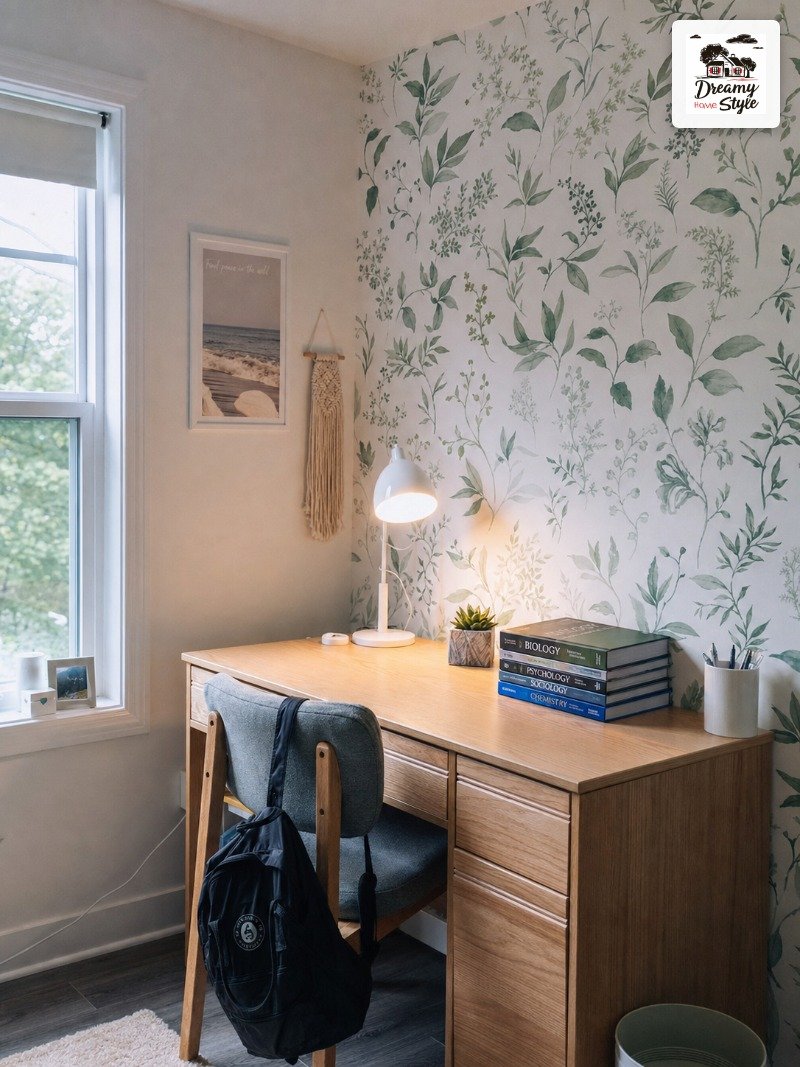
One accent wall of removable peel-and-stick wallpaper will make your entire room look like it was designed on purpose.
You don’t need to do all four walls.
Just the one behind your desk or your headboard.
Something with a small botanical print or a soft geometric in a color that doesn’t scream ‘dorm room beige’ does the job perfectly.
Roommate tip: always get approval before you do anything to shared walls.
I learned this — not in a dorm, but when I put up a bold print in a shared apartment and my roommate hated it with her whole chest.
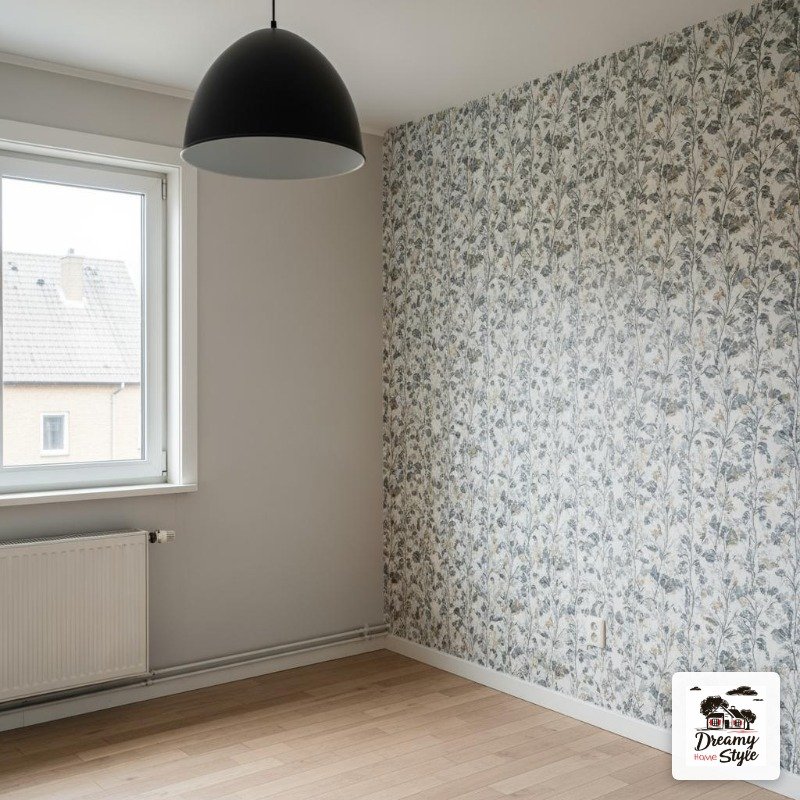
Brands like Tempaper and RoomMates make peel-and-stick options that genuinely come off clean.
Measure twice.
Cut once.
Go slow at the edges.
DIY Fabric Tapestries From Thrift Store Finds
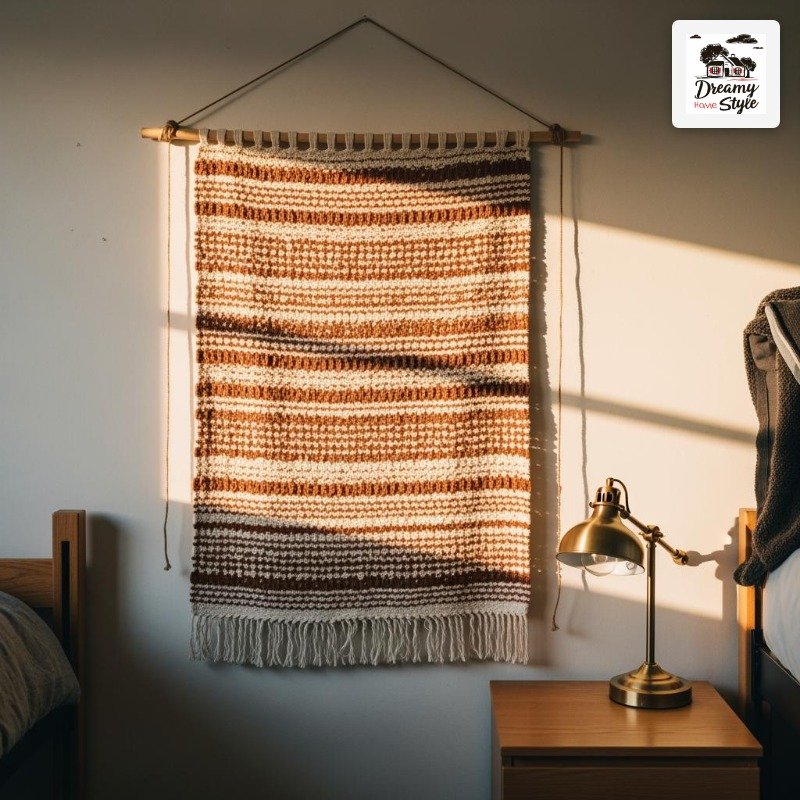
Here’s something I stumbled onto completely by accident.
A tablecloth from Goodwill — $3, block-printed cotton, gorgeous — hung on a wall is indistinguishable from a $60 tapestry on Etsy.
I’m serious.
Look for flat-woven fabric, not anything thick or quilted.
Cotton and linen hang beautifully.
A curtain panel, a flat sheet, even a large scarf can work.
Use a wooden dowel (craft store, usually under $2) and two pieces of twine to hang it.
Loop the twine through two Command hooks.
Done.
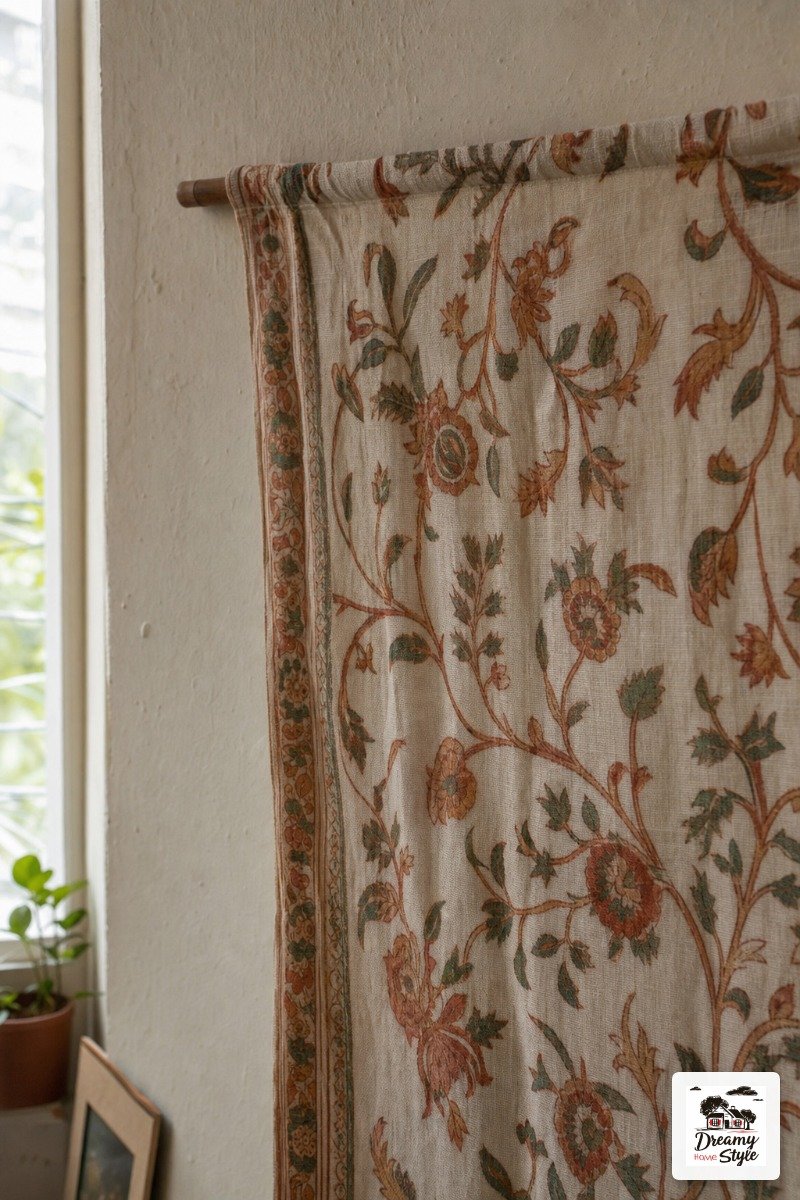
This is honestly one of my all-time favorite budget tricks.
The texture and warmth fabric adds to a bare wall is something paint can’t replicate, and you’re spending almost nothing.
A Bedside Caddy That Actually Keeps You Sane
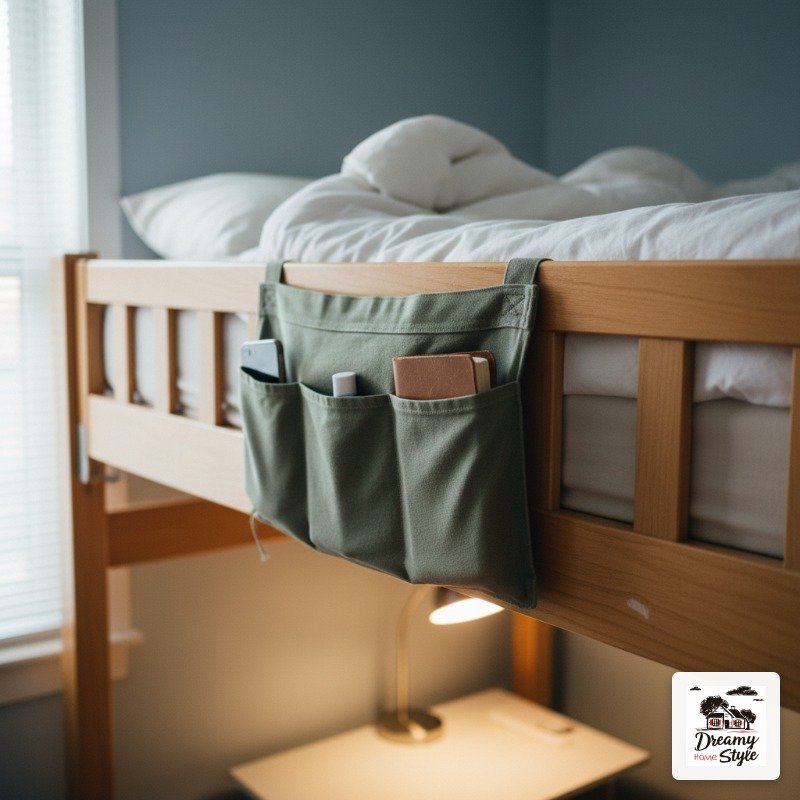
Lofted beds are great until you need your phone charger at 2am and it’s on the floor.
The bedside caddy is the most practical DIY in this whole list.
You can make one from a fabric shoe organizer (cut down if needed) or sew a simple pocket panel from canvas fabric.
Hang it over the bed rail with two S-hooks.
It holds your phone, chapstick, a book, your water bottle — everything you’d otherwise be leaning dangerously off the bed to reach.
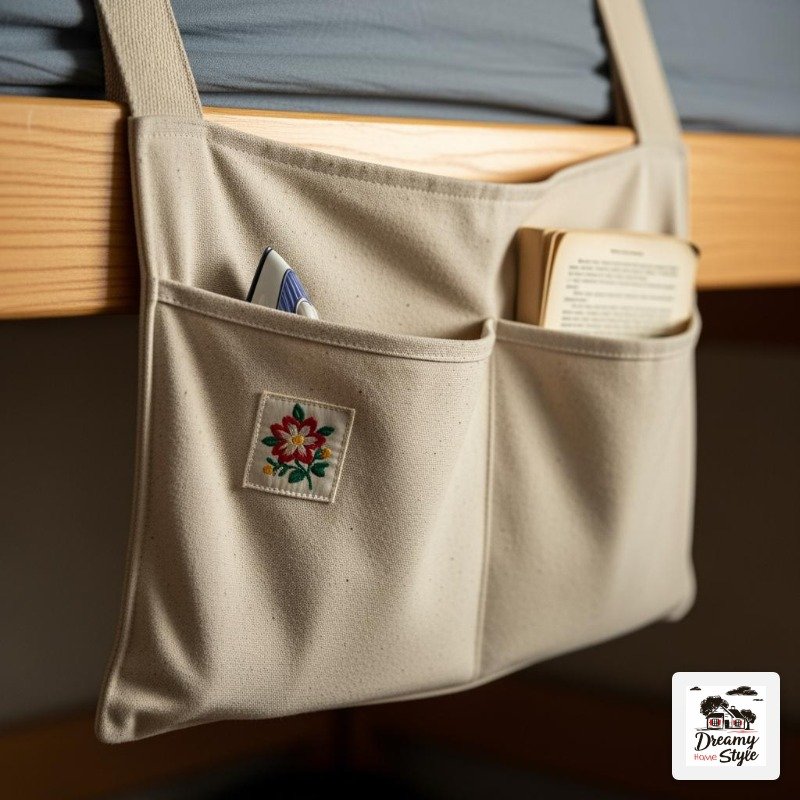
I added an iron-on patch to mine from a vintage fabric store and it genuinely looked cute.
A little monogram or a small floral patch goes a long way.
Not glamorous.
Genuinely useful.
Sometimes that’s the whole point.
Washi Tape Gallery Frames — No Holes Required
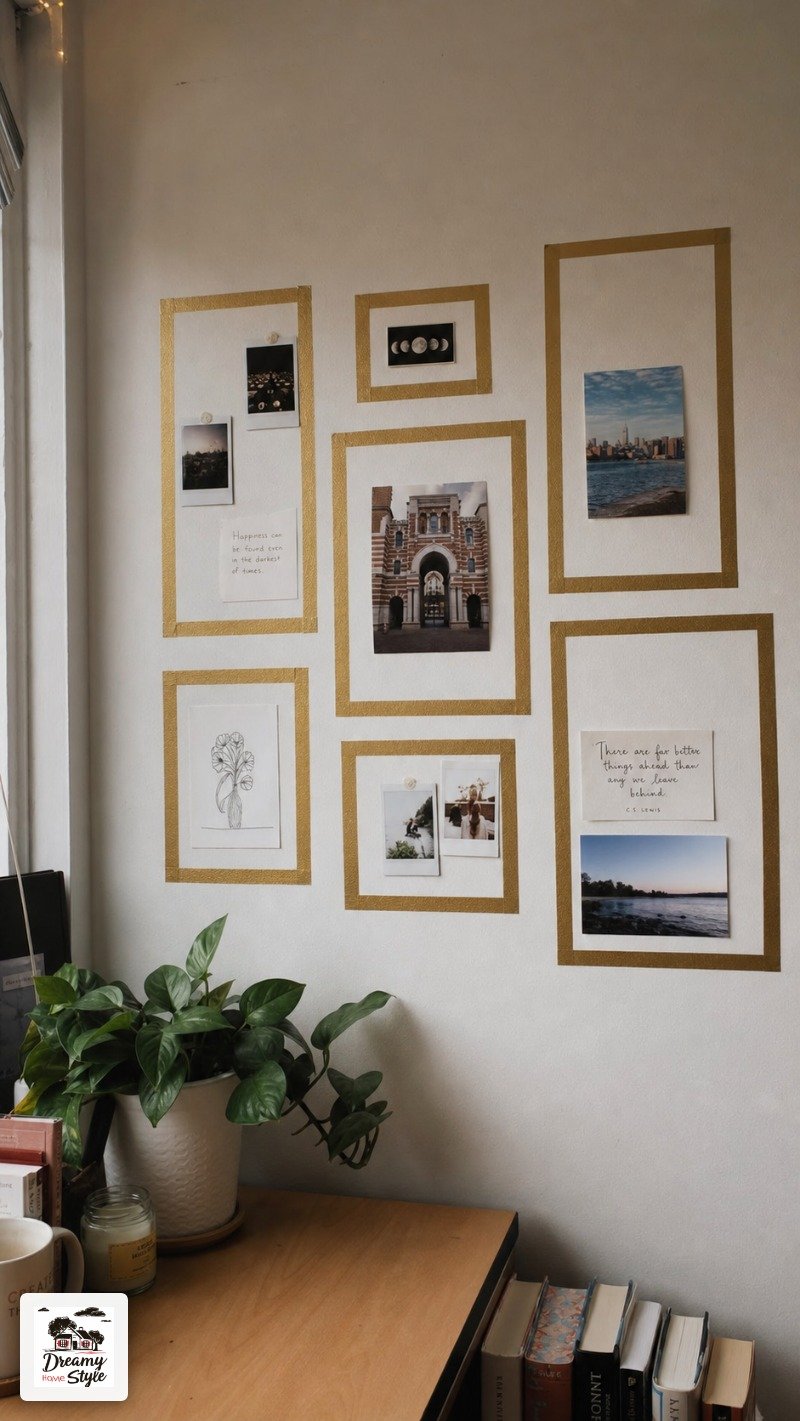
This one feels almost too simple, but it works every single time.
Use washi tape to create faux picture frames directly on the wall.
Put a photo or print inside the taped border and it genuinely looks like a framed gallery.
Use a tape that’s a contrasting color or metallic finish.
Gold washi tape on a white wall is chef’s kiss.
Black washi on a light gray wall looks super modern.
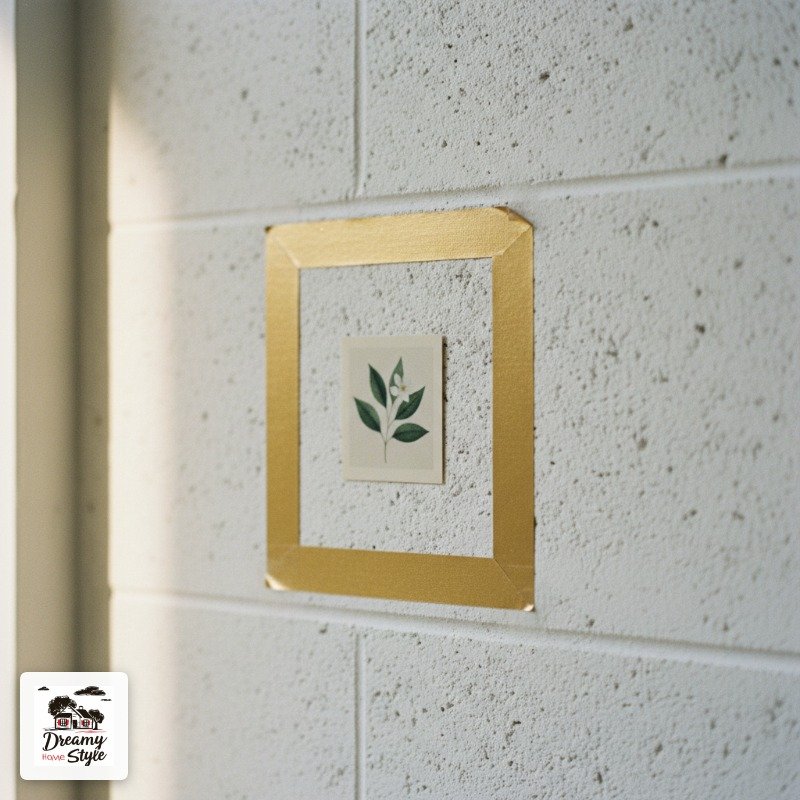
The corners are where people give up.
Use a craft knife or small scissors to miter the corners neatly.
It takes four extra minutes and makes it look intentional instead of slapped together.
It all comes off clean at move-out.
No holes, no damage, no deposit drama.
Under-Bed Storage Boxes You Can Actually Style
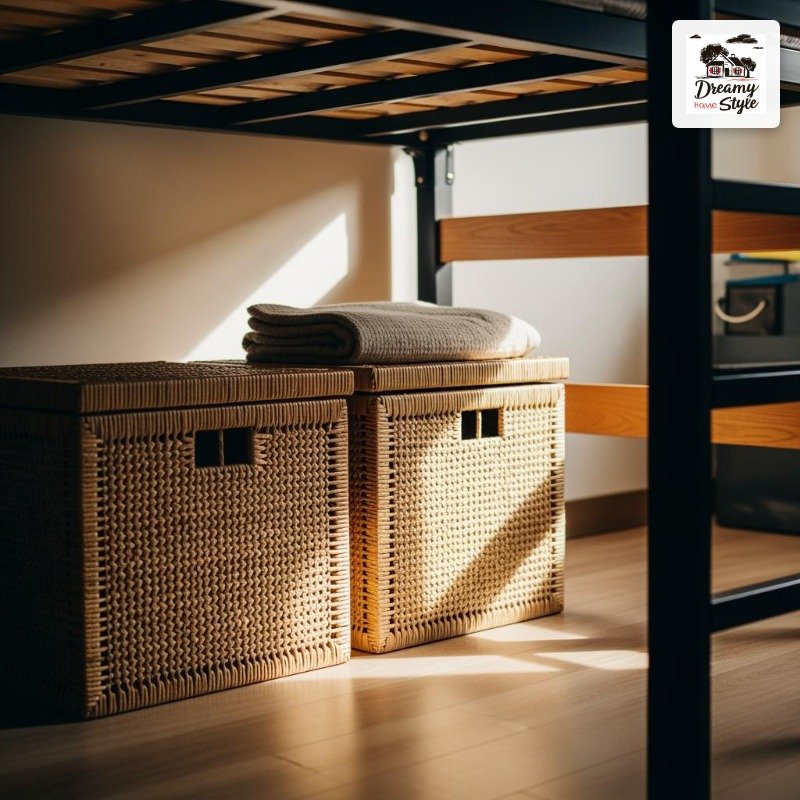
The under-bed space in a dorm is basically a gift.
But the clear plastic bins people usually shove under there?
They look chaotic and they show every piece of clutter.
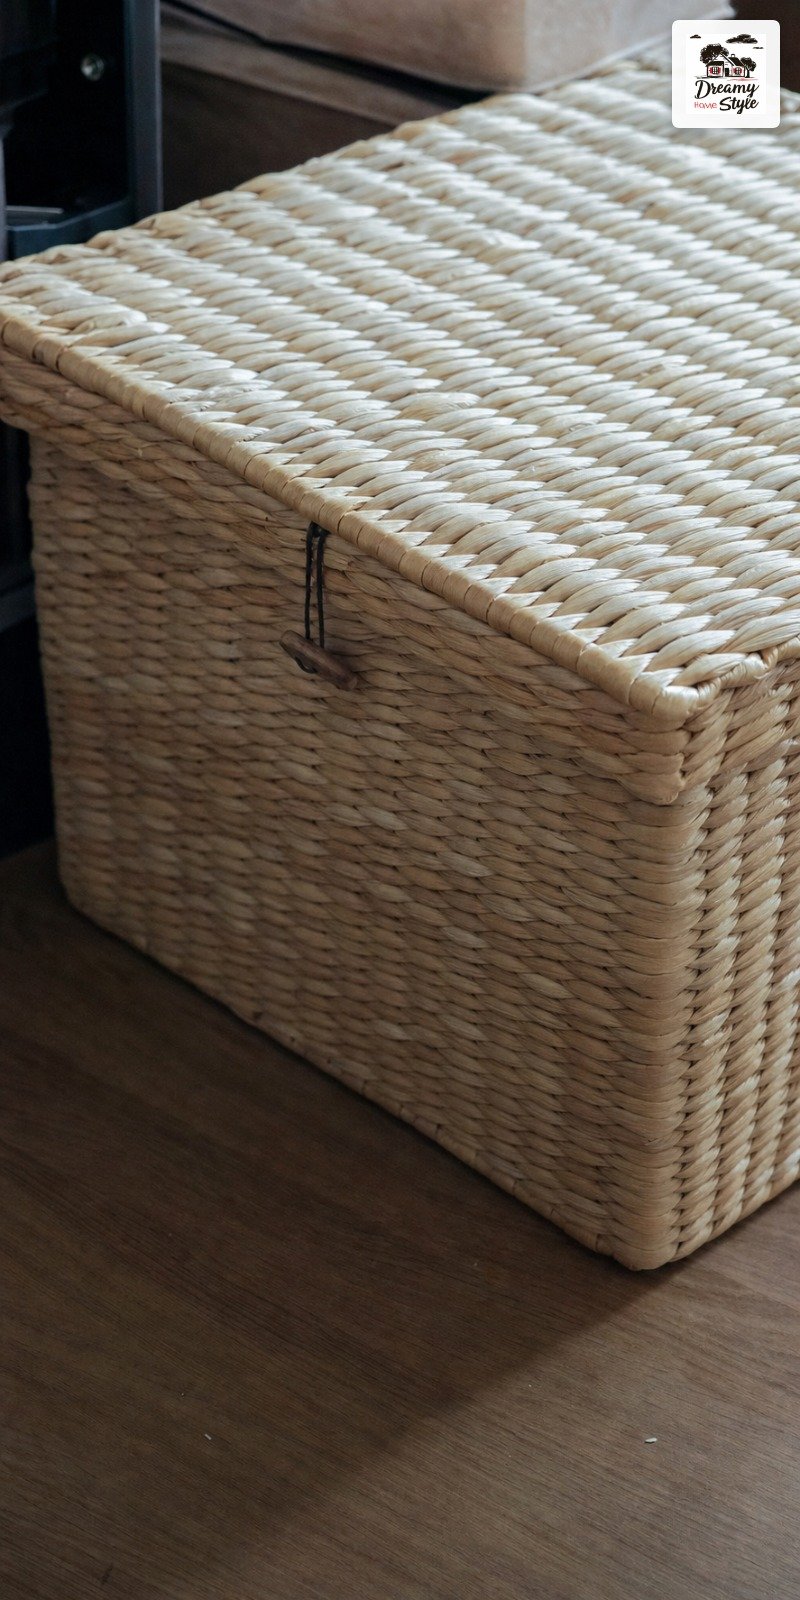
Make your own fabric storage boxes using canvas drop cloth from the hardware store (it’s super cheap) and a cardboard box form.
Fold, hot-glue the corners, add a fabric handle from a strip of the same material.
Done.
Or — and this is honestly what I’d do now — just buy inexpensive woven baskets or lidded rattan boxes and use those instead.
They’re $8-12 at HomeGoods and you can find similar at thrift stores constantly.
The point is: if something is going to be visible, even partially, it should look like you meant it to be there.
A DIY Pegboard Desk Organizer
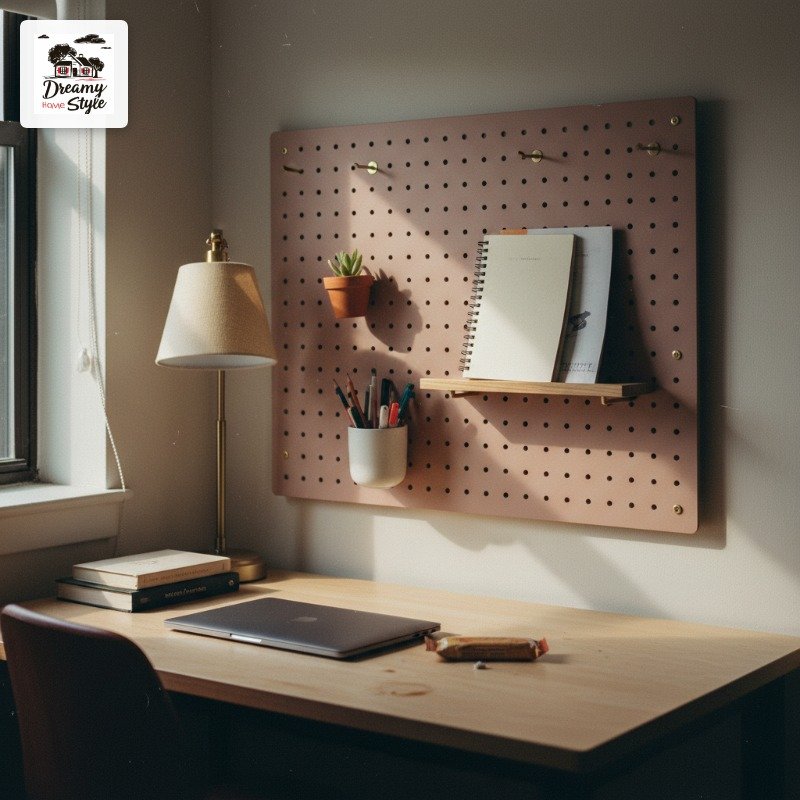
Dorm desks are small.
Like, aggressively small.
And the answer is vertical storage, which is where a pegboard comes in.
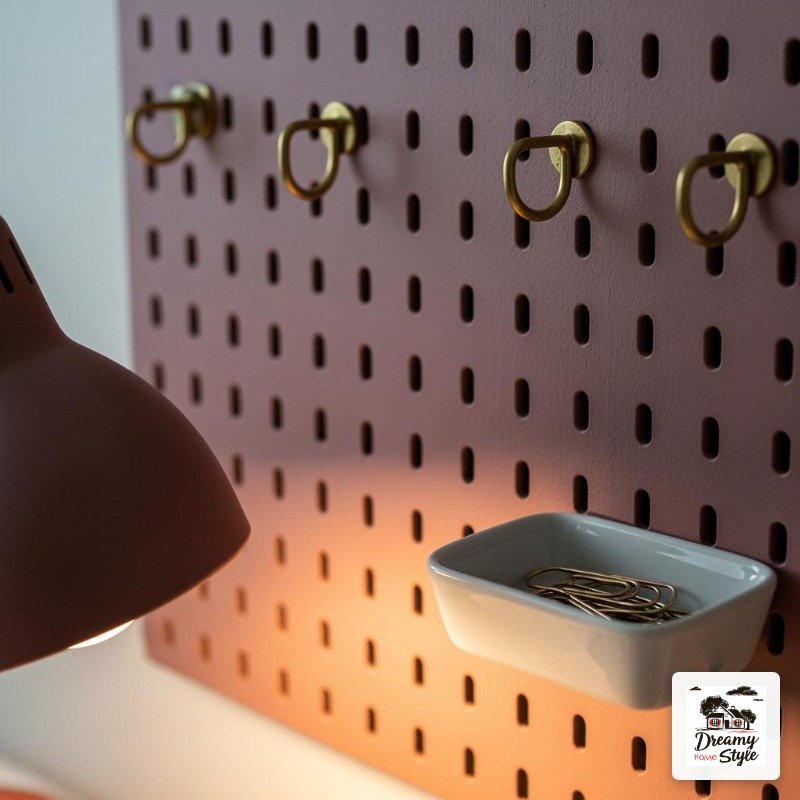
A small piece of pegboard (you can get it cut at Home Depot for a few dollars) mounted on the wall above your desk with Command strips holds a shocking amount of stuff.
Hooks, small shelves, little baskets, a cup for pens — it’s all customizable and it keeps the actual desk surface clear.
Paint the pegboard first.
White keeps it clean-looking.
A dusty sage or terracotta pink makes it feel more personal.
I did mine in a matte blush and it looked like something from a Pinterest board, which was the goal.
Just make sure the Command strips can handle the weight before you load it up.
Ask me how I know to check that first.
Rope or Macramé Shelf Brackets You Make Yourself
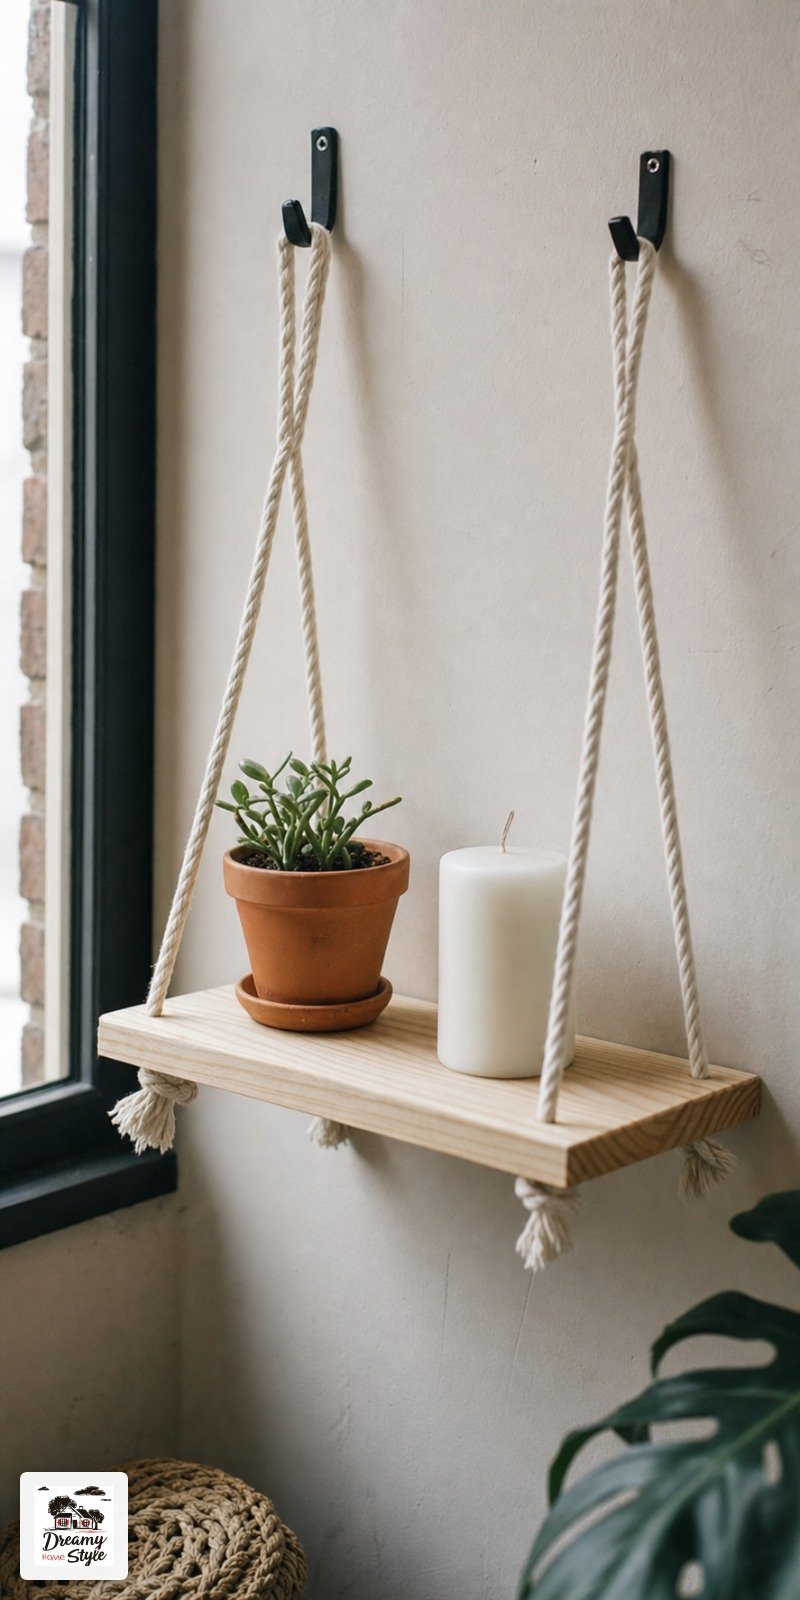
A floating shelf with rope or macramé brackets is one of those things that looks like it costs $80 from a boutique and actually costs about $12 to make.

All you need is a wood plank (I use pine boards from the craft store, sanded smooth), thick cotton rope from the hardware store, and two wall hooks.
The rope gets cut into four equal lengths, knotted through holes you drill in the plank corners, then tied to the hooks.
It holds plants, books, a candle, small frames.
The texture of the rope adds so much warmth to a bare white wall.
I have one of these in basically every room of my house now.
It started as a dorm idea and it never stopped being useful.
Curtain Lights as Ambient Overhead Lighting
I will never stop campaigning against overhead fluorescent lighting.
It’s harsh, it’s unflattering, it makes everything feel like a waiting room.
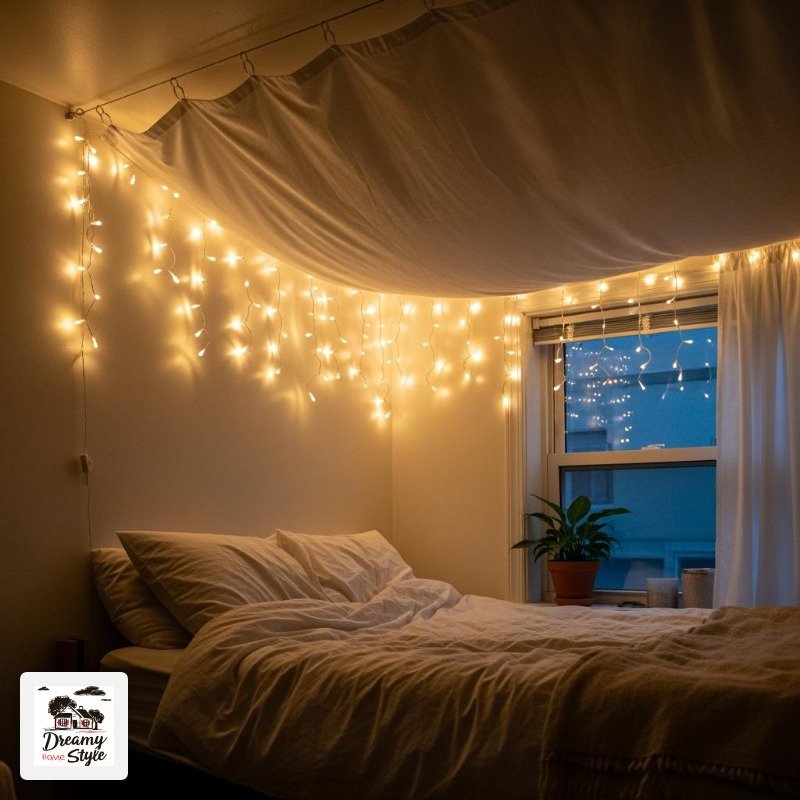
The fix in a dorm is curtain light panels — those soft cascading curtains of warm-white lights you can hang across the ceiling or along one wall.
They put off enough light to actually see, but in the most diffuse, warm way.
It feels like golden hour indoors.
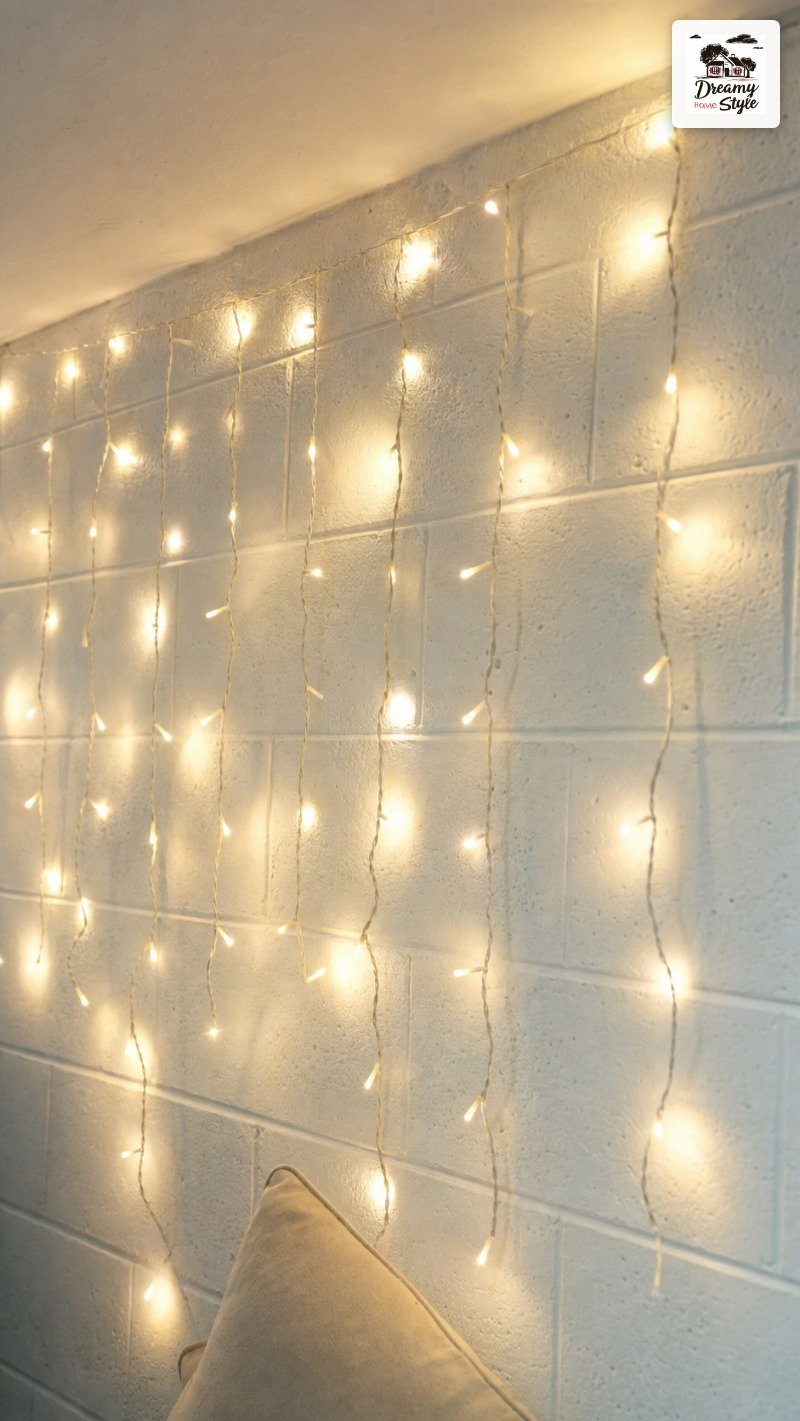
Command hooks along the ceiling edge hold them fine.
Add a small clip-on reading lamp from IKEA for actual task lighting and you’ve basically never have to use the overhead again.
This is the single thing I hear most from people who’ve done their dorm this way: they didn’t realize how much the light was affecting their mood until they changed it.
A Custom Painted Terracotta Pot Collection for Your Windowsill
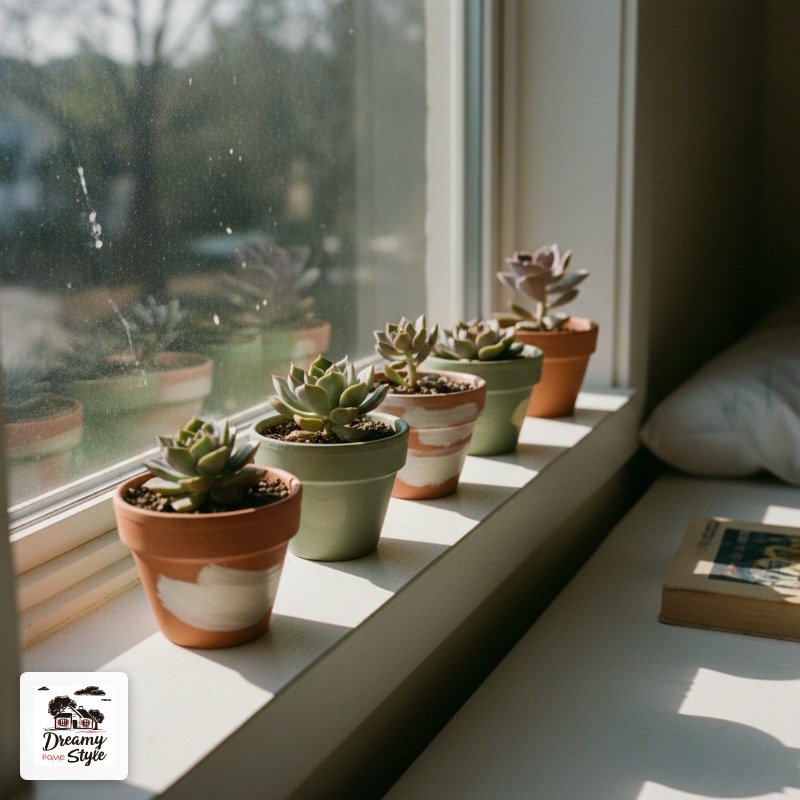
Plants make a dorm room feel alive in a way nothing else does.
And a row of painted terracotta pots on a windowsill is one of the easiest and cheapest DIYs I know.
Buy the small 2-inch or 4-inch terracotta pots from any garden center or craft store — they’re literally like 50 cents each.
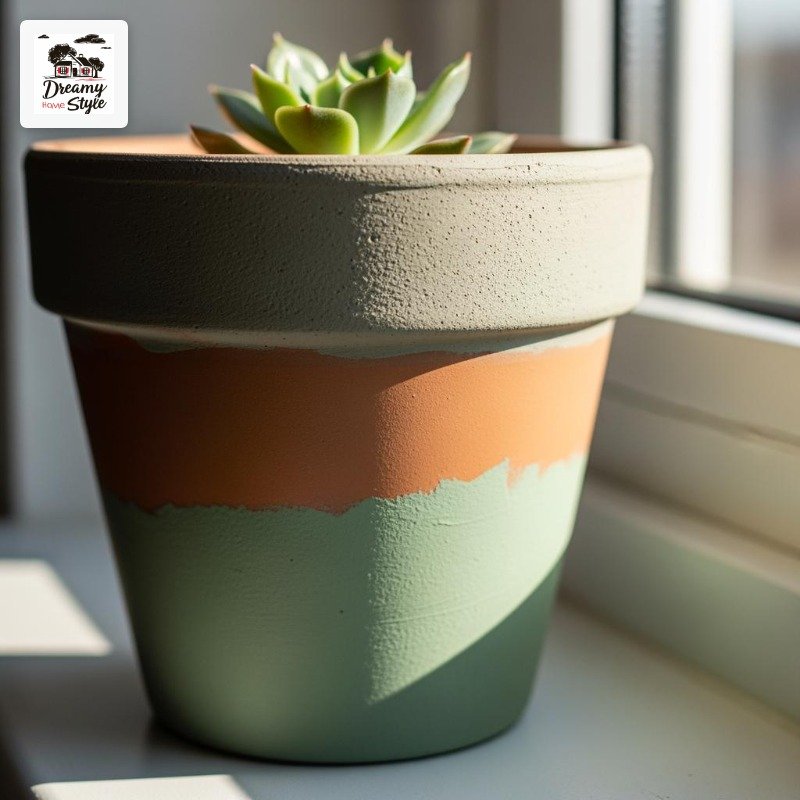
Prime them, then use acrylic craft paint to do a simple design.
I love dip-dyeing the bottom third in a solid color.
Or abstract brushstroke patterns in two coordinating colors.
Seal with a matte Mod Podge to protect the paint from watering.
Then plant small succulents, air plants, or even just some fresh herbs like basil.
Biscuit would absolutely knock these off my windowsill.
But in a dorm, with no dog, your windowsill is safe.
A DIY Fabric Headboard That Commands the Whole Room
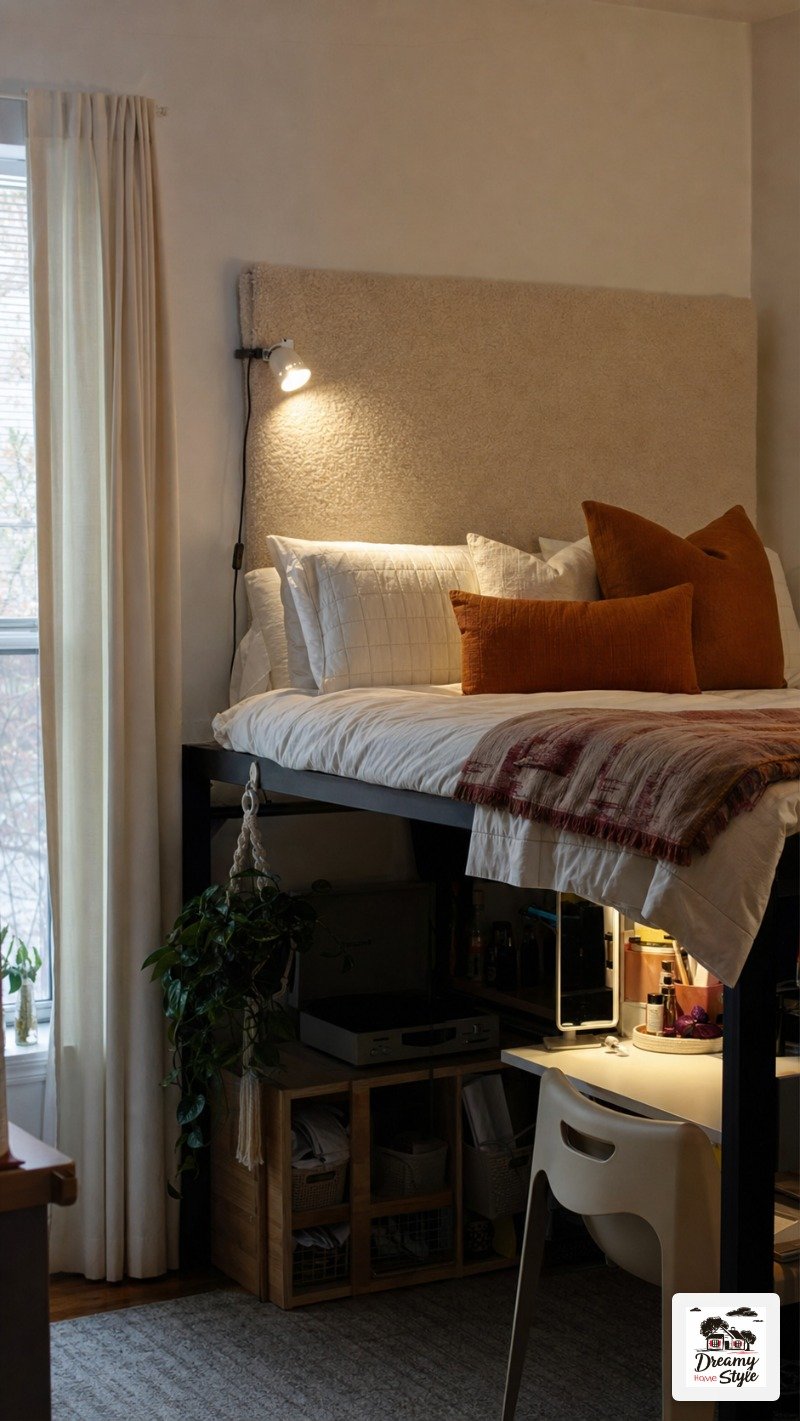
The bed is the largest visual element in any dorm room.
What you do behind it matters a lot.
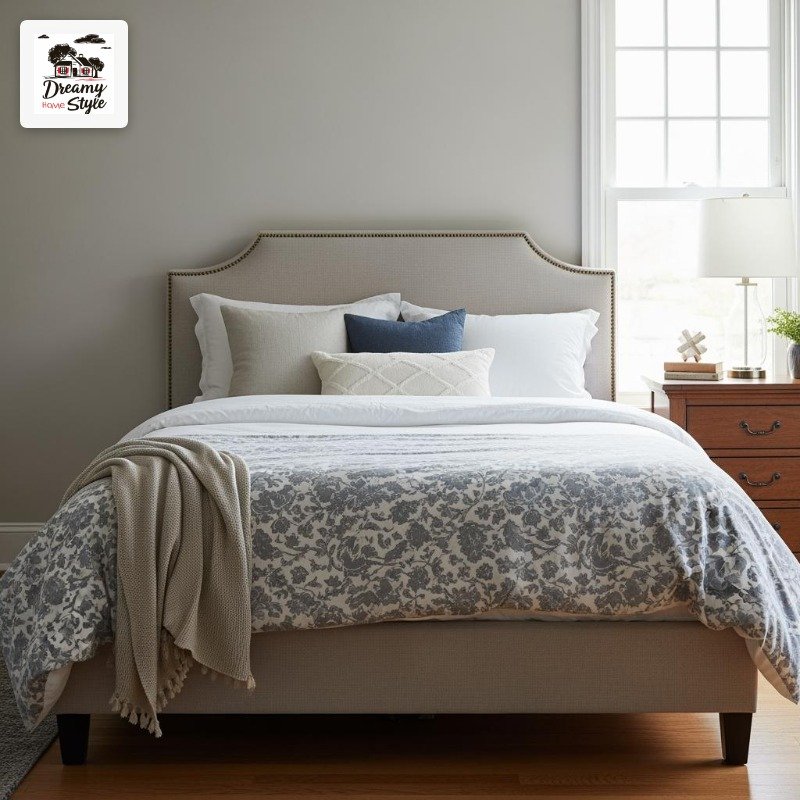
A DIY fabric headboard doesn’t require a frame or any real construction skill.
Cut a piece of foam batting to the width of your mattress and roughly headboard height (about 24-30 inches).
Wrap it in a fabric you love — a bold linen, a textured boucle, whatever feels like you.
Staple-gun it to a thin piece of plywood cut to the same size.
Lean it against the wall behind the bed.
That’s it.
No mounting, no holes.
The weight of the mattress pushed against the wall holds everything in place.
The first time I made one of these I used a $6 remnant fabric from Joann and a piece of cardboard instead of plywood and it lasted two full years.
Real plywood is better but cardboard genuinely worked.
Related read: Things I Wish I Knew Before I Decorated My First Home — Instant PDF + Kindle download. Secure checkout by Stripe

