
My handwriting looks like a grocery list written in a moving car.
So for years I bought every cute chalkboard I found at the thrift store, hung it up, and left it totally blank, because writing on it felt like signing my name in front of a crowd.
That’s a waste of a $4 chalkboard.
Turns out you don’t need pretty handwriting for a Christmas chalkboard.
You need a board that’s been prepped right, the right kind of chalk for that board, and a couple of cheats that do the hard part for you.
These are the ones I use every December, from the menu board in my kitchen to the sign by the front door that Biscuit keeps sweeping with his tail.
If you made a fall board already, like one of these Thanksgiving chalkboard ideas, you’ve got a head start.
Start With a Thrifted Board and Give the Paint 3 Days

The best chalkboards I own started life as something else.
An ugly framed print, a cabinet door off Facebook Marketplace, a cheap mirror with a really nice frame.
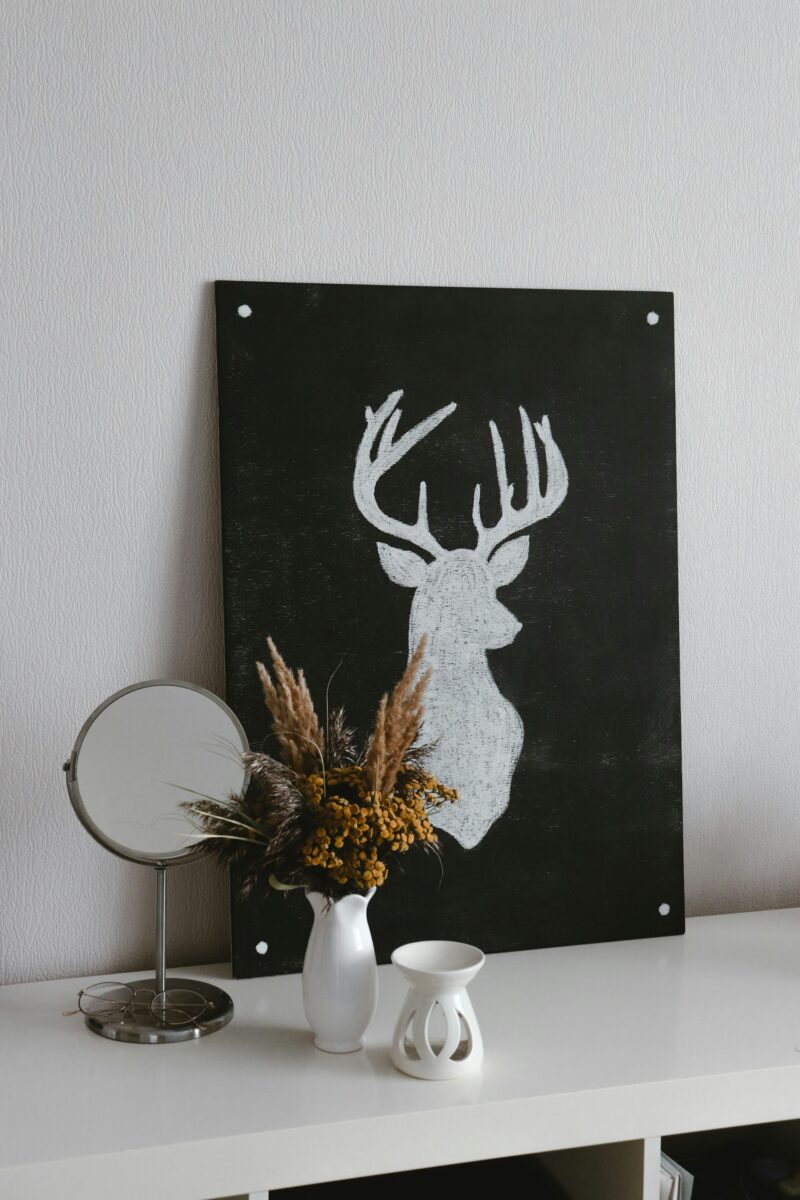
Pop out the glass or the art, paint the backing board, and you’ve got a chalkboard that looks like it cost a lot more than the $6 you paid.
I’ve used Rust-Oleum’s brush-on chalkboard paint the most.
You need at least 2 coats, and you can do the second one 4 hours after the first.
Then comes the part everybody skips: the paint needs 3 days before it’s ready to write on.
I know.
Three whole days in December.
Paint it on a Thursday night and it’s ready for the weekend, which is how I trick myself into waiting.
If you rent, skip the wall paint entirely.
A painted board leaning on a shelf or a mantel looks just as good as a chalkboard wall, and nobody’s getting your deposit over it.
Season It, or the First Word Haunts You

Here’s the step that saves the board.
Before you write a single letter, lay a stick of plain chalk on its side and rub it over the whole surface, up and down first, then side to side.
Then wipe it off with a dry cloth.
Not a wet one.
That chalk dust fills in the tiny pores in the board.
Skip it, and whatever you write first sinks into those pores and stays there as a faint shadow forever.
I learned this on my kitchen board, which said “PIE” in ghostly letters until roughly July.
Two things trip people up here.
First, use regular chalk, not the dustless kind, since dustless chalk doesn’t fill the pores the way plain chalk does.
Second, on a freshly painted board, wait 7 days before you wipe it with a damp cloth.
And every time you wash the board with water, season it again before you write.
Old boards with ghosting already on them aren’t hopeless.
A wipe of half water and half white vinegar, then a fresh round of seasoning, gets most of it.
Real Chalk or Chalk Markers? Test the Board First

This is the decision that matters most, and honestly it’s about your board, not your handwriting.
Liquid chalk markers are gorgeous.
The lines come out bright and crisp, they don’t smudge when your sleeve brushes past, and they make shaky letters look way more confident.
But they’re made for slick surfaces like glass, metal or a sealed board.
On a porous board, which covers most painted chalkboards and a lot of the cheap ones, the ink gets stuck in the little dips in the surface and may never fully come out.
Seasoning doesn’t save you there.
So test it.
Make one small mark in a bottom corner, let it dry, then wipe it with a wet paper towel in little circles.
Wipes clean?
Markers are fine on that board.
A shadow stays?
Real chalk only.
Real chalk works on any chalkboard, comes off with a dry cloth, and a box costs about as much as my morning coffee.
The look is softer and a little dusty, which I actually love on an old wood frame.
Most of my boards get plain chalk, and the glass ones get markers.
The Tracing Trick That Hides Messy Handwriting

This is the cheat that changed everything for me.
You print the words, and you trace them.
That’s it.
That’s the secret.
Type your words in a font you like, size them to fit the board, and print them.
Flip the paper over and rub chalk over the back, but only behind the letters.
Turn it right side up, tape it to the board with painter’s tape so it can’t slide, and trace every letter with a ballpoint pen, pressing hard.
Lift the paper and there’s a faint chalk outline of perfect letters waiting for you.
Go over it with chalk or a marker, brush off the stray dust, and nobody ever has to know.
Try to keep your hand off the paper while you trace.
Every time I lean on it I get chalk smudges all over the board and spend ten minutes cleaning around the letters.
The same trick works for drawings, too.
A reindeer or a little tree printed from a free coloring page traces just as easily as words.
Pick a chunky font.
A thick serif or a simple script survives the transfer, while a skinny, swirly one loses its hairline loops and comes out looking like a spider walked across the board.
Fake Calligraphy: Thicken Every Downstroke

For the fancy curly look, you don’t need a brush pen or a class.
Write your word in your normal cursive, slowly.
Then go back and look at each stroke where your hand moved down.
Draw a second line right next to every one of those, and fill in the gap.
Thick going down, thin going up.
That’s the whole trick, and it’s how real brush lettering looks.
It hides wobbly handwriting surprisingly well, because your eye reads the thick-and-thin pattern before it notices your “y” is leaning like it had too much eggnog.
Practice on a junk board first.
It took me three or four tries at the kitchen table with a coffee before “Merry” stopped looking like “Mercy”.
Mix it with plain letters, too.
One fake-calligraphy word on top and the rest in simple capitals underneath looks planned.
A whole board of curly writing just looks busy.
A Kitchen Menu Board for the Holidays

My kitchen board is the one people actually read.
In December it turns into the menu: what’s for dinner on the big night, who’s bringing what, and how much longer the ham has to go.
A list is the friendliest thing in the world for messy handwriting, because nobody expects a list to look like art.
Draw faint guide lines first with a ruler and a stick of chalk, write on the lines, then wipe the guides away once the words are dry.
Even crooked letters look neat when they’re sitting on a straight line.
A few I’ve used: “Tonight’s Menu” with the courses listed underneath, “The Cookie Swap” with each friend’s name and what they’re baking, and “Hot Cocoa Bar” with the toppings.
That last one does double duty, since it tells guests where the mugs are so they stop asking me.
Hang it where the light hits it from the side.
Under overhead lighting a chalkboard goes flat and gray, and you know how I feel about overhead lighting already.
A Countdown Board by the Front Door

The entry is where my countdown goes.
“Sleeps until Christmas” with a big number that gets wiped and rewritten every morning while the coffee brews.
It’s the one board in the house that changes daily, so it has to be real chalk.
Markers on a daily wipe is just too much work.
It’s a grown-up advent calendar, really.
Same daily ritual, minus the little doors and the chocolate.
Make the number huge and the words small.
If you start on December 1, you’ll redo that number 24 times, so trace the words once and leave them alone.
A damp cotton swab takes off the number without touching anything around it.
Mine sits on the entry table with a little garland and a candle, which is about all that table can hold.
If yours needs more than a board, I rounded up my favorite Christmas entryway table ideas a couple of weeks ago.
Porch Signs That Survive December Weather

Chalk and weather don’t get along.
Rain washes plain chalk right off, and a wet week will turn your beautiful “Merry Christmas” into a gray smear.
For the porch, I keep the sign under the roof, close to the door, and I use a board I’ve already tested for markers.
Dry marker lettering stays put until water touches it, so the roof does most of the work.
An A-frame sign is great here because you can scoot it back under cover when the forecast turns.
Want it to last all season?
You can spray a clear sealer over finished lettering.
Just know the board stops being a chalkboard at that point.
It’s a sign now, and that’s fine if you love what you wrote.
Short words read best from the street.
“Joy”, “Let It Snow” or “Merry Christmas, Y’all” all work.
Anything over five words, and people are squinting from the sidewalk.
Doodles That Don’t Need Drawing Skills

Every Christmas doodle I draw is basically shapes.
If you can draw a triangle and a plus sign, you can do all of these.
For a tree, draw a zigzag that gets wider as it goes down, add a short trunk, and stick a five-point star on top.
For a snowflake, draw a plus sign, put an X over it, then add a tiny V at the end of each arm.
Holly is two leaves shaped like footballs with pointy edges, plus three dots for berries.
For a string of lights, draw one loopy line across the top of the board and hang little ovals off it.
Color goes a long way.
A dusty red and a soft green look vintage on a dark board.
For a thick, bold line, dip the end of the stick in water first.
It looks faded while it’s wet, so don’t panic and wipe it.
It dries bright.
Keep the doodles in the corners.
They frame the words, and they cover the spots where your lettering ran out of room.
Not that mine ever does.
Words Worth Copying This Year
Where the board hangs decides how much it can say.
My kitchen board carries a whole list, while the porch sign gets five words at most, because people read it from the sidewalk.
Start with the kitchen menu.
It’s the most forgiving board you’ll ever make, and by the time you get to the porch sign, the tracing trick will feel like nothing.
Send me a picture of whatever you end up with.
Crooked letters especially.