
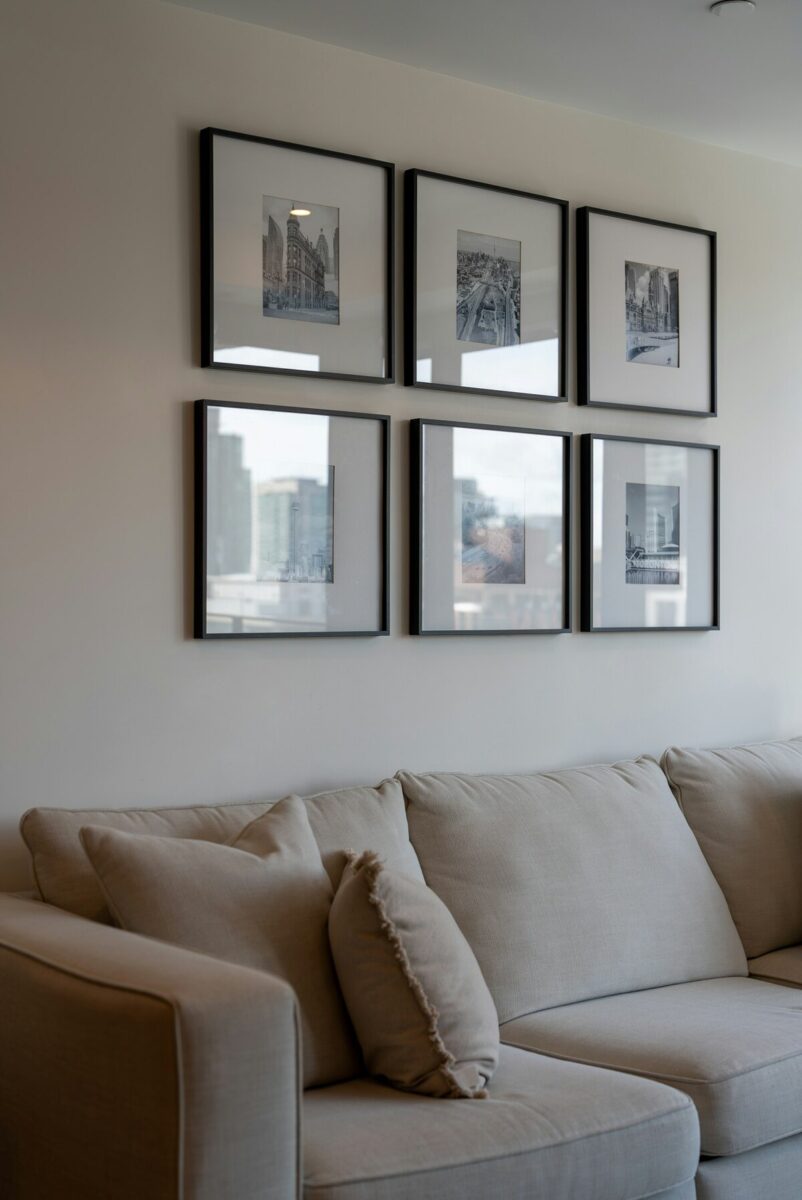
A blank wall costs nothing to leave alone.
Filling it is another story.
Gallery-store prints add up fast, and one big piece can cost more than the sofa it hangs over.
Here’s the good news: wall decor is one of the easiest things to make yourself.
Your wall doesn’t care if a piece came from a boutique or from your kitchen table.
If you love the look of a painted canvas but don’t trust your freehand, a custom kit made from your own photo numbers the canvas for you.
You get to skip straight to the relaxing part, the painting.
It’s 1 of the 7 ideas below, and you can finish every one of them in a weekend.
Most cost a few dollars in supplies, and a couple cost nothing at all.
Fabric-Wrapped Canvas Panels

Fabric is the fastest way to get color and pattern on a wall without paying for original art.
It also forgives almost every beginner mistake, since a crooked staple hides behind the frame.
Grab a plain stretched canvas or a cheap wooden frame.
Then wrap it in something you already own: a remnant, an old scarf, or a pillowcase you’ve fallen out of love with.
Pull the fabric tight and staple it to the back.
Fold the corners like you’re wrapping a gift, then trim the extra.
The trick that makes these look expensive?
Grouping.
One panel looks like a craft project.
Three panels in the same color family, hung in a tight row with about 2 inches between them, look like a planned triptych.
I like 1 bold print with 2 quiet solids, so the wall looks styled, not busy.
Linen, canvas-weight cotton and heavy upholstery scraps hold their shape best.
Thin, stretchy fabric tends to sag over time (save it for pillows).
Paint-Sample Color-Block Art

Paint sample cards are free at the hardware store, and they’re secretly a ready-made art supply.
Pick 3 to 5 shades from one color family.
Think a soft sage stepping down to a deep forest green.
Cut the swatches into clean rectangles or arches, and glue them in a grid on heavy paper or a thrifted frame mat.
Then slide the whole thing into a frame.
That’s it, and it takes about an hour.
Why does it work so well?
The paint companies already did the hard part.
The shades on one card are made to sit well together.
If you’re not sure where to start, pull the colors from something already in the room, like a rug, a throw or your favorite mug, and match the cards to that.
Want a more handmade feel?
Skip the scissors and tear the edges by hand.
A slightly rough edge looks intentional, and it softens a very geometric layout.
String Art With Nails and Thread

String art looks like it took real skill.
It doesn’t.
You hammer nails partway into a board along an outline, then wrap thread from nail to nail.
Straight lines of thread end up looking like soft curves, and that’s the effect that’s kept string art around as a craft for so long.
Start simple.
A heart, a house, a mountain ridge or a single initial is plenty for a first try.
Print the shape at full size, tape it to a scrap board, and hammer in a nail about every 1/2 inch along the outline.
Tear the paper away.
Then wind embroidery floss or cotton thread between the nails in any pattern you like.
The mistake most beginners make is rushing the wrapping.
My tip: tie the first thread to a nail with a double knot, and keep a gentle, even pull as you go.
If the thread goes slack, the lines get wobbly and the shape loses its crisp look.
Paint a Numbered Canvas From Your Own Photo

This one’s for anyone who’s sure painting is a talent they just weren’t handed.
It’s also the idea that surprises people most.
A paint-by-numbers canvas gives you the outline and a code for every color.
Your only job is filling in one small shape at a time.
With a custom kit, the picture is your own: a pet, a favorite trip, a family portrait, or the view from a place you love.
No photo in mind?
Davincified’s ready-made designs cover landscapes, florals and abstracts in palettes that suit most rooms.
Davincified prints its kits on a linen-blend canvas that arrives wrinkle-free.
That matters more than it sounds once you want to frame it, because a canvas that comes out of the tube creased is hard to hang flat.
You also see a color preview before you order, so you know how your photo will turn out before anything is made.
Which photos work best?
Ones with a clear subject, good natural light and a fairly simple background.
If you’re new to this, skip the busy backgrounds.
It’s the one idea on this list that costs more than pocket change.
But a framed canvas of a photo that means something to you is also the piece people will ask about.
Work in short sessions of 30 to 60 minutes, start with the biggest shapes, and leave the tiny details for last.
Thrifted Frames, Pressed Flowers and Pages

Thrift stores sell frames for very little, and most of them are fine once you ignore what’s inside.
Pop out the old print, give the frame a fresh coat of paint if the finish looks tired, and put something personal behind the glass.
Pressed flowers are the classic pick, and the craft goes way back.
The Japanese art of oshibana has been traced to the 16th century.
Leaves and blooms from a walk or your garden flatten well between the pages of a heavy book.
Give them 1 to 2 weeks, so start collecting now if you want them ready for the weekend after next.
Lay them out on cream cardstock with room around each stem, and hold them down with a tiny dot of glue.
Other things that look great behind glass: a page from a vintage book, a map of a place you love, a kid’s drawing, a scrap of wrapping paper, or a handwritten recipe.
Hang 3 or 4 together with the same gap between them, and the mismatched frames will read as a collection.
A Yarn and Driftwood Wall Hanging

A woven wall hanging brings texture, which flat decor can’t.
You’ll need a branch, a piece of driftwood or a plain wooden dowel, plus cotton cord, yarn or leftover rope.
Cut each cord about 4 times as long as you want the finished hanging.
Fold it in half and attach it to the branch with a lark’s head knot.
It’s a simple loop-through hitch, and it’s been around since at least the first century.
Once the cords are on, you can keep it simple: comb them straight and trim the bottom into a clean V. Or knot sections together in square knots for a macramé look.
Either way, it’s an evening’s work, not a weekend’s.
Natural, undyed cord suits almost any room.
If your space is already colorful, a single neutral hanging gives the eye somewhere to rest.
Air-Dry Clay Relief Tiles

Air-dry clay doesn’t need a kiln, and a small bag goes a long way.
Roll it out to about 1/4 inch thick.
Press in leaves, lace or a stamp for a pattern, then cut out squares, circles or ovals with a cookie cutter.
Let the pieces dry for 24 to 48 hours, and sand any rough edges.
Paint the tiles one color for a modern, sculptural look, or leave them white and let the shadows do the work.
Set in a loose grid on the wall, they read like a collection of handmade ceramics.
Poke a small hole near the top of each one before it dries so you can hang it on a nail.
Renting?
Removable adhesive strips work too (here are more renter-friendly wall decor ideas).
If your wall has a warm tone, try the tiles next to the fabric panels from earlier.
The contrast in texture makes both look better.
Which One Should You Make First?

Here’s how the 7 projects stack up on time, spending and skill, so you can match one to the hours and money you actually have this weekend.
| Idea | Time needed | Spending | Skill level |
|---|---|---|---|
| Fabric-wrapped panels | One afternoon | Low, often free with scraps | Beginner |
| Paint-sample color blocks | About 1 hour | Free | Beginner |
| String art | An afternoon | Low | Beginner, but patient |
| Numbered canvas from a photo | A few short sessions | Higher than the rest | Beginner |
| Thrifted frames and pressed flowers | An evening, plus 1 to 2 weeks of pressing | Low | Beginner |
| Yarn and driftwood hanging | An evening | Low | Beginner |
| Air-dry clay tiles | 2 days, counting drying time | Low | Some patience |
Got an hour and almost no money?
Start with the paint-sample color blocks.
Want something that feels like a real project?
String art or clay tiles will fill a quiet afternoon.
And if you want a finished piece that looks like a painting and holds a memory, go with the photo canvas.
It also pairs well with any of the simpler pieces on a mixed wall.
You don’t have to pick just one, either.
The best gallery walls mix sizes and materials.
Hang something soft like the yarn piece, something flat like the framed flowers, and one bigger anchor piece.
Then step back and move things around before you commit to any nail holes.
My favorite trick for that: cut paper templates the size of each piece and tape them to the wall first.
It saves a lot of patching later.
Related read: Things I Wish I Knew Before I Decorated My First Home — Instant PDF + Kindle download. Secure checkout by Stripe