

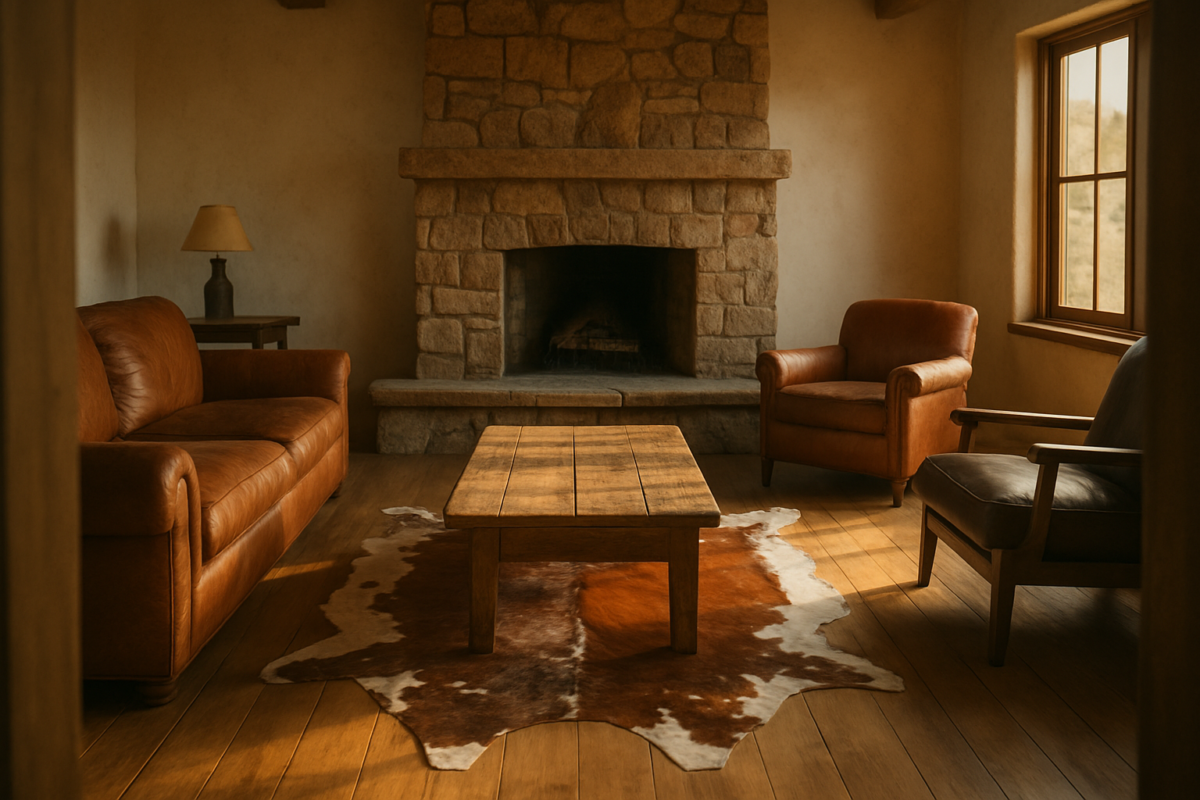
Great rooms look effortless in inspiration photos, but getting the sitting and dining zones to actually work together takes some deliberate planning.
Here’s how I think about treating a great room as two zones instead of one sprawling layout, covering everything from walkway widths to chandelier placement.
Stick around for the free plan at the end, so you can test these ideas out before moving a single real piece of furniture.
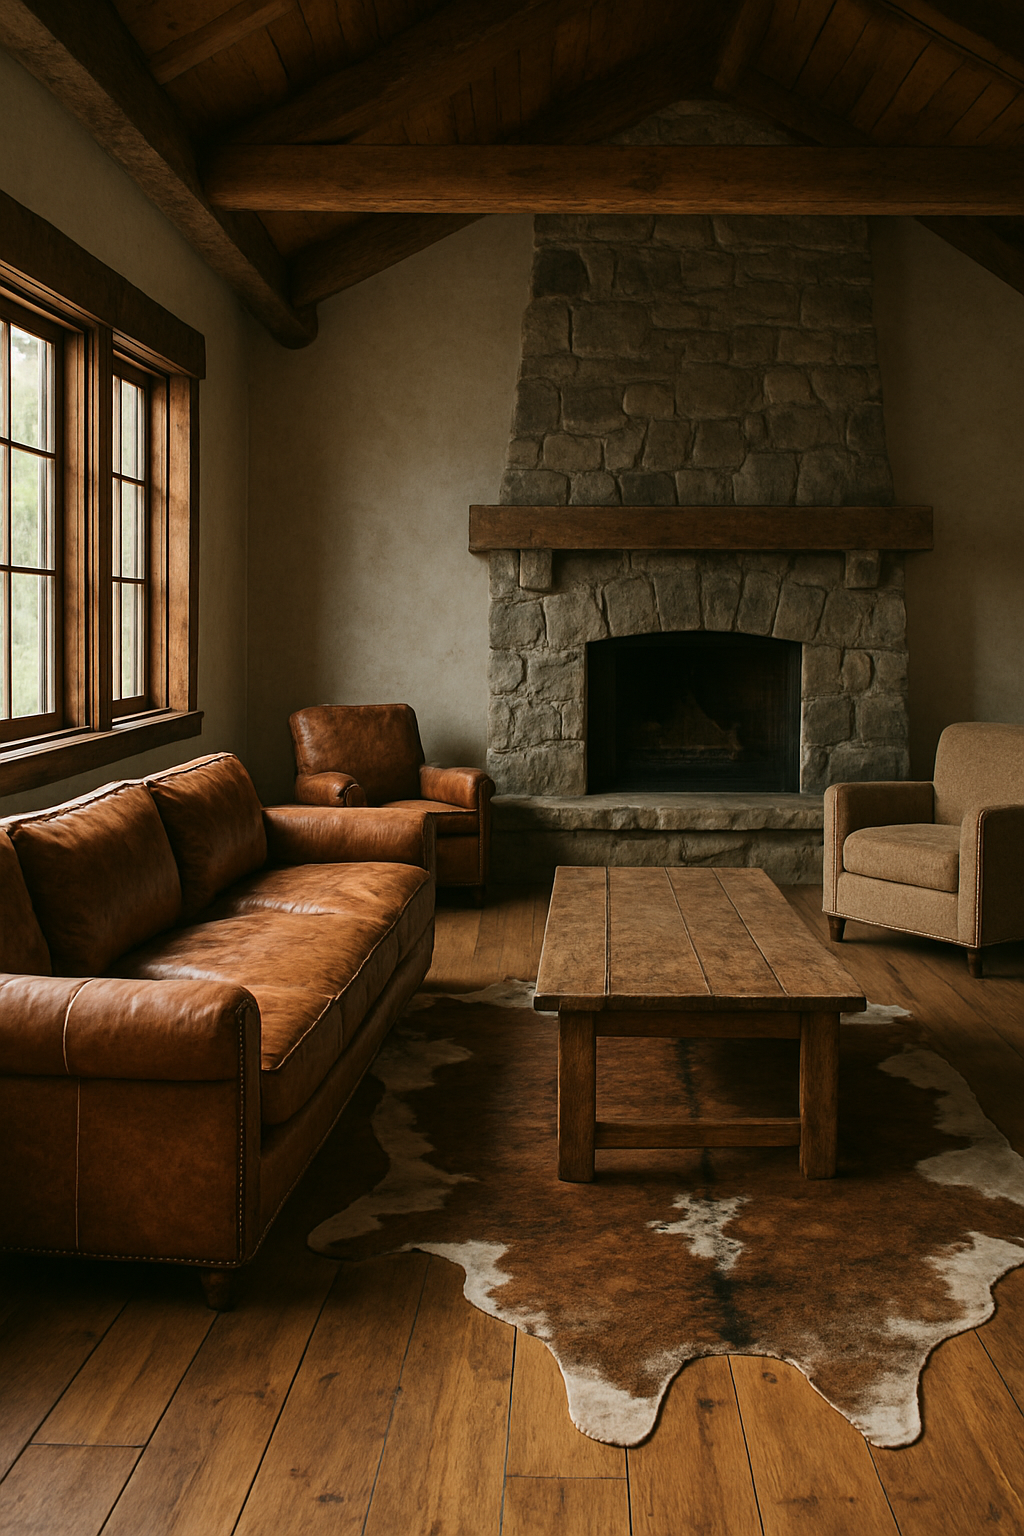
Free floor plan: Open this ranch great room layout in the free room planner — furnished, to scale, and yours to move around →
Two Centers, Not One Big Arrangement
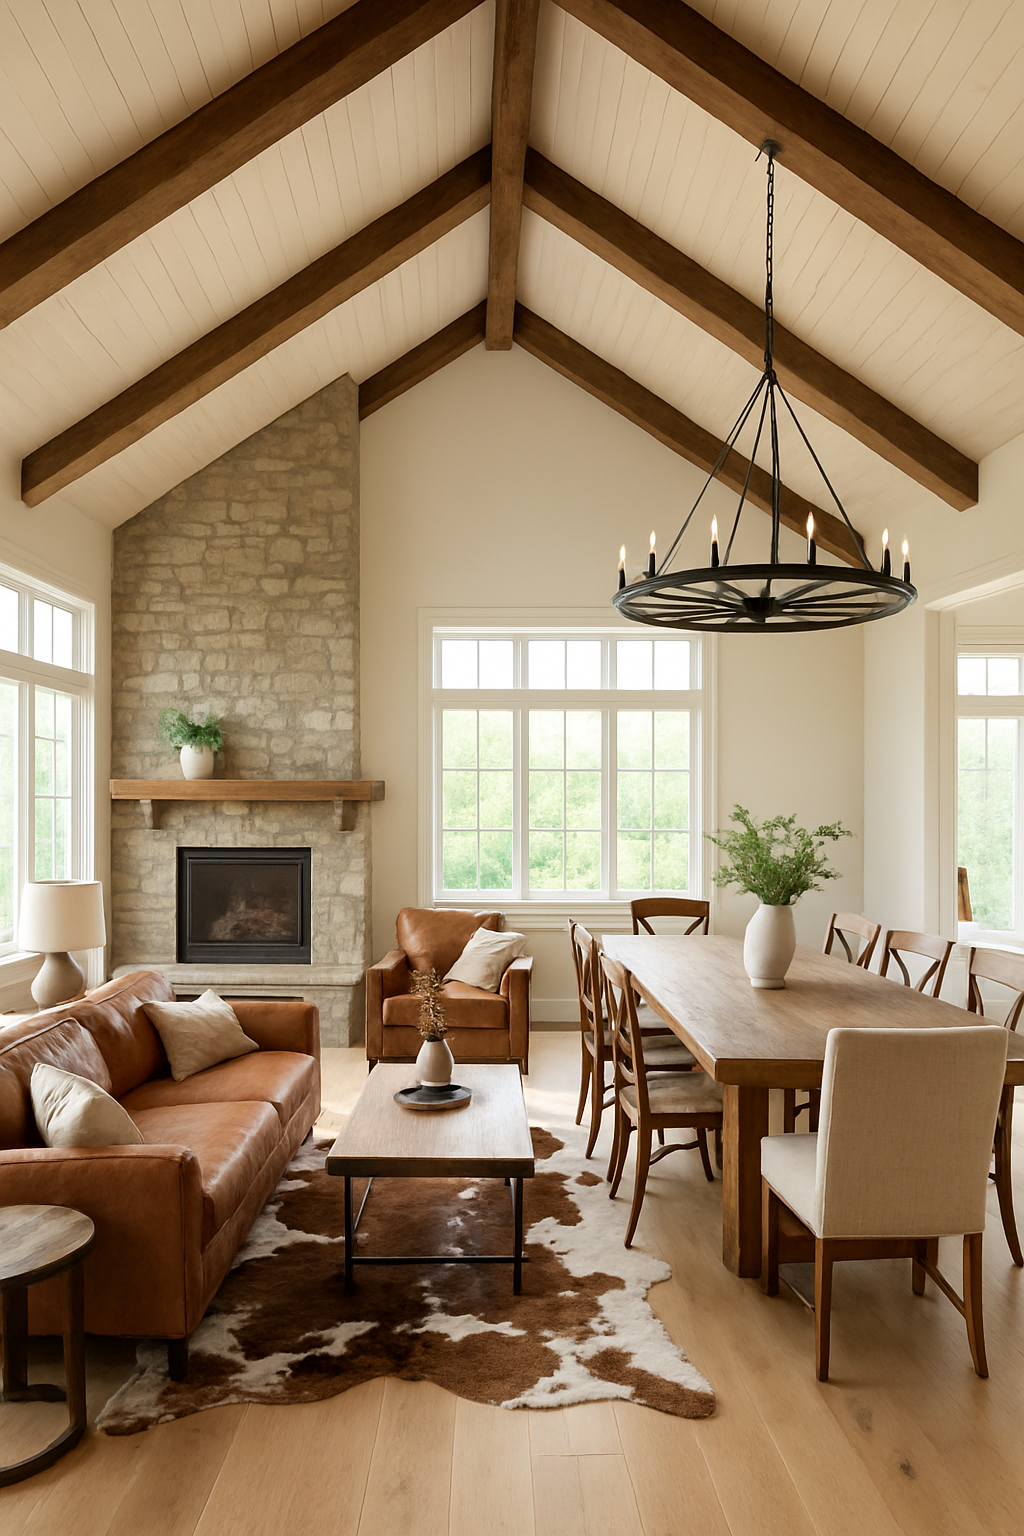
The great room plan on your inspiration board has one wall doing two jobs, hearth and screen, and that’s the first place it breaks.
Look at it long enough and you see why a living-slash-dining room feels off.
It’s not that there’s too much furniture.
It’s that there’s one giant layout trying to be two rooms at once.
A great room needs two complete plans living under the same roofline.
The sitting zone gets its own anchor: a cowhide rug thrown down in front of a stone hearth fireplace, sofa and chairs pulled around it like they’re having a conversation.
The eating zone gets its own anchor too: a reclaimed wood table sitting under a wagon wheel chandelier, doing its own thing completely.
Two centers.
Not one sprawling arrangement that starts at the front door and just… keeps going until it runs out of wall.
Here’s my hot take, and I’ll die on this hill right next to the one about overhead lighting: treating a great room as one giant layout is the single most common reason it feels unfinished, no matter how much furniture you cram into it.
One oversized rug meant to blanket practically the whole floor, sitting area and dining table both, gets called “zoning.” It does the opposite.
Everything just… pools together.
No edges anywhere.
Walking the Gap Between Them
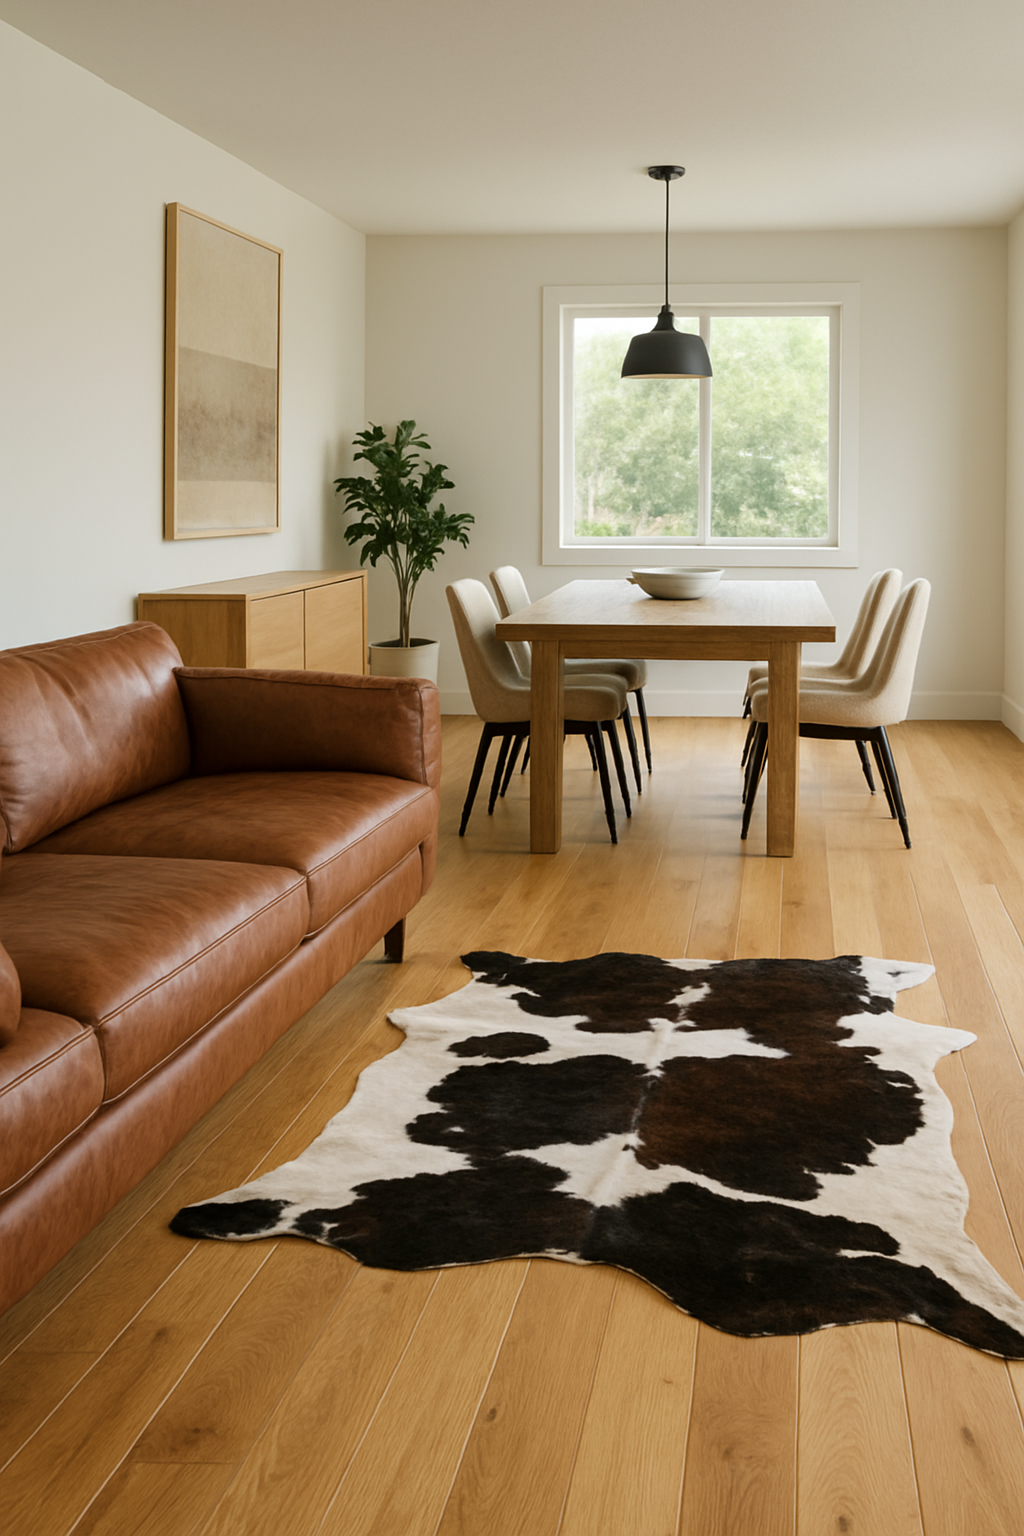
Between your two zones there needs to be a strip of floor that belongs to neither one.
Not leftover space.
Deliberate space, with an actual width attached to it.
For a main walkway cutting through a room, 36 inches is the rule of thumb I go by.
That’s enough to walk through without the awkward sideways shuffle.
For a secondary walkway, something you’re moving through less often, 24 to 30 inches works.
Measure it.
Actually put a tape measure down.
I skip this step more than I’d like to admit and I always regret it.
That gap should stay empty.
No console table.
No plant stand “just to fill it in.” No little bench because the space looked bare and benches are cheap at thrift stores.
The second you push furniture into that walkway, you’re not filling space, you’re erasing the one thing telling your eye where the sitting zone ends and the dining zone starts.
People shove furniture toward the gap to make each side look fuller.
It backfires every time.
Now both zones look crowded and the room reads as one undefined blob again, exactly the problem you were trying to solve.
Fireplace or Media Unit: Pick One Wall
This is where most great rooms actually fall apart, and it’s the thing nobody’s inspiration board photo ever addresses honestly.
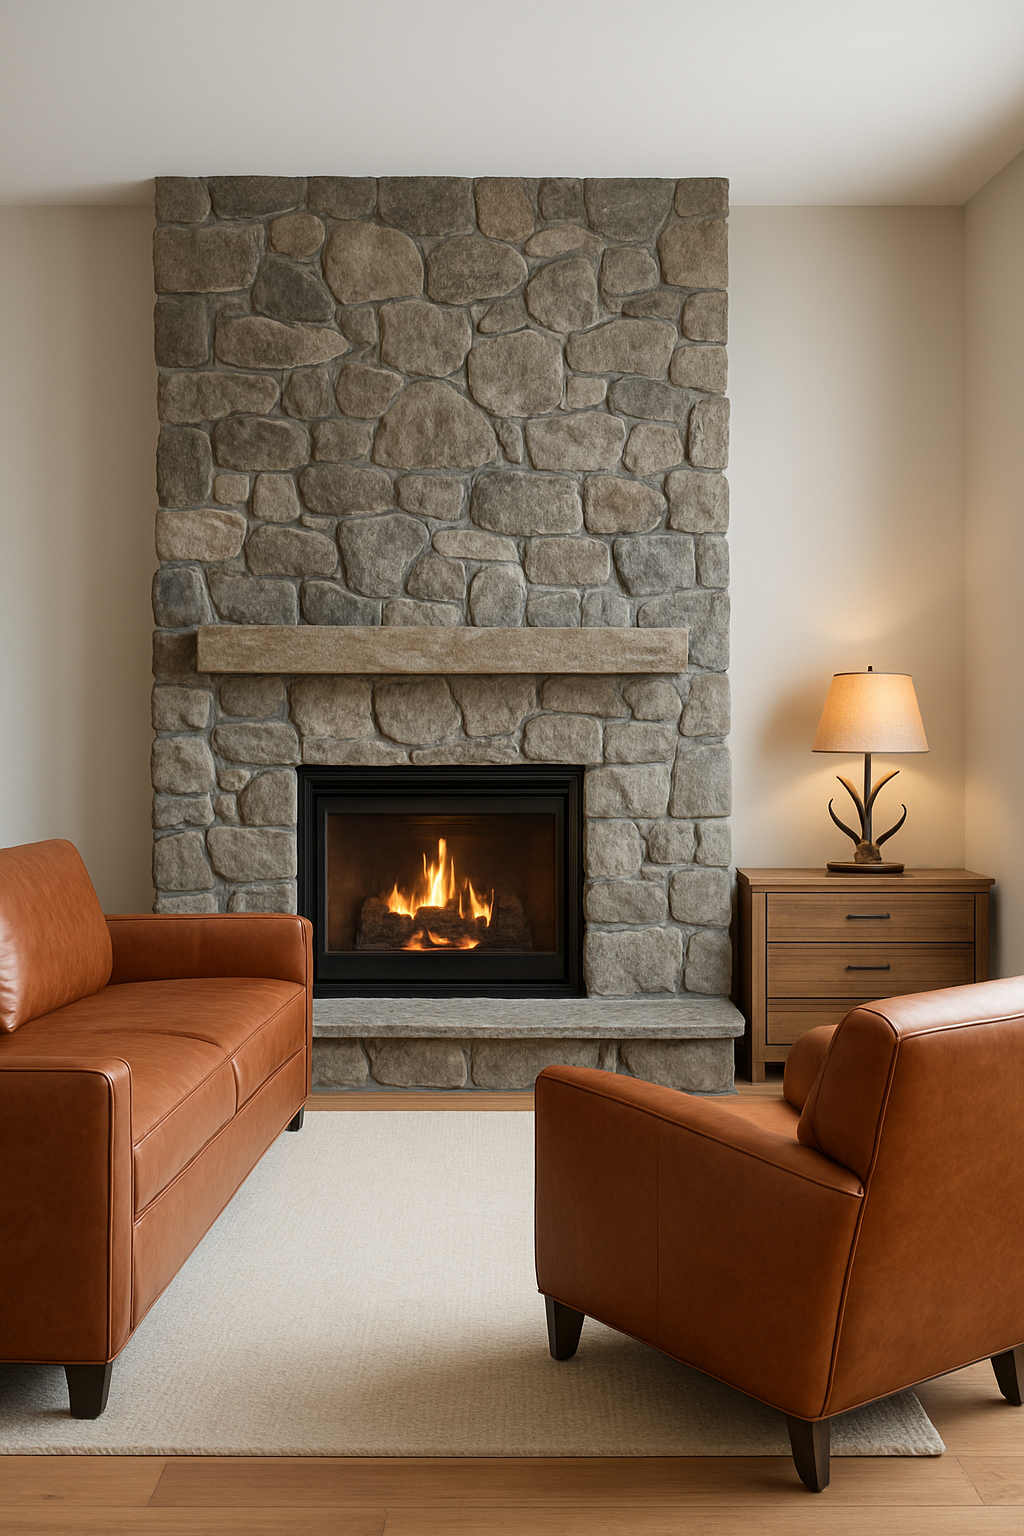
You’ve got a stone hearth fireplace wanting to be the focal wall.
You’ve got a barn wood media unit wanting the exact same wall.
They cannot both win.
The media unit loses.
It goes on a side wall, full stop, not directly across from the hearth and not flanking it.
I know that’s not what you want to hear if you already pictured your TV mounted above that gorgeous stone.
But there’s a code reason the hearth gets priority beyond just my opinion: IRC R1001.10 requires a hearth extension of at least 16 inches in front of the fireplace opening and 8 inches beyond each side.
If the opening is 6 square feet or larger, that jumps to 20 inches in front and 12 inches to each side.
That’s floor space around the fireplace that has to stay clear of furniture legs and rug edges.
It’s not decorative breathing room, it’s a fire-safety requirement, so keep rug edges and furniture legs clear of that zone entirely.
Read next: Open concept living rooms
Free calculator: Work out the screen size and viewing distance →
Sofa Backs Are Walls You Can’t See
Nobody tells you this part.
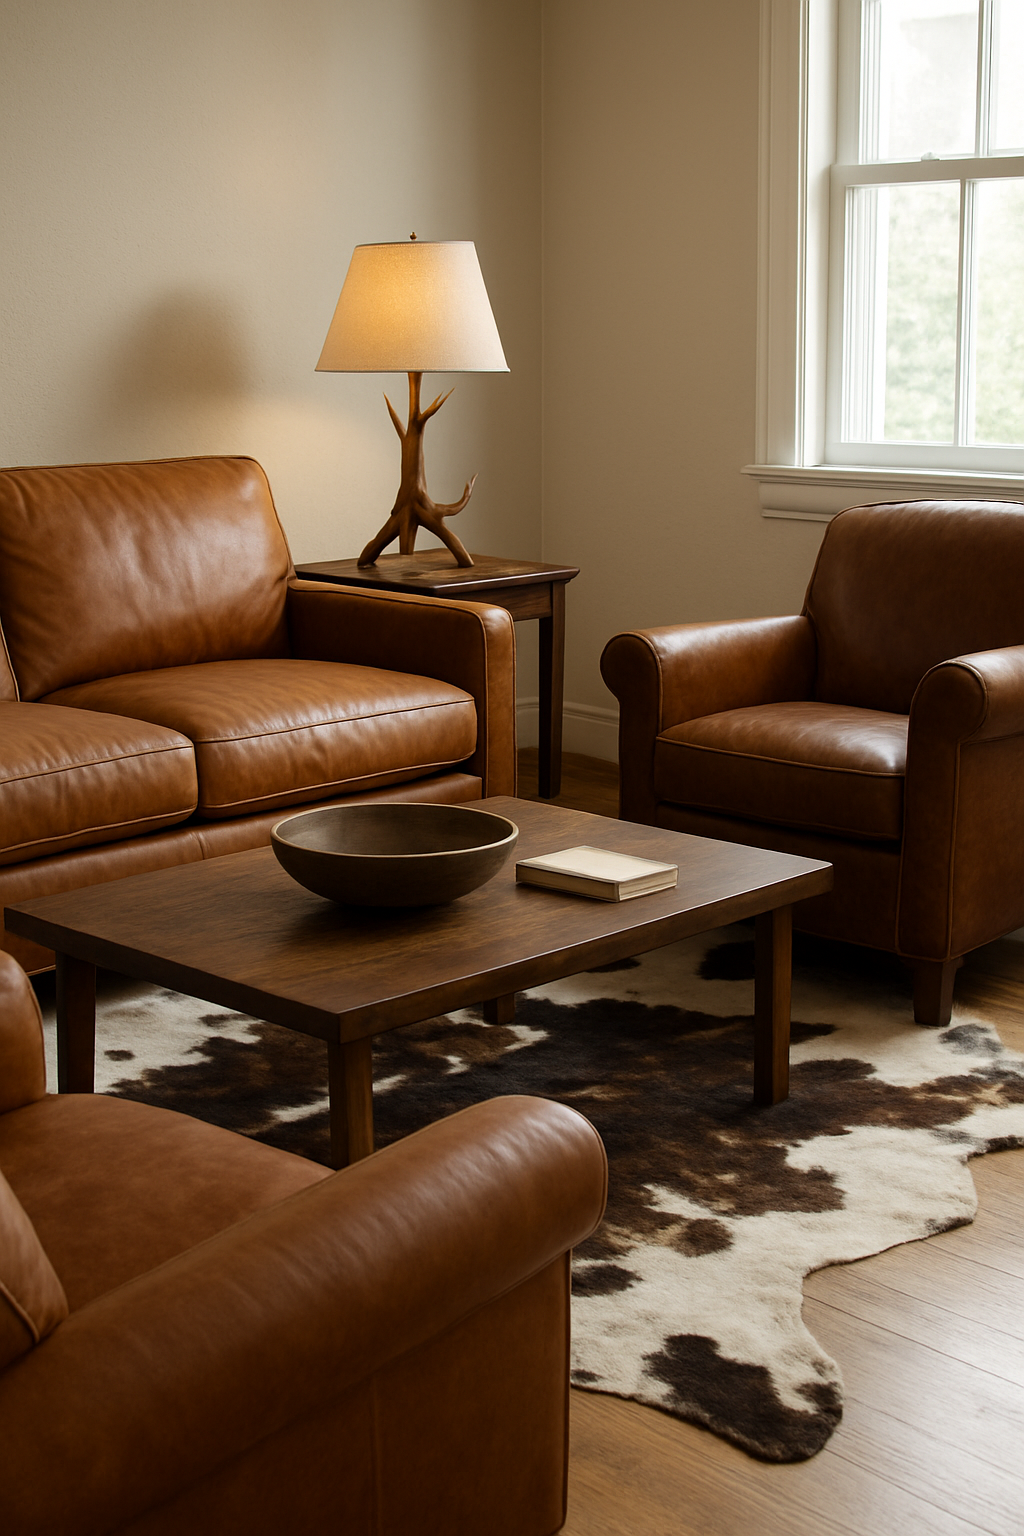
Your saddle leather sofa, plus a leather chair and a club chair grouped around it, aren’t just seating — the back edge of that sofa functions as a wall.
An invisible one, sure, but your eye reads it as a boundary the same way it reads actual drywall.
A coffee table sits 14 to 18 inches from the sofa’s front edge, that’s the rule of thumb, close enough to reach your coffee without leaning like you’re trying to grab something off a high shelf.
But the back edge matters just as much, maybe more in a great room, because that’s the side facing your dining zone.
It should read as a wall.
Full stop.
Not an open invitation for a dining chair to scoot up and practically touch shoulders with it.
I’ve seen this go wrong in exactly one predictable way: someone pushes the dining chairs back far enough to clear the table, and the chair backs end up an inch or two from the sofa back.
Now the two zones have collapsed into one crowded room with furniture facing every direction at once.
Give it distance.
That walkway width from earlier isn’t just for walking through.
It’s also the gap between your sofa’s back and your first dining chair.
One Rug Per Zone, Tested Against a Plan That Doesn’t Do That
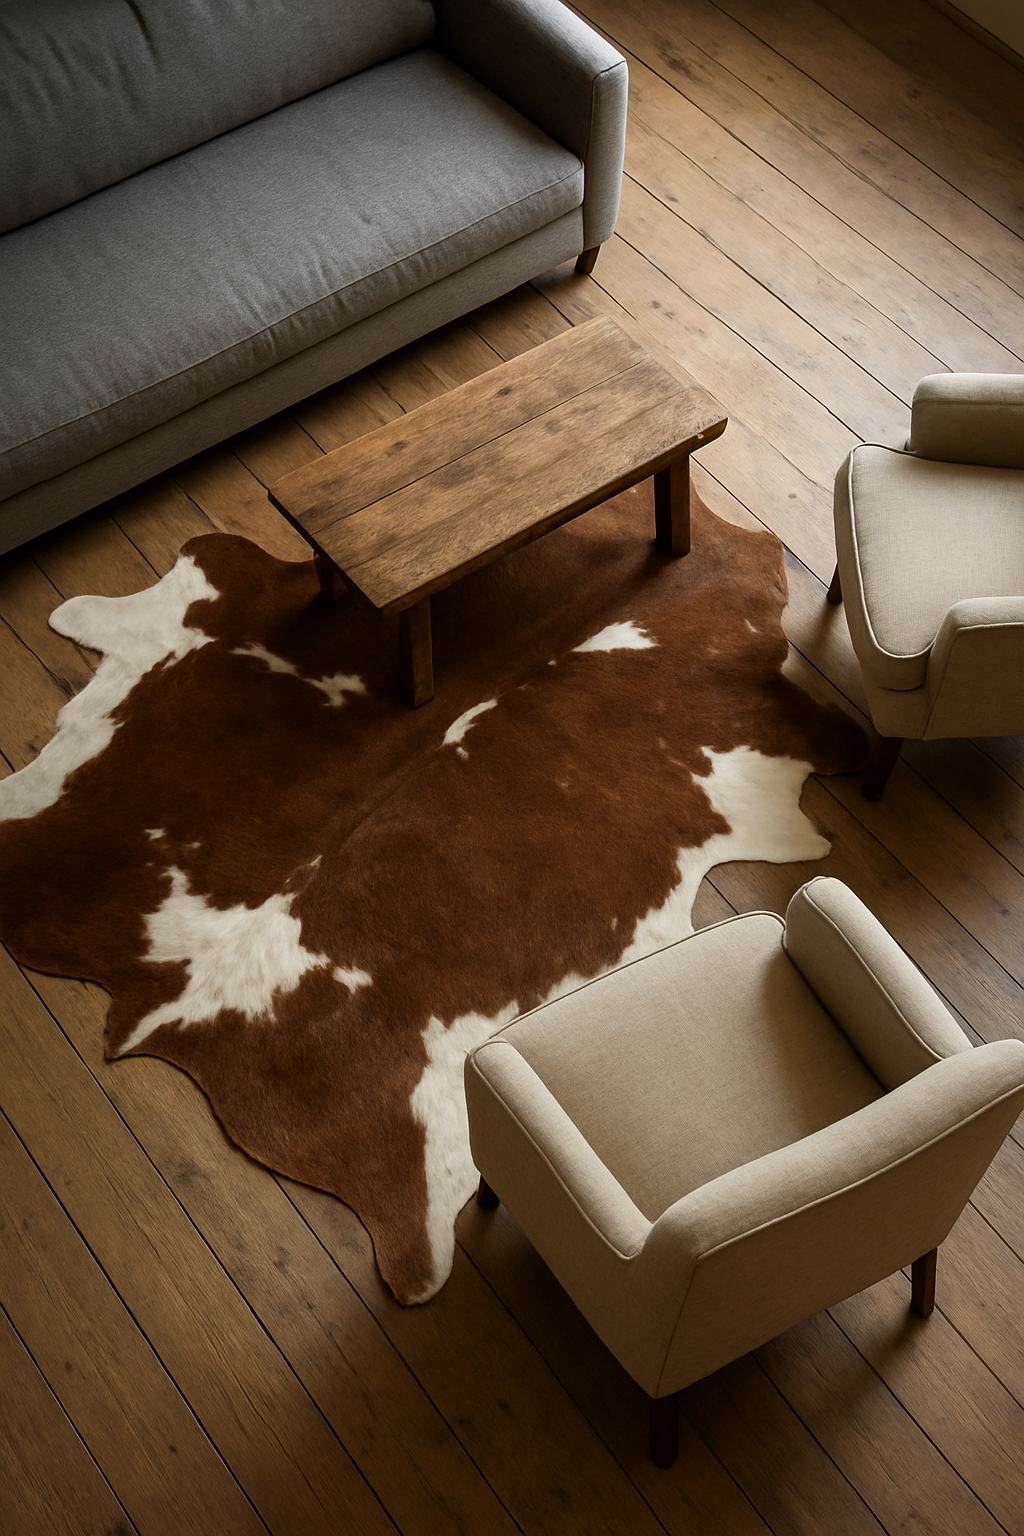
The usual advice is one rug per zone: cowhide under the sitting area, something else under the dining table.
Fine in theory.
Here’s where it gets interesting though: the free plan for this exact layout ships with only one rug, the cowhide.
Put it under the sitting zone and the reclaimed wood table sits on bare floor.
No second rug anywhere in the plan.
That’s not wrong, in my book.
A dining zone doesn’t automatically need its own rug if the table and the chandelier hanging above it are already doing the anchoring work.
That reclaimed wood table has real presence, it’s chunky, it’s got visual weight, and a wagon wheel chandelier sized right above it (more on that in a second) finishes the job a rug would’ve done anyway.
The rule bends when the overhead fixture is strong enough to carry the zone on its own.
Where I’d push back on myself: don’t treat any layout rule, including this one, as gospel.
Sometimes bare floor under the table is genuinely the better call, especially if you’ve got a wood floor worth showing off instead of covering.
My floors are original to the house and kind of beat up in a way I’ve decided to call “character,” and I will cover almost anything before I hide them under a rug.
Your mileage may vary.
If your dining zone’s table is small or your floor is nothing special, put the second rug down.
If the table’s a statement piece already, skip it.
Free calculator: Find the right rug size for this room →
Center the Chandelier on the Table, Not the Room
This one drives me a little nuts because it’s an easy fix that almost nobody does.
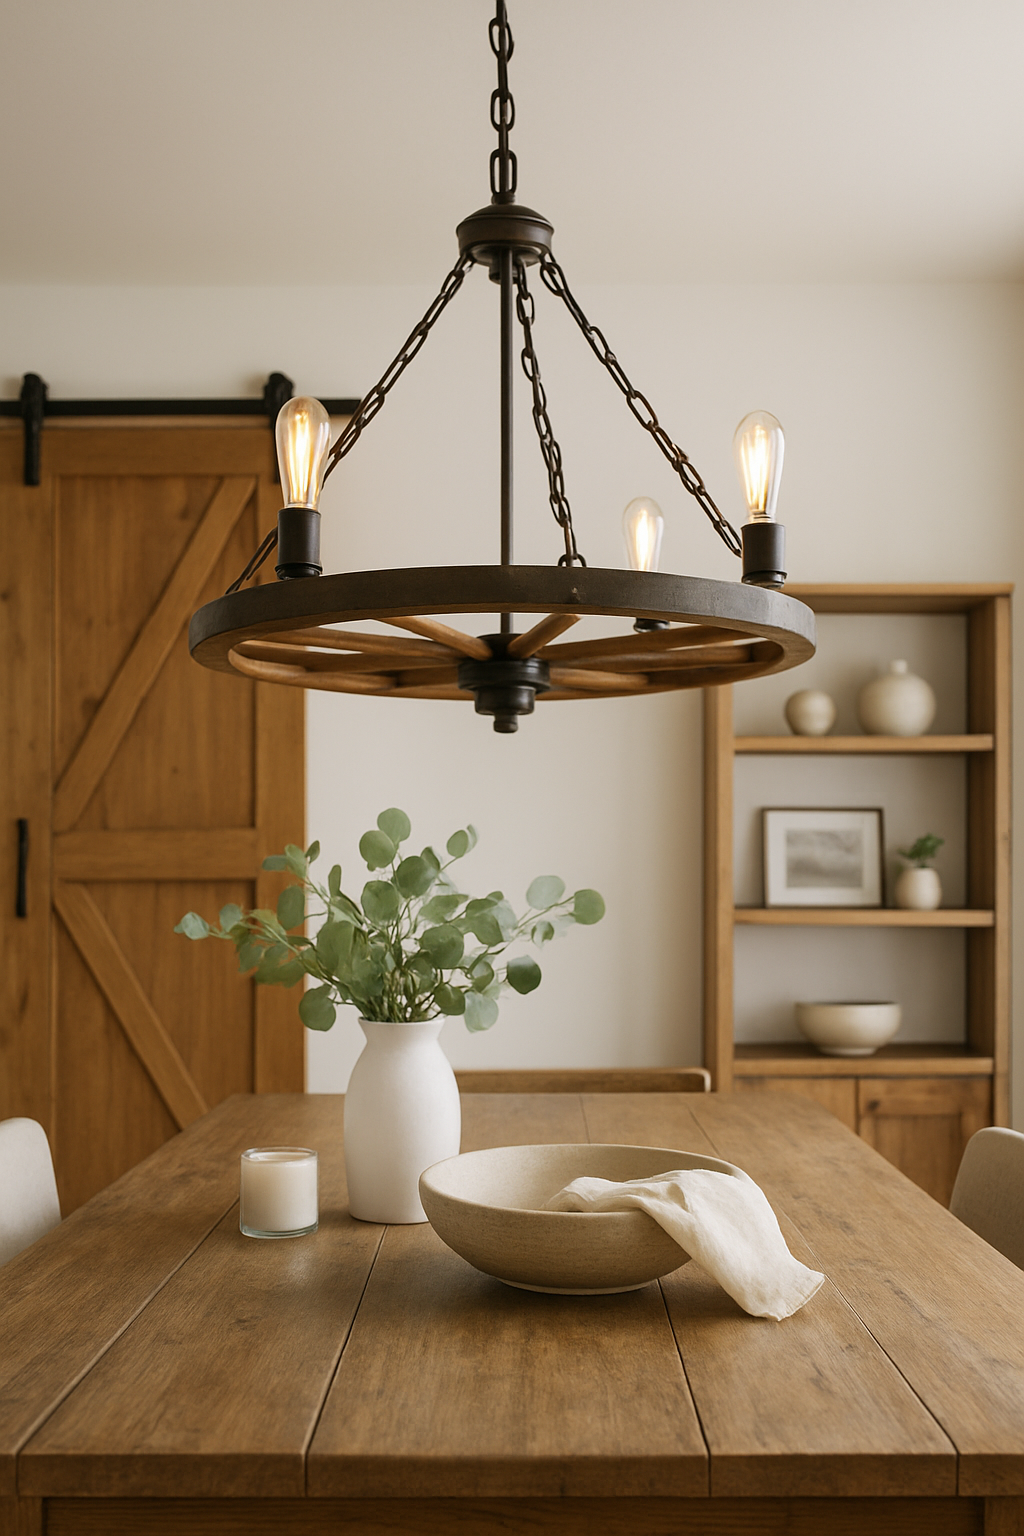
The wagon wheel chandelier over your reclaimed wood table needs to answer to the table, not to the geometric center of the great room.
Size rule: the chandelier’s diameter should run about 12 inches less than the table’s width.
So a 42-inch-wide table wants a fixture landing around 30 inches across, give or take.
Height rule: hang the bottom of the chandelier 30 to 36 inches above the tabletop.
Both of those are rules of thumb, not laws carved in stone, but they’ll get you close every time.
A light fixture centered on the room instead of the table is decorating for the ceiling plan, not for the people actually eating dinner underneath it.
And look, I get why it happens.
In a lot of homes, the electrical box ends up centered on the room rather than on the table, and moving a junction box isn’t cheap.
But hanging the chandelier there anyway means living with a table that sits noticeably off-center under your light for as long as you own the house.
Pay the electrician.
It’s worth it.
Free calculator: Size the chandelier or pendants and their hanging height →
The Free Plan You Can Take Apart
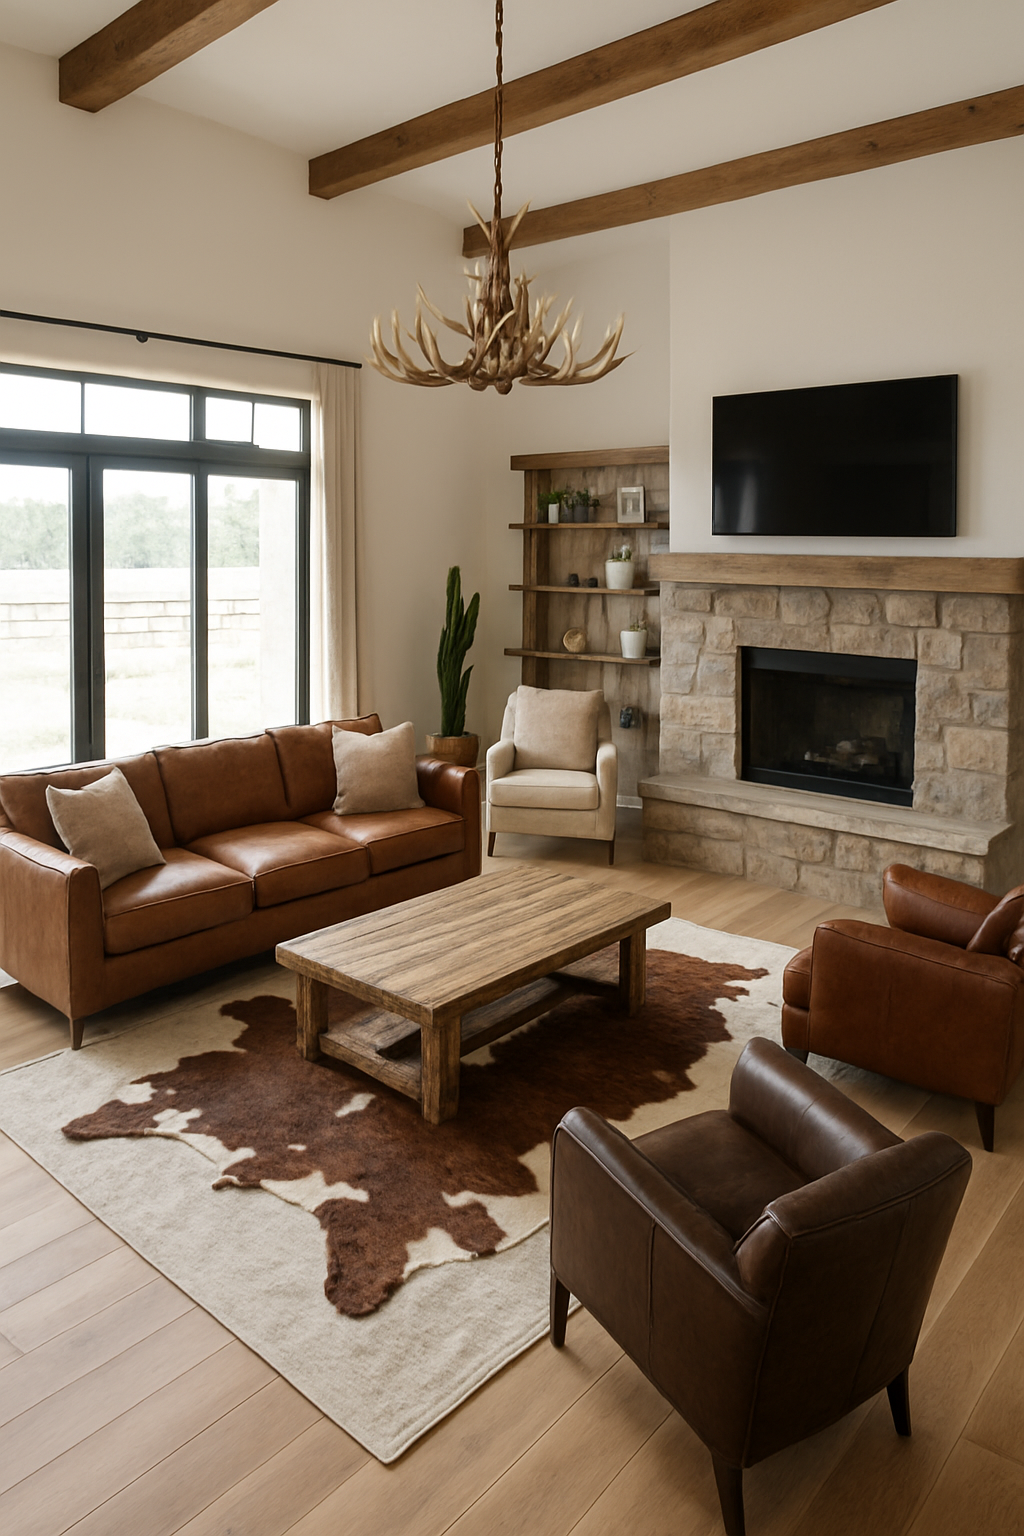
All of this is easier to feel than to explain, which is why there’s a free plan built around this exact two-zone idea.
It holds the cowhide rug, saddle leather sofa, leather chair, club chair, reclaimed wood table, stone hearth fireplace, barn wood media unit, two antler lamps, a cactus, a barn wood shelf, two ranch windows, a barn door, and the wagon wheel chandelier.
The plan is only actually useful if you wreck it.
Move the media unit off the hearth wall and watch how the whole room breathes differently.
Widen that walkway to 40 inches and see if it feels better or just wasteful.
Swap the club chair out for something with more color, because honestly a room full of leather and wood needs one piece that isn’t brown.
Drag the dining table two feet closer to a window and figure out if the chandelier still lands right over it.
Do all of that before you move one real piece of furniture in your actual house.
Dragging a digital sofa around costs nothing.
Dragging your actual sofa around, with Biscuit shedding on it the whole time and your back complaining by the third attempt, costs an afternoon you’re not getting back.
Related read: Things I Wish I Knew Before I Decorated My First Home — Instant PDF + Kindle download. Secure checkout by Stripe