

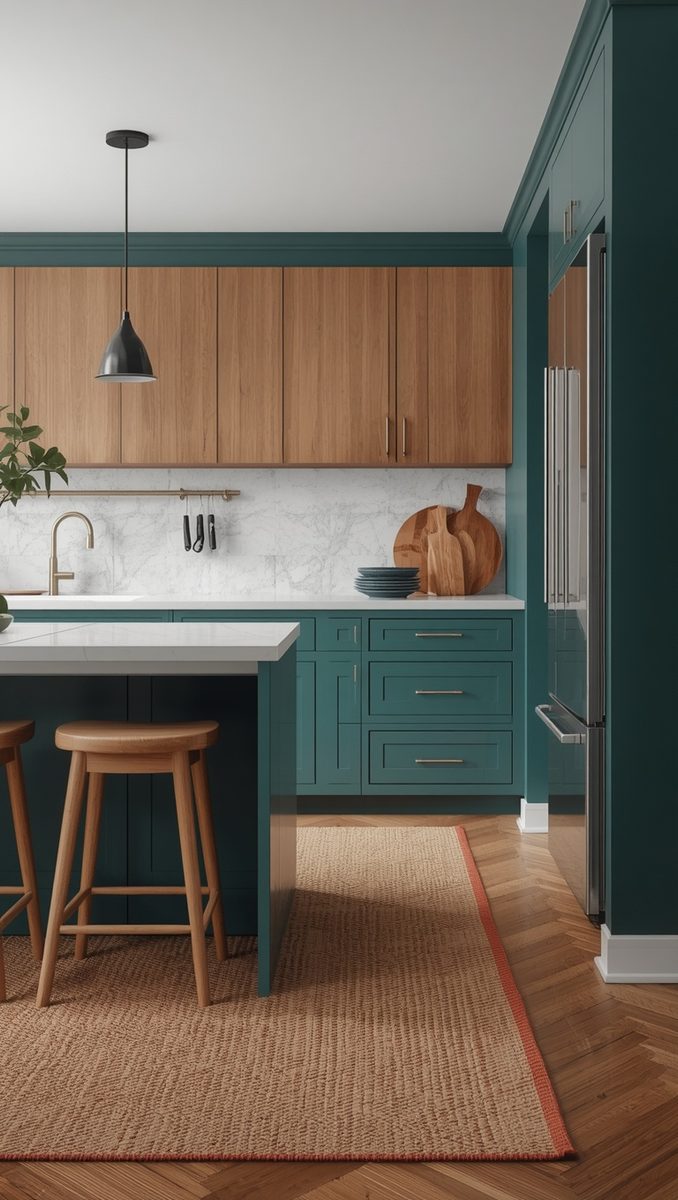
I’ll never forget standing in my kitchen at dawn, coffee in hand, staring at those yellowed cabinets.
I was kind of heartbroken, you know?
The quotes for a full remodel were enough to make me set my mug down very slowly.
So I made a deal with myself.
No demolition, no dust, no moving out.
Just small, smart changes, one weekend at a time.
And honestly?
I’m obsessed with how it turned out.
Here are my favorite before and after moves, plus the little hacks I learned along the way.
Paint the Cabinets (Yes, Really)

My cabinets used to be a tired honey-oak color that made the whole room feel dim.
I almost didn’t try painting them.
But I did, and I haven’t stopped smiling since.
I went with a soft creamy white that glows in the morning light.
If I had a darker kitchen, I’d go sage green and never look back.
Cleaning and sanding really matter here, so don’t skip that part.
Use a good primer too, because it’s what keeps the paint from peeling later.
I took the doors off and painted them flat on my garage floor.
It took a few evenings, but the before and after still gives me chills.
Why does it work?
Because fresh color makes a room feel loved again.
Swap the Hardware for Something Pretty

This one is almost too easy.
My old knobs were dull and wobbly, kind of sad honestly.
I replaced them with warm brushed brass pulls.
And suddenly my cabinets looked like they’d been custom made.
Measure the hole spacing first, because I learned that the hard way.
I bought the wrong size once and had to do the whole thing again.
If you want a softer, vintage feel, try little ceramic knobs on the uppers.
My tip is to mix pulls on the drawers and knobs on the doors.
It adds a layered, collected look that I love.
It takes an afternoon and costs less than a nice dinner out.
Add a Peel-and-Stick Backsplash

My old backsplash was a bare wall with grease stains I’d given up on.
So I tried peel-and-stick tiles, mostly out of curiosity.
I chose a creamy zellige-style tile with a little shimmer.
When the sun hits it in the afternoon, it looks like soft water on the wall.
Clean the wall really well first, because the sticky part needs a smooth surface.
Start in the middle and work outward so your pattern stays centered.
I used a small craft knife to trim around the outlets.
It took me a slow Saturday with a podcast on.
If you rent, this is honestly a lifesaver.
And if you own, it’s a gentle way to test a look before you commit to real tile.
Change the Light Fixtures

Lighting is the quiet hero of any kitchen makeover.
I had a flat, buzzing ceiling light that made everything look a bit gray.
I replaced it with a pair of woven rattan pendants over the island.
Now the evenings feel warm and a little bit magical.
I also added a few plug-in under-cabinet lights.
They’re tiny, but they make my countertop glow like a boutique hotel.
If you’re nervous about wiring, hire an electrician for just that job.
I did, and it was barely an afternoon of work.
Pick warm, golden-toned bulbs, because cool white feels like a dentist’s office.
Trust me on that.
Take Down a Few Upper Cabinets for Open Shelves

I was scared to do this one.
But my upper cabinets were bulky and made the room feel closed in.
So I removed the pair next to the window and hung simple oak shelves instead.
The room instantly felt taller and breathier.
I styled them with my everyday white plates, a little stack of linen napkins, and a tiny plant.
If I had a really small kitchen, I’d only take down a single cabinet.
Patch the screw holes and touch up the paint behind them.
I filled mine with spackle and a quick coat of the wall color.
It’s a small thing, but it makes the whole change look intentional.
And I love reaching for my favorite mug without opening a door.
Upgrade the Faucet and Sink Details
My old faucet dripped, always, and it drove me kind of crazy.

So I swapped it for a matte black one with a tall, graceful neck.
It took less than an hour with a basin wrench and some patience.
The difference was shocking, honestly.
A good faucet is like jewelry for your kitchen.
I also added a little ceramic soap dispenser and a small tray by the sink.
And a pretty dish brush, because why not?
Those little things make washing dishes feel almost sweet.
If your sink is stained, try a baking soda scrub before you buy anything new.
Mine looked years younger after a good scrub.
Refresh the Countertops Without Replacing Them

Real talk, new countertops are expensive.
My laminate was scratched and a little yellow near the stove.
I considered a countertop paint kit, and I’m glad I did.
The kit came with a base coat, flecks of color, and a clear sealer.
It took a weekend and a lot of patience.
The finish looks like soft stone, and my guests honestly can’t tell.
If you’d rather go warm and woodsy, butcher block laid right over the old surface is gorgeous.
I did that on a small island and I love it so much.
Seal it with food-safe oil and re-oil every few months.
It gets prettier with age, kind of like a favorite leather bag.
Replace Just the Cabinet Doors
Here’s a trick I wish I’d known years ago.

If your cabinet boxes are solid, you can swap only the doors.
I ordered simple shaker-style fronts online in a custom size.
They arrived in a few weeks and I painted them to match.
Suddenly my dated flat-panel look was gone.
For a cabinet near the dining nook, I used reeded glass instead.
It gives a soft, hazy peek at my pretty dishes.
If I were doing a farmhouse kitchen, I’d choose a slightly rustic wood tone.
The cost is a fraction of a full replacement.
And it feels like a brand new kitchen walked in.
Warm Up the Floors With a Runner and Fresh Texture
My old floor was a cold, scuffed vinyl that I’d just learned to ignore.

Replacing it wasn’t in the budget.
So I leaned into rugs instead.
I found a washable runner in soft cream and rust stripes.
It’s cushy under my bare feet on cold mornings.
I love it.
If you have a bigger kitchen, try a pair of runners side by side.
Use a rug pad so nothing slides or curls at the edges.
For a deeper refresh, peel-and-stick plank flooring is a real option too.
I tried it in my pantry first, just to see, and it held up beautifully.
Choose a Wall Color That Hugs the Room
Paint is the cheapest magic there is.

My walls were builder-beige, and I’d never really noticed how flat they felt.
I picked a warm, buttery off-white with just a hint of cream.
The room went from blah to cozy in an afternoon.
I also painted the inside of my open shelves a deeper clay tone.
It makes my white dishes pop like little moons.
If you’re unsure, test a few swatches and watch them for a full day.
The morning light and evening light change everything.
I learned that after painting a wall a color I hated by sunset.
Live and learn, right?