

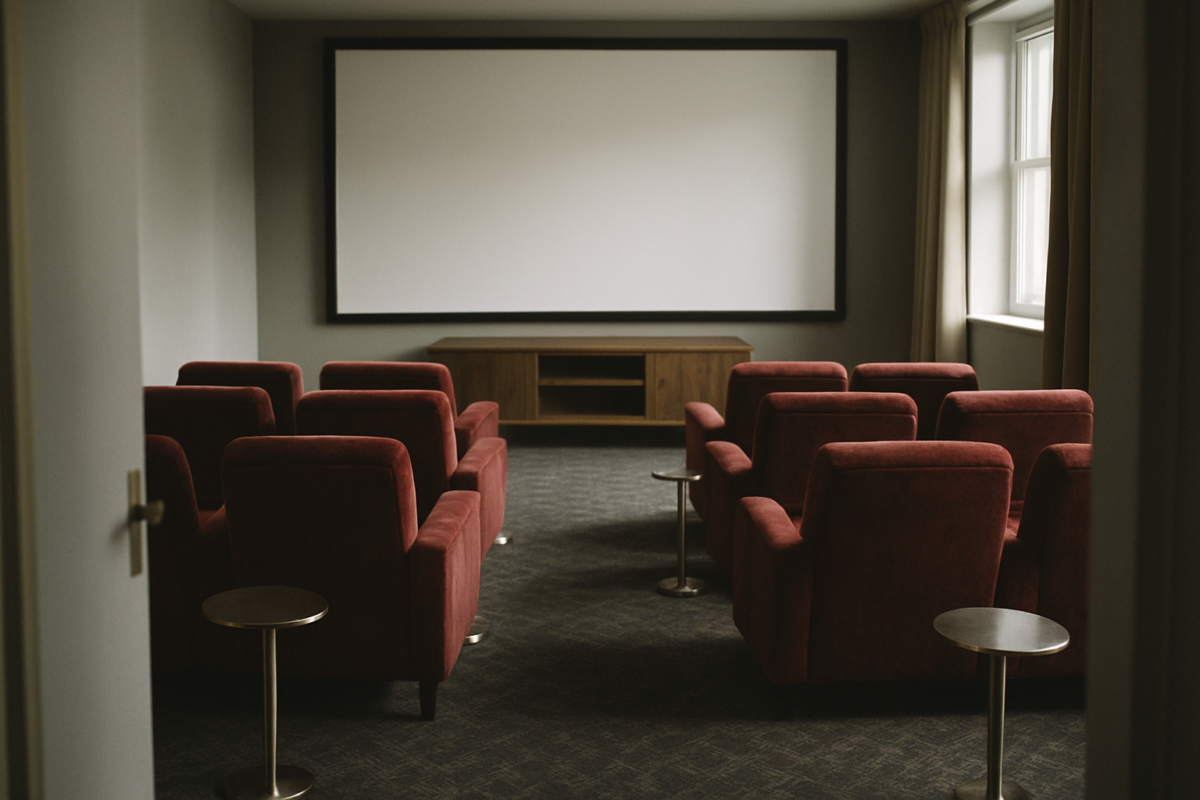
This post walks through the order I think actually works when planning a home theater: seats first, then screen, sound, and light.
Along the way it covers the common mistakes at each step and the reasoning behind the rules of thumb, plus how the free plan sets you up to test all of it against your own room.
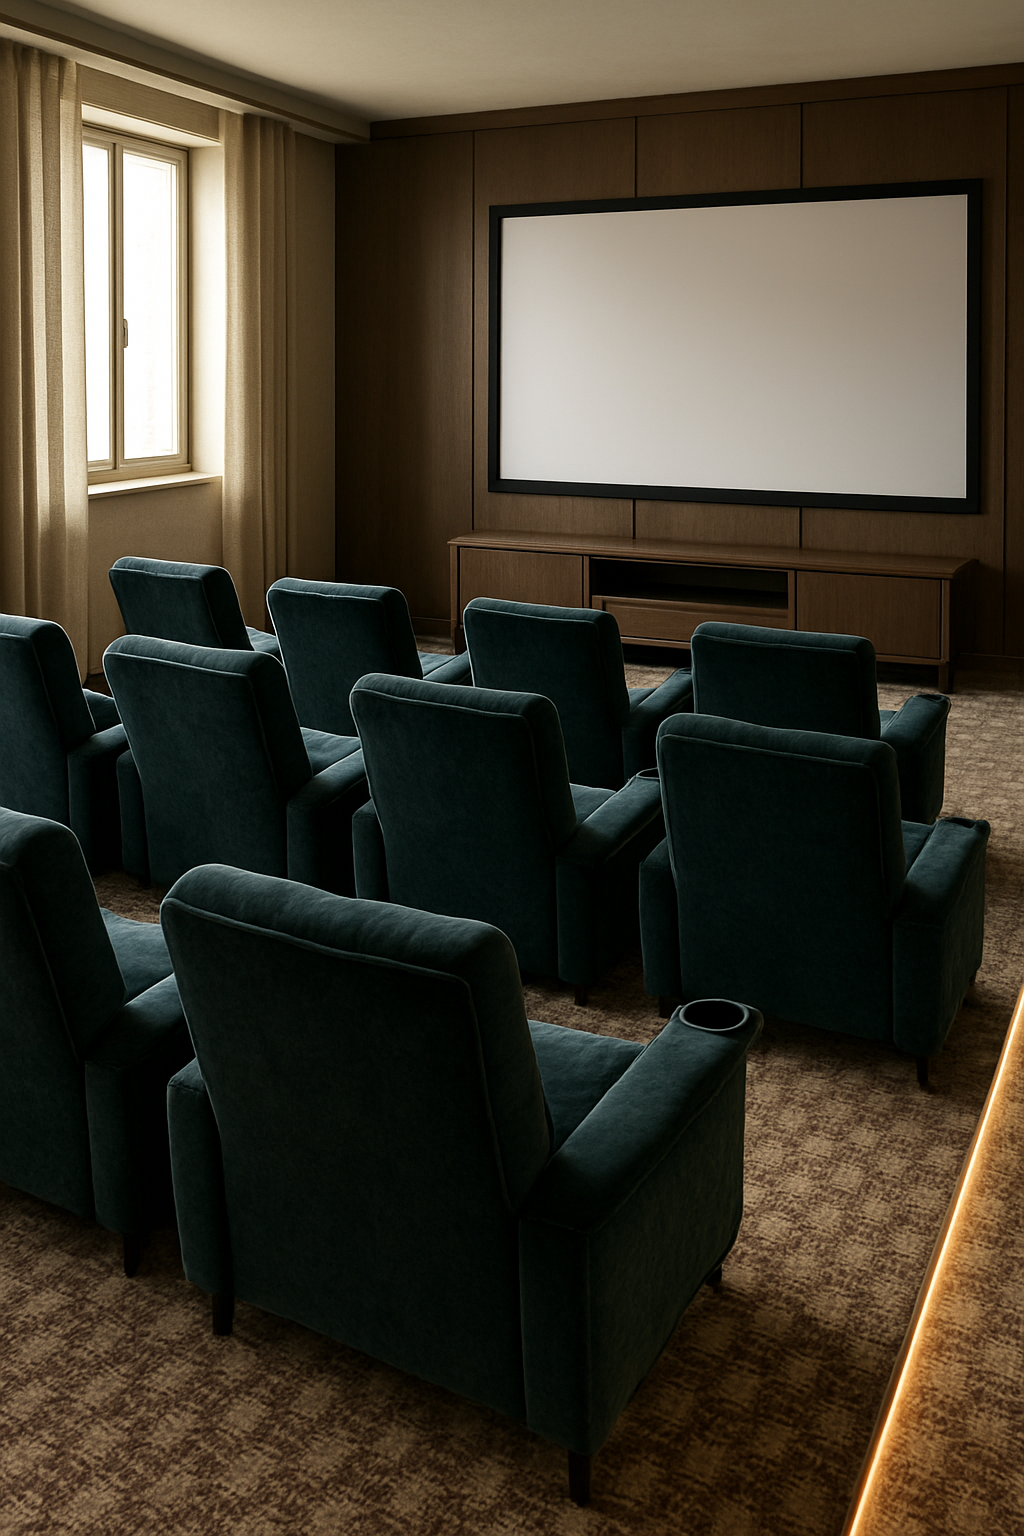
Free floor plan: Open this home theater layout in the free room planner — furnished, to scale, and yours to move around →
Start With the Seats, Not the Screen
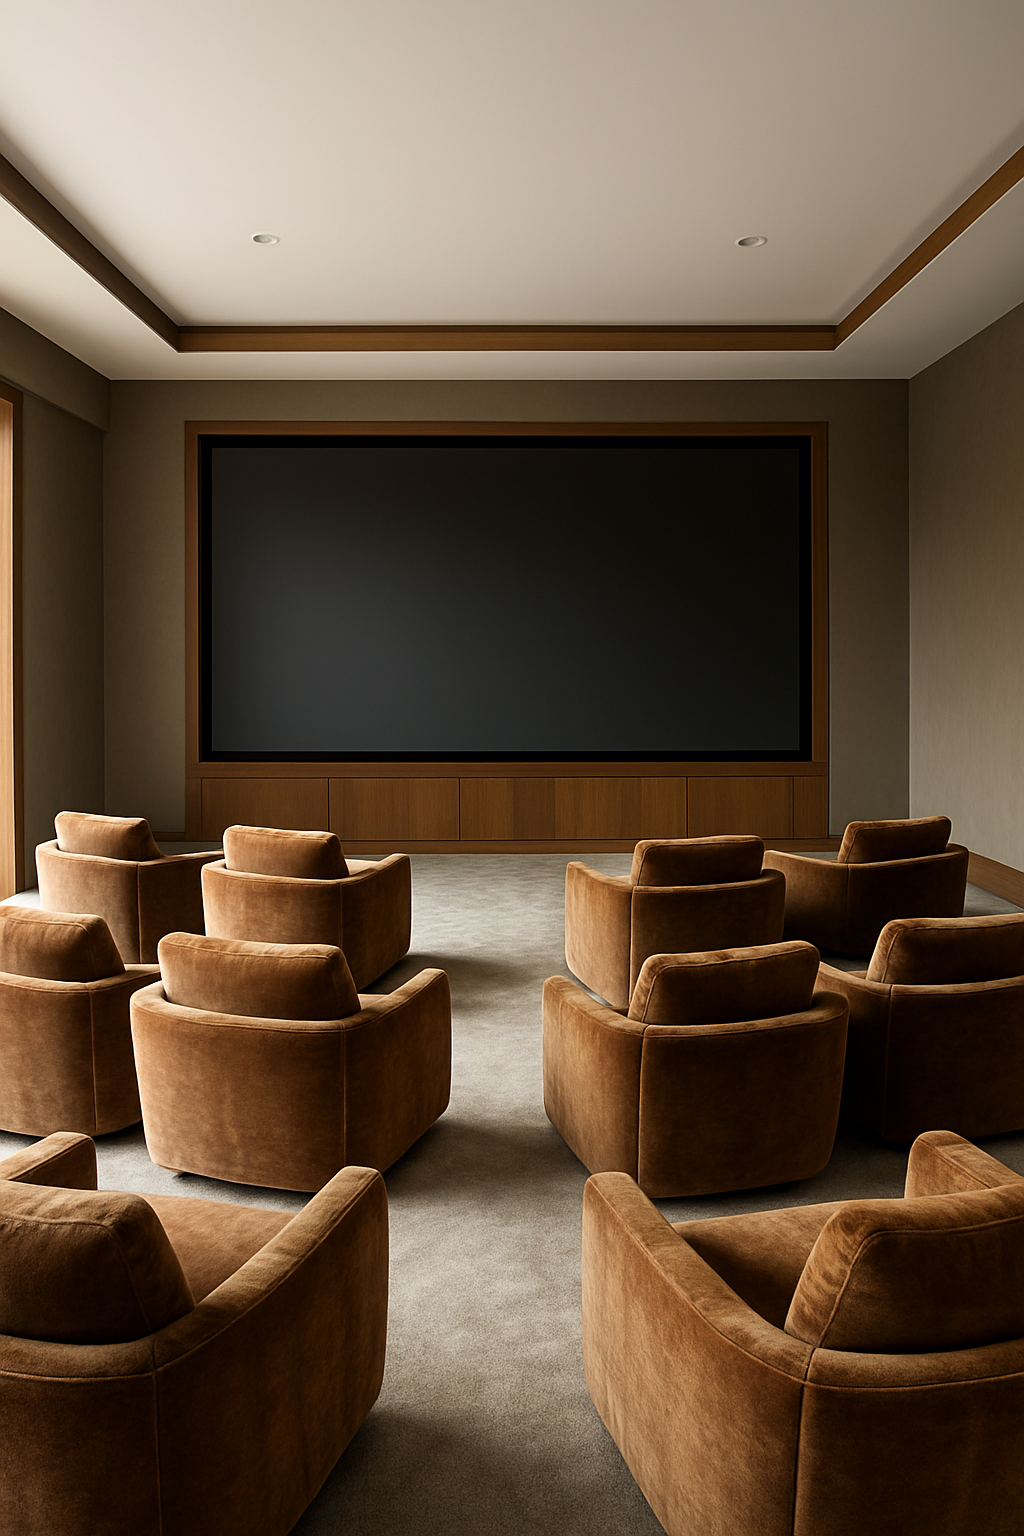
Nobody plans a home theater from the door.
And I think that’s exactly the wall that tends to ruin a room.
But before we even get to the door, let’s talk about the mistake that happens before the mistake: buying the screen first.
Here’s how it actually goes.
You fall in love with a screen online, order it, hang it, and then spend months rearranging furniture around a rectangle that was never measured against anything real.
Backwards.
The screen should be the last thing you decide, not the first.
Start with the furniture that’s actually going to sit in the room: 10 velvet theater seats.
That’s your real starting point, not a diagonal measurement on a spec sheet.
And before the seats even go down, you need a fixed point to measure from, which is your AV console.
That thing isn’t moving once it’s wired up, so it anchors the front row’s distance from the wall, usually somewhere around 10 to 14 feet depending on the screen size you land on later.
Everything else, the screen included, gets figured out relative to those two things.
I get the appeal of “go big.” I think everyone feels that pull at least once.
A bigger screen feels like a bigger win.
But a bigger screen assuming a seat position that hasn’t been decided yet is just a guess wearing a receipt.
Pick where people sit.
Then let the screen follow.
Convert the Screen Width Into a Seating Distance
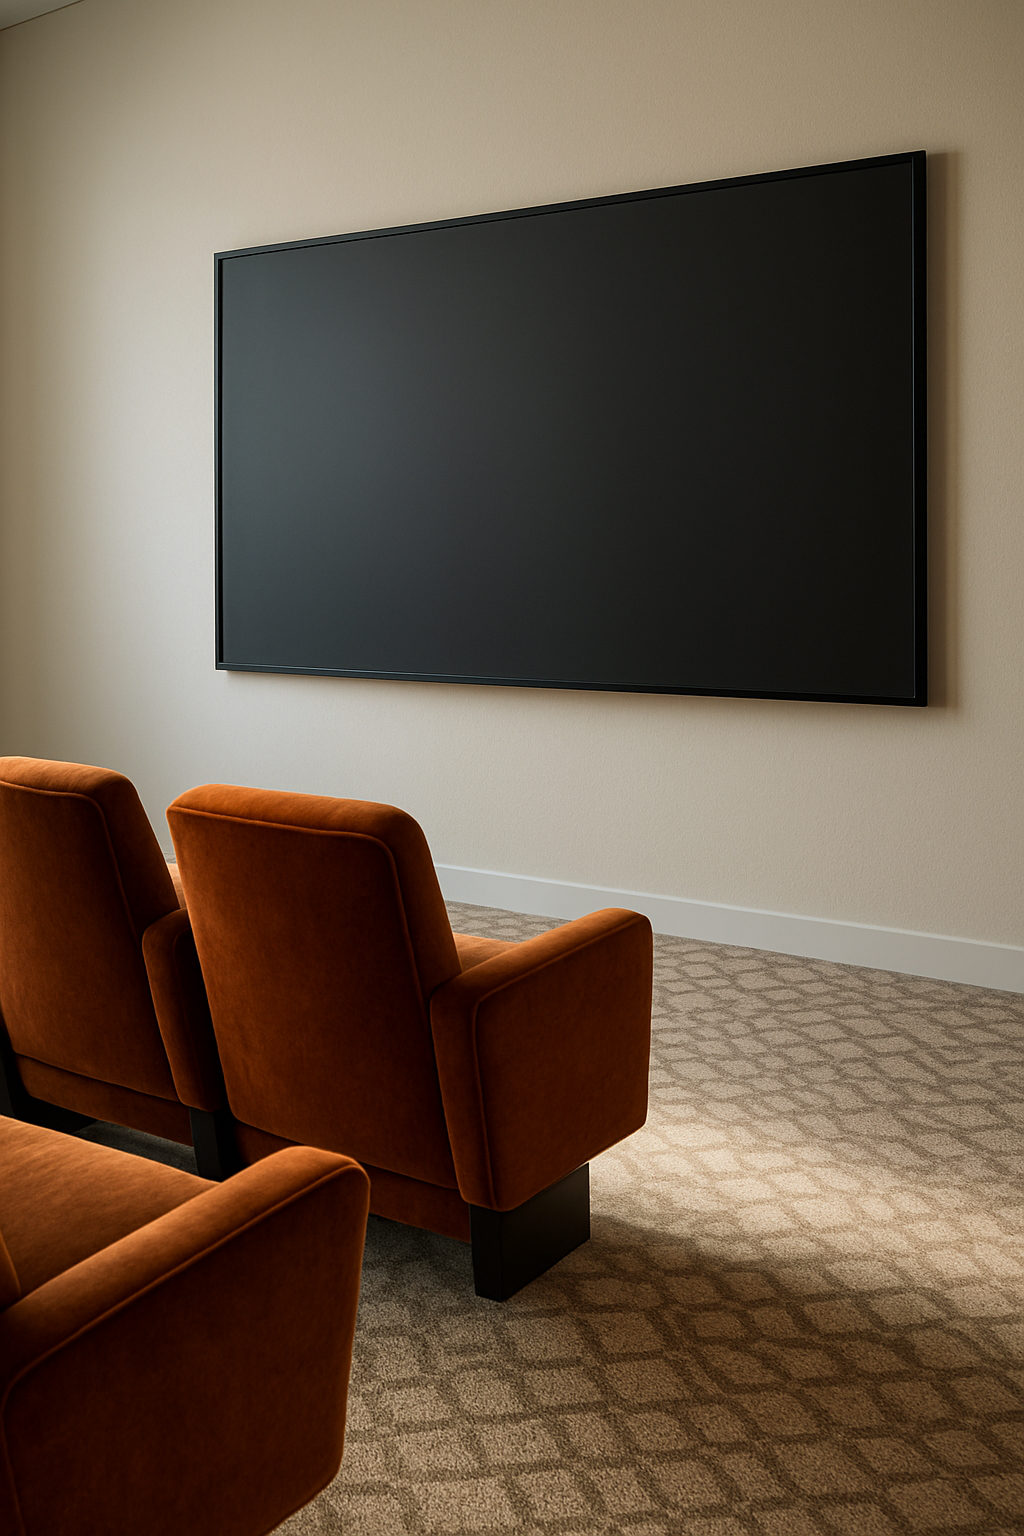
Once you know roughly where the front row lands, you can work out how wide a screen actually belongs on that wall, using field of view instead of a diagonal-inch chart taped to a showroom wall.
SMPTE’s guidance says the screen should fill at least a 30° field of view from the seat, which for a 100-inch 16:9 screen (about 87 inches wide) puts the seat around 13.5 feet back.
THX pushes further, recommending about 36–40°, which lands the same screen more like 10 to 11 feet back.
The wider the angle, the closer you’re sitting relative to the screen’s width, which means the same screen feels bigger or smaller depending purely on where the chair is.
Neither number is “correct” and the other “wrong.”
That’s the part most charts skip over entirely, like there’s one magic distance everyone should land on.
There isn’t.
SMPTE’s 30° is closer to a comfortable, cinema-like framing where the picture doesn’t dominate your whole vision.
THX’s tighter angle is for people who genuinely want the screen to fill more of their view, edge to edge, immersive rather than aggressive.
It’s a legitimate preference, not a more hardcore version of the hobby.
So don’t grab the first distance number you see and treat it as gospel.
It’s a range, and the range exists because people actually want different things from the same wall.
Free calculator: Work out the screen size and viewing distance →
Give the Recliner Room to Lie All the Way Back
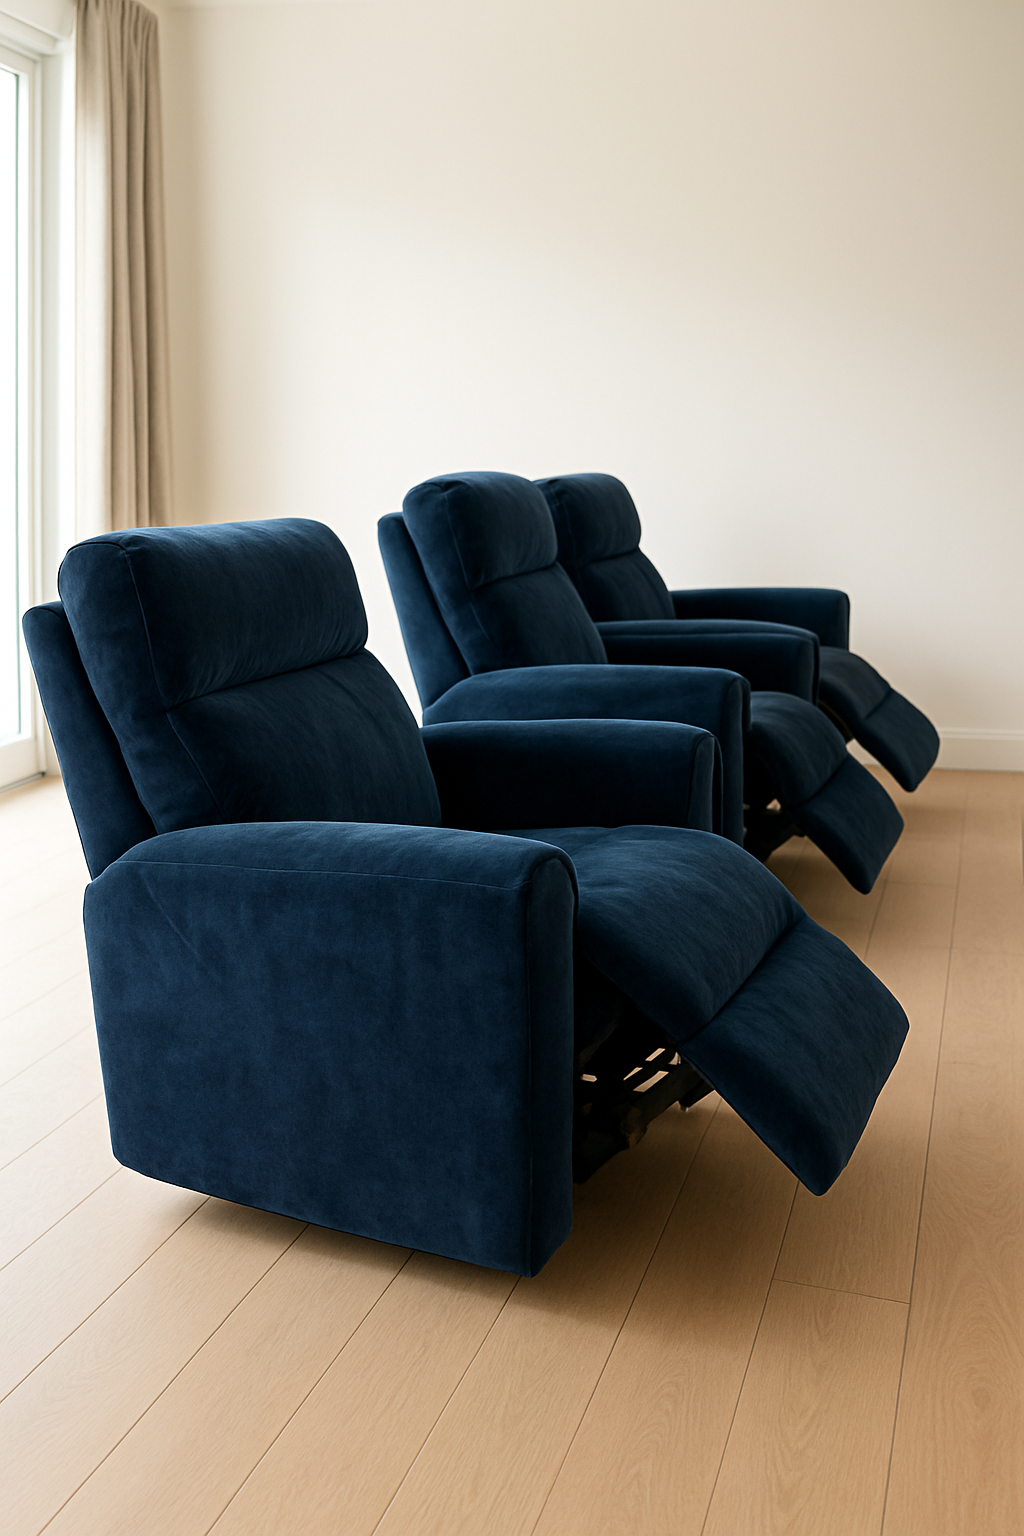
This is where I think a lot of rooms go sideways, and it’s such a simple thing to get wrong.
Somebody measures the recliner’s depth while it’s sitting closed in the showroom, does the math, and calls the row spacing settled.
Then the chair reclines and the footrest jams into the knees of the row behind it.
Recliner depth has to be measured fully reclined, not closed, a chair that’s 40 inches closed can stretch to 65 inches reclined.
Those are two completely different footprints, and the gap between them is exactly what sets your row-to-row spacing.
There’s no fixed code number here, it’s a rule of thumb you’re working from, but the rule only works if you’re using the right measurement to begin with.
And it’s not just the chair itself.
Those 2 cup-holder tables sitting between seats are a completely separate measurement — that’s your seat-to-seat width, how much room the armrest and console need side to side so nobody’s elbowing their neighbor.
The footrest kicking forward into the row ahead is a row-to-row depth problem, and it doesn’t have anything to do with the table next to you.
Measuring the closed footprint and calling it done is, honestly, the single most common reason theater rows end up jammed.
Measure it reclined.
Every time.
Read next: Media wall ideas
Riser or No One in Row Two Sees the Picture
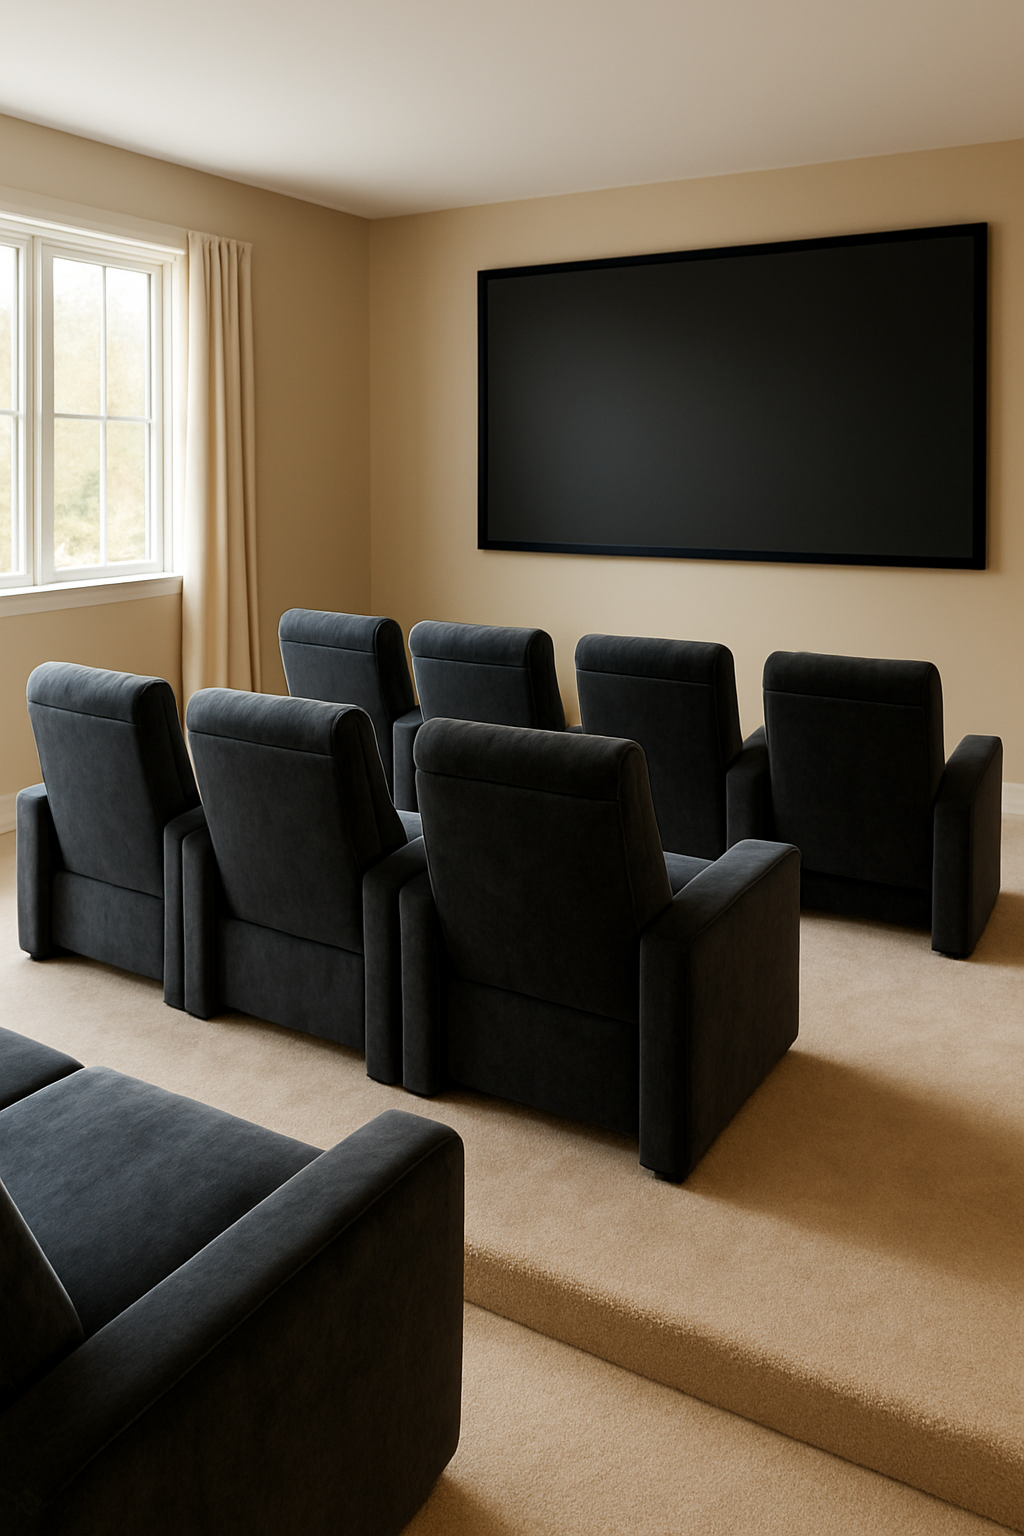
A second row sounds great until somebody sits down in it and realizes they’re staring at the back of a headrest instead of the movie.
This isn’t a minor annoyance you can design around with a little stagger.
It’s a sightline problem, and sightline problems need actual elevation to solve.
Once you’ve got a second row, a riser stops being a nice-to-have and becomes the thing that makes that row usable at all.
Riser height is, again, a rule of thumb rather than some standard number stamped into a building code, and it depends on your seats, but the target you’re measuring toward is specific: the sightline has to clear the headrest of the seat ahead, not the shoulder.
Headrest, not shoulder.
That distinction matters because people assume a slight offset between rows solves it, and it doesn’t, not once you factor in how tall a theater seat’s headrest actually sits.
A second row without a riser is a row you paid for that nobody wants to sit in.
I’d rather see a plan with one great row than two rows where half the seats are a compromise.
Build the riser, or skip the second row.
There isn’t really a middle option here.
Draw the Aisle Before You Draw Anything Else
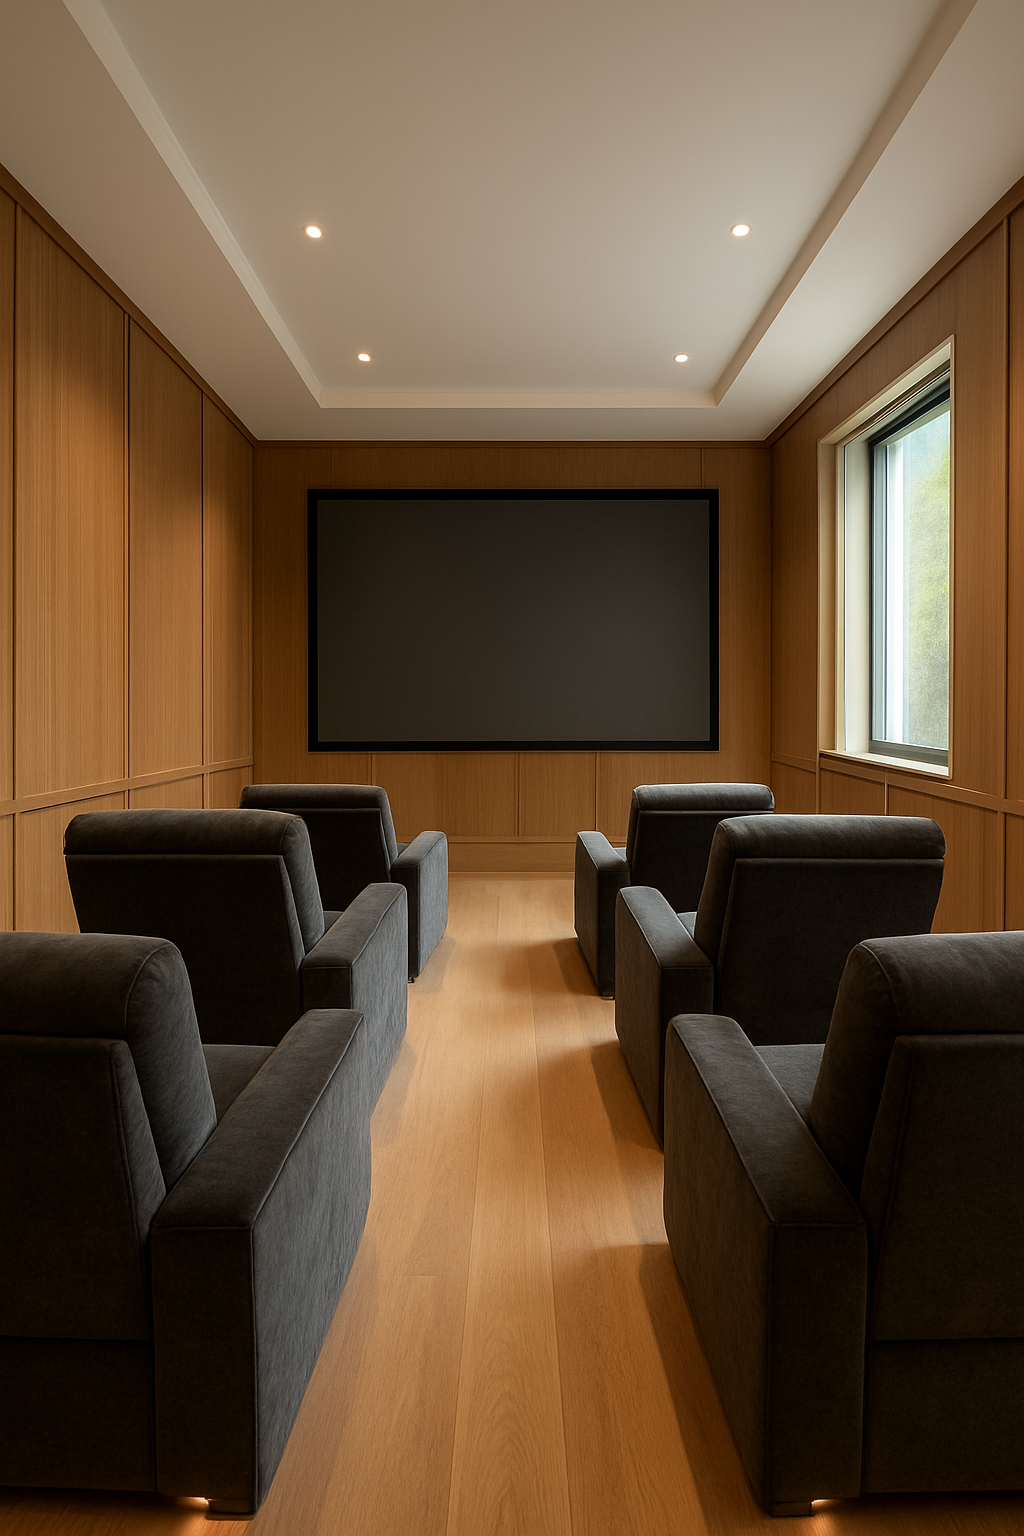
The walkway is the line nobody drafts first, and it’s the line that decides whether the whole layout works.
It has to be drawn in relation to both the seats and the screen, early, not fitted into whatever gap is left over once the furniture’s already down.
As a rule of thumb, a main walkway runs about 36 in wide.
A secondary walkway can get away with 24–30 in.
Those numbers aren’t code, they’re workable minimums for a room where people are moving past reclined feet and low tables in the dark (or past a dog who’s decided the aisle is a great place for a nap — looking at you, Biscuit).
Now here’s the part that actually decides the room: the theater door’s position on the wall.
That door has to stay off the screen wall.
If the door opens onto the wall the screen is mounted on, the aisle leading to it is going to cross directly in front of the picture, which means someone’s always walking through the movie to get in or out.
The door’s location is a layout decision, full stop, not something the architecture just handed you.
Too many rooms get planned by putting the door wherever the wall happened to have a gap and then routing the aisle around it after the fact.
That’s backwards in the same way buying the screen first is backwards.
Decide the aisle’s path relative to the screen, then make sure the door lands somewhere that path can reach without crossing the picture.
Send Speakers to the Angles, Not the Corners
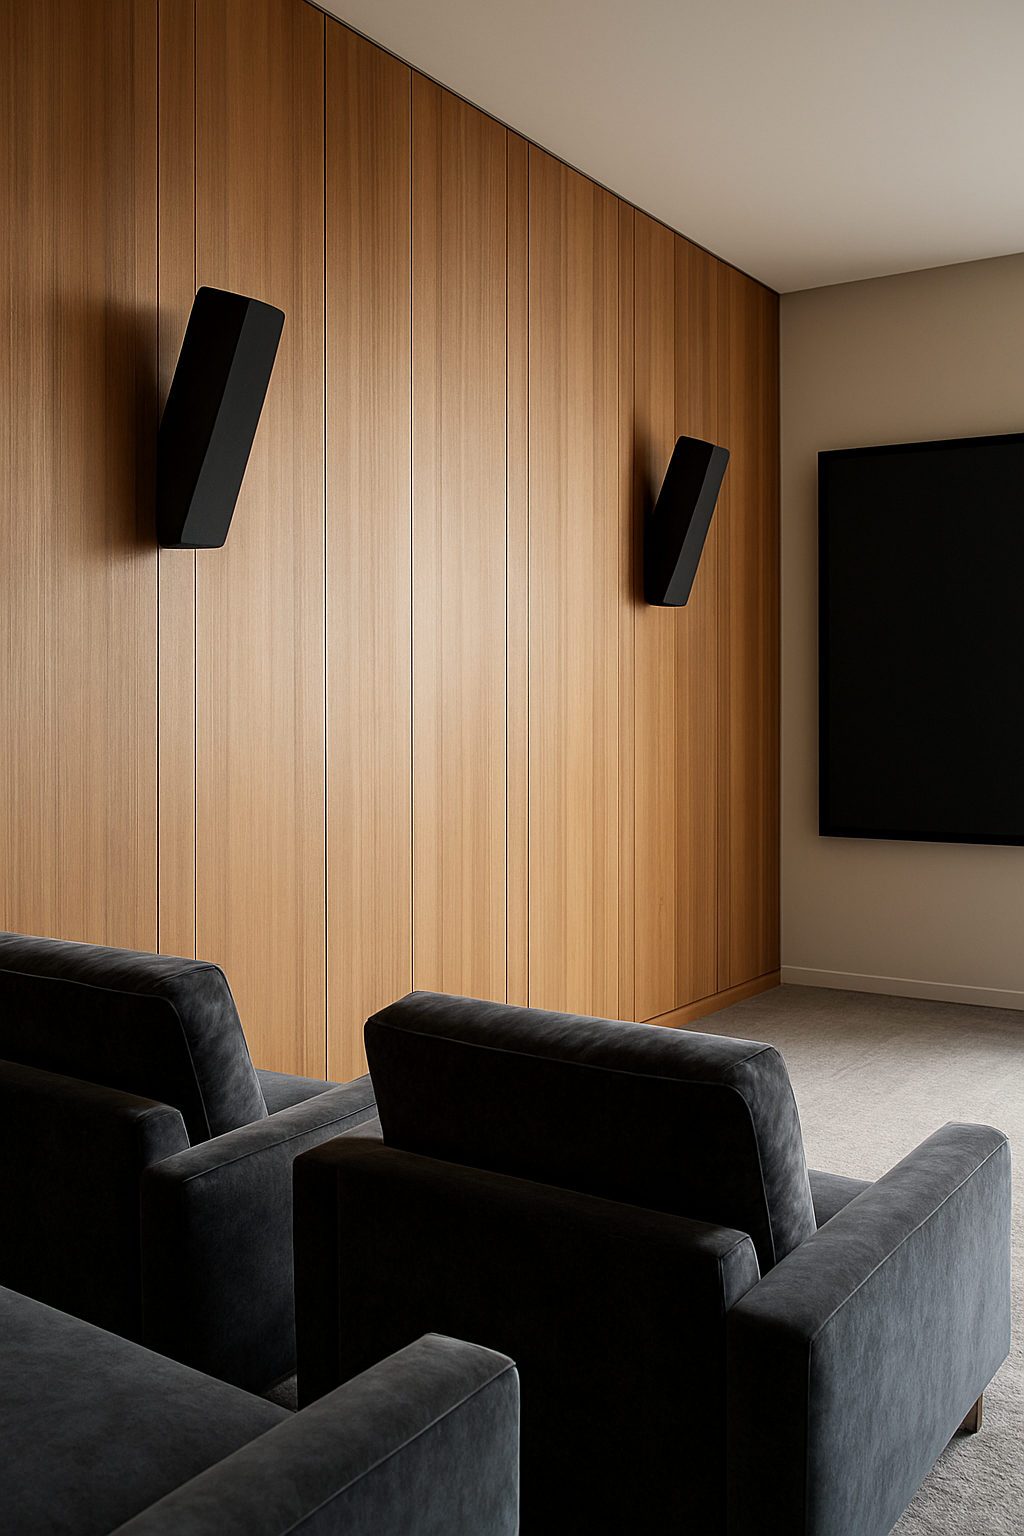
Speaker placement gets treated like an afterthought, something you figure out once the furniture’s already settled and you’re looking for leftover wall space.
Wrong order again.
Dolby’s placement guidance measures every speaker as an angle off the main seat, which means the seat has to be locked in first.
Front left and right sit on either side of the screen, with center right at the screen itself.
That part’s fairly intuitive.
The angles get more specific once you move to the surrounds.
For a 5.1 setup, surrounds land at roughly 110–120° off the center line, measured from the main seat, and are typically mounted about 2 feet above ear height.
Step up to 7.1 and it splits into two pairs: side surrounds at about 90–110°, and rear surrounds pulled back further, around 135–150°.
None of those angles start from the nearest electrical outlet or the convenient back corner of the room, but that’s exactly where I see speakers end up.
Pushed into corners because that’s where the wall space happened to be free.
It’s an understandable shortcut — believe me, I get it, running new wire is not fun on a tight budget — and it’s still the wrong one.
Speaker placement measured from the main seat beats speaker placement measured from the nearest outlet, every single time, because the seat is the only point in the room the angle actually needs to be correct from.
Turn Off the Overhead Light Before You Turn On the Projector
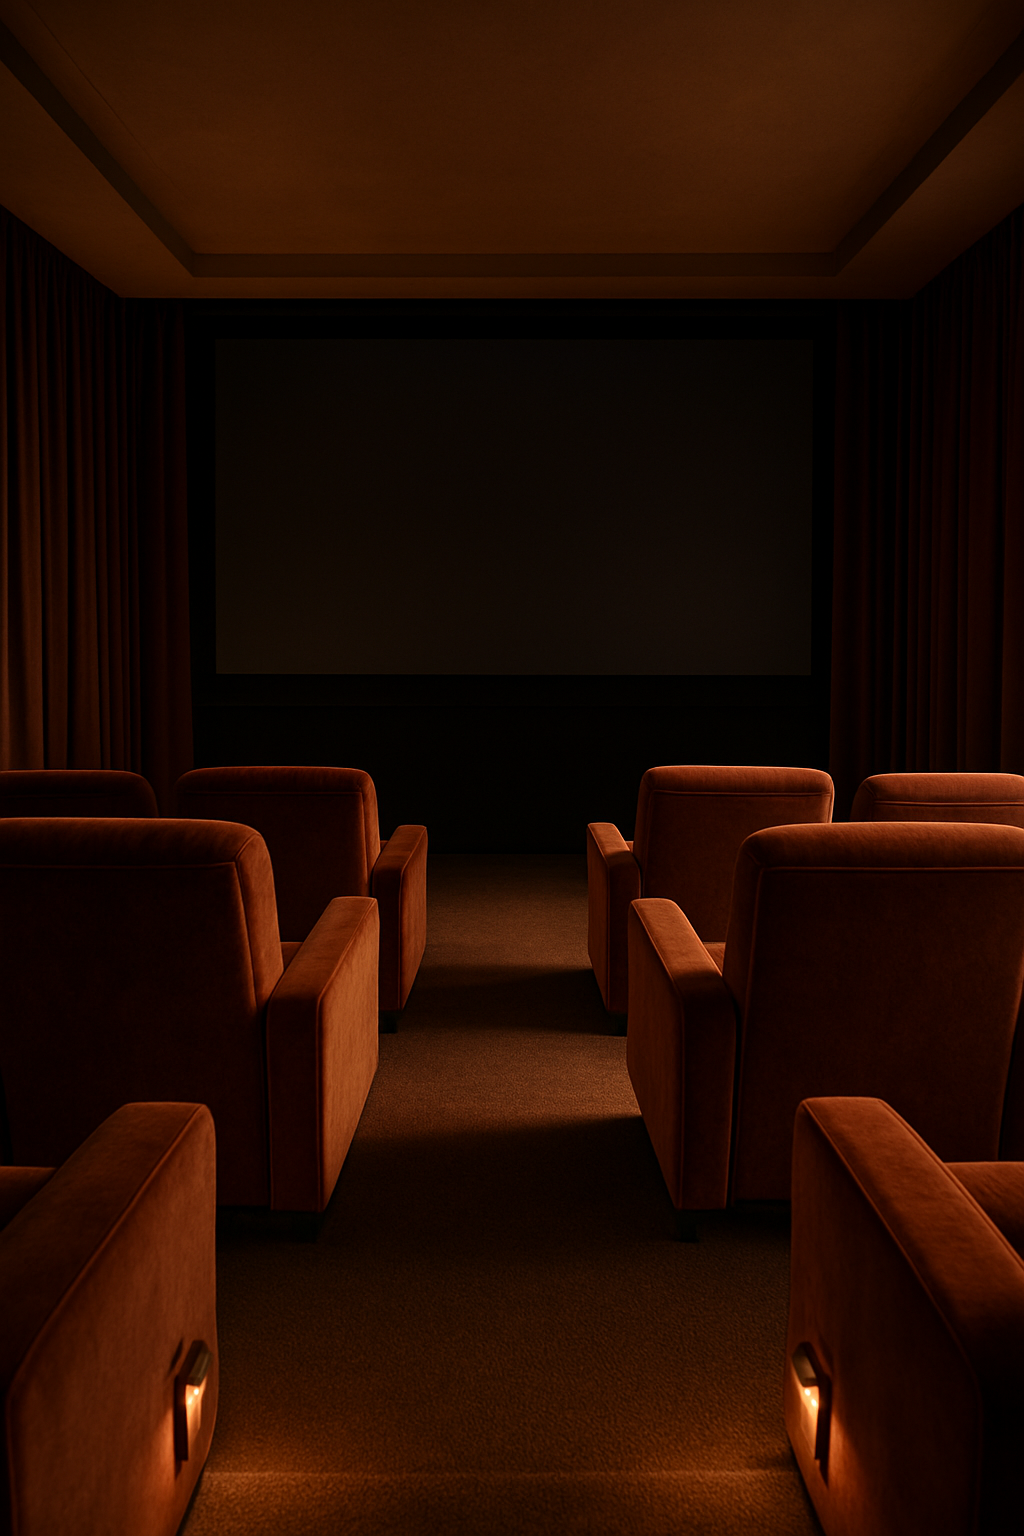
An overhead fixture in a room built around a screen is close to unforgivable.
I’ll die on this hill happily.
Overhead lighting is a crime in any room, honestly, but in a home theater it’s practically a felony.
A ceiling light sits directly in the sightline between the seat and the screen, and even dimmed, it’s competing with the picture instead of getting out of its way.
The lighting this room actually relies on sits low.
2 aisle lights, mounted low, give you just enough to see the walkway without throwing glare anywhere near the screen wall.
That’s the whole plan.
Low, non-glare, out of the eyeline entirely.
Floor treatment matters here too.
Theater carpet isn’t just comfort underfoot, it’s doing real work cutting the light that would otherwise bounce off a hard floor and wash out contrast on the screen.
A reflective floor undoes a lot of the effort you put into everything else.
Dimming the ceiling light is not the fix people think it is.
It’s still up there, still in the sightline, still throwing some amount of light exactly where you don’t want it.
The fix is removing overhead light from the sightline completely and letting floor-level fixtures do the job instead.
What the Free Plan Already Sets Up
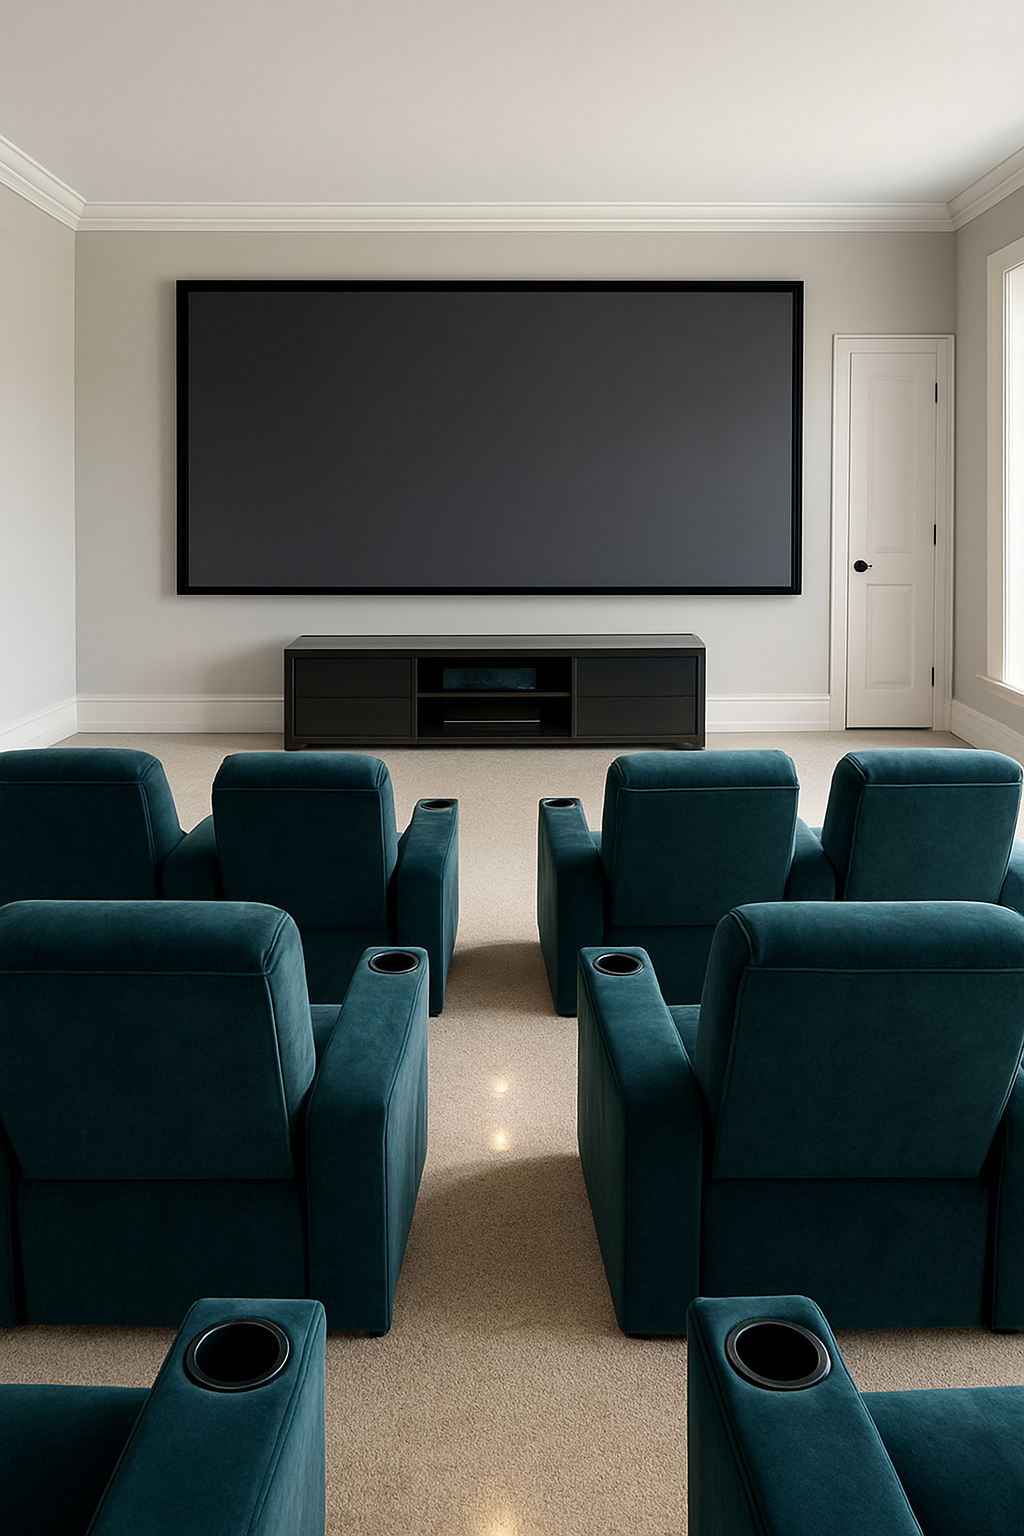
Dreamy’s free furnished template for this room is built around this exact sequence, seats first, screen and speakers following.
The pieces in it are theater carpet, a projector screen, the AV console, 10 velvet theater seats, 2 cup-holder tables, 2 aisle lights, and the theater door.
That’s the full list.
Every piece in that template exists to be moved, resized, or swapped once you run your own seat-to-screen math against your actual wall.
The console position, the screen width relative to your chosen field-of-view angle, whether your room even supports a second row and a riser, the aisle width against your specific door placement, all of that is yours to work out against your real dimensions.
A template is a starting position, not a finished room.
Drag it around.
That’s what it’s there for.