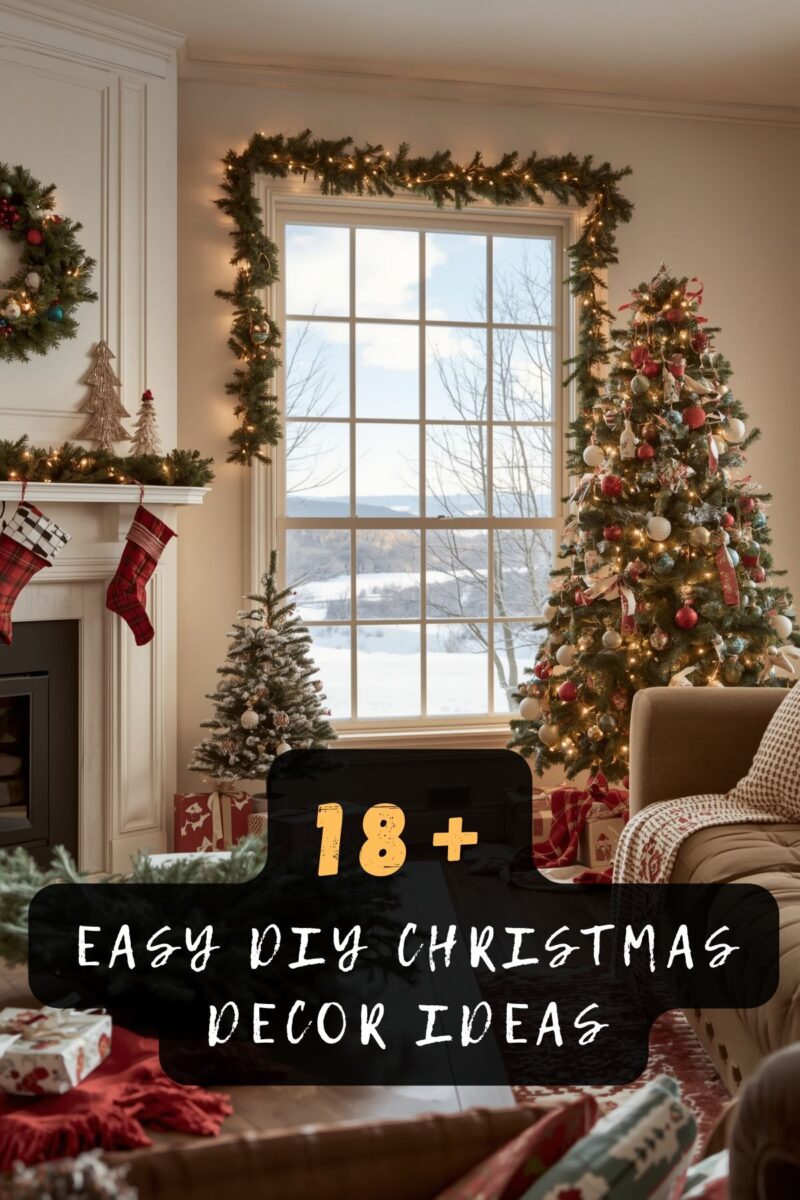
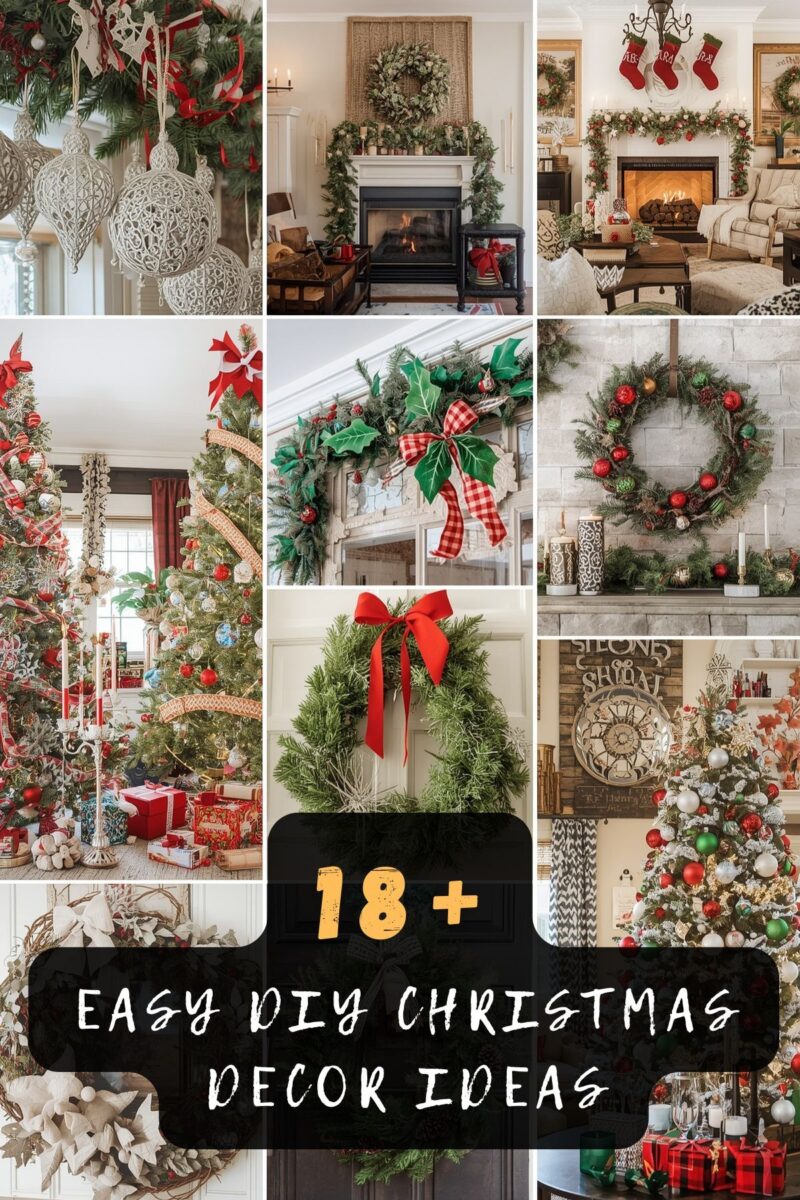
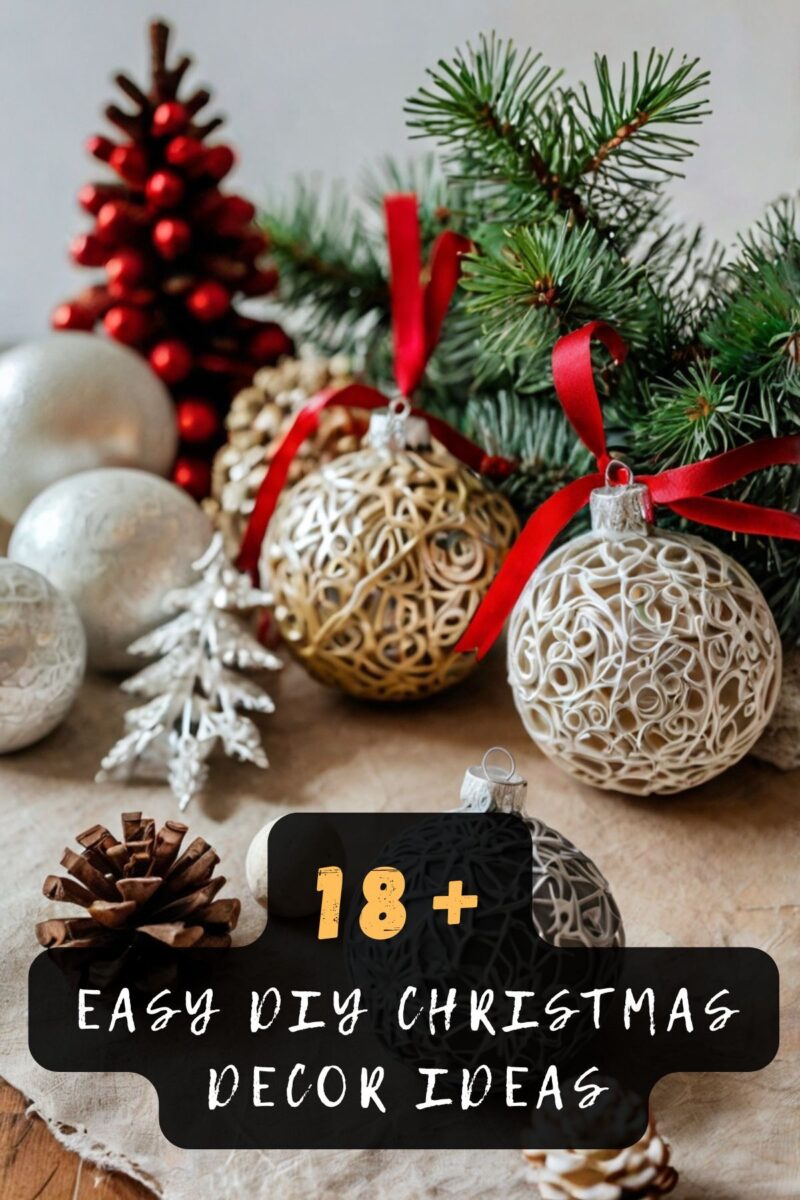
hile store-bought decorations are nice, there’s something special about decorations you’ve made yourself.
Not only are DIY decorations often much cheaper, but they also allow you to put your own personal touch on your holiday decor.
💭 Ever wondered what your room would actually look like rearranged?
I built a free tool that lets you drag furniture around a 2D floor plan. No signup, no catch.
See the Room Planner →Folded Book Christmas Trees
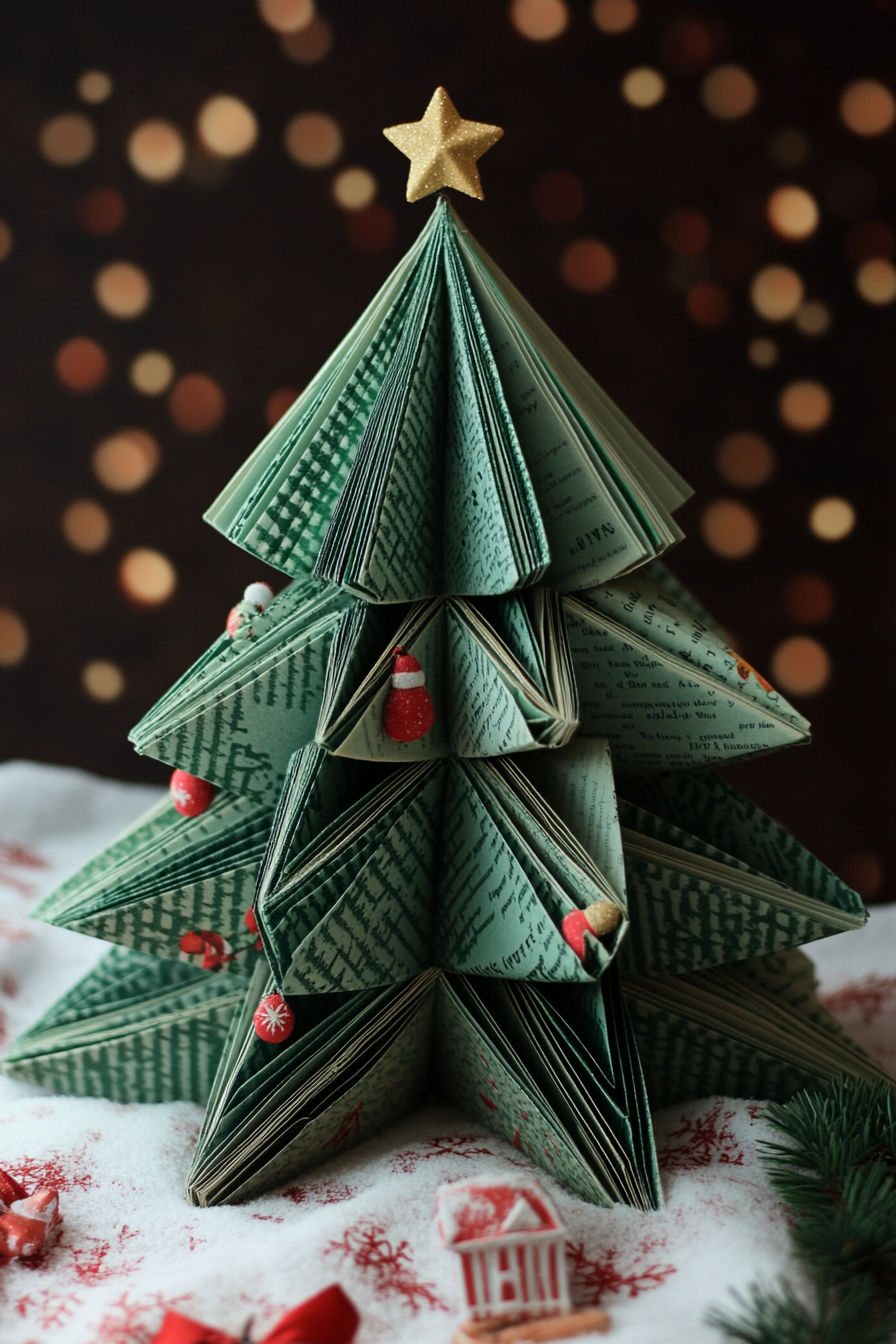
Let’s start with a project that repurposes old books into cute little Christmas trees perfect for display around your home
This is one of my favorite projects because you likely have plenty of books around your house that you can use.
For this project, you’ll need:
– Hardcover books in various sizes
– Craft paint in christmas colors (red, green, white, gold, etc.)
– Hot glue gun
– Decorations like pom poms, felt shapes, buttons, ribbons, etc.
for embellishing
Start by fanning out the pages of each book, making sure all the pages are evenly distributed.
Apply a stripe of hot glue down the bound edge of the book and press to seal the pages together.
Trim the top and bottom of the book to make flat edges.
Next, apply craft paint to the edges of the book, either brushing it on or carefully spraying.
Let the paint fully dry before moving on.
Once dry, hot glue decorations like pom poms, felt shapes, or ribbons to the front cover and spine of the book.
Get creative with the embellishments!
Tap to Explore These Beauties
See my ideas in action 👇 Tap any image to explore full details.
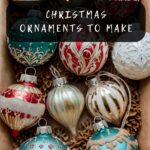
Felt Geometric Ornaments
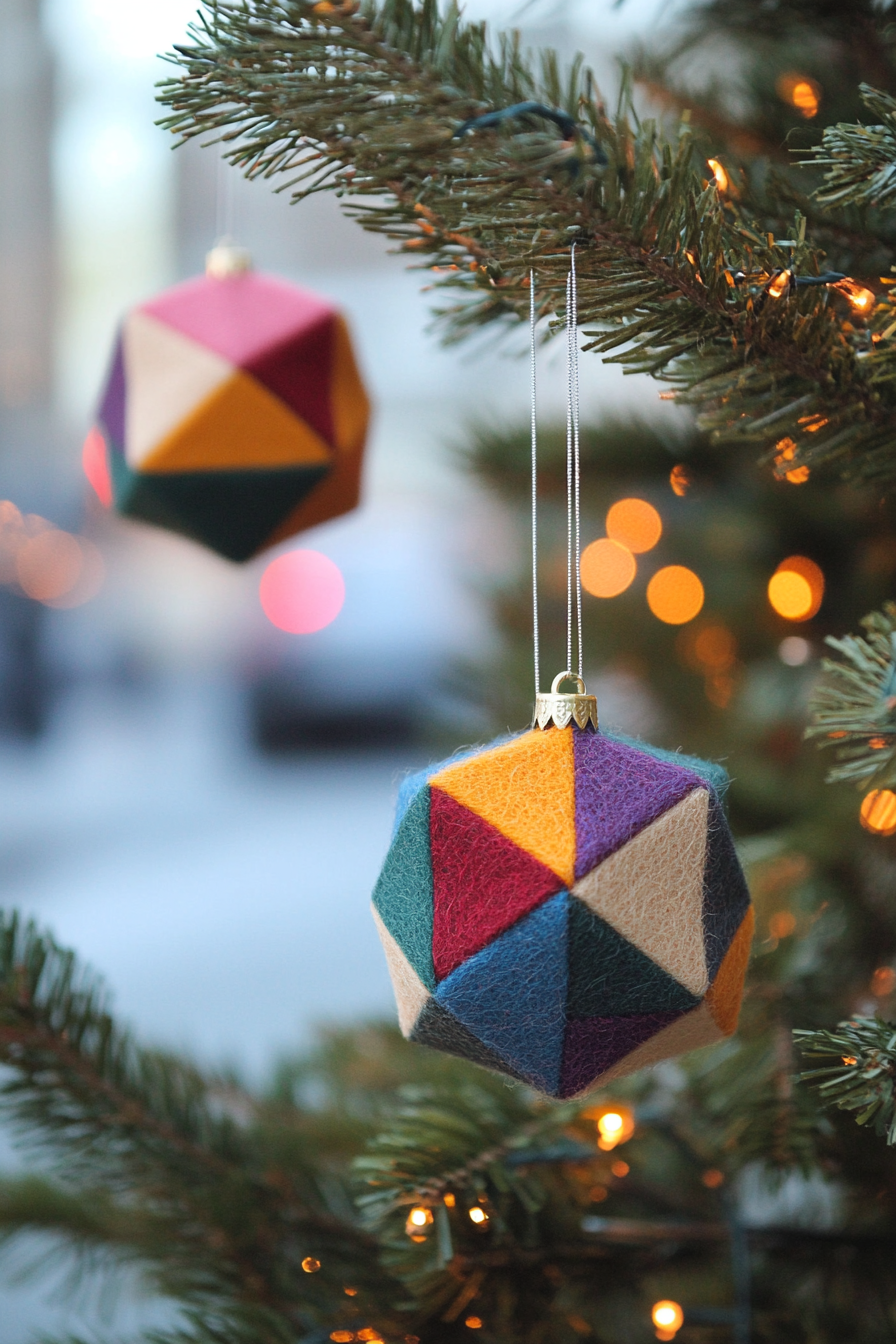
These colorful felt ornaments have a modern geometric design that pairs perfectly with a Scandinavian style Christmas tree.
They’re so easy to make, require no sewing skills, and you likely have all the supplies already.
For each ornament you will need:
– Felt sheets in various colors
– Scissors
– Hot glue gun
– String, ribbon, or embroidery floss for hanging
Start by cutting geometric shapes out of felt.
Circles, triangles, and squares work well.
For each ornament, cut 2-3 matching shapes.
Take one piece and apply a line of hot glue around the outer edges.
Quickly press the second matching shape on top, holding for a few seconds.
The hot glue should instantly adhere the two felt pieces together.
Once assembled, just add a loop of string or ribbon at the top for hanging on the tree.
Embellish with embroidery floss by stitching designs like stars or diagonal lines if desired.
The color combinations are endless – go bold and bright or elegant with metallic and white.
Let your creativity shine with the geometry shapes and color palettes you choose.
These modern felt ornaments add a unique handmade touch to your tree.
Thumbprint Ornaments

Capture your family’s holiday memories with these custom made thumbprint ornaments.
The kids can help make them, and you’ll love seeing their tiny fingerprints and handwriting on the tree each year.
For each ornament you will need:
– Porcelain clay, such as Sculpey
– Acrylic paint
– Fine tip paint pen
– Ribbon
Have each family member roll a small marble sized ball of clay.
Gently press their thumb into the clay, making a circular imprint.
Use the paint pen to write their name and year on the back.
Bake the ornaments according to the clay instructions.
Once cooled, paint the ornaments with acrylic paint.
You can do solid colors or get creative with patterns like polka dots or stripes.
Finish by tying a ribbon loop at the top for hanging on the tree.
Every time you gaze at the tree this season, you’ll remember all the special holidays spent together.
Cinnamon Dough Ornaments
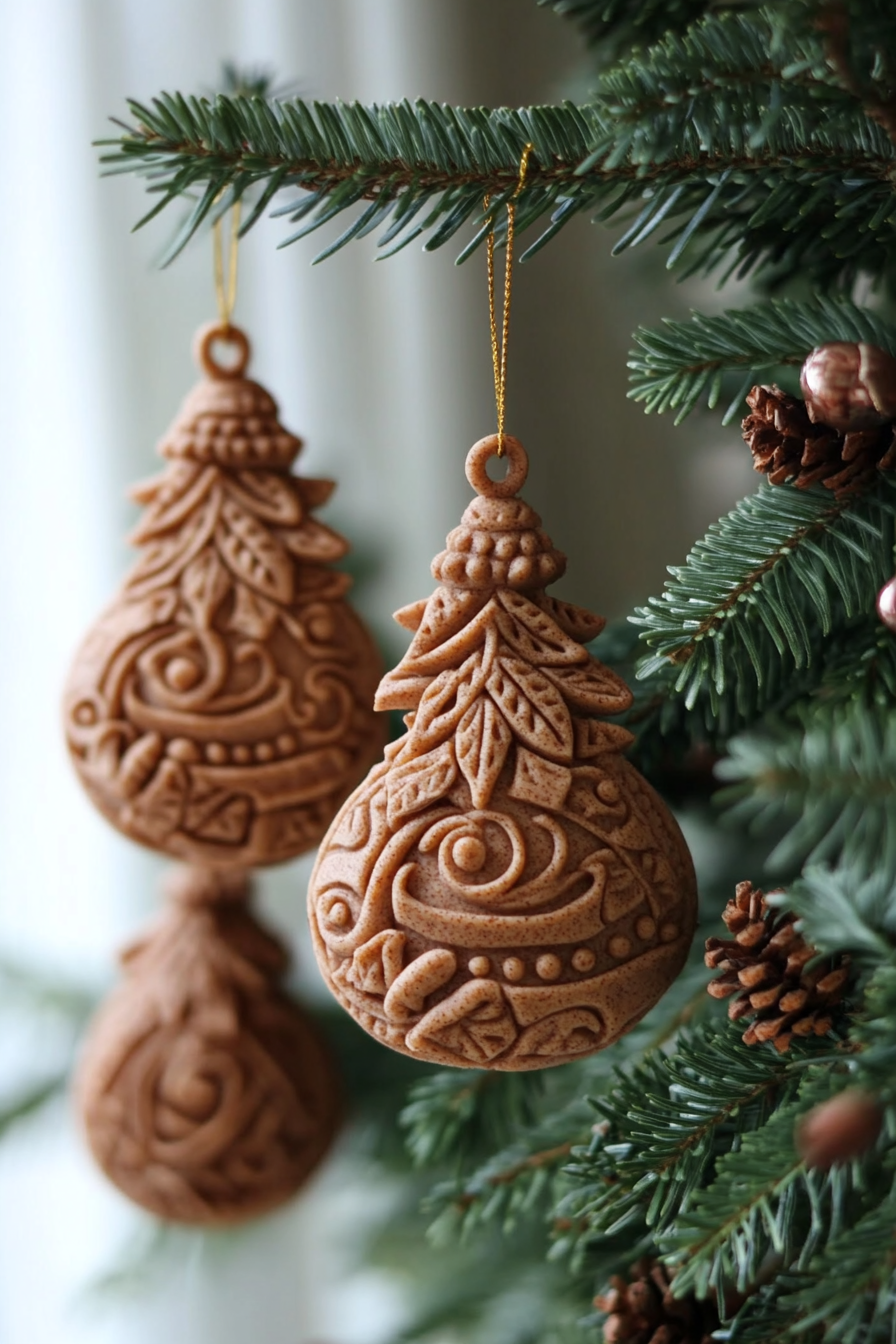
For a natural ornament with a wonderful holiday spice aroma, you can’t go wrong with cinnamon dough ornaments.
These are made with a simple dough mixture then decorated however you’d like.
For the dough you’ll need:
– 1 cup applesauce
– 1 cup ground cinnamon
– 2 1/2 cups all purpose flour
– 1/2 cup glue
In a large bowl, combine the applesauce, cinnamon, flour and glue.
It should form into a smooth, stiff dough.
Turn the dough out onto a floured surface and knead slightly.

Find Your Room’s Color Palette
Tap a vibe — get a curated 5-color palette with hex codes you can copy ✨
💭 I Wrote a Book About My Biggest Decorating Mistakes!
When I decorated my first home, I thought I knew what I was doing. Spoiler: I didn’t. 😅
💸 I bought a sofa way too big for my living room. Paint colors that looked amazing in the store but terrible on my walls.
Roll out to 1/4 inch thickness.
Use cookie cutters to cut out shapes from the dough.
Bake ornaments at 200°F for 1 1/2 hours until hard.
Let cool completely.
Once cooled, you can leave the ornaments plain for a natural look or decorate with paint, glitter, ribbons, etc.
Attach a ribbon loop at the top to hang on your tree and enjoy the heavenly cinnamon scent.
Snow Globe Ornaments
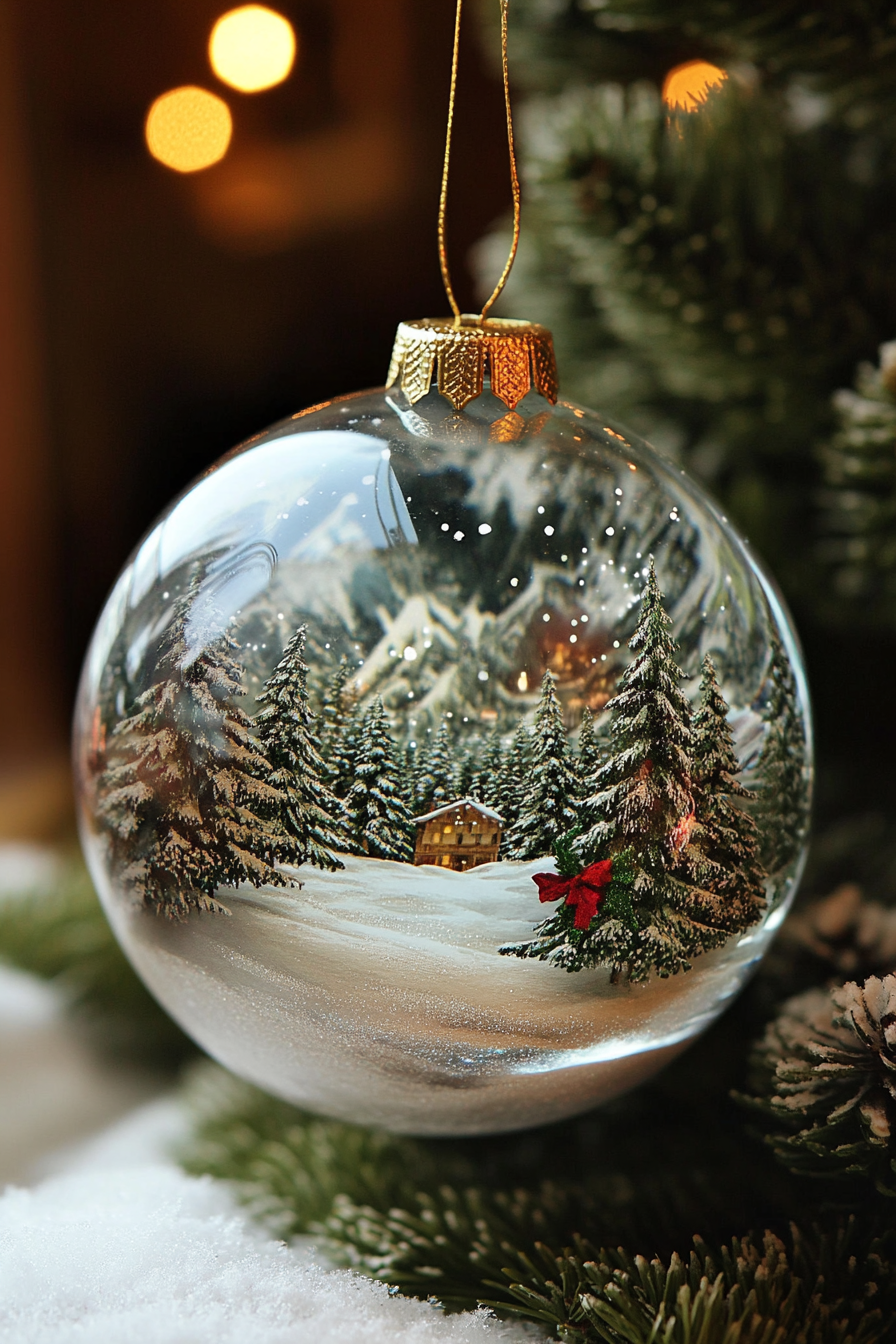
Bring the magic of snow globes to your tree with these homemade snow globe ornaments!
Fill them with fake snow and cute mini figurines for a whimsical, nostalgic look.
For each ornament you will need:
– Plastic ornament balls
– Distilled water
– Glycerin
– Fake snow flakes
– Small figurines
– Super glue
– Ribbon
Carefully pry apart your ornament balls to open in half.
Pour out any existing water from store bought ornaments.
Place your figurine in the ornament and position how you’d like.
Apply a few small drops of super glue to affix in place.
Fill the globe with distilled water, adding a pinch of glycerin to thicken it.
Top off with fake snow and seal the ornament closed again.
Tie a ribbon loop at the top for hanging on the tree.
Gently shake the ornaments to make the snow swirl around the figurines for a truly magical effect!
Cinnamon-Scented Pine Cones
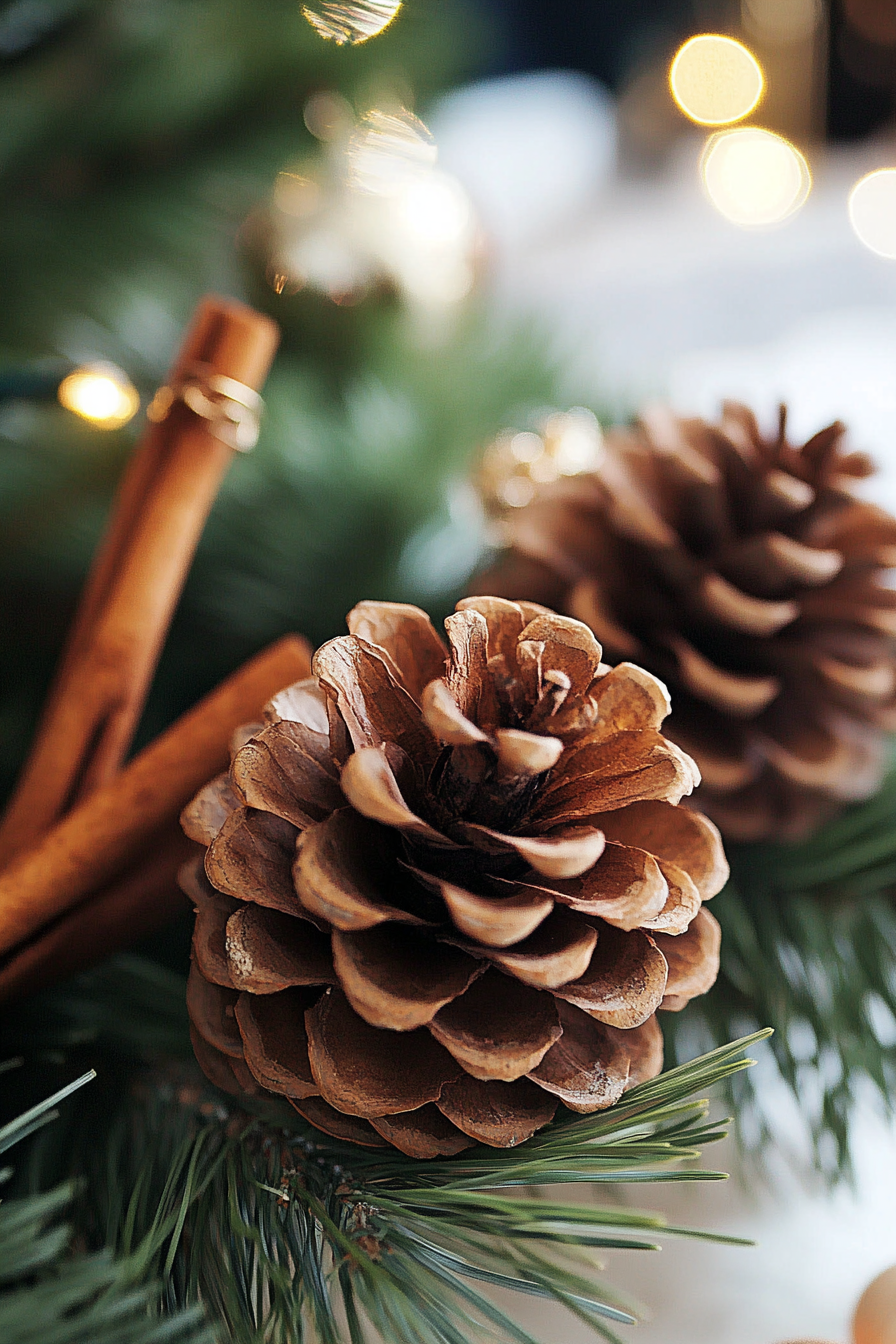
Bring the essence of the great outdoors inside by crafting rustic cinnamon pine cone decorations.
Their woodsy aroma makes your whole house smell like Christmas.
For each pine cone decoration you will need:
– Pine cones of various sizes
– Craft paint
– Cinnamon essential oil or ground cinnamon
– Ribbon
Start by painting your pine cones with craft paint – go for traditional colors like red and green or get creative with patterns.
Metallic paints like gold and silver are also festive options.
Once painted, tie a ribbon around the top of each pine cone for hanging or add to a decorative bowl.
The key step is adding cinnamon oil or ground spice – simply brush oil or sprinkle powder over each pine cone.
The cinnamon coating gives off an amazing holiday aroma.
Hang the pine cones around the house in entryways and on fireplace mantles.
Set out bowls filled with them on side tables and console tables to infuse that lovely cinnamon scent everywhere.

What’s Your Decor Personality?
5 questions · 30 seconds · Instant style match 🏡
Glittery Snowflake Ornaments
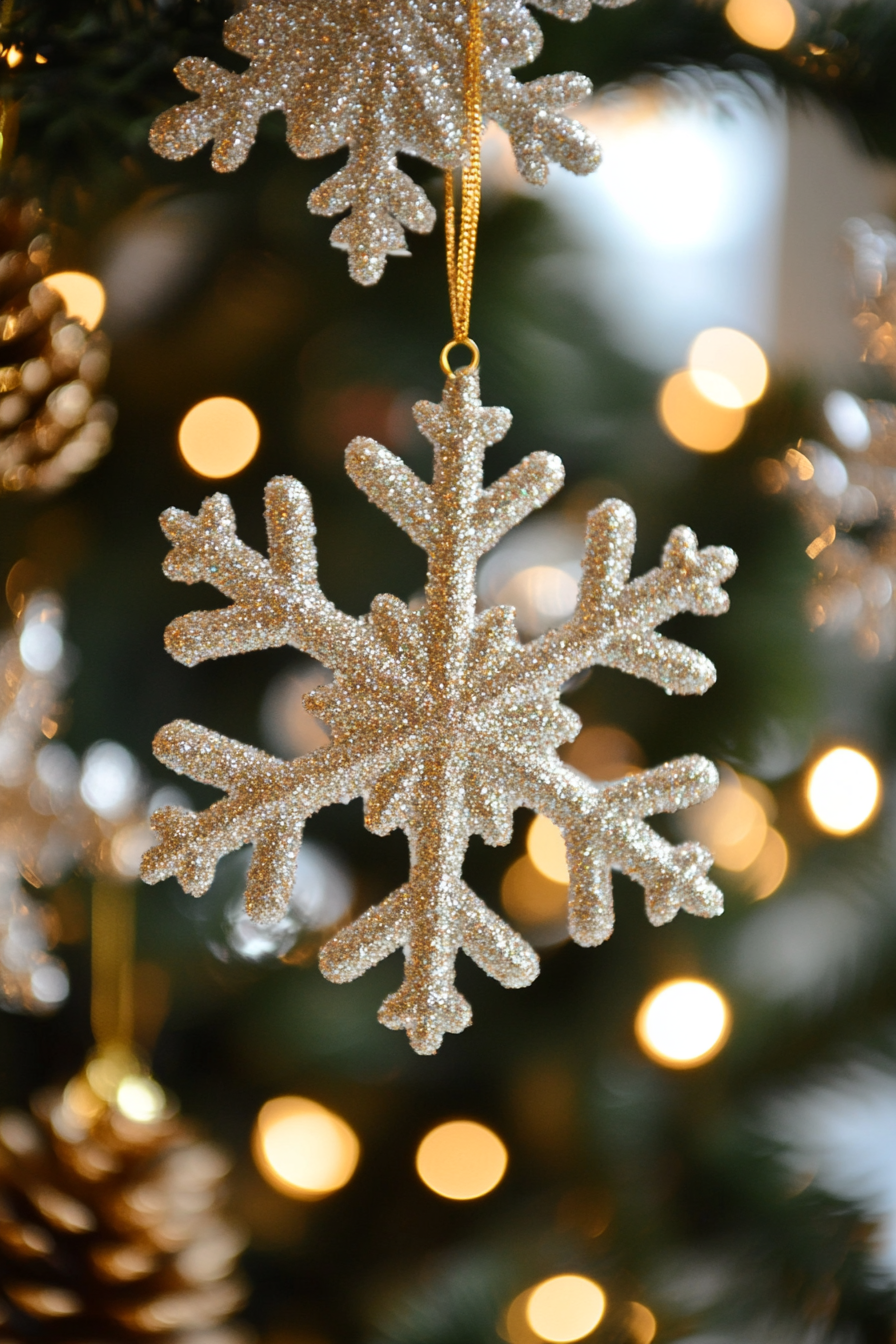
There’s no easier DIY ornament than these glittery snowflake ornaments.
With just 3 supplies, you can churn out a whole collection of sparkly snowflakes for your Christmas tree.
Plus, the glitter paint does half the work for you!
For each ornament you will need:
– White craft wood discs, circles, or squares
– Glittered white craft paint
– Ribbon
Paint your wood cutouts using a glittered white or iridescent paint.
You could also use silver or metallic varieties.
Apply 2-3 coats to fully coat the surface with glitter.
Once the paint has fully dried, flip each ornament over and attach a ribbon loop for hanging on the tree.
The surfaces will be shimmering with glitter!
Cut your wood into assorted snowflake shapes before painting if you’d like, but even simple circles and squares will resemble snowflakes once coated in glitter.
Add these magical glittery touches throughout your tree for some extra sparkle.
Pom Pom Garlands
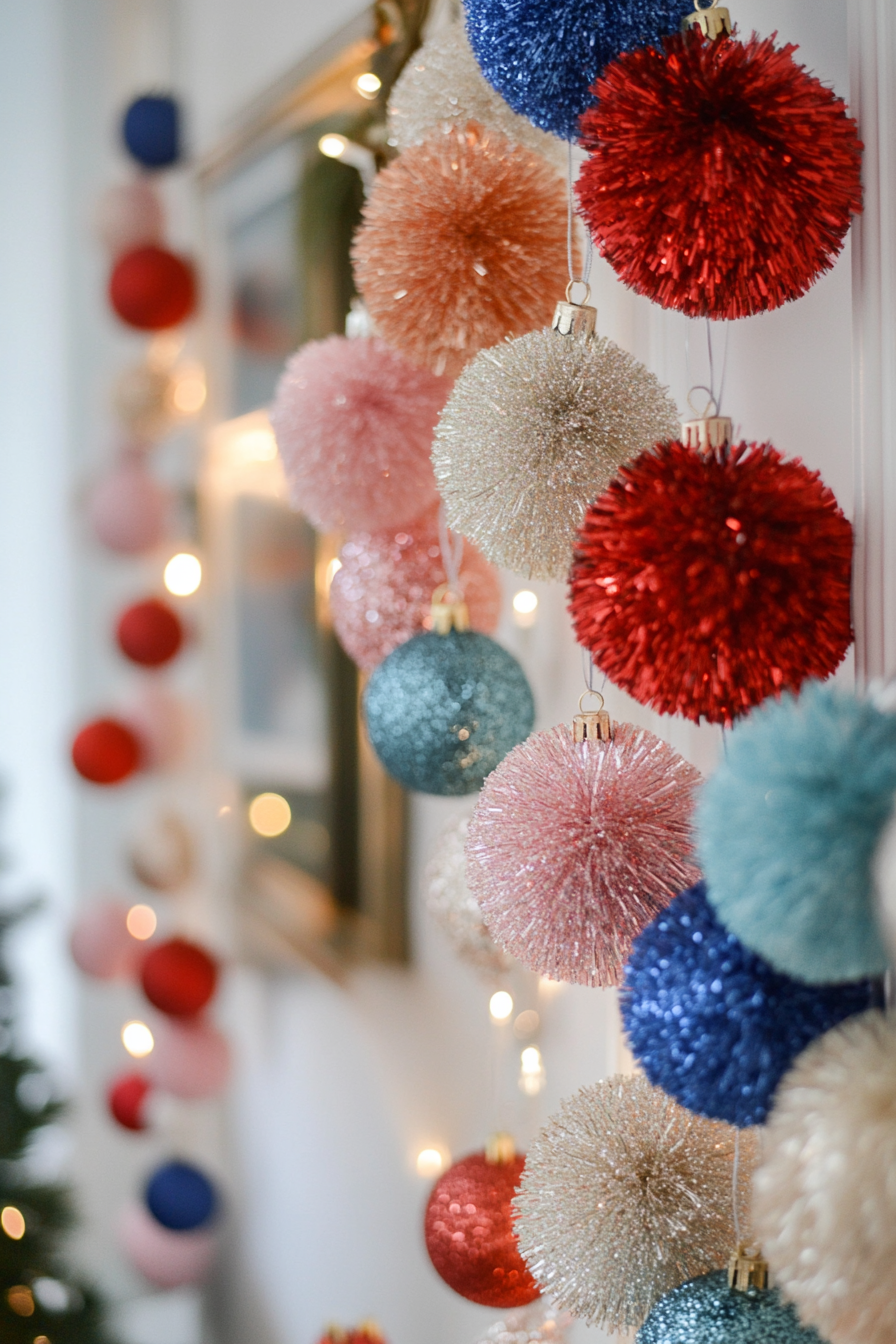
Why buy a basic garland when you can make your own fabulous pom pom garland?
This colorful DIY adds a fun, whimsical style to your Christmas decor.
For each garland you will need:
– Yarn or thread in assorted colors
– Scissors
– Tapestry needle
Use an online pom pom maker or your fingers to wrap yarn into fluffy pom poms.
Make them in an array of sizes and colors for lots of variety.
Thread your tapestry needle with a long piece of yarn or thread.
String the pom poms onto the garland, tying knots between each one.
Continue until your garland reaches the desired length.
Drape these playful pom pom strands over your mantle, around door frames, on railings, or across the top of a Christmas tree.
You can switch up the color combinations to match your decor – go for a bold red and green or soft pastels like pink, cream, and mint.
The decorative possibilities are endless with pom pom garlands.
Let your creativity run wild!
Felt Mistletoe Decorations

Create some holiday romance with these simple felt mistletoe decorations!
You can quickly whip them up with scraps of green felt.
For each decoration you will need:
– Felt scraps in green
– White thread or embroidery floss
– Craft glue
– Ribbon
Cut leaf shapes out of green felt.
Cut smaller circles out of white felt – these will be your mistletoe berries.
Hot glue three leaves together, fanning them out slightly.
Glue white berries in a cluster where the leaves meet.
Finish by gluing or stitching a ribbon loop at the top for hanging.
Hang your mistletoe around door frames and in entryways to spread the love this holiday season!
This or That?
Pick your fave — see what other readers chose! 👀
Reindeer Canvas Art
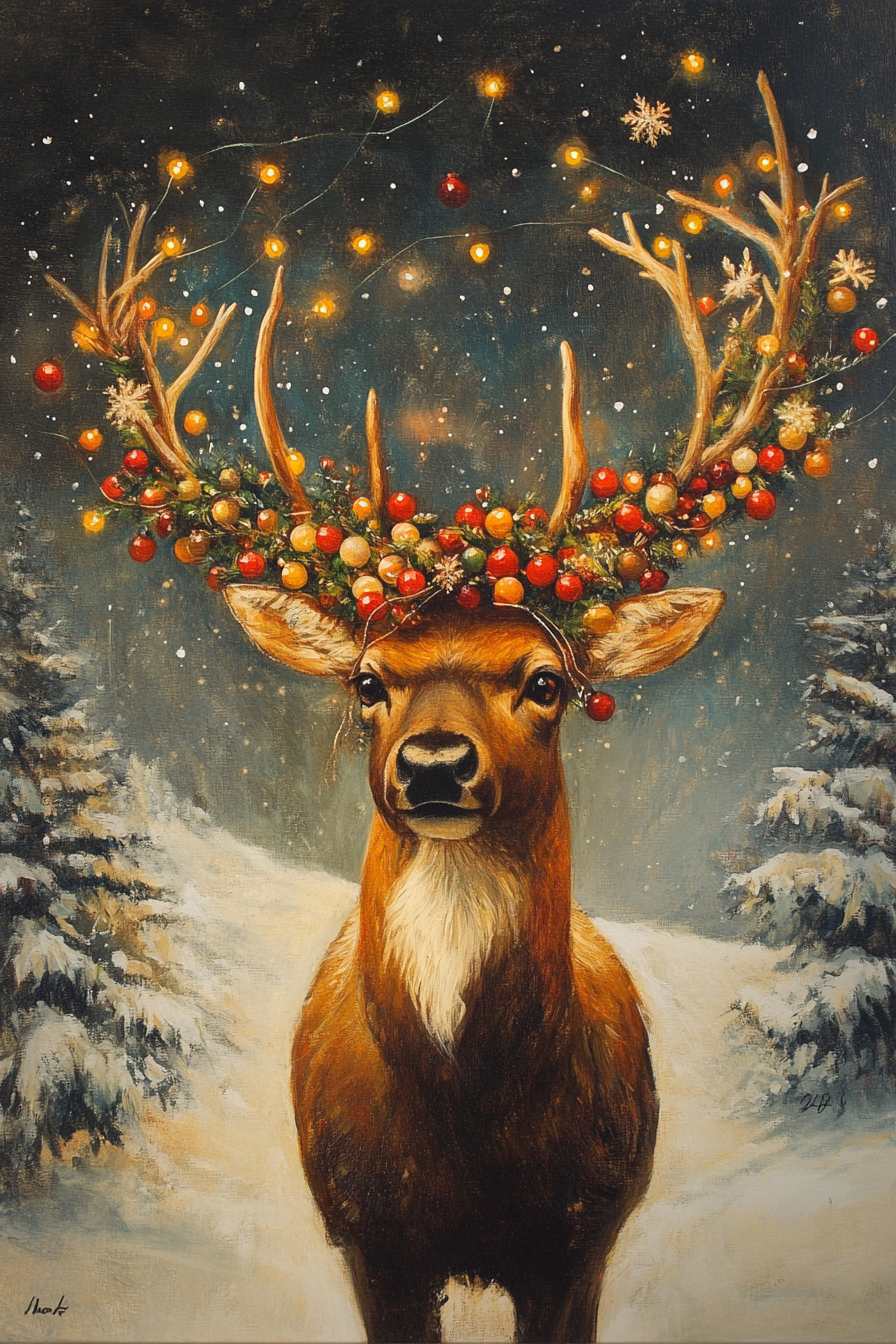
Little crafters will love making their own reindeer art using just their hands and feet!
This cute project captures their holiday creativity in a canvas you can display year after year.
For each canvas you will need:
– Canvas panel or stretched canvas
– Brown and black craft paint
– Paintbrushes
Have kids dip their fingertips in the brown paint and stamp rows of fingerprints along the bottom of the canvas to create a reindeer head and antlers.
Clean fingers off with water between dipping in paint.
💭 I Wrote a Book About My Biggest Decorating Mistakes!
When I decorated my first home, I thought I knew what I was doing. Spoiler: I didn’t. 😅
💸 I bought a sofa way too big for my living room. Paint colors that looked amazing in the store but terrible on my walls.
Next, press their palm print gently in the black paint and stamp in the middle of the canvas to make a reindeer nose.
You can also use a red pom pom or button hot glued on for the nose.
Let dry fully then help them paint on eyes and a mouth to finish the reindeer face.
The cute fingerprints create furry texture!
Hang up this special handmade art to display all season long.
Paper Chain Garland
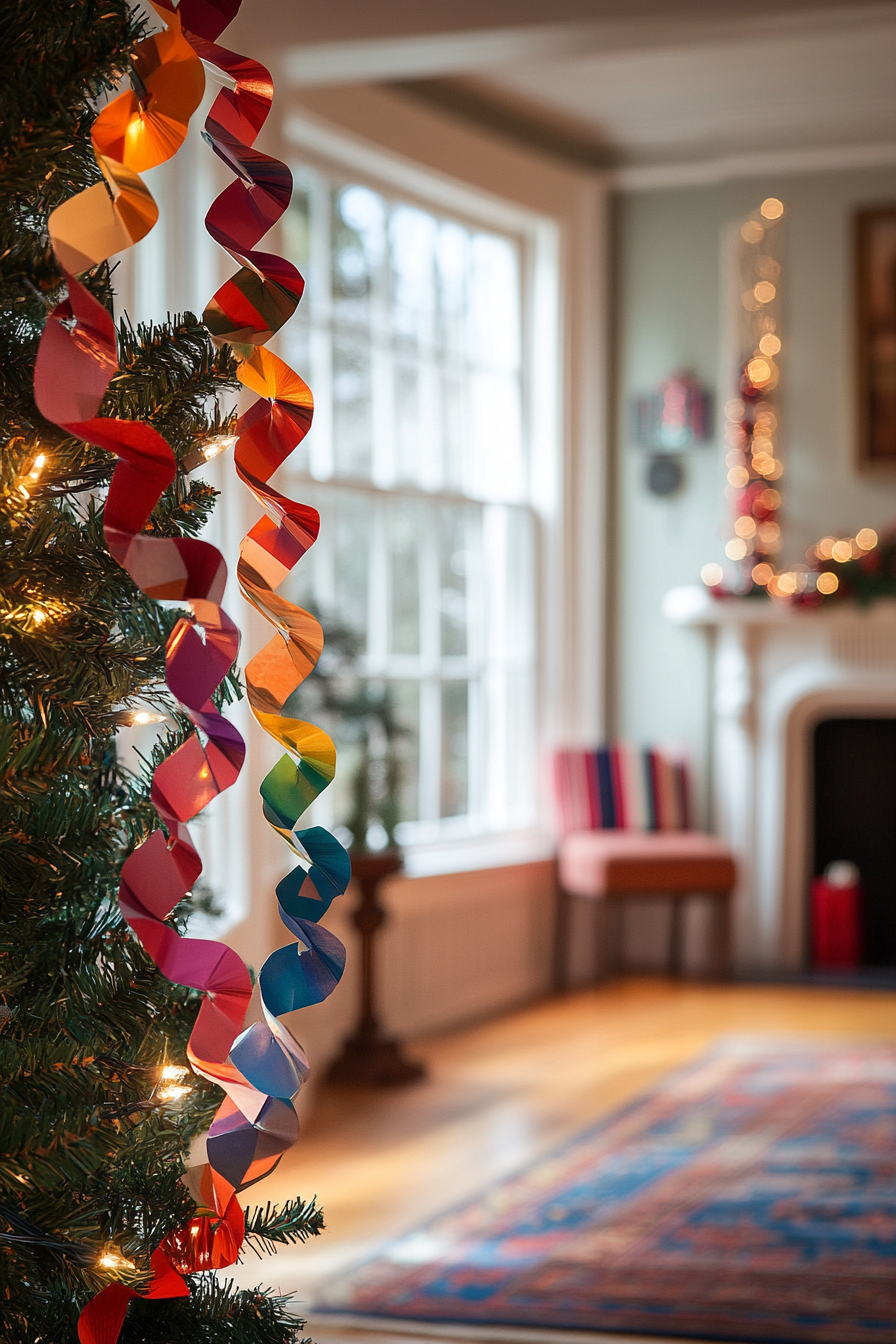
Here’s an oldie but goodie craft project – paper chain garlands are still just as fun and festive today.
Cut strips of paper, loop into circles, and connect into extra long chains to drape around the house.
For each garland you will need:
– Colored paper
– Scissors
– Tape or stapler
Cut strips of paper about 3-4 inches long.
Join the ends together to form loops, then interlock the loops to create chains.
Vary the paper colors as you assemble the chain for bold, festive patterns.
Staple or use small pieces of tape to connect the loops.
Make chains in different lengths and drape them over fireplace mantles, around door frames, above kitchen cabinets, or down stair railings.
You can also loop short chains around table centerpieces or Christmas trees.
Paper chains are a fun project for kids and adults alike.
Break out the arts and craft supplies and make chaining paper links into a new holiday tradition.
Quick Design Dilemma
Cast your vote — see what other readers think! 🤔
Holiday Spice Sachets
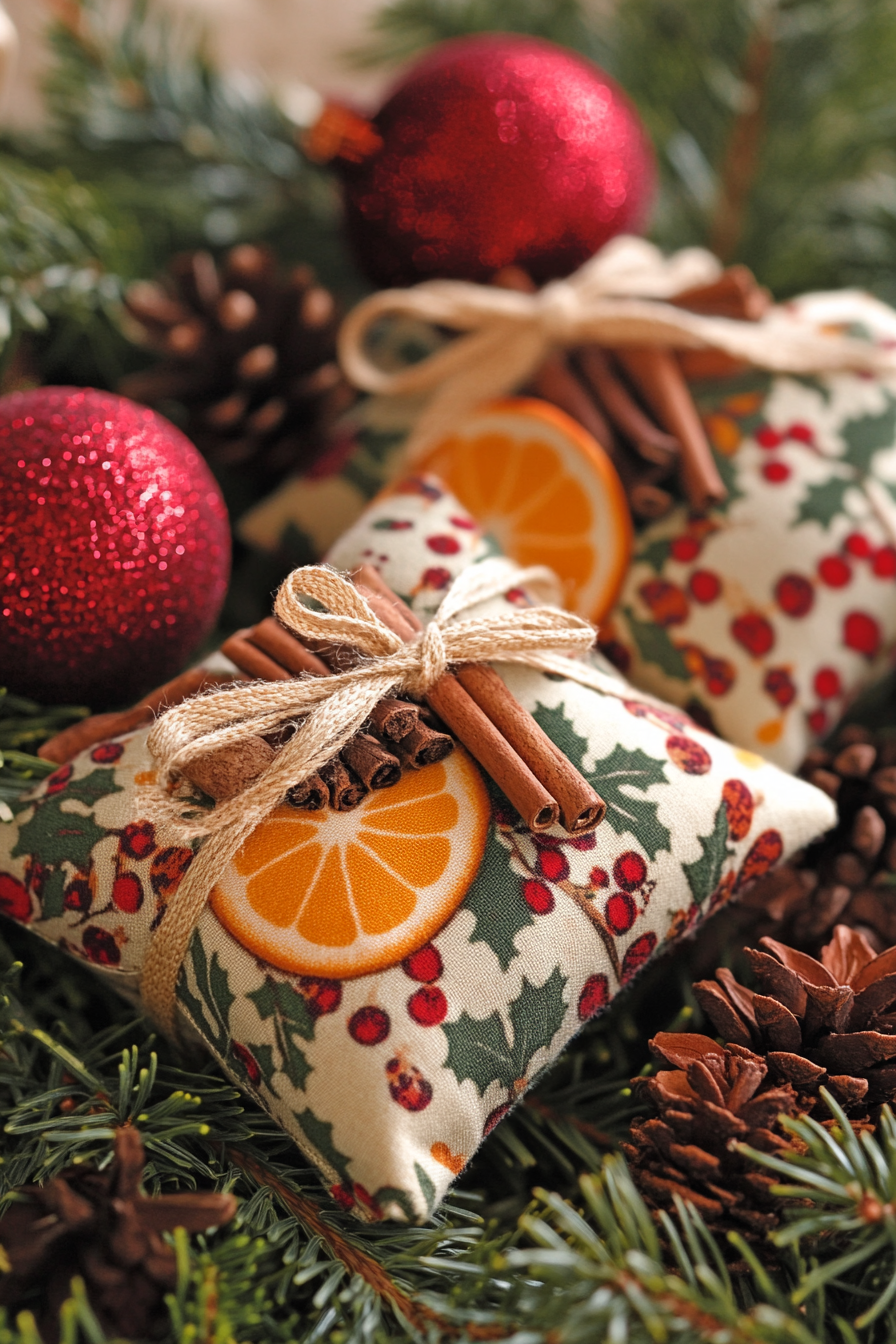
Fill your home with the wonderful scents of the season by sewing your own homemade holiday spice sachets.
Display them around the house or give as gifts to spread the cozy aromas.
You will need:
- Fabric scraps in festive prints
- Holiday spices like cinnamon sticks, whole cloves, allspice berries, nutmeg, ginger, etc.
- Dried orange slices or essential oil
- Ribbon
- Needle and thread
Cut rectangles of fabric about 5 inches wide.
Place your spice mixture, including a dried orange slice or few drops of orange essential oil, in the center.
Sew the edges closed using a whip stitch.
Make sure to leave an opening along the top edge.
Thread a ribbon through the top and tie it closed.
For display, hang the sachets over door frames, on your tree, or anywhere you’d like a boost of seasonal scent.
Place them in bowls or tie bundles onto gifts.
However you use them, these homemade spice sachets will infuse your home with cozy holiday aromas.

Salt Dough Ornaments
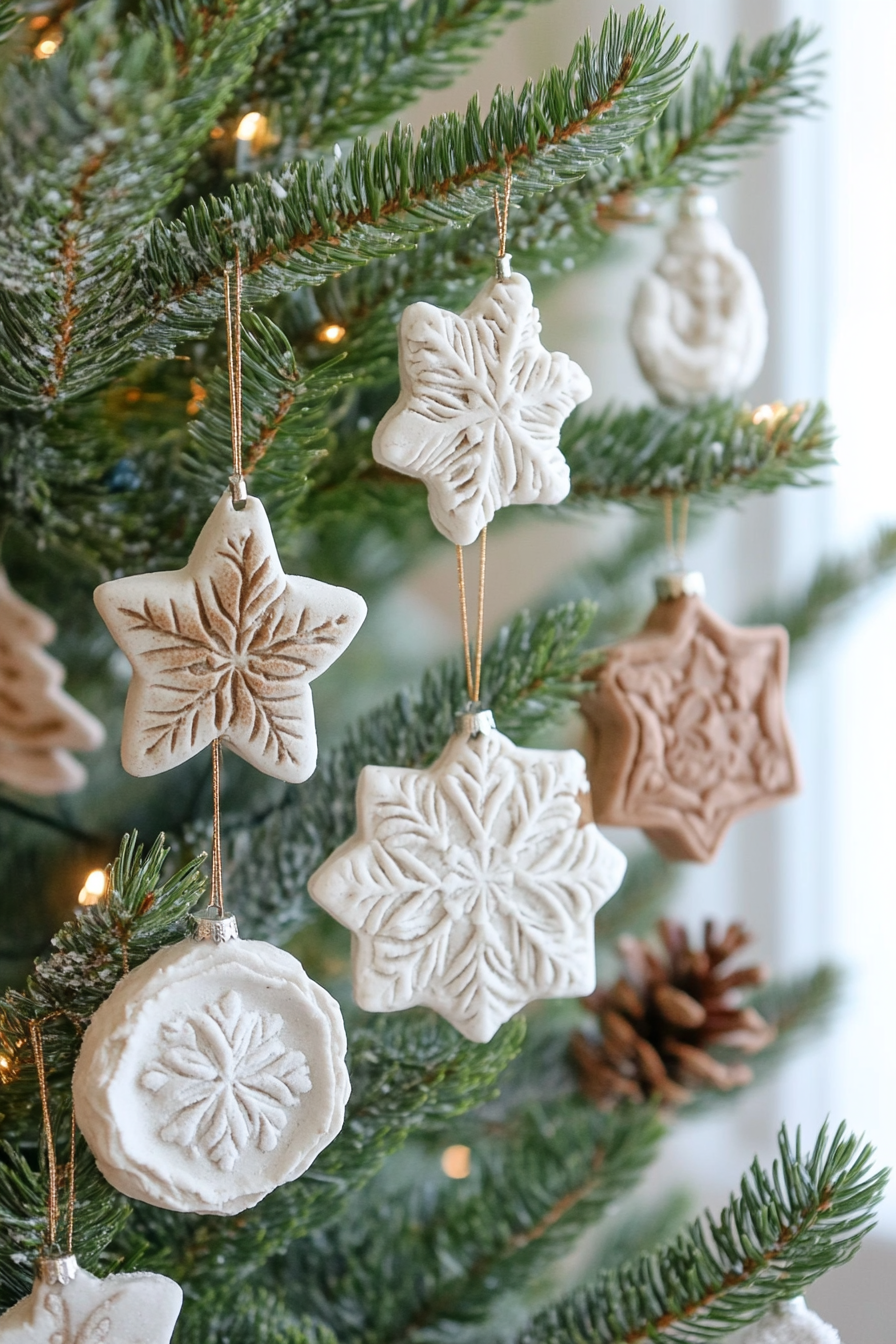
For ornaments with a rustic farmhouse style, try making some simple salt dough decorations.
Salt dough allows you to imprint designs for a homemade artisan look.
For the dough you will need:
– 2 cups flour
– 1 cup salt
– 3/4 cup water
Stir the ingredients together until a dough forms, then knead until smooth.
Roll out the dough 1/4 inch thick and cut into shapes using cookie cutters or a knife.
Use a blunt tool like a chopstick to imprint any designs like dots, stripes, stars etc.
Bake at 200°F until hard, 1-2 hours.
Once cooled, you can leave the plain or paint the ornaments using acrylics.
Finish by tying a ribbon loop at the top for hanging on the tree.