Watching my mom’s face light up when I proudly presented her with my handcrafted valentine was a feeling I’ll never forget.
Of course, my crafting skills have (thankfully) come a long way since those early days of crooked cuts and copious amounts of glue.
But the joy of making heartfelt gifts for the ones you love never fades, no matter your age or artistic abilities.
That’s the timeless magic of classic Valentine’s Day crafts.
They connect us to sweet childhood memories while letting us express our love in charmingly handmade ways.
So this year, instead of fighting the crowds for generic cards and overpriced chocolates, pour yourself a cup of coffee or cocoa and settle in for an afternoon of crafting your heart out with these TOP tried-and-true Valentine’s projects.
✨Click to Get My 101 FREE Designer Room Ideas
Handmade Valentines Never Go Out of Style

There’s something so special about a handmade valentine.
Maybe it’s the extra time and thought that goes into crafting each one.
Or the personal touches like a silly inside joke or a heartfelt, handwritten message.
Whatever the reason, DIY valentines have a charm that store-bought cards just can’t match.
And while trends in colors, patterns and embellishments may come and go, the basic format of a valentine—a folded paper card decorated with hearts, flowers, cupids and sweet sentiments—is a classic for a reason.
It’s simple, yet infinitely customizable.
Playful and lighthearted, yet brimming with earnest affection.
So this year, embrace the enduring appeal of the homemade valentine and craft a batch of your own.
Cut them out by hand for a rustic, folk-art vibe or bust out your paper punches and rubber stamps for cards with a more polished look.
Embellish with washi tape, ribbon, buttons, stickers, or anything else your heart desires.
The only limit is your imagination (and perhaps the size of your craft stash).
A Sweet Twist on Classroom Valentines: Printable Candy Bar Wrappers

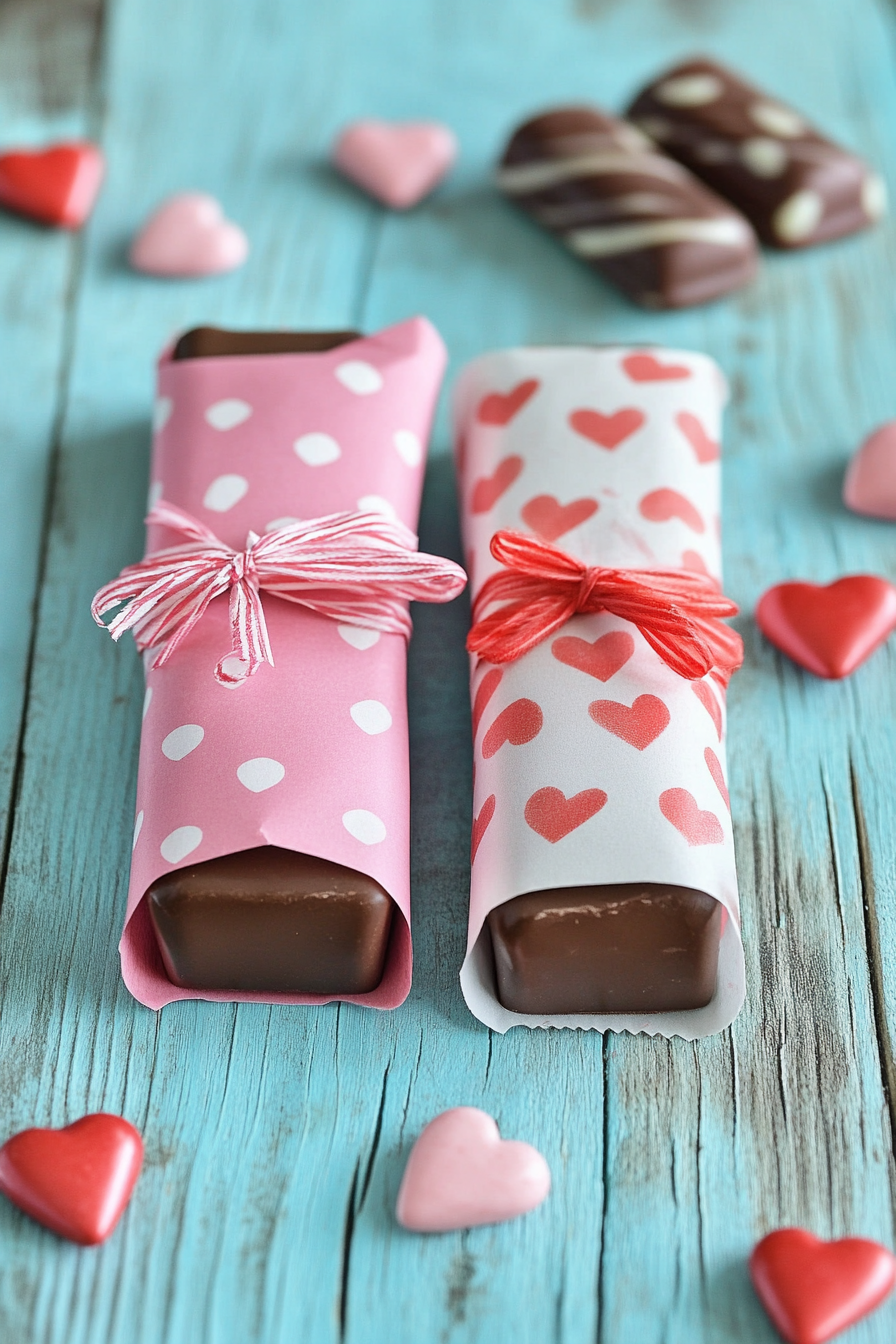
Individually wrapped mini candy bars are a staple of kids’ classroom valentines.
They’re affordable, peanut-free for school safety, and most importantly, what kid doesn’t love getting candy?
But those store-bought cartoon character wrappers?
Let’s be real—they’re a little generic.
This year, make your child’s valentines stand out by dressing up mini chocolate bars with custom wrappers.
You can find tons of free, printable designs online, or create your own using paper and markers.
Depending on your child’s age, they can even decorate the wrappers themselves for a sweet personal touch.
Simply print the wrappers on regular paper or card stock, cut them out, and use tape to secure them around the candy bars.
For an extra festive look, tie ribbons or twine around the ends of the wrapped bars, kind of like the ends of a Tootsie Roll.
Voila!
Classroom valentines that are as unique as they are tasty.
Bonus: you can use the same concept for grown-up valentines too.
Design wrappers with cheeky sayings or photos of you and your valentine for a gift that’s personal, punny and as an added perk, chocolate.
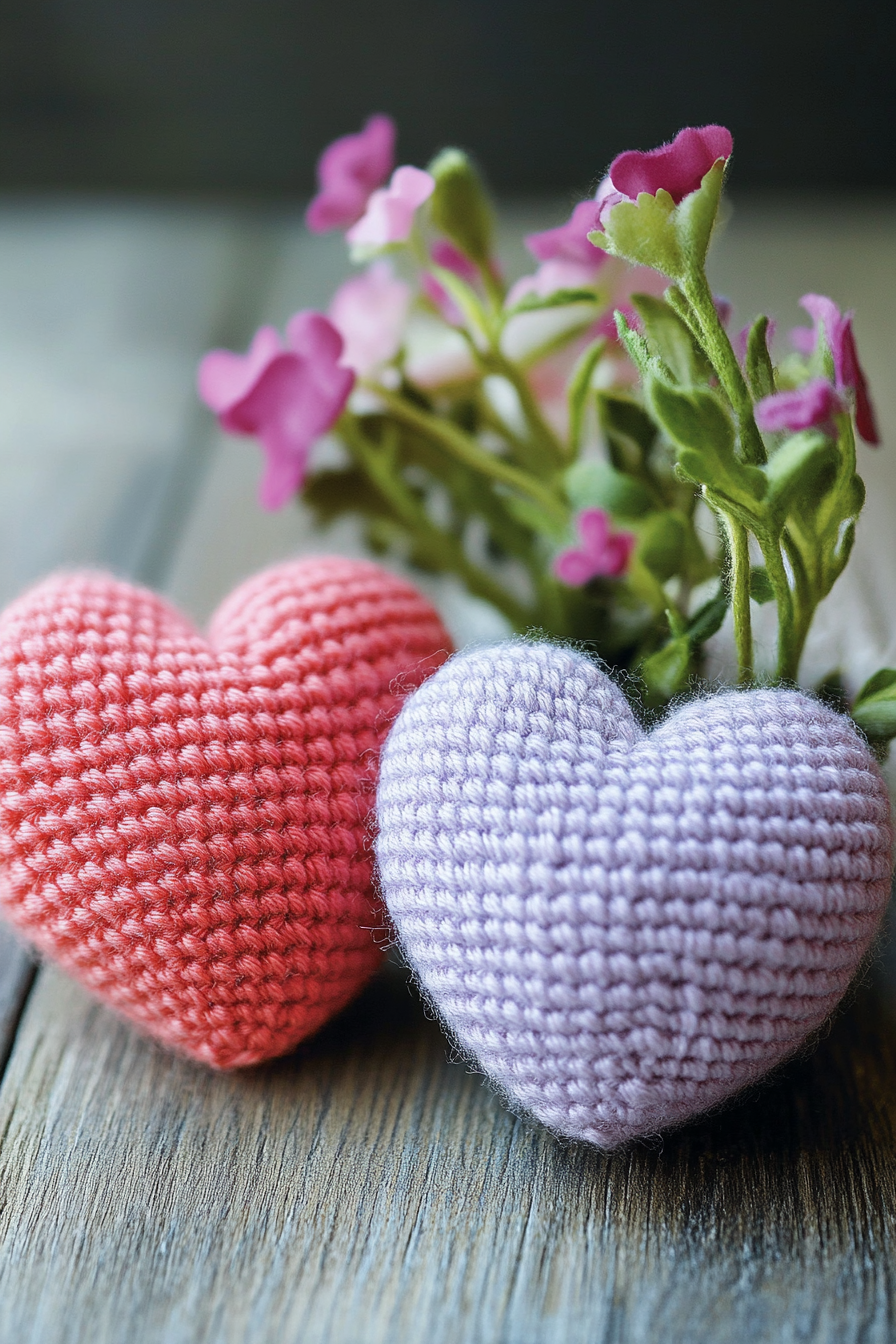
Cute Crocheted and Knitted Hearts for Your Crafty Valentines
Okay, so maybe paper crafts aren’t really your thing.
If you’re more at home with a crochet hook or knitting needles, then stitching up a few tiny hearts is the perfect way to show your love this Valentine’s Day.
Crocheted and knitted hearts make adorable appliqués for hats, headbands, scarves and sweaters.
Attach them to a ribbon to make a bookmark or a keychain.
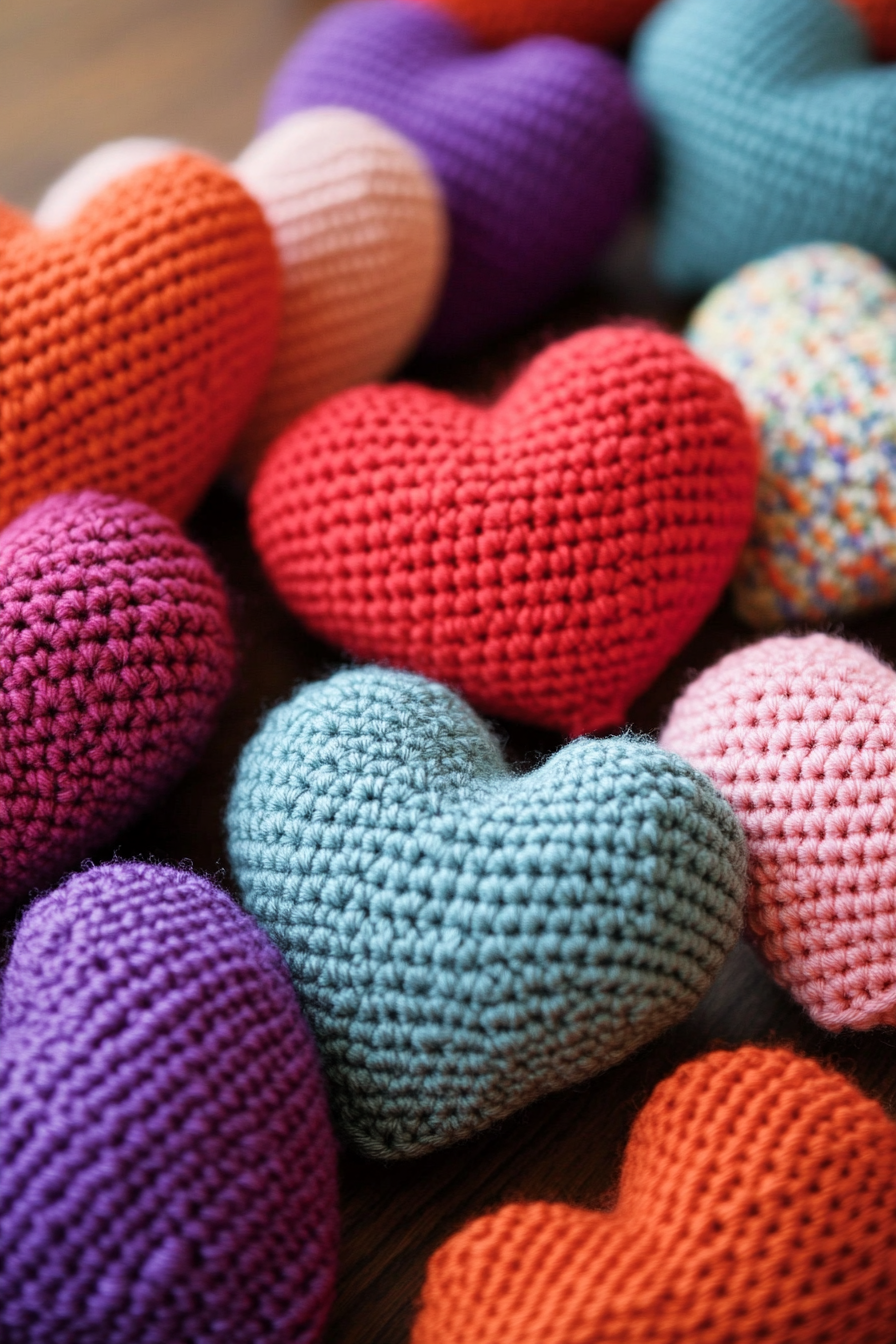
String a bunch together to make a garland.
Fill a jar or bowl with them for a sweet Valentine’s Day centerpiece.
Tuck one inside a card or lunchbox for a daily reminder of your affection.
The possibilities are endless!
Best of all, these little hearts work up quickly, so you can easily make a bunch in an evening or two.
And you can customize them with your valentine’s favorite colors or even stripes and colorwork.
Whether your stitches are perfectly even or a little wonky, these little loveys are sure to warm hearts with their handmade charm.
New to knitting or crochet?
No worries!
A simple crocheted heart is a fantastic project for beginners.
There are plenty of free patterns and video tutorials available online to walk you through the basics.
Learning a new crafty skill and churning out cute valentines?
That’s what I call a win-win.
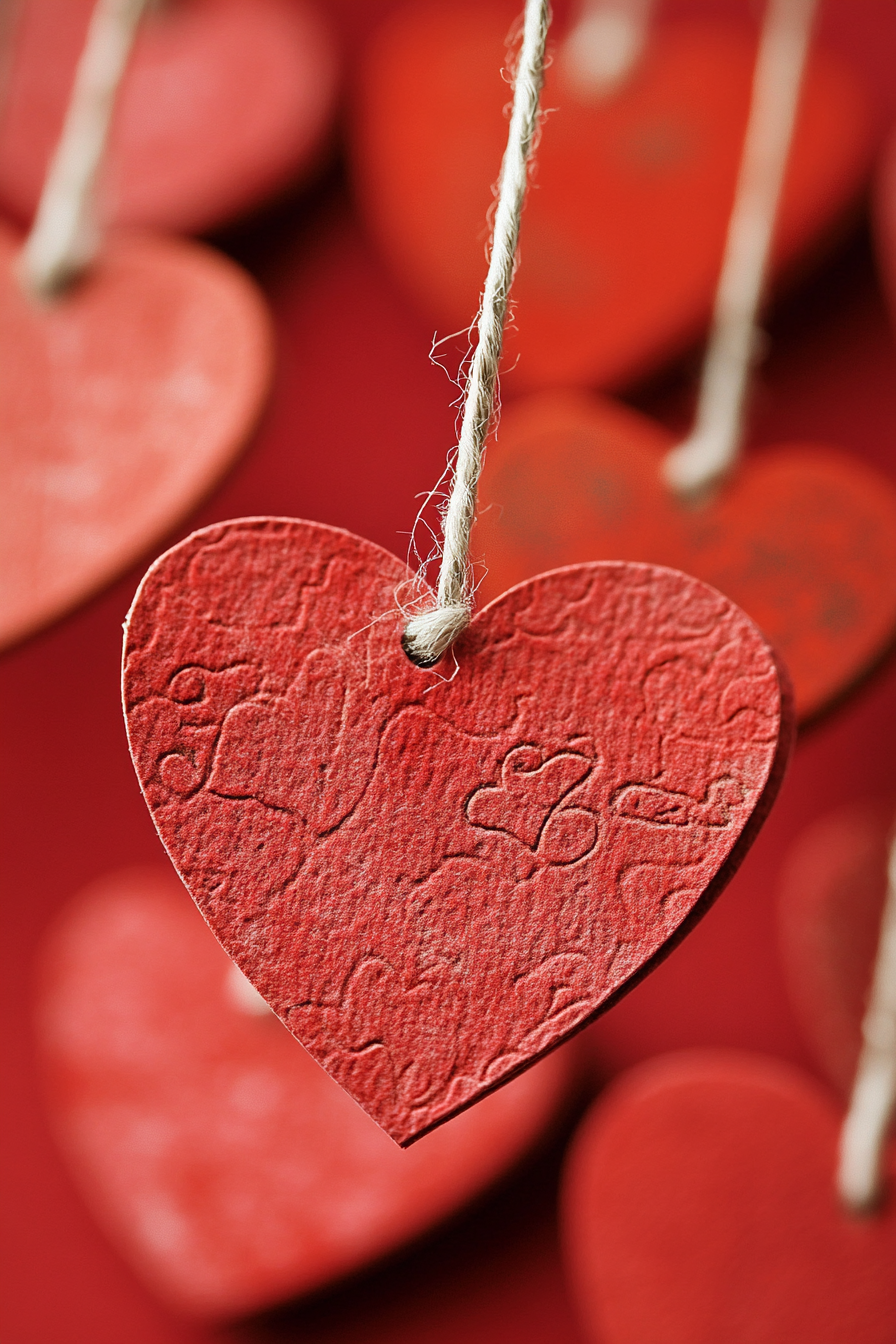
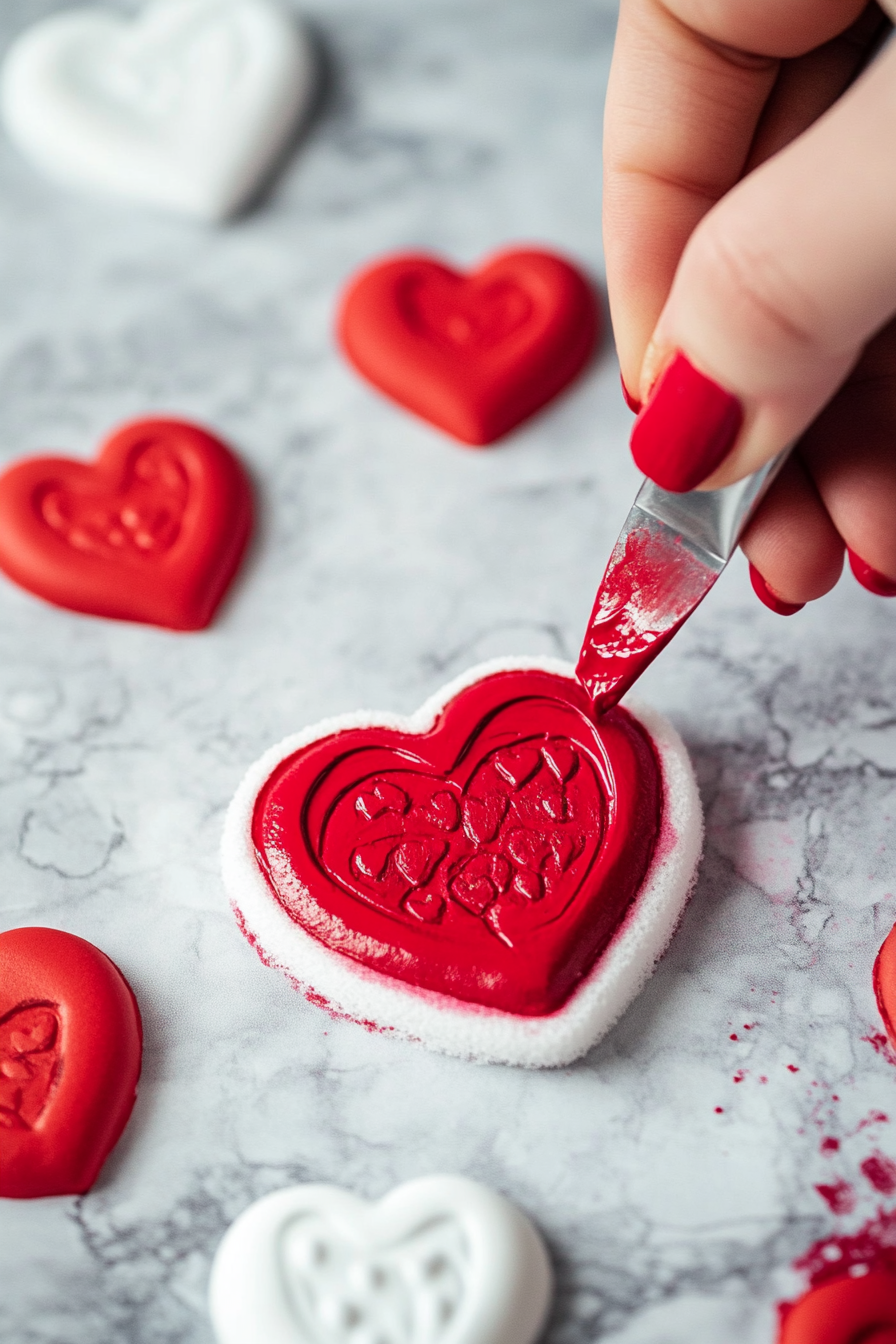
A Fun Family Project: Salt Dough Heart Ornaments
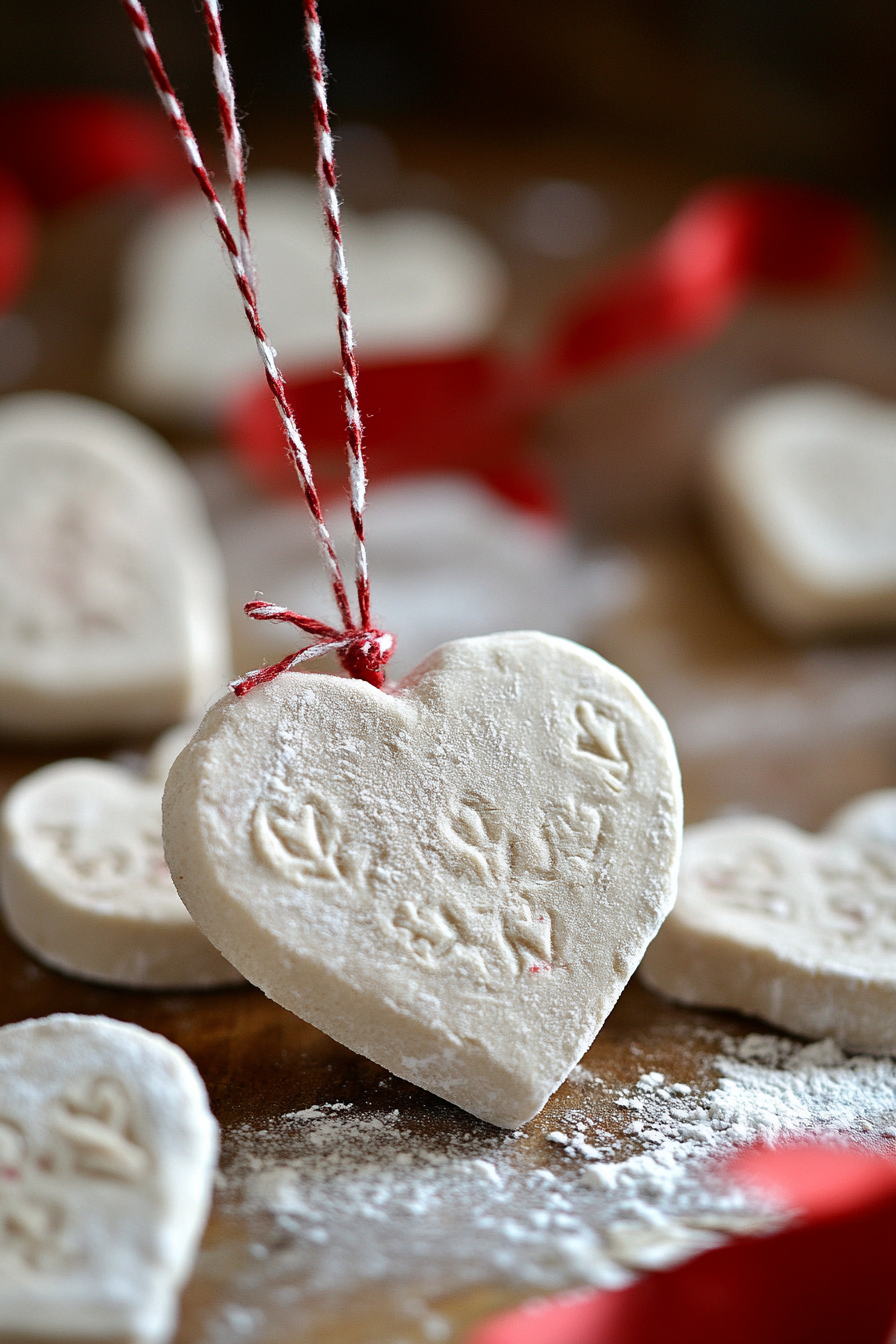
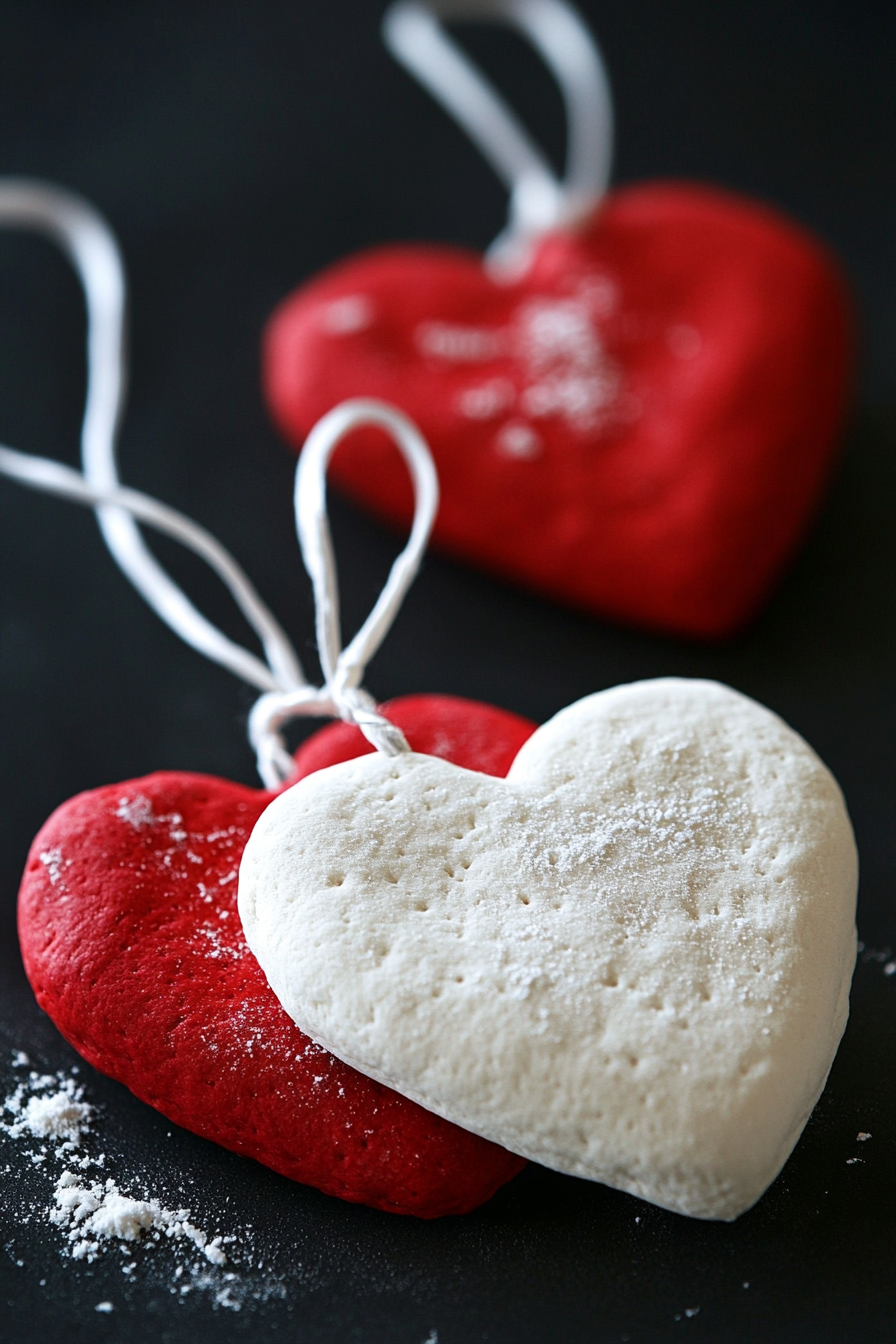
Looking for a Valentine’s Day craft the whole family can get in on?
These salt dough heart ornaments definitely fit the bill.
The dough is easy to mix up with just three ingredients you probably have in your pantry: flour, salt and water.
Then everyone can take turns rolling out the dough, cutting out hearts and pressing their fingerprints or rubber stamps into them to make designs.
Let the ornaments air dry for a day or two (or pop them in a low oven if you just can’t wait to decorate) then paint them with acrylic craft paints.
You can keep it simple with solid colors accented with ribbons, or go all out with metallic paints, glitter, and glamour.
Thread a ribbon through the top and ta-da!
Handmade ornaments that are perfect for hanging on an indoor Valentine’s tree or in a window.
As a bonus, you can write the year on the back with a permanent marker for instant nostalgia every time you unpack them.
And if you have little kids, these salt dough hearts also make fantastic keepsakes.
Press their hands or feet into the dough before baking and paint the prints after.
Grandparents especially will treasure these sweet mementos of teeny hands and toes.
Fair warning: this craft can get a little messy with all the flour and paint.
But that’s half the fun!
Embrace the chaos, snap some photos of your valentine crafters in action, and enjoy making memories with your favorite people.
✨Click to Get My 101 FREE Designer Room Ideas
Vintage Valentines for a Classy, Nostalgic Vibe
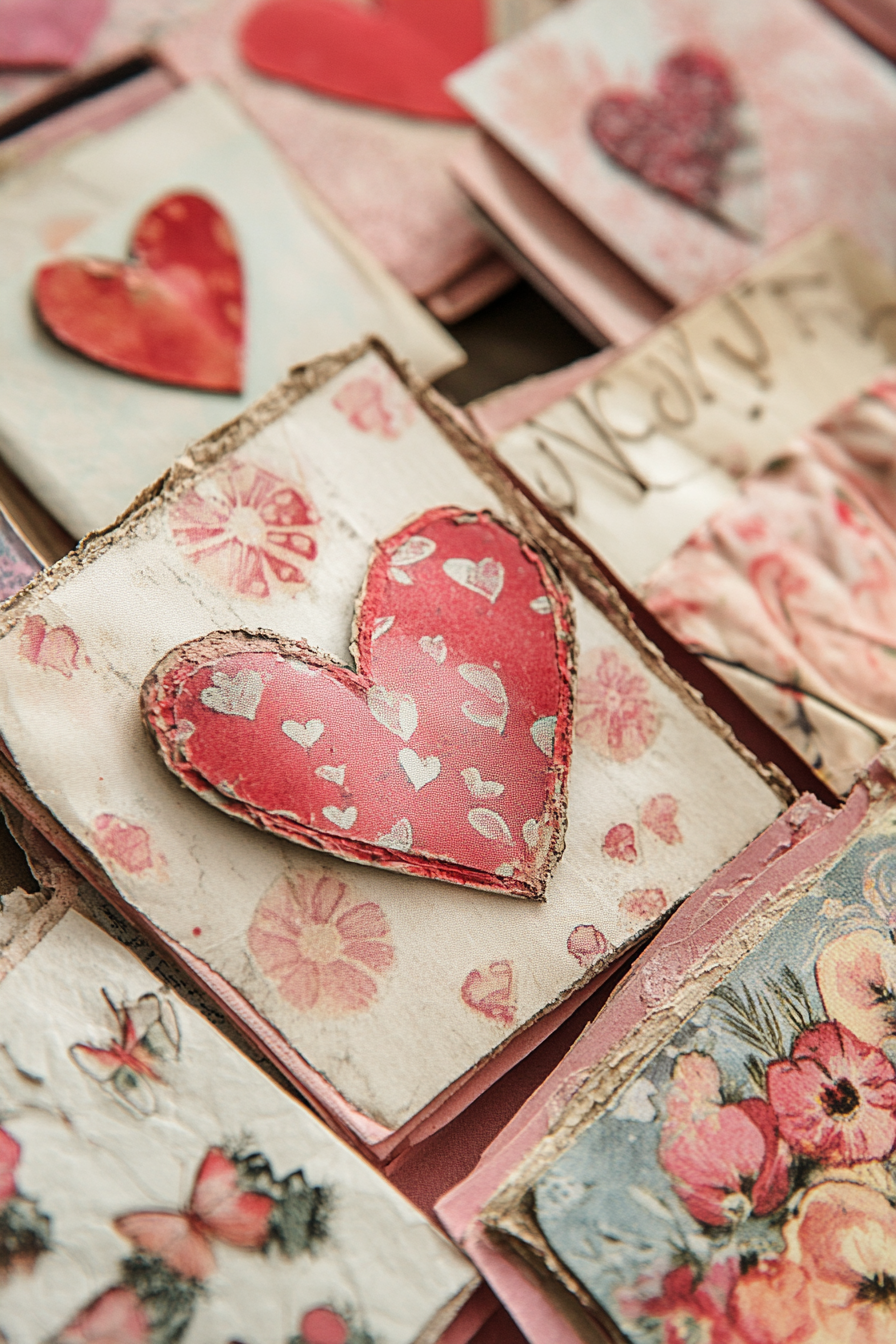
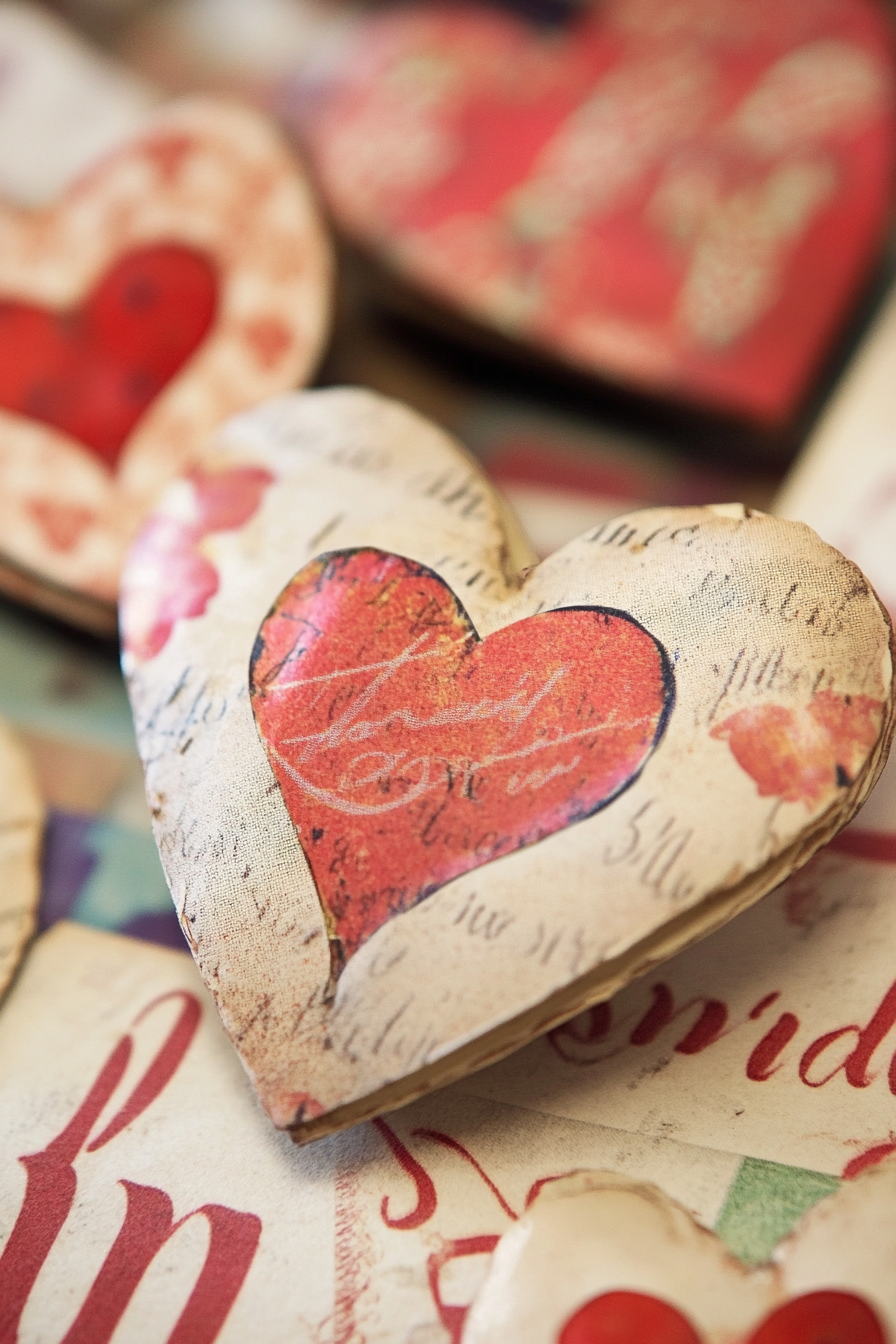
In a world of shiny, sped-up modern life, there’s something delightfully grounding about vintage valentines.
The classic combination of soft pinks and bold reds.
The sweet sentiments in swooping cursive.
The whimsy of chubby-cheeked cherubs and cute cartoon critters.
They hearken back to a simpler time when the pace was slower and valentines were charming little works of art.
So why not bring some of that old-fashioned charm into your Valentine’s Day decor?
You can scour thrift shops and online marketplaces for actual vintage valentines to display.
Or for a budget-friendly option, print out copyright-free vintage valentine images and pop them in frames you already have on hand.
Tie a ribbon around the top of a frame and suddenly you’ve got a wall-worthy valentine in seconds flat.
For a more understated nod to retro valentines, incorporate classic vintage motifs into your crafts.
Top DIY cards with scrap-booking embellishments like old postage stamps, yellowed book pages or black-and-white photos.
Decoupage wooden hearts with bits of old lace, sheet music, maps or even photocopied love letters from your grandparents or great-grandparents.
(How’s that for romantic inspiration?)
The key is to let the vintage elements shine by keeping the rest of the craft fairly simple.
Think clean lines, neutral backgrounds and muted colors to really let the nostalgic details pop.
With vintage valentines as your muse, you can create charming crafts that are a little bit antique shop, a little bit art gallery, and a whole lot of timeless romance.
Pressed Flower Art for Perfectly Preserved Valentines
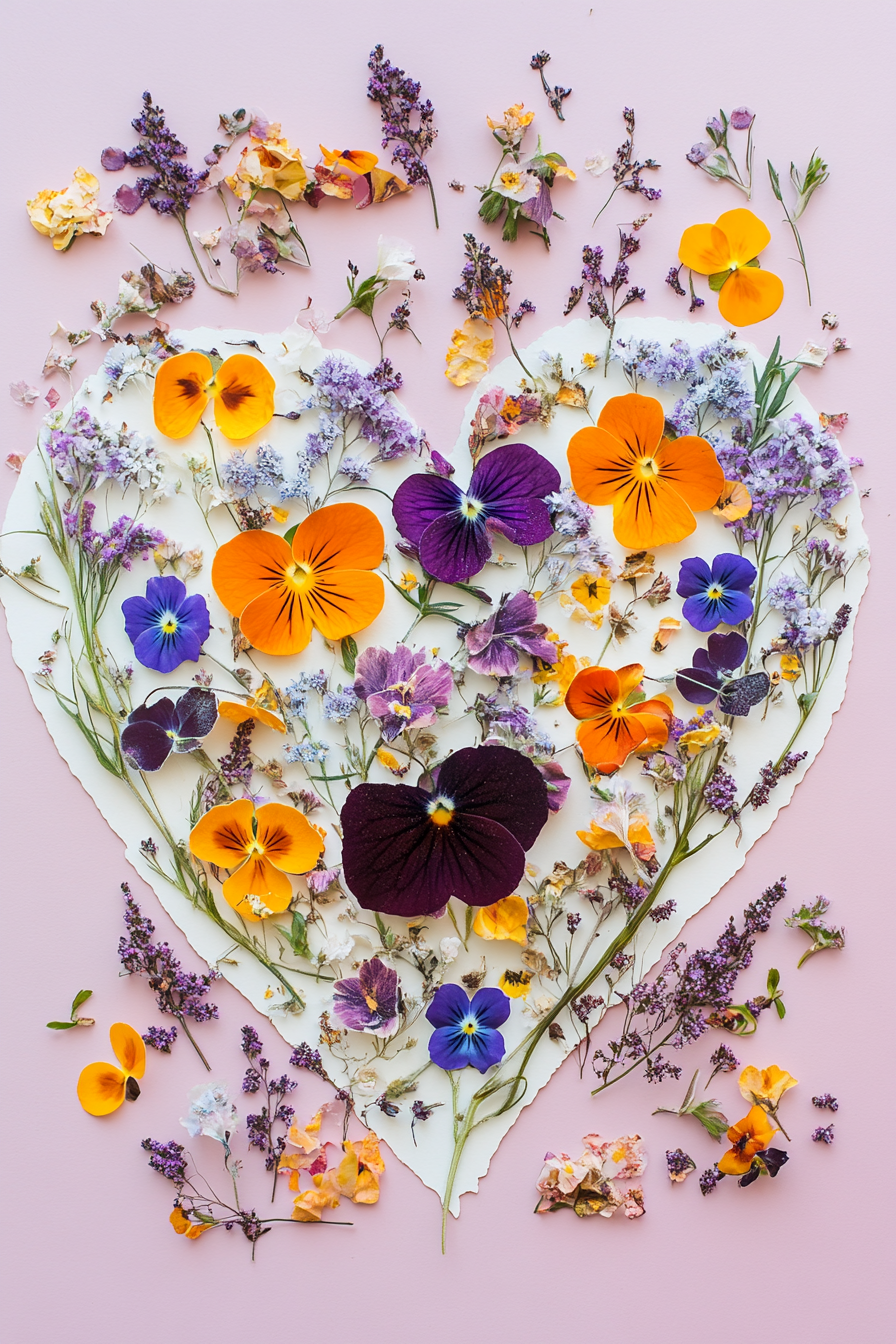
Roses are red, violets are blue, and pressed flower crafts are perfect for you!
Okay, so maybe poetry isn’t my strong suit.
But I think we can all agree that there’s something enchanting about pressing and preserving flowers.
It’s like capturing a moment in time, transforming ephemeral petals into forever keepsakes.
And what better time to harness the power of pressed flowers than Valentine’s Day?
One of the simplest pressed flower crafts is a card.
Arrange pressed blooms and greenery on the front of a store-bought card (or better yet, one you made yourself) and boom—instant botanical beauty.
You can spell out words like “LOVE” or “XOXO,” create a heart shape, or just scatter the florals artfully across the card.
Feeling a little more ambitious?
Transform pressed flowers into delicate paper art by arranging them between two pieces of clear glass.
Sandwich the glass in a floating frame and hang it in a window for a suncatcher effect.
Or display it on a table or mantel where the light can shine through and illuminate the blooms.
You can even make pressed flower jewelry by setting petals in crystal clear resin.
Pendants, cuff bracelets and stud earrings with real flowers inside?
Swoon.
No matter how you use them, pressed flowers lend an air of romance to any craft.
And unlike fresh flowers, pressed petals last for months or even years, so your valentine can enjoy them long after the chocolate is gone and the stuffed teddy bear has been relegated to the back of the closet.
So go ahead, raid your garden or pick up a bouquet at the grocery store and start pressing those petals ASAP.
Your valentine (and your inner crafter) will thank you.
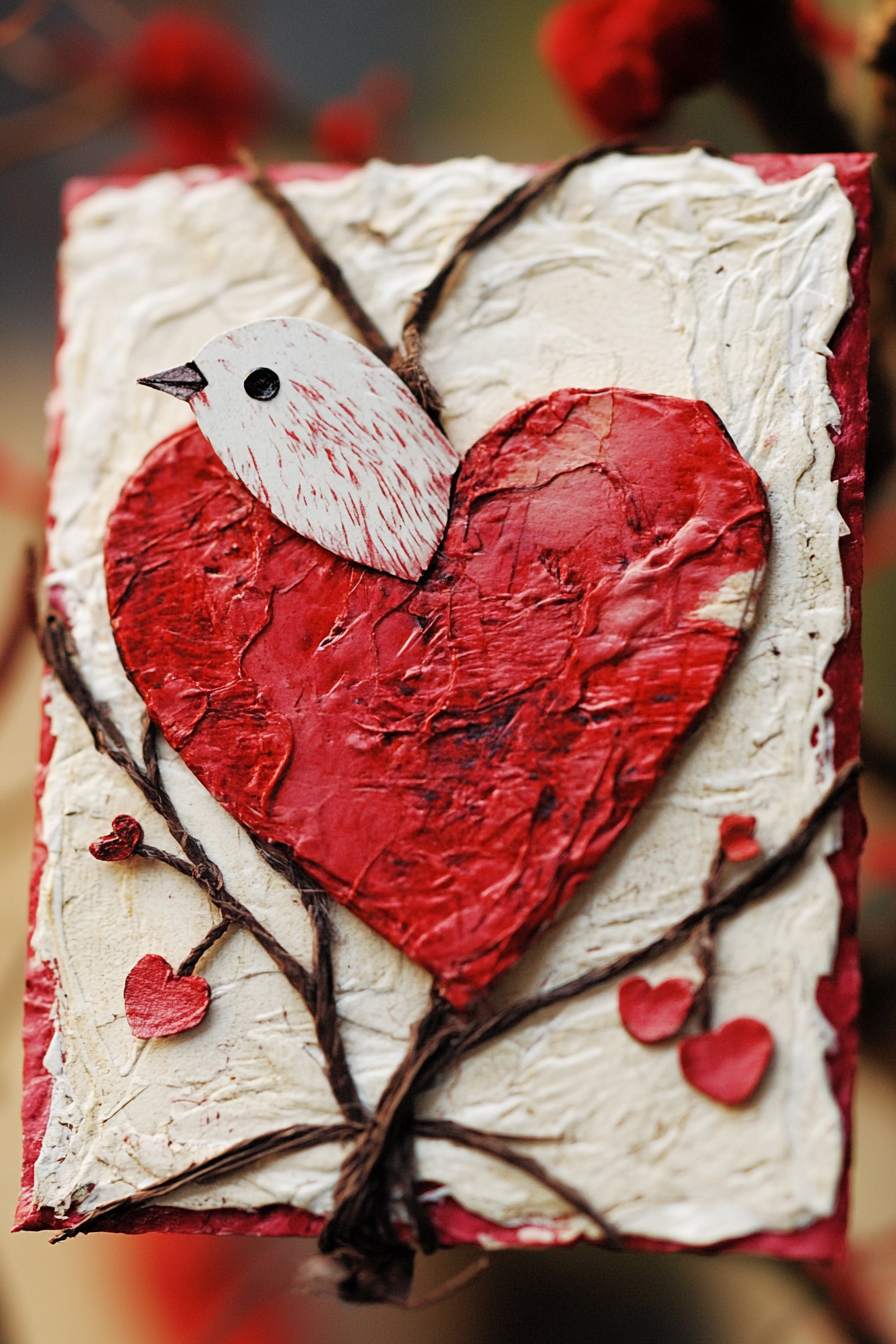
A Heartfelt Handmade Gift: Embroidered Valentines
Sure, you could run out to the store and grab a stuffed animal or a box of chocolates.
But for a Valentine’s Day gift that’s truly one-of-a-kind, why not try your hand at embroidery?
Stitching a heartfelt design or sentimental saying is a beautiful way to show your valentine just how much you care.
Plus, the slow, meditative process of embroidery can be a peaceful respite from the hectic pace of daily life.
Pour yourself a mug of tea, put on a romcom or a playlist of love songs, and settle in for some serious stitching.
If you’re new to embroidery, start simple with a pre-printed design on cotton fabric or even a plain flour sack towel.
(Bonus: then your valentine can actually use and enjoy it for years to come!)
Choose a beginner-friendly stitch like a backstitch or running stitch and use just one or two colors of embroidery floss.
As your skills grow, you can graduate to transferring your own designs onto fabric and filling them in with more intricate stitches and shading.
Some sweet embroidery ideas for Valentine’s Day:
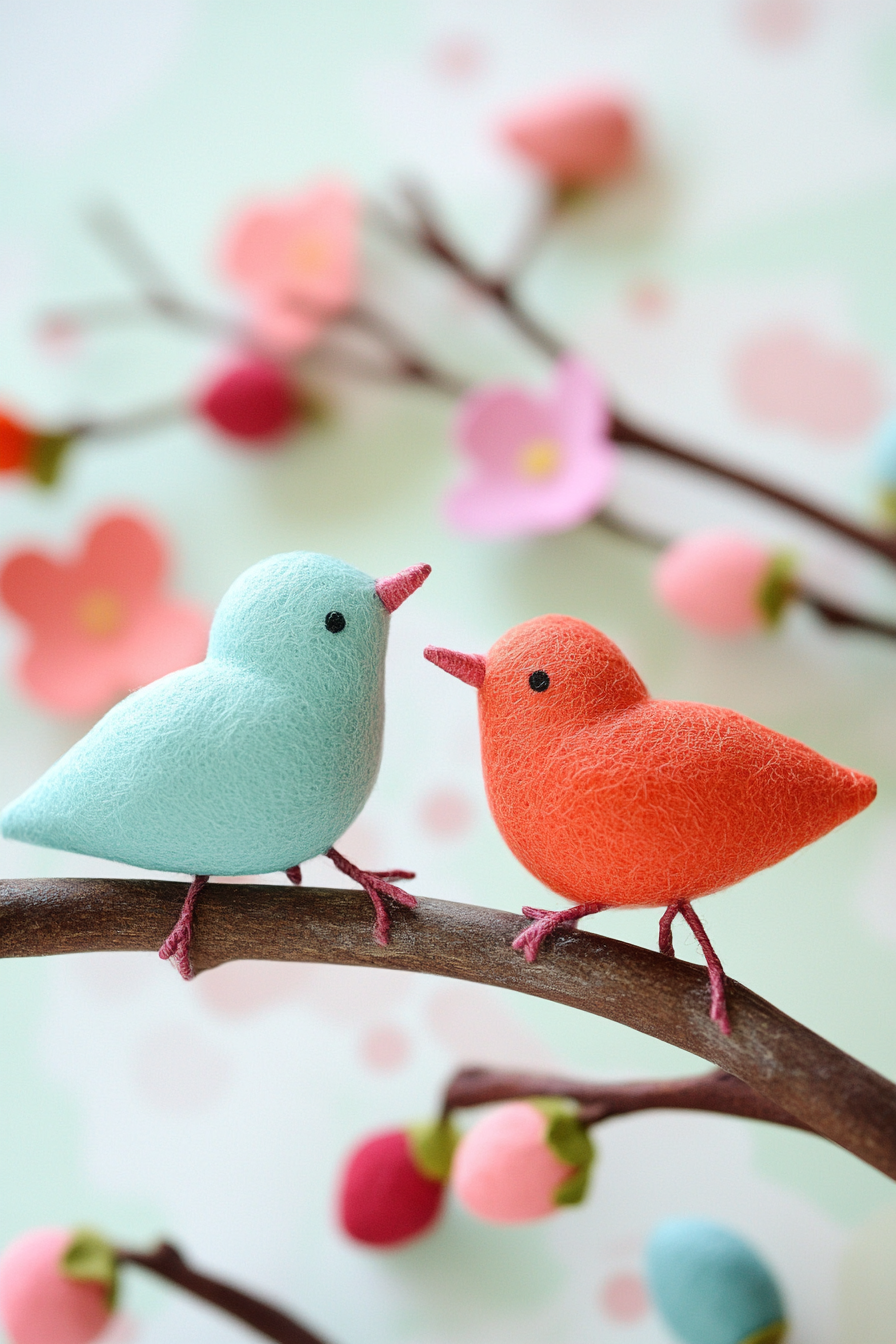
• A pair of lovebirds with your initials
• Lyrics from “your song”
• A floral heart wreath
• XO repeated in a trendy pattern
• A sweet pun or phrase (like “Stitch Only Love” or “You Make My Heart Sew Happy”)
Embroider your design on a piece of clothing, a wall hanging, a reusable cloth napkin, or anything else your crafty heart desires.
No matter how it turns out, your valentine is sure to cherish the love and effort you put into each stitch.
And who knows?
This Valentine’s Day project could be the start of a whole new crafty obsession for you.
Before you know it, you’ll be stitching up a storm and filling your home with all kinds of embroidered goodness.
A Valentine Garland Adds Instant Ambiance
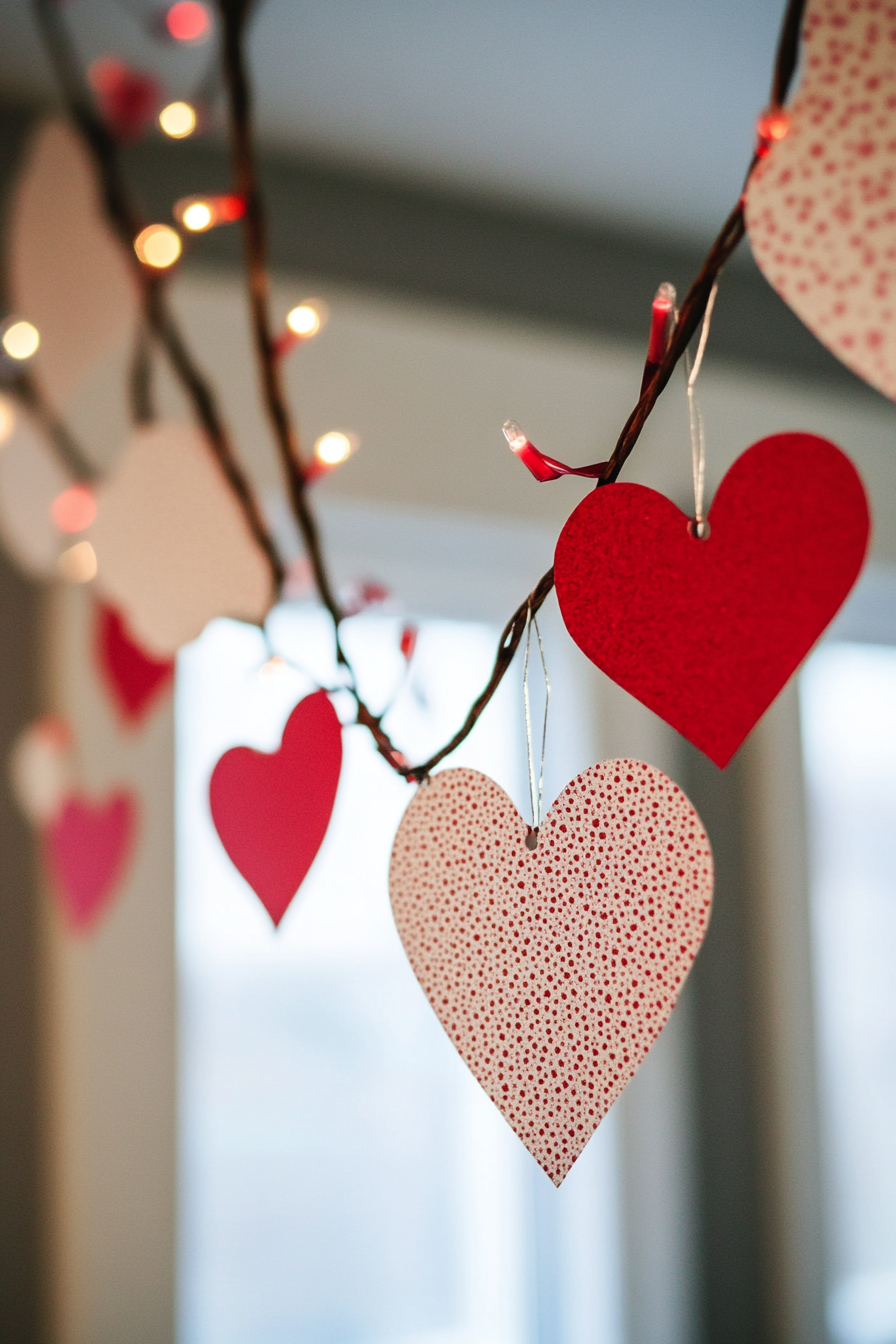

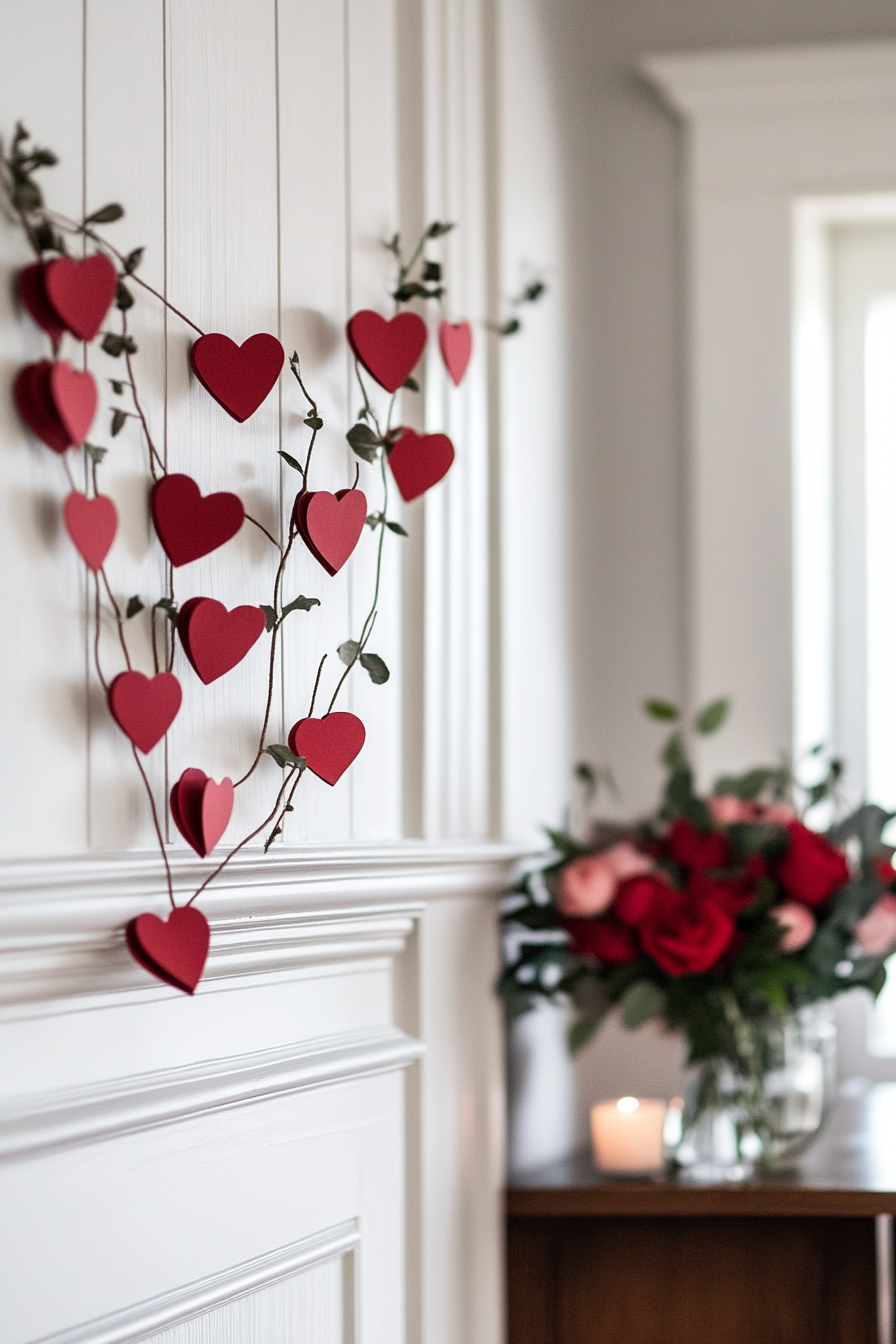
One of the easiest ways to add festive flair to your home for Valentine’s Day is by stringing up a cute garland.
And the best part?
You can make one with just about any crafty medium you like!
Cut hearts out of construction paper, write sweet notes on them, and attach them to a ribbon with mini clothespins for a sweet and simple paper garland.
Crochet or knit a bunch of little hearts and string them together on a colorful cord.
Make tassels out of tissue paper or yarn in shades of red, pink and white and alternate them with felt balls or wooden beads strung on twine.
Punch circles out of patterned scrapbook paper, accordion fold them, and secure them with brads for a paper chain that’s way cuter than the red and green ones you made in elementary school.
Even pompoms make an adorable garland!
String fluffy store-bought ones in Valentine’s Day colors or bust out the yarn and cardboard circles to whip up a bunch of your own.
No matter what type of garland you choose to make, the key is to keep it lighthearted and a little bit whimsical.
Mix and match colors, textures and materials.
Play around with scale by alternating big hearts or pompoms with teeny ones.
Lean into asymmetry and imperfection—it adds to the charming, handmade vibe.
And of course, don’t forget to deck out your garland with plenty of hearts, XOs, arrows and other Valentine’s Day motifs.
Hang your finished garland on your mantle, in a doorway, across a window or anywhere else that could use a little dash of Valentine’s Day cheer.
Stand back, admire your handiwork, and enjoy the festive coziness it brings to your space.
Crafting a homemade garland may just become one of your favorite parts of prepping for Valentine’s Day (or any holiday, really.)
It’s amazing how big of an impact a strand of cute baubles can make!
✨Click to Get My 101 FREE Designer Room Ideas
DIY Aromatherapy Candles for a Romantic Glow
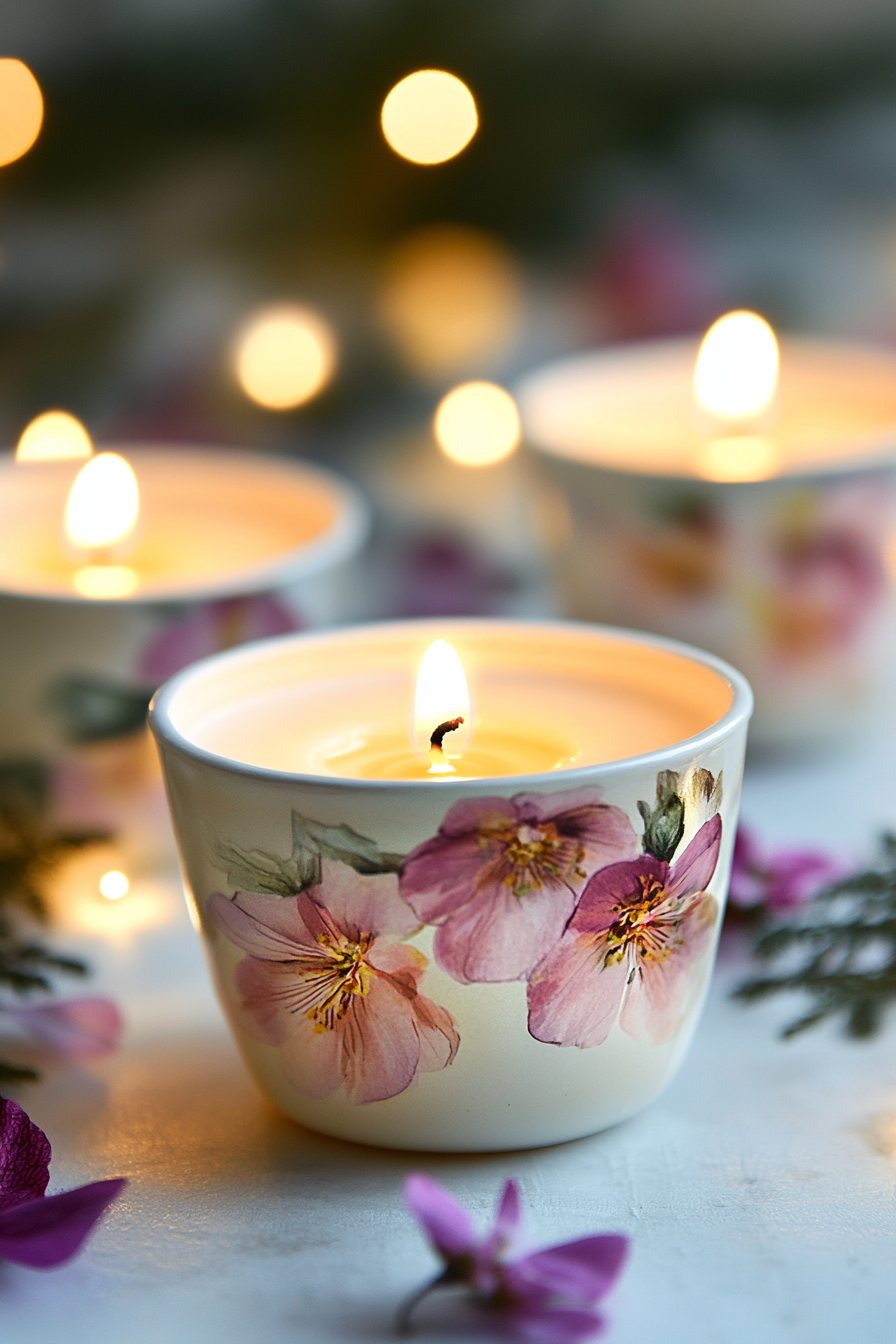
The soft flicker of candlelight, the subtle scent of essential oils in the air, your valentine by your side—does it get any dreamier than that?
I think not.
And while you could just stock up on store-bought candles and call it good, making your own aromatherapy candles adds an extra special touch to Valentine’s Day.
Plus, you can customize the scents and colors to create a totally unique ambiance.
At its most basic, candle-making requires just a few simple supplies: wax, wicks, jars or containers, and optional add-ins like essential oils and color chips.
You can find soy wax, beeswax and other candle-making basics at your local craft store or online.
For containers, repurpose glass jelly jars, teacups, vintage tins, or anything else that strikes your fancy (just make sure it’s heat-safe).
As far as scents go, mix and match essential oils to create your own signature fragrance blends.
Some Valentine’s Day scent combo ideas:
• Rose + vanilla
• Lavender + bergamot
• Jasmine + sandalwood
• Ylang ylang + sweet orange
• Cinnamon + clove
Don’t be afraid to experiment until you find a blend that makes your nose (and your valentine’s nose) happy.
Then just melt the wax, stir in your fragrance and color, pour it into prepared jars, let it set, and voila!
Cupid-approved aromatherapy candles that are way more special than anything you could buy at the mall.
Light them during a romantic Valentine’s Day dinner at home, arrange a few on your nightstand for a softer bedtime glow, or gift them to your galentines as a sweet handmade treat.
However you choose to enjoy your DIY candles, one thing’s for sure: lovingly crafting them with your own two hands definitely ups the romance factor.
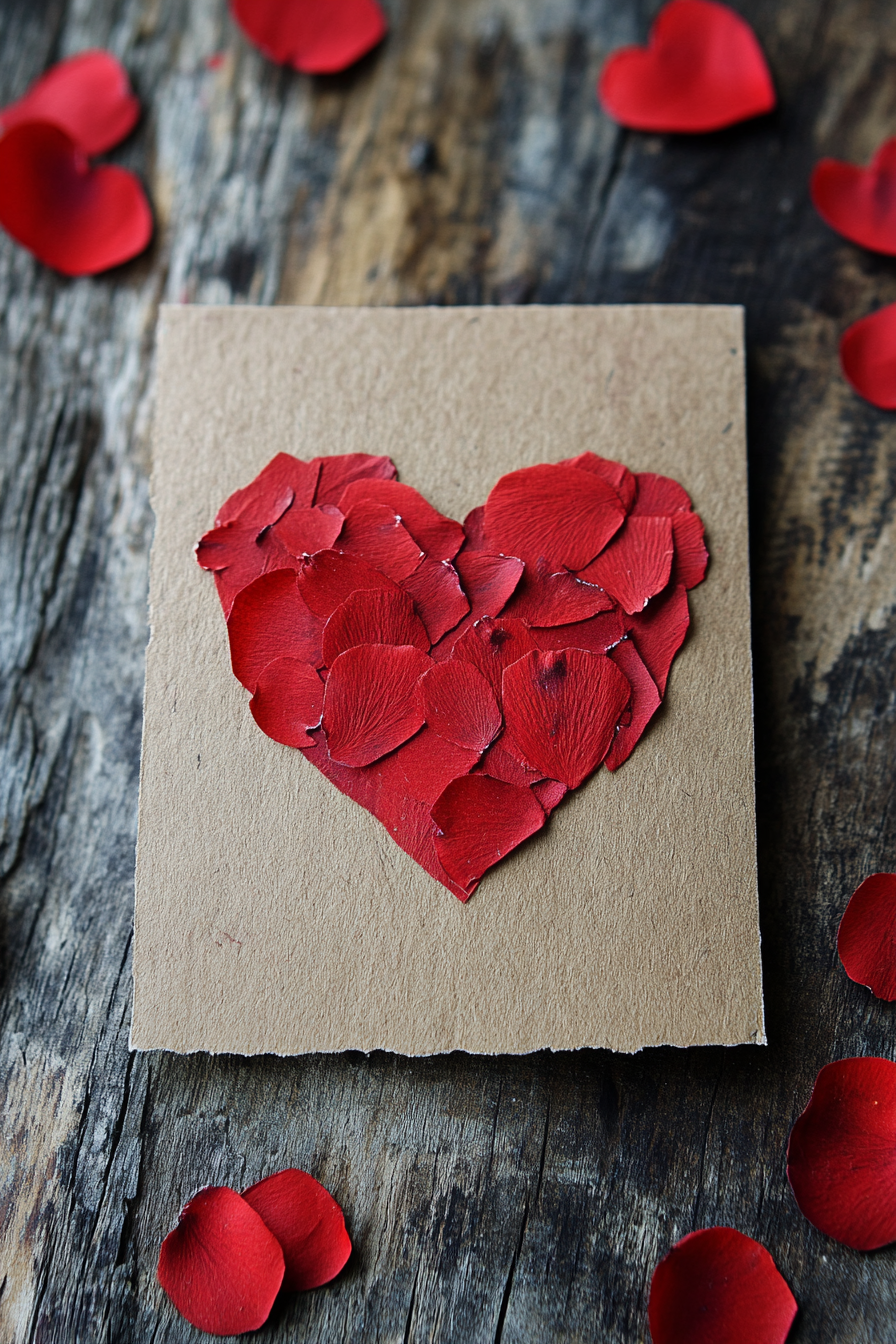
A Heartfelt Tradition: Handmade Valentine’s Day Cards
In a world of texts, DMs and emoji-filled Snaps, there’s something extra meaningful about a tangible, hold-in-your-hands Valentine’s Day card.
It’s a piece of your heart, poured out on paper.
A keepsake your loved one can tuck away and treasure, long after the conversation hearts have disappeared and the roses have wilted.
And while you could dash into the drugstore and grab a card off the shelf, nothing beats the sincerity of a valentine made by hand.
Start with a blank card or a piece of card stock folded in half.
Raid your craft stash for patterned paper, washi tape, ribbons, stickers and any other embellishments that catch your eye.
Sketch out a heartfelt design—anything from a simple heart to an intricate Zentangle pattern—or just start cutting and pasting and see where your creativity takes you.
Add a photo of you and your valentine, or print out a quote about love that resonates with you.
If you’re feeling brave, try your hand at hand-lettering a sweet message in calligraphy or brush script.
And of course, don’t forget to write a personal note inside the card telling your special someone all the reasons they make your heart skip a beat.
From your spouse to your sibling to your lifelong best friend, a handcrafted valentine is a tangible way to honor your unique bond.
It’s a nod to the classic valentine exchanges of childhood, all grown up and elevated by your heartfelt words and creativity.
So go ahead, break out the glitter glue and doilies like the good old days and craft a card that’s overflowing with love (and maybe a pun or two).
Because in a fast-paced digital world, taking the time to make something by hand is a rare and beautiful gesture—one your loved ones are sure to cherish.
DIY Puffy Paint for Tactile Valentines
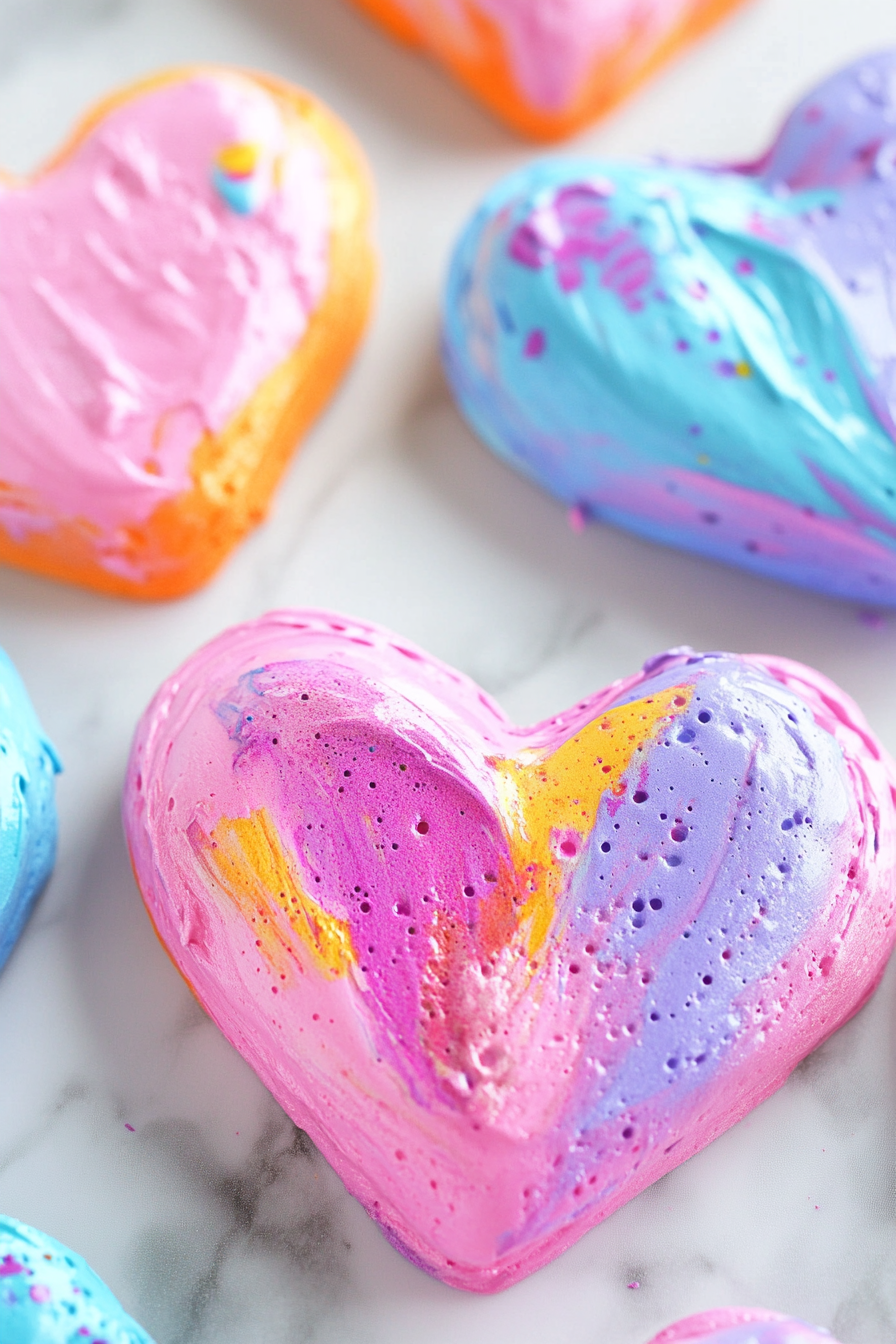

Remember puffy paint?
That magically soft, squishy, 3D paint from childhood craft projects?
Turns out, it’s not just for kids.
In fact, puffy paint can add a playful, touchable element to grown-up Valentine’s Day crafts too.
And the best part is, you can DIY it with just a handful of ingredients you probably already have in your kitchen!
To make your own puffy paint, mix together equal parts shaving cream and white school glue.
Add a few drops of food coloring, and stir until you reach your desired shade.
Then transfer the fluffy mixture to a squeeze bottle or a zip-top bag with the corner snipped off, and get to designing!
Puffy paint is perfect for adding dimension and texture to valentines.
Use it to write out words and phrases or to draw hearts, Xs and Os.
Layer it on thick and use a toothpick to swirl it into patterns.
Mix colors to create cool marbled or ombre effects.
Once it dries (which can take up to 24 hours), the shaving cream will evaporate away, leaving you with slightly puffed, super touchable designs that are way more interesting than plain old markers or paint.
But why stop at valentines?
Puffy paint is also awesome for making cards, gift tags, or even cute wall art.
(Just maybe don’t paint directly on the walls unless you want a very, um, permanent installation.)
It’s an easy way to add a whimsical, retro-inspired touch to all your crafts.
And if you’ve got kiddos to craft with, they’ll love squeezing out the puff paint and getting their hands messy.
It’s basically a Valentine’s Day sensory bin activity and art project in one.
Bonus: The glue and shaving cream combo smells way better than the store-bought stuff.
So go raid your bathroom cabinets, grab a pile of craft supplies, and get ready to paint some seriously puffy hearts!
Weave Your Heart Into a Valentines Scarf
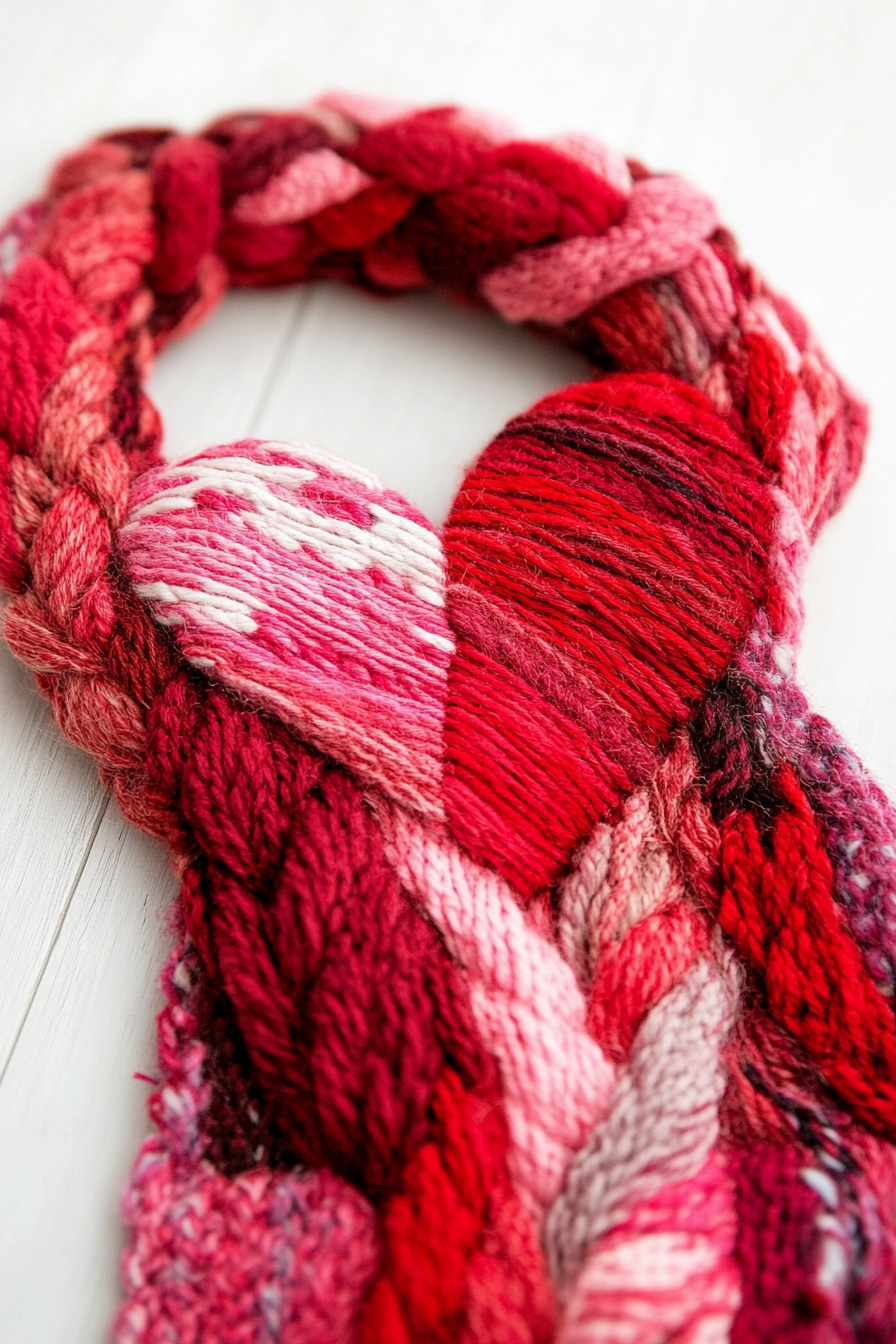
Looking for a handmade valentine that’s both heartfelt and practical?
Try your hand at weaving a cozy scarf stitched through with secret hearts!
Even if you’ve never touched a loom before, you can create a simple scarf on a rectangular picture frame or a piece of cardboard with notches cut into the top and bottom.
Warp the loom with yarn, then weave more yarn over and under to create the body of the scarf.
Choose your valentine’s favorite colors, or go classic with a cream base and pops of red and pink.
For an extra special touch, weave a line of hearts into the design using duplicate stitch or surface crochet.
You could even use Morse code to spell out a secret love note in hearts and dots!
As you weave, focus on imbuing each row with a wish for your valentine’s comfort and happiness.
Imagine them wrapping up in the scarf on cold days and feeling the warmth of your love around them like a soft yarn hug.
When you reach the end of your warp, carefully remove the scarf from the loom (or cut it off the cardboard) and knot the fringe.
You can leave it long and flowy or trim it into neat tassels.
Then all that’s left to do is to wrap it up and present it to your valentine with a kiss!
Not only will they be touched by the time and effort you put into weaving them a one-of-a-kind accessory, but they’ll think of you fondly every time they wear it.
And you’ll smile knowing that your love is literally woven into every stitch.
It’s like a bonafide love spell in scarf form.
✨Click to Get My 101 FREE Designer Room Ideas
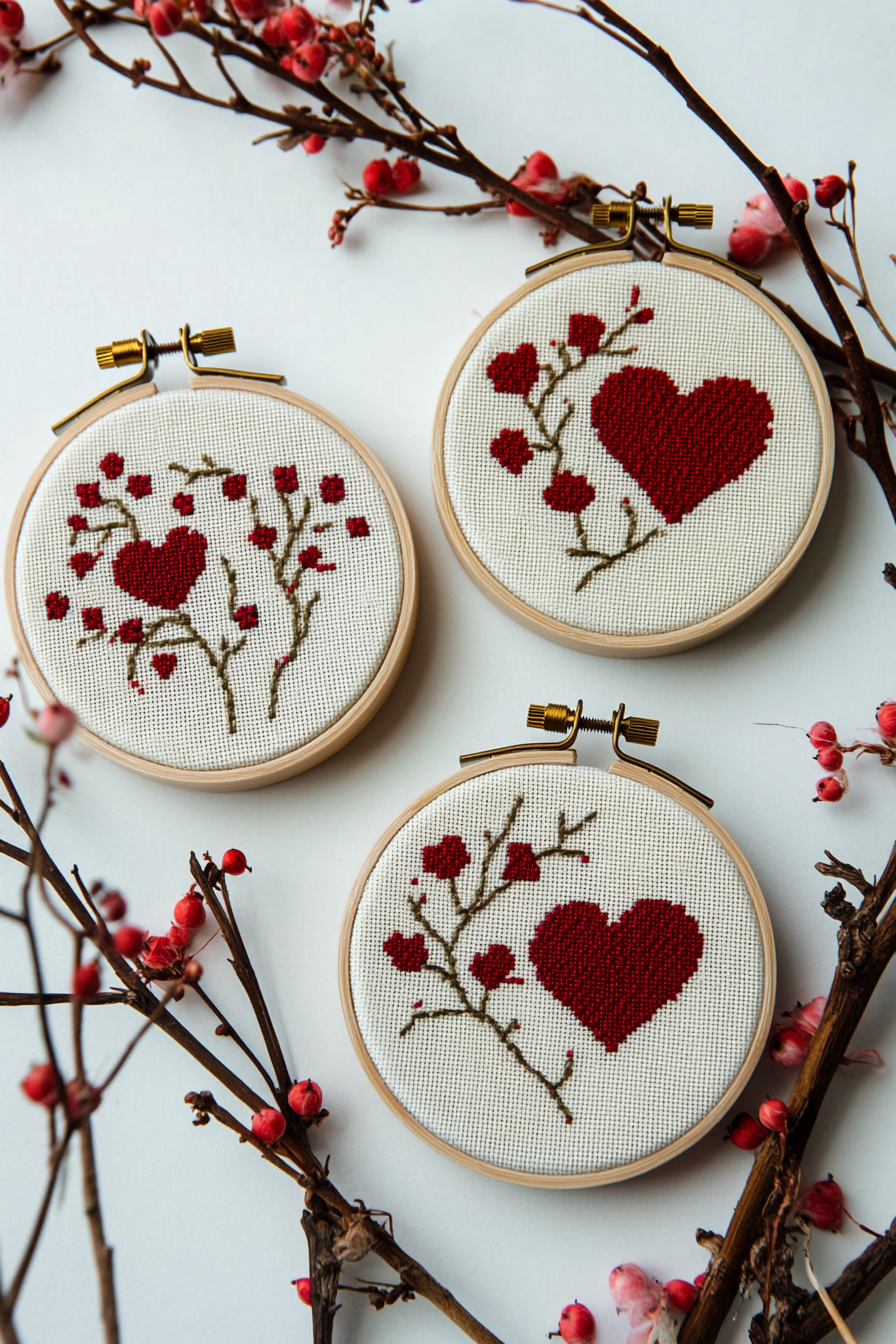
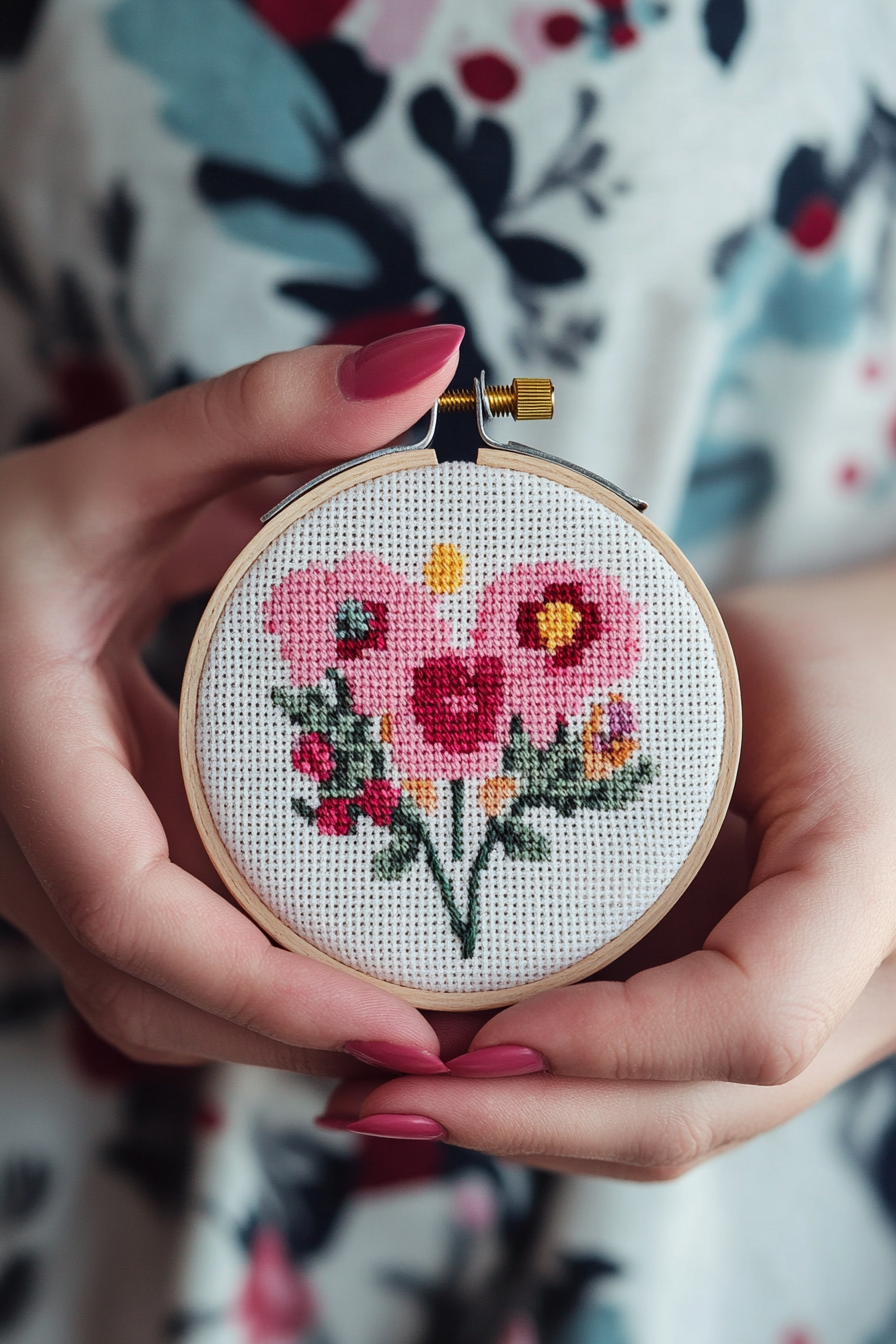
Valentine’s Day Cross-Stitch Hoops: Tiny Tributes to Your Love
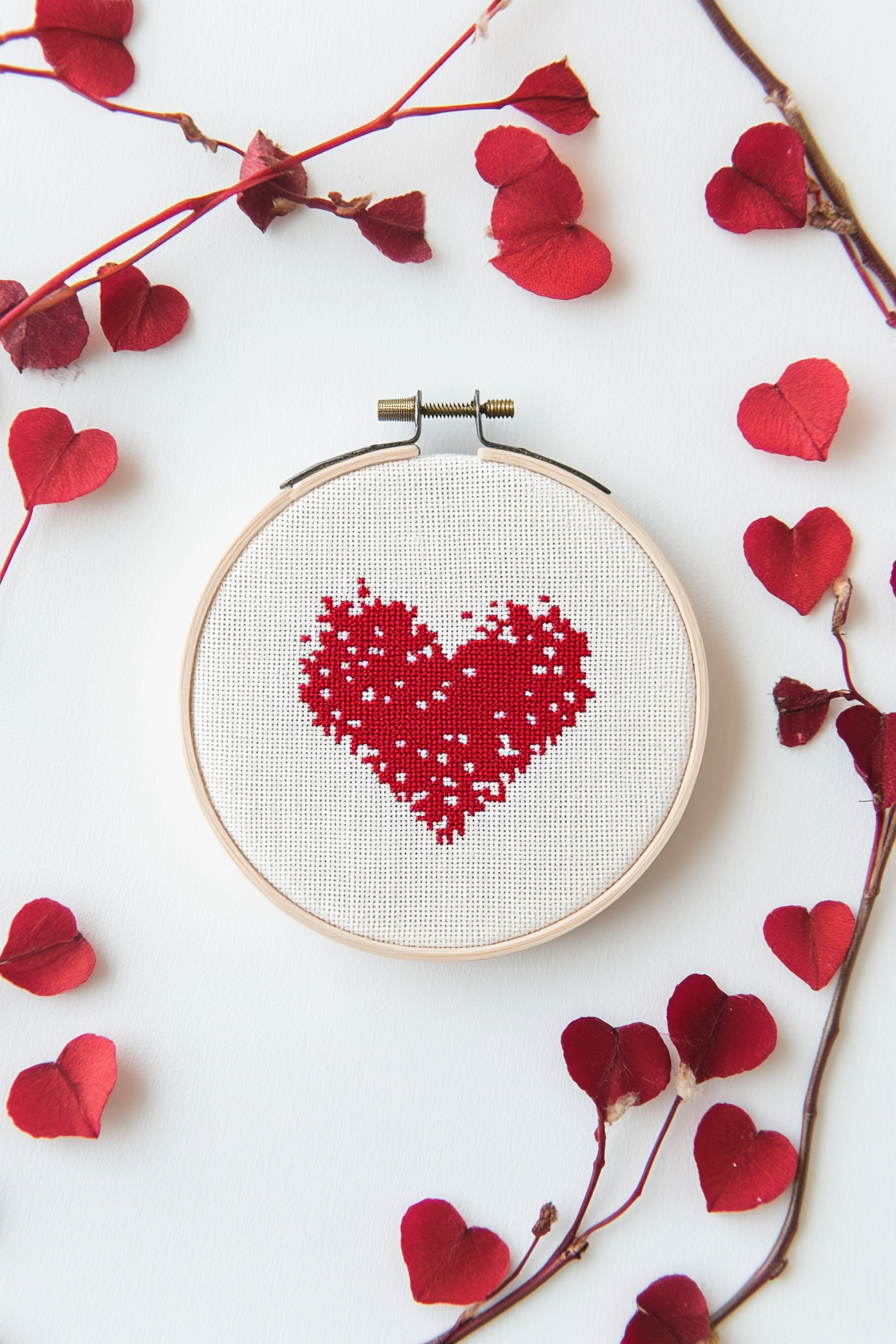
Cross-stitch often gets a bad rap as a dusty, old-fashioned hobby—more associated with grandmas and outdated samplers than modern romance.
But hear me out: cross-stitch can actually be a super sweet way to express your love this Valentine’s Day.
Think about it.
It’s a craft that requires patience, precision, and dedication—kind of like building a strong relationship.
And because the designs are made up of tiny Xs all stitched by hand, cross-stitch just feels extra heartfelt and sincere.
To stitch your own miniature declaration of love, start by sketching your design on a piece of graph paper.
(Each square equals one stitch.)
Keep it simple with a graphic heart or your initials, or go all out with a pixelated portrait of you and your partner.
You can even stitch a line from a love letter, a snippet of your wedding vows, or an inside joke that only you two would understand.
Backstitch the design onto a square of aida cloth (a special cross-stitch fabric), then fill it in with small Xs in vibrant embroidery floss.
When you’re done stitching, carefully trim the fabric into a circle a couple inches bigger than an embroidery hoop.
Pop the stitched design in the hoop, pull the fabric taut, and trim off the excess in the back.
What you’re left with is a sentimental snapshot of your love in cross-stitch form.
A tiny, tidy tribute to your relationship that will make your valentine smile every time they see it.
Display your finished cross-stitch hoops on a wall, a bookshelf, or even a special Valentine’s Day tree.
Or attach a ribbon and hang them right on your loved one’s office wall or rear-view mirror as a daily reminder of your devotion.
Cross-stitch may be an old-school craft, but it’s the perfect way to celebrate a thoroughly modern love.
Because in this fast-paced world, taking the time to stitch your heart out, one little X at a time, is a true labor of love.
Stitch Your Heart Strings Into Handmade Stuffies
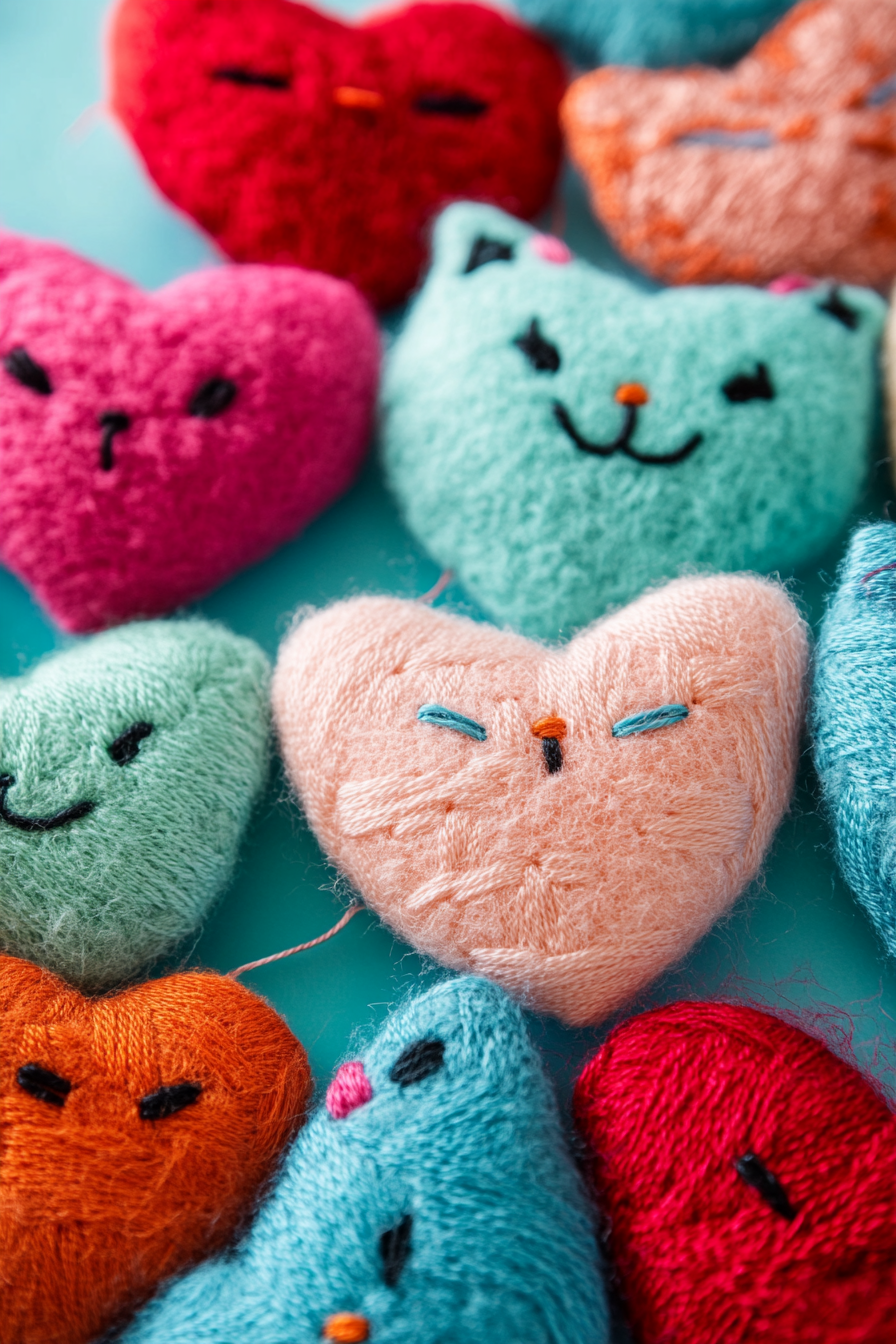
Plush animals are a Valentine’s Day staple for a reason.
There’s just something about a squishy, cuddly stuffie that feels like a physical embodiment of a hug and makes you go “awww.”
But instead of picking up a generic teddy bear from the store, why not pour your heart into hand-sewing a unique stuffy for your love?
Yes, I know.
At first glance, sewing your own stuffed animals can seem intimidating.
But you don’t need a fancy sewing machine or master-level skills to stitch up a charming stuffy.
With just a needle, thread, some felt or fleece, and a handful of notions like buttons and ribbons, you can create an heirloom-quality plush with oodles of homemade appeal.
Begin by sketching your design onto paper, then cut out the shapes and use them as templates to trace onto your fabric.
Cut everything out, pin the pieces together (right sides facing), and stitch around the edges, leaving a gap for turning and stuffing.
Clip the seam allowances, turn your stuffy right-side out, and stuff it with batting before sewing the opening closed.
Now comes the fun part: bringing your creation to life with embroidered facial features, a tiny felt heart, or a ribbon bow.
Let your creativity run wild and put a personal spin on the project.
Maybe your stuffy is a favorite animal or cartoon character that holds special meaning for your partner.
Maybe it’s sporting a pair of glasses just like theirs.
Or maybe it has a secret pocket with a miniature love note tucked inside.
Whatever special touches you add, the fact that you stitched this little softie by hand will make it so much sweeter than anything mass-produced.
So instead of handing your honey a cellophane-wrapped stuffed animal on Valentine’s Day, present them with a one-of-a-kind creation straight from your crafty hands and heart.
Go on, get stitching!
I have a feeling this is the beginning of a beautiful (and cuddly) tradition.
