Once I decided that my backyard needed a little makeover.
It wasn’t about spending tons of money or hiring a fancy landscaping company.
It was about taking what I had—my creativity, a few tools, and some spare time—and turning my outdoor space into something magical.
The problem?
My garden paths were dull dirt trails that didn’t inspire much joy.
But then it hit me: why not create my own walkways?
Not only could I save money, but I could also make it personal, fun, and totally unique to me.
If you’re ready to add charm and character to your backyard without draining your wallet, you’re in the right place:
✨Click to Get My 101 FREE Designer Room Ideas
Rustic Wood Slice Walkway 🍂

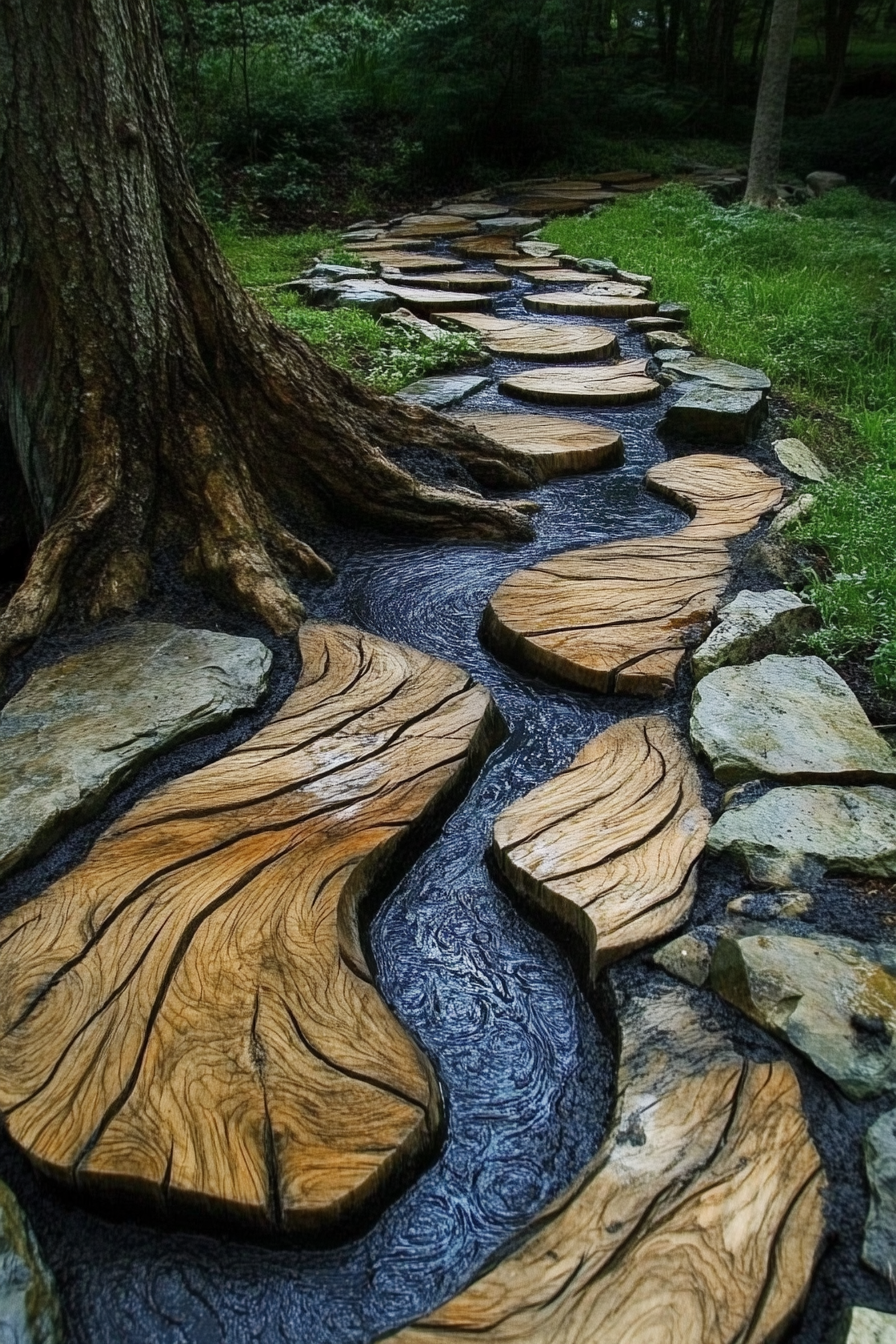
Ever thought about how those old tree stumps lying around could become something amazing?
Wood slices are a fantastic way to add a rustic, natural vibe to your garden path.
All you need are some logs, a saw, and a little elbow grease.
Start by finding logs that are at least 6-8 inches in diameter.
Cut them into slices about 2 inches thick.
Make sure each slice is even so they don’t wobble when you step on them.
To prepare the ground, dig out the walkway area about 2-3 inches deep.
Lay down some landscaping fabric to prevent weeds from growing through.
Then, add a layer of sand or gravel for stability.
Place the wood slices on top, arranging them like a puzzle.
You can fill the gaps with small pebbles, gravel, or even moss for a whimsical touch.
🌱
Seal the wood slices with a weatherproof wood sealant to protect them from the elements.
This idea gives your garden a cozy, cabin-in-the-woods feel, and the best part?
It’s practically free if you’ve got access to fallen trees or leftover logs.
Classic Brick Pathway 🧱

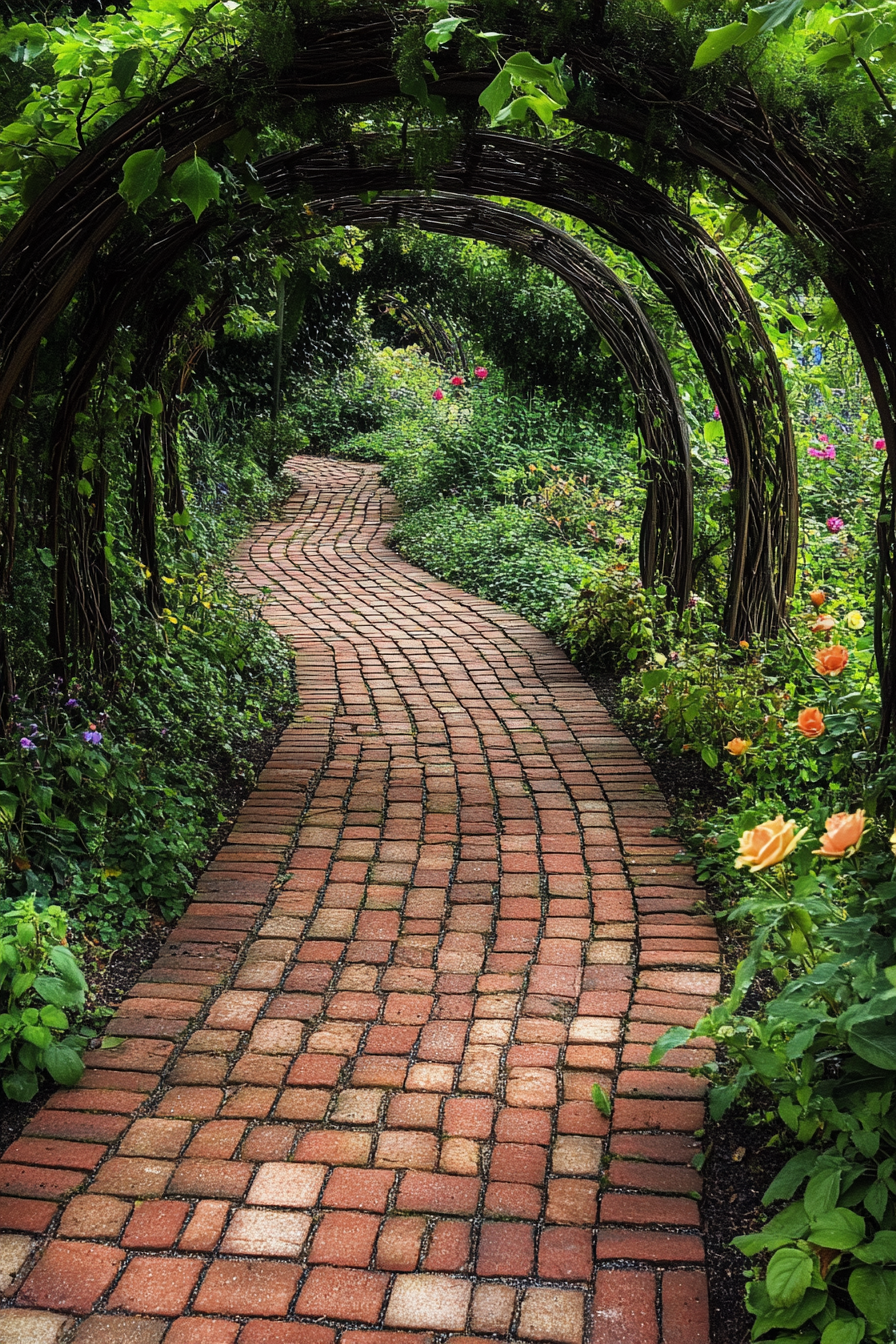
There’s something timeless about a brick walkway.
It’s elegant, durable, and surprisingly easy to DIY.
You don’t even need to buy brand-new bricks—look for reclaimed or second-hand bricks to save money.
To start, map out your path with stakes and string to get the shape just right.
Dig out the area about 4 inches deep and lay down landscape fabric to stop weeds.
Spread a layer of sand and make it as level as possible.
Now, the fun part: lay your bricks in a pattern that speaks to you.
You can go classic with a straight-line design or get creative with a herringbone or diagonal layout.
Once the bricks are in place, use a rubber mallet to gently tap them into position.
Fill the gaps with sand and sweep it into the cracks to lock everything in place.
Give it a good rinse with a garden hose, and voilà—you’ve got a sturdy, charming brick walkway that looks like it belongs in a fairytale garden.
Stepping Stones with a Twist 🌟
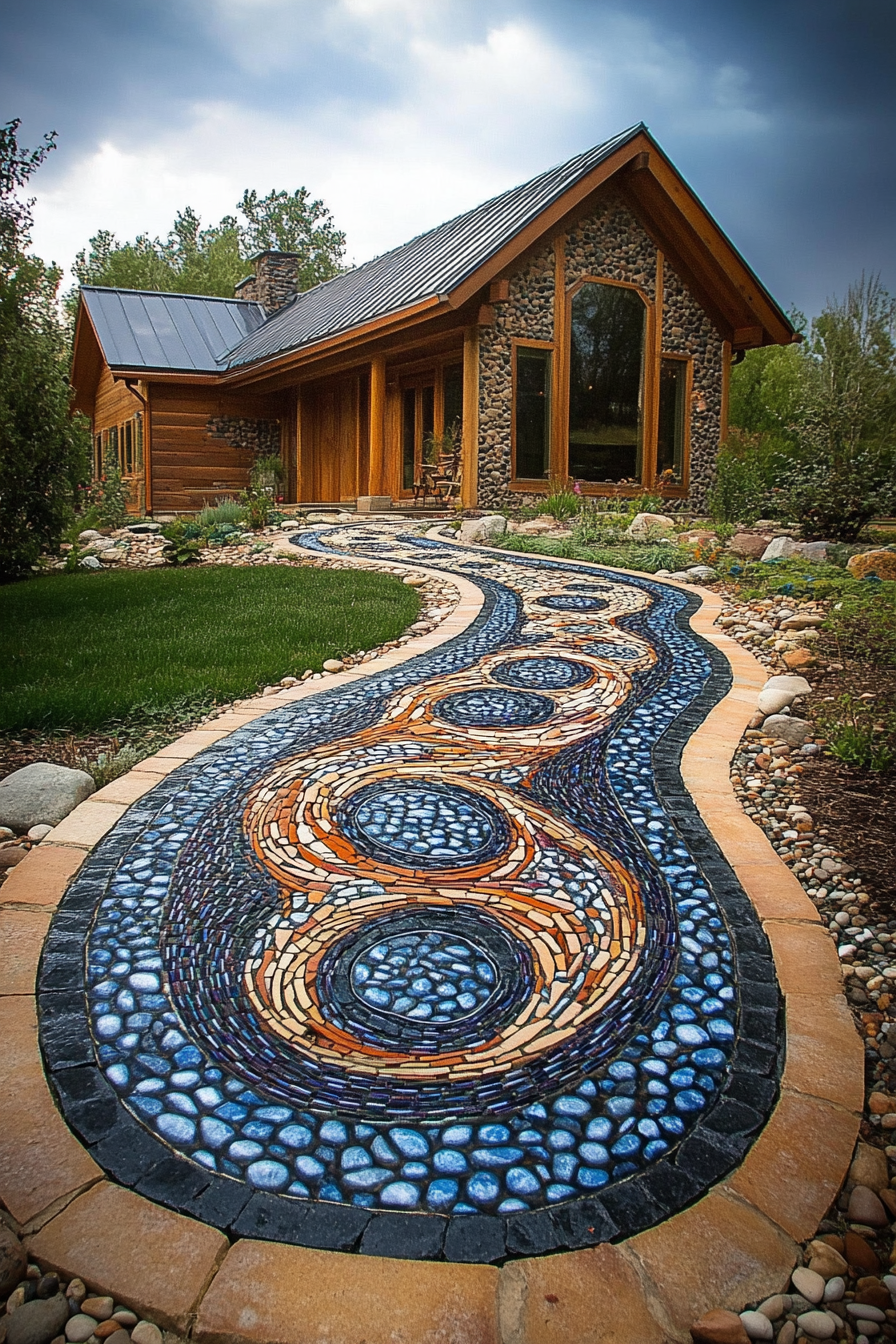
Stepping stones are a classic choice, but why not make them uniquely yours?
Instead of plain old stones, get creative with painted designs, mosaic patterns, or even personalized engravings.
Start by choosing your stepping stones.
Concrete pavers work great, and you can find them in various shapes and sizes at your local hardware store.
If you love arts and crafts, consider painting the stones with weatherproof outdoor paint.
Think colorful mandalas, inspirational quotes, or even your kids’ handprints.
🎨
Want to take it up a notch?
Create mosaic stepping stones using broken tiles, glass beads, or colorful pebbles.
Mix quick-set concrete in a mold (you can use a baking pan or a bucket lid as a mold), then press your mosaic pieces into the wet concrete.
Once dry, these stones will add a pop of color and personality to your garden path.
Arrange them in a way that feels natural, spacing them so your feet land comfortably on each step.
This idea is perfect if you want to turn your walkway into a piece of art that tells a story.
Gravel Pathway with Edging

Gravel is one of the most budget-friendly materials for a walkway, and it’s super versatile.
But to take it to the next level, pair it with some creative edging.
Start by marking out your path with stakes and string.
Dig out the area about 2-4 inches deep, depending on the type of gravel you’re using.
Lay down landscape fabric to keep weeds at bay.
Now comes the fun part: choose your edging.
You can go for wood planks, bricks, metal strips, or even larger stones to line the sides of your path.
The edging not only keeps the gravel in place but also gives your path a polished, intentional look.
Spread your chosen gravel evenly across the walkway, making sure it’s level.
You can use pea gravel for a smooth, modern look or crushed stone for a more rugged feel.
The best part?
You can easily refresh or adjust this pathway whenever you like, making it a low-maintenance yet stylish option.
✨Click to Get My 101 FREE Designer Room Ideas
Pallet Wood Boardwalk 🌲

Got some old pallets lying around?
Turn them into a rustic boardwalk that feels like a beachside escape.
Pallet wood is affordable, often free, and can be repurposed into a beautiful walkway.
Start by dismantling the pallets and sanding down the planks to remove splinters.
Measure and cut the boards to fit your desired path.
If you want a raised boardwalk, you’ll need to create a simple frame using treated 2x4s as a base.
Lay the planks across the frame, spacing them slightly apart for drainage.
Secure them in place with outdoor screws.
If you prefer a ground-level path, lay the boards directly on compacted soil or gravel.
Seal the wood with a weatherproof stain or paint to protect it from moisture and rot.
This idea is perfect for anyone who loves a DIY project with a laid-back, beachy vibe.
Concrete Paver Pathway 🚶♀️

Concrete pavers are a classic and affordable way to create a sleek, modern walkway that’s both durable and stylish.
The beauty of this idea is in its simplicity—you can create a professional-looking path without needing a contractor.
To begin, map out your walkway using stakes and string to outline the area.
Depending on your preferred shape, you can keep it a straight line, curve it gently, or even go for a geometric masterpiece.
Once the layout is set, dig out the space to a depth of about 3-4 inches.
Add a layer of gravel or crushed stone and compact it down to create a solid base.
Next, you’ll want to lay down a layer of sand—about 1 inch thick—and smooth it out evenly.
Now, it’s time to arrange your concrete pavers.
You can find these at any home improvement store in a variety of shapes, sizes, and finishes.
Go for square or rectangular pavers for a clean, minimalist look, or mix and match shapes for a more eclectic vibe.
Place the pavers carefully on top of the sand, spacing them evenly and using a level to make sure they’re flat.
For extra stability, you can tap them gently with a rubber mallet.
Once all the pavers are in place, fill the gaps with sand or small pebbles, sweeping the material into the cracks until everything is secure.
Give the path a quick rinse with a garden hose to settle the sand, and you’re done.
This type of walkway is perfect for achieving a polished, high-end look without spending a fortune.
And the best part?
It’s low-maintenance and will stand up to the elements for years to come.
Stone Mosaic Walkway 🎨
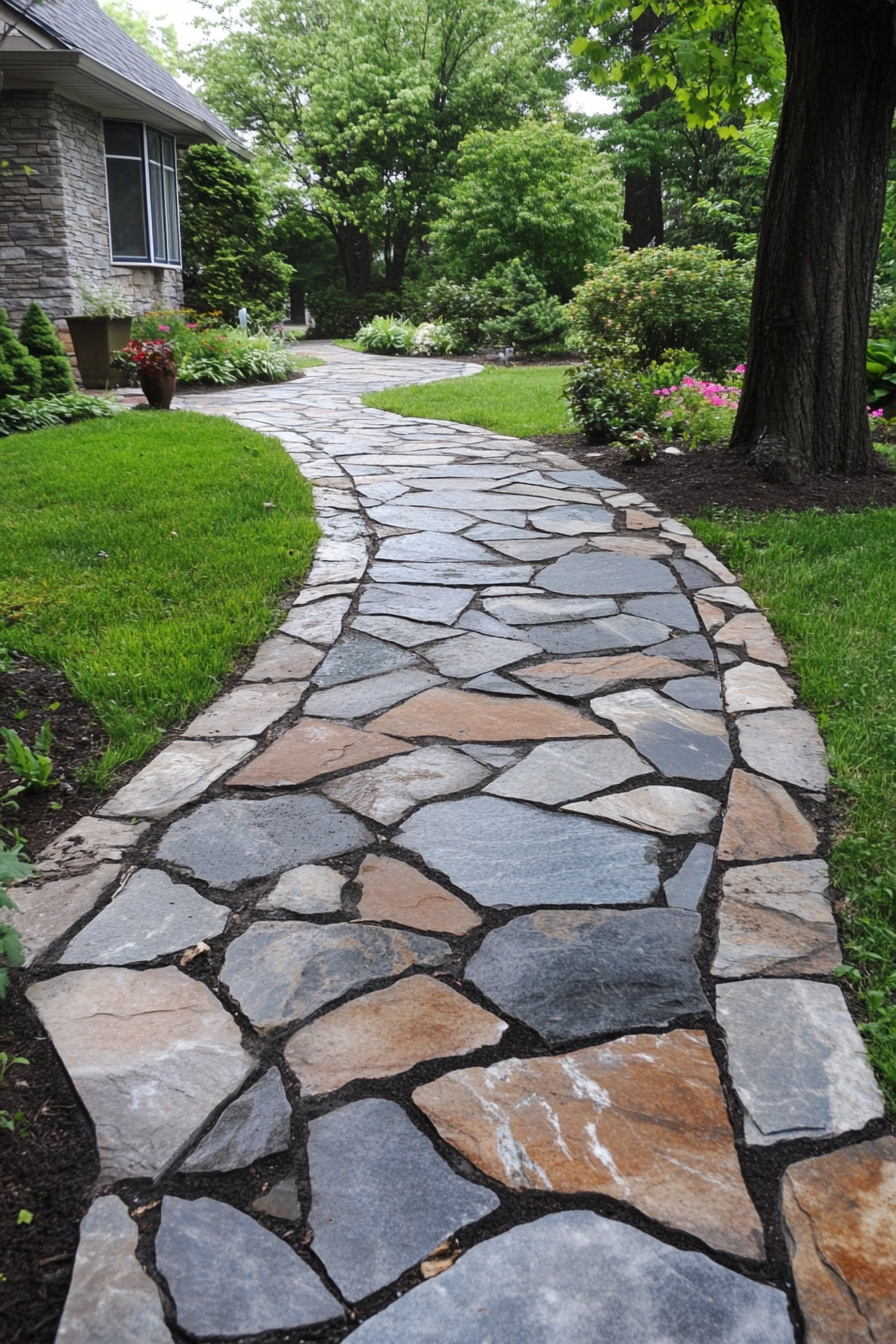
If you’ve got an artistic streak, a stone mosaic walkway is the perfect project to let your creativity shine.
This design transforms an ordinary path into a stunning work of art.
The best part?
You can use materials you already have, like broken tiles, leftover stones, or even colorful glass pieces.
First, decide on the design you want for your mosaic.
It could be a simple geometric pattern, a swirling abstract design, or even a representation of flowers, the sun, or stars.
Sketch it out on paper first to plan your layout.
Next, dig out your walkway area to a depth of about 2 inches and lay down some landscape fabric to prevent weeds.
Spread a layer of mortar or concrete mix evenly across the ground.
Now comes the fun part: laying your mosaic pieces!
Start from one end of the path and work your way across, pressing each piece firmly into the mortar.
You can use a mix of materials for a colorful, textured look or stick to a monochromatic palette for elegance.
Once your design is complete, let the mortar set for about 24 hours.
After it’s dry, fill any gaps with grout or sand to lock everything into place.
Seal the entire pathway with a weatherproof sealant to protect it from moisture and wear.
Every time you walk down this path, you’ll feel like you’re stepping on a masterpiece.
Plus, it’s a great conversation starter for guests visiting your garden.
Mulch Walkway 🌳
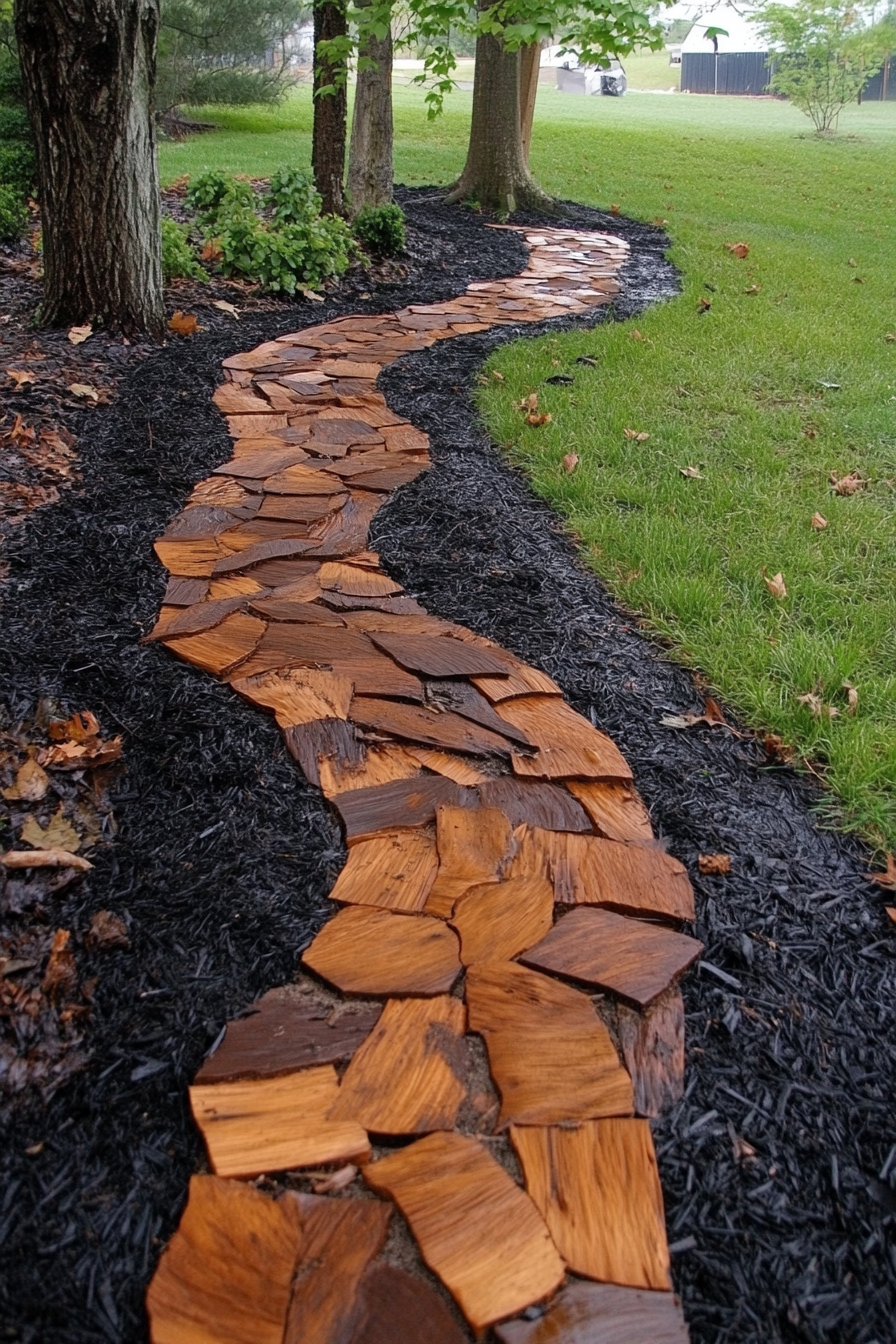
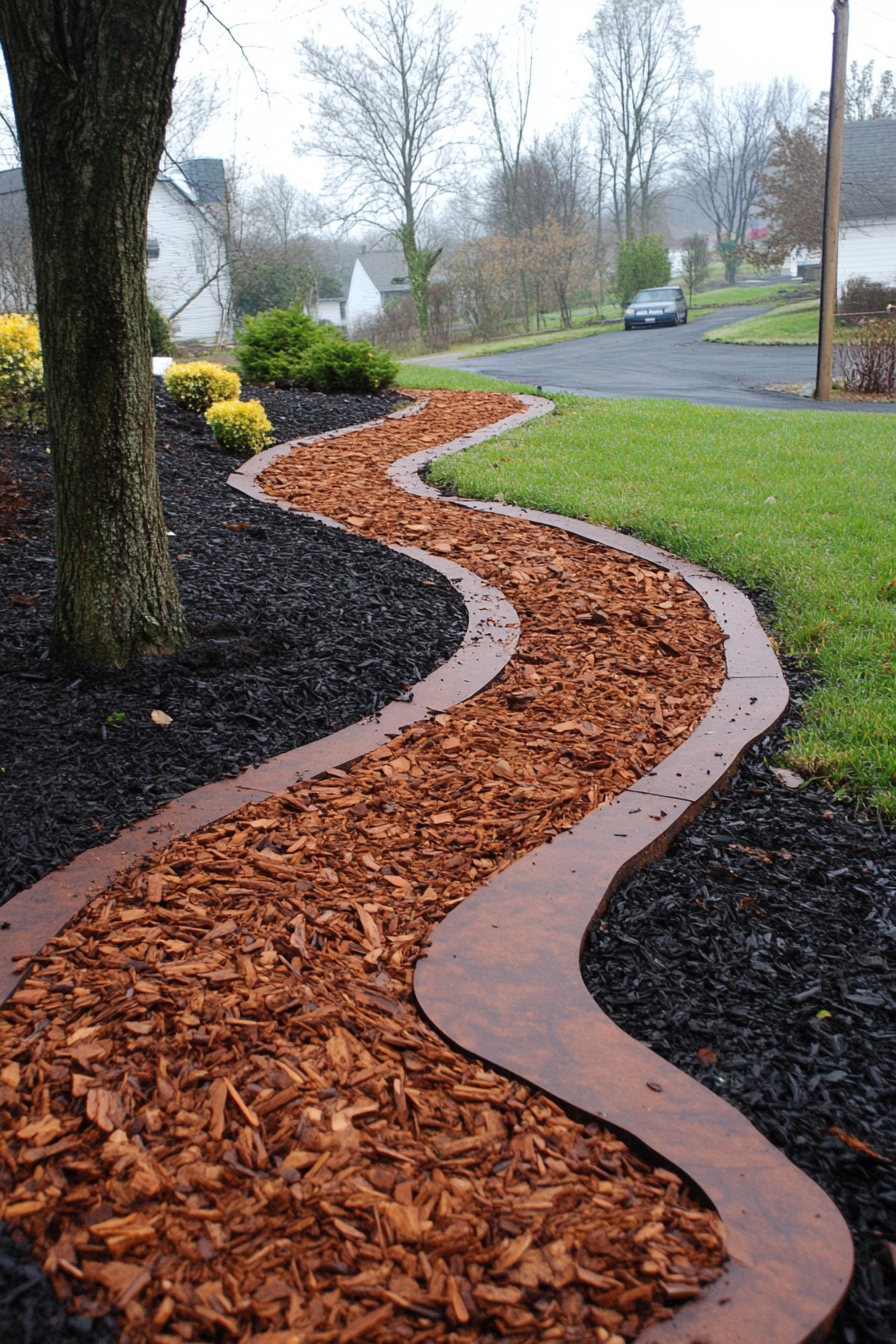
If you love an all-natural, earthy look, a mulch walkway is an easy and affordable option.
It’s perfect for complementing a garden filled with flowers, shrubs, and trees.
Mulch walkways are also super soft underfoot, making them great for barefoot strolls on a summer day.
To get started, map out your walkway and dig down about 2-3 inches to create a shallow trench.
Lay down landscaping fabric to keep weeds from popping through.
This is especially important with mulch, as weeds love to sneak through loose materials.
Next, choose your mulch.
You can go for shredded bark, wood chips, or even pine needles, depending on the aesthetic you’re going for.
Spread the mulch evenly across the walkway, aiming for a thickness of about 2 inches.
To keep the mulch in place, consider adding a border made of larger stones, wood planks, or even bricks.
This will give the path a more defined look and prevent the mulch from spilling onto your lawn or flower beds.
One of the best things about a mulch walkway is how easily it blends with the natural surroundings.
It’s environmentally friendly, affordable, and easy to refresh whenever it starts looking a little tired.
Just add a fresh layer of mulch, and your pathway will look brand-new again.
✨Click to Get My 101 FREE Designer Room Ideas
Pebble Mosaic Pathway 💎


A pebble mosaic pathway is like jewelry for your garden.
It’s stunning, intricate, and totally unique.
And the best part?
You can tailor it to reflect your personal style.
Start by collecting or purchasing smooth, rounded pebbles in a variety of colors.
You’ll need enough to cover your entire path, so go big!
Once you’ve got your materials, plan your design.
You could go for a simple wave pattern, create a floral motif, or even spell out words like “Welcome” or “Home.”
Sketch your design onto paper first to guide your placement.
Next, prepare your walkway by digging it out about 2 inches deep and laying down landscape fabric.
Spread a layer of mortar or concrete mix evenly across the ground.
Working in small sections, begin placing your pebbles into the mortar according to your design.
Press each pebble firmly to ensure it’s secure.
Once your entire design is complete, let the mortar set for at least 24 hours.
Fill any gaps with grout or sand, and seal the finished path with a weatherproof sealant.
This type of walkway is a bit more time-intensive, but the end result is worth every second.
It’s a true showstopper that will make your garden feel like a luxurious retreat.
Flagstone Walkway
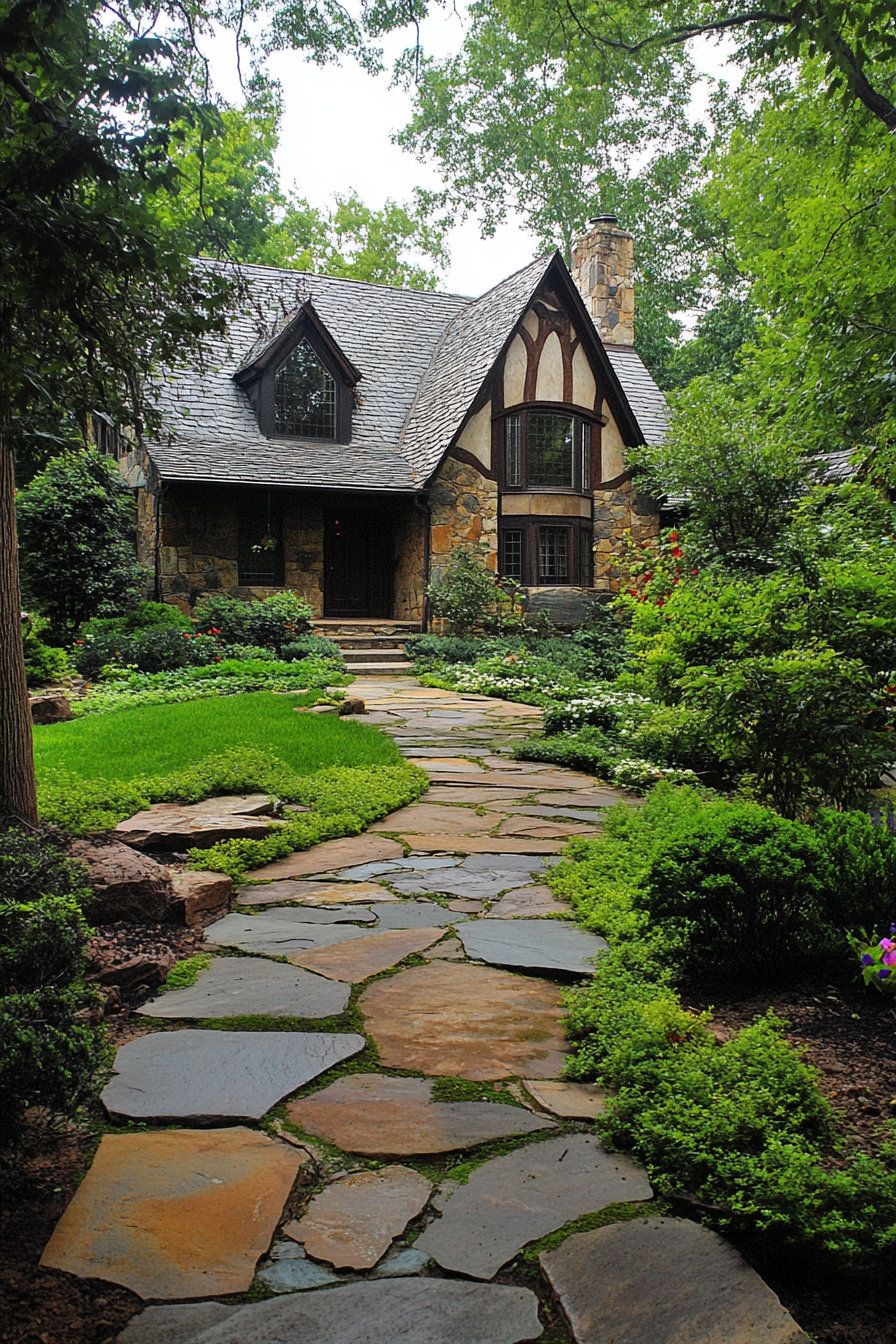
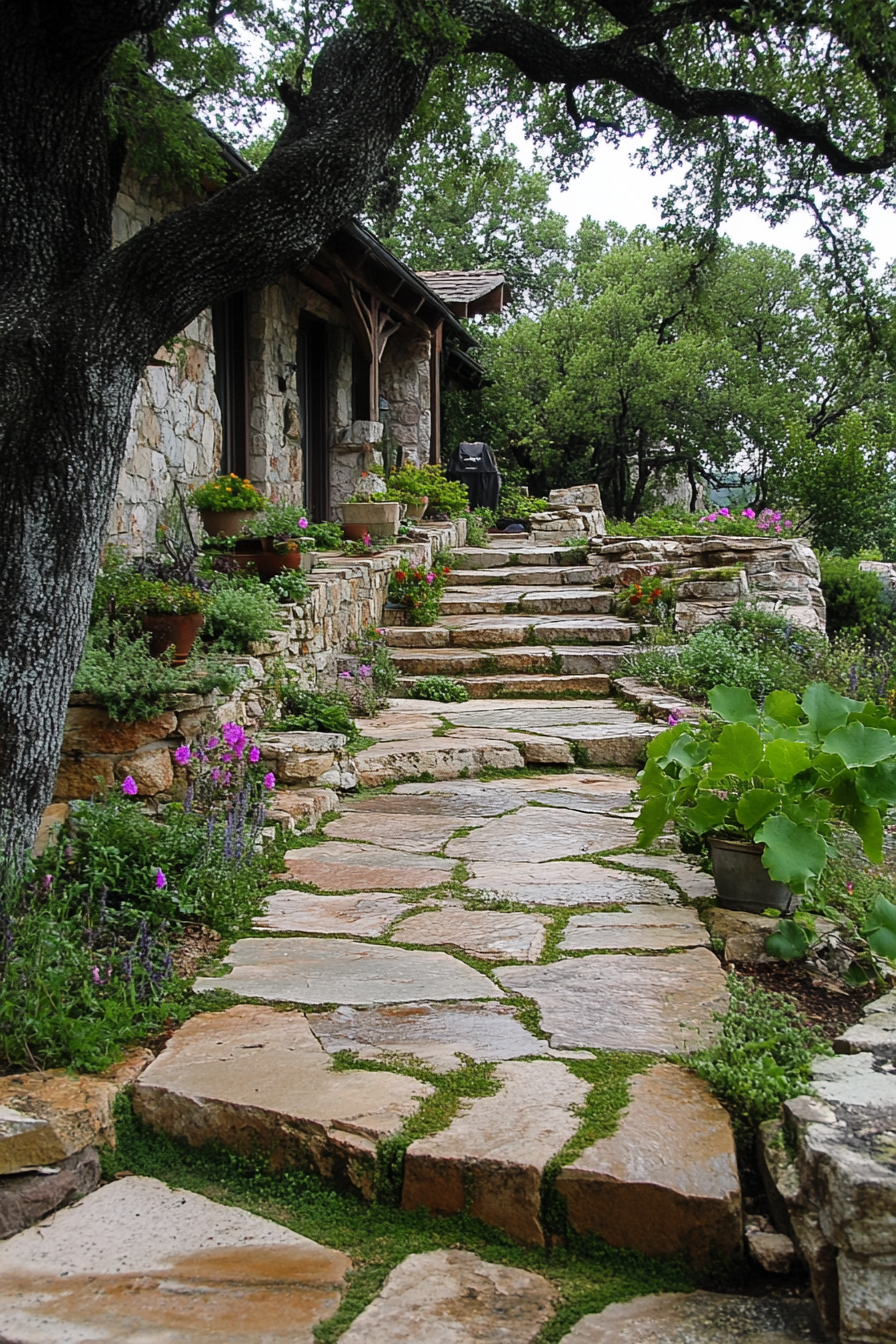
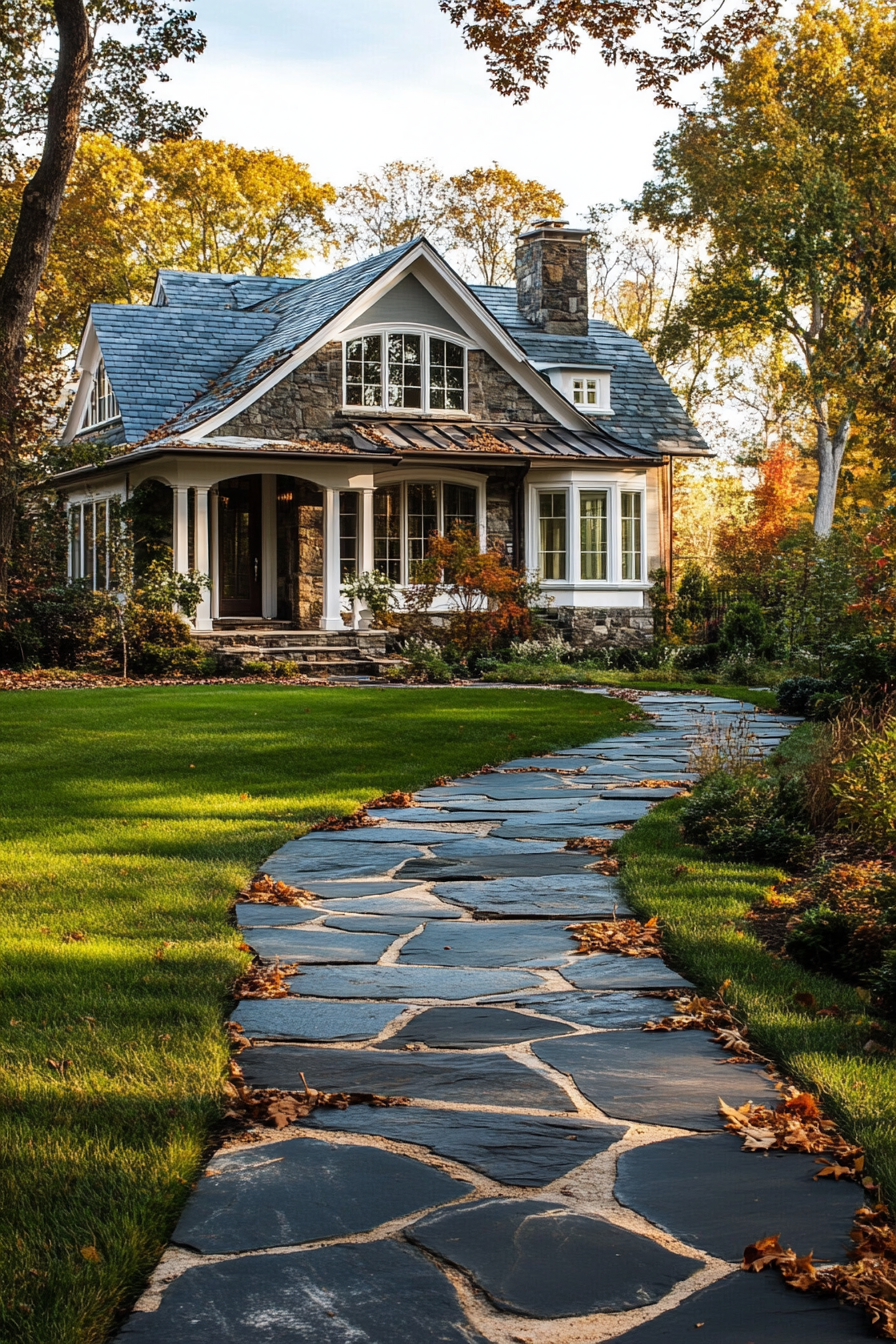
Flagstone walkways are the epitome of timeless beauty.
They bring a natural, earthy elegance to any backyard or garden, and the good news is—you can totally DIY this on a budget.
Flagstones are flat stones that come in irregular shapes, giving your pathway a rustic, organic look.
To start, decide on the layout of your walkway.
You can create a meandering path through your garden or a straight, structured path leading to a focal point.
Use stakes and string to outline your design.
Once you’ve got the layout, dig down about 2-3 inches along the path.
Clear out any grass, roots, or debris so you have a clean working surface.
Next, lay down a base layer of gravel or crushed stone.
This will help with drainage and keep your stones from shifting over time.
Add a thin layer of sand on top of the gravel and smooth it out with a rake.
Now, it’s time to place your flagstones.
Arrange them like puzzle pieces, leaving small gaps between each stone for a natural look.
You can space them close together for a more polished appearance or farther apart if you want to plant ground cover like moss or creeping thyme in the gaps.
Once you’re happy with the placement, press each flagstone firmly into the sand base.
Use a level to make sure they’re even and stable.
For extra security, fill the gaps between the stones with sand, gravel, or soil.
If you’re feeling creative, you can even mix in decorative pebbles or small plants for added charm.
This type of walkway is durable, low-maintenance, and perfect for creating a serene, nature-inspired garden setting.
Recycled Broken Concrete Pathway
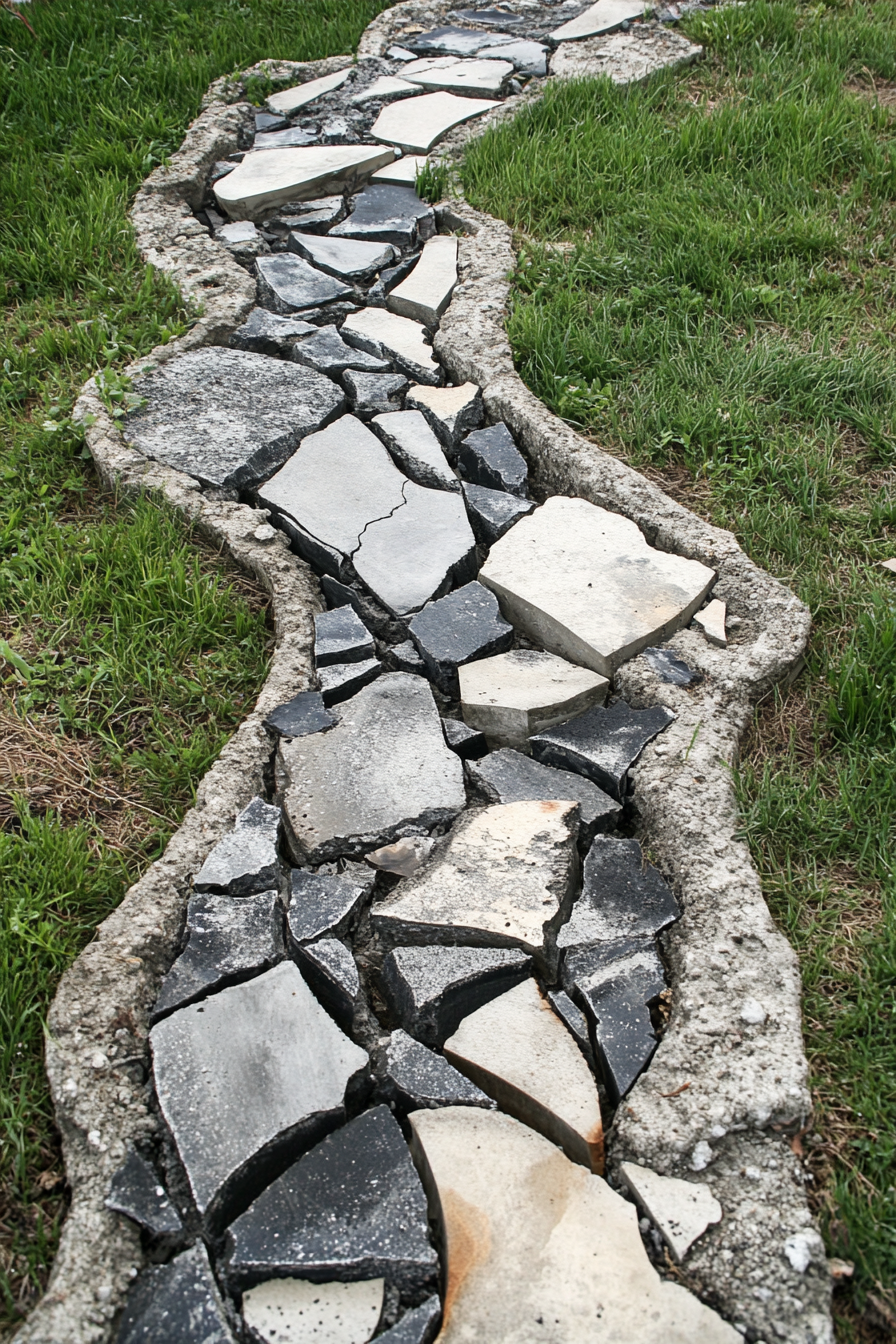
Who says broken concrete is junk?
With a little creativity, you can repurpose it into a stunning and eco-friendly garden walkway.
This idea is ideal if you’re on a tight budget and love the idea of giving old materials a new life.
Start by sourcing broken concrete.
You can often find it for free from construction sites or people tearing up old patios and driveways.
Once you’ve gathered your materials, clean the pieces thoroughly to remove any dirt or debris.
Plan your pathway by laying out the broken concrete pieces on the ground like a giant puzzle.
The irregular shapes and sizes add a lot of character, so don’t worry about perfection.
Dig out your pathway area about 3-4 inches deep, then lay down a base layer of gravel or crushed stone for stability.
Place the concrete pieces on top, arranging them in a way that feels natural but secure.
Make sure each piece is level, and tap them into place with a rubber mallet.
Fill the gaps between the concrete pieces with gravel, sand, or even soil if you want to grow moss or grass between them.
This recycled concrete walkway is not only budget-friendly but also incredibly durable and unique.
It’s a great way to reduce waste while adding a rustic, industrial-chic vibe to your backyard.
Cobblestone Pathway

Cobblestone walkways exude old-world charm and can completely transform your backyard into a storybook setting.
While cobblestones can be pricey if purchased new, you can often find second-hand or salvaged stones for a fraction of the cost.
To begin, mark out your path using stakes and string.
Dig down about 4 inches and remove any grass, roots, or debris.
Lay down a layer of gravel or crushed stone and compact it firmly.
Then, add about 1-2 inches of sand, smoothing it out evenly.
Now it’s time to lay your cobblestones.
Start at one end of the path and work your way across, placing each stone firmly into the sand.
You can arrange them in a traditional pattern, like a running bond or basketweave, or go for a more random, organic look.
Use a rubber mallet to tap each stone into place and ensure it’s level.
Fill the gaps between the stones with sand or mortar, depending on the look you want.
Sweep the material into the cracks, then use a garden hose to rinse away any excess.
A cobblestone walkway is incredibly durable and adds a timeless elegance to your garden.
It may take a little more effort than some of the other ideas, but the end result is absolutely worth it.
✨Click to Get My 101 FREE Designer Room Ideas
Glow-in-the-Dark Pebble Path


Want to create a magical garden walkway that comes alive at night?
A glow-in-the-dark pebble path is the ultimate way to add some whimsy and wow-factor to your backyard.
The best part?
It’s surprisingly easy to make.
Start by deciding on the design of your path and outlining it with stakes and string.
Dig out the area about 2 inches deep, then lay down landscaping fabric to prevent weeds.
Spread a layer of gravel or sand to create a smooth, stable base.
Now, here’s where the magic happens: use glow-in-the-dark pebbles to line your walkway.
You can buy these online or at garden supply stores.
They absorb sunlight during the day and emit a soft, glowing light at night.
For a dramatic effect, you can use glow-in-the-dark pebbles exclusively, or mix them with regular pebbles for a subtler look.
Spread the pebbles evenly across the path, making sure they’re distributed in a way that creates a nice, even glow.
To keep the pebbles in place, consider adding a border made of wood, bricks, or larger stones.
Once everything is set, give your walkway a quick rinse with a garden hose to settle the pebbles into place.
When night falls, your garden will transform into a glowing wonderland that feels like something out of a fantasy novel.
It’s the perfect finishing touch for a backyard that’s both functional and enchanting.
You’re into rustic charm, modern minimalism, or whimsical magic, there’s something here for everyone.
So grab your tools, unleash your creativity, and get ready to turn your outdoor space into the sanctuary you’ve always dreamed of.
🏡✨
Which walkway idea are you most excited to try?
Let me know—I’d love to hear about your projects!
😊

