
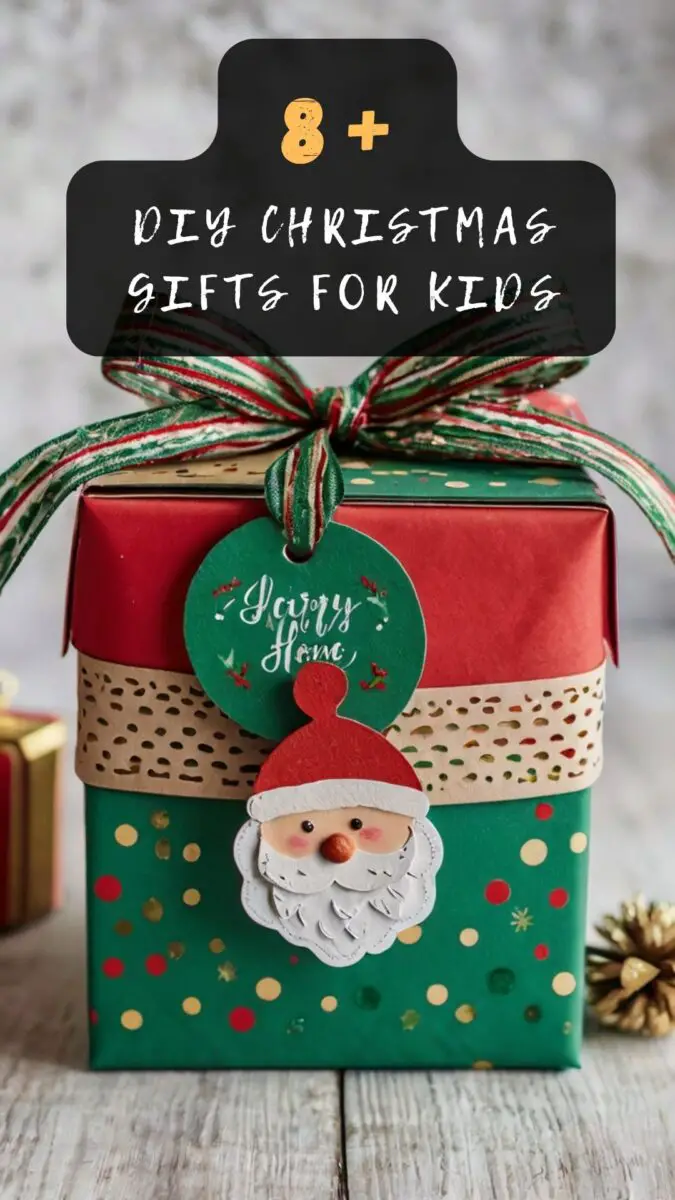
Forget the expensive toys that break after a week – this Christmas is all about creating magic with your own hands.
These DIY gift ideas are taking social media by storm because they’re not only budget-friendly but also pack way more personality than anything you’ll find in stores.
Personalized LED Name Signs That Light Up Their World

Your child’s face will absolutely glow when they see their name shining bright on their bedroom wall.
Creating these stunning LED name signs is way easier than you might think, and the results look like something straight out of a high-end boutique.
Start by cutting your child’s name out of thick cardboard or lightweight wood using a craft knife or jigsaw.
The letters should be bold and chunky – think about 6 inches tall for maximum impact.
Next, grab some battery-powered LED strip lights from any hardware store.
These little lights are flexible and perfect for outlining each letter.
Carefully tape or glue the LED strips along the edges of each letter, making sure the battery pack stays hidden on the back.
You can choose warm white lights for a cozy vibe or go wild with color-changing RGB strips that cycle through the rainbow.
For an extra special touch, mount the letters on a piece of reclaimed wood or paint a canvas in their favorite colors as a backdrop.
The beauty of this project is that you can customize everything – from the font style to the color scheme.
Your teenager might love sleek, modern letters in neon colors, while your little one might prefer bubble letters surrounded by star-shaped cutouts.
Don’t forget to add a dimmer switch so they can adjust the brightness for bedtime reading or create the perfect ambiance for sleepovers.
The total cost usually runs under $25, but the smile on their face will be priceless.
This gift keeps giving because they’ll use it every single day, and every time they flip that switch, they’ll remember how much thought you put into making something just for them.
Plus, when friends come over, your kid gets to brag about how their amazing parent made this incredible light-up masterpiece from scratch.
DIY Escape Room in a Box Adventure
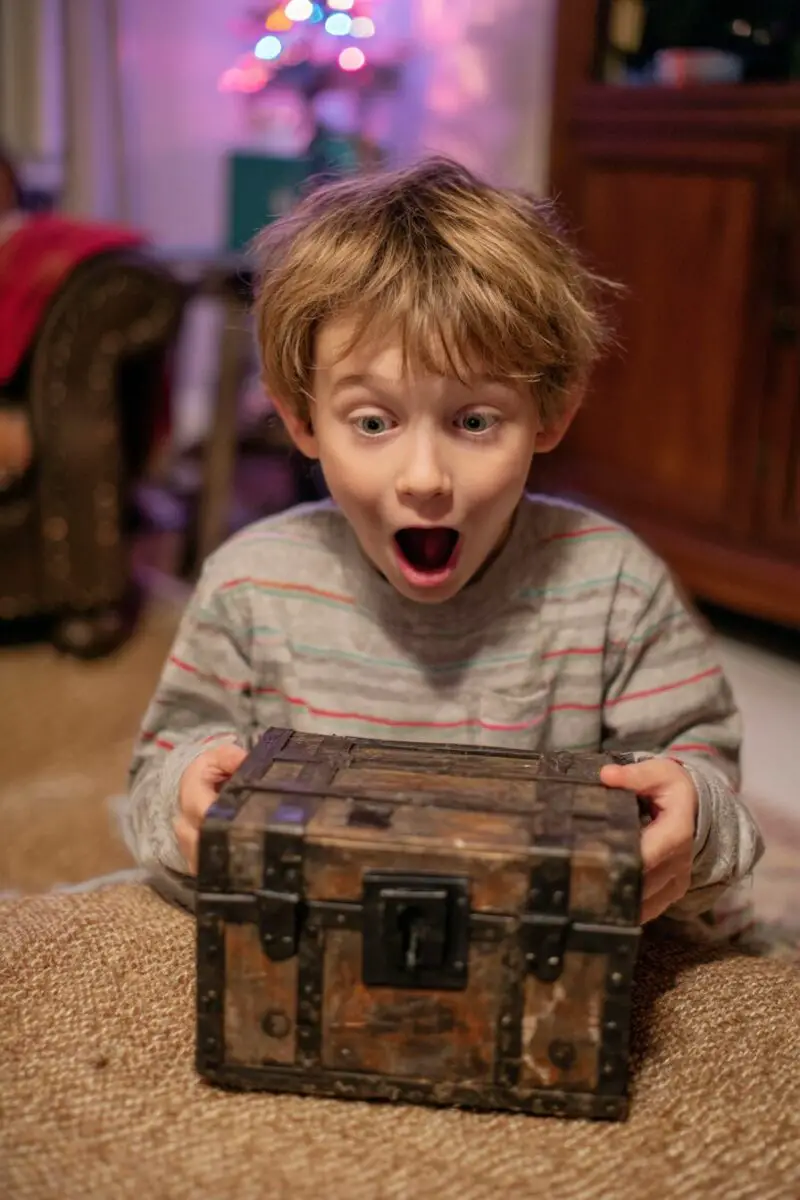
Turn your living room into the most exciting escape room your kids have ever experienced.
This gift combines puzzle-solving, teamwork, and that amazing feeling of cracking codes – all wrapped up in a box you create yourself.
Start by choosing a theme that matches your child’s interests: maybe they’re obsessed with pirates, space exploration, or mystery solving.
Your theme will guide every puzzle and clue you create, making the whole experience feel like stepping into their favorite story.
Design about 5-7 interconnected puzzles that lead from one clue to the next.
For example, solving a math problem might reveal numbers for a combination lock, which opens a box containing a invisible ink pen and special paper.
Use everyday household items to create your puzzles: mirrors for reflection codes, magnifying glasses for tiny hidden messages, or even blacklights to reveal secret writing.
The key is making each puzzle feel different from the last one – mix physical challenges with brain teasers and observation games.
Create a compelling backstory that ties everything together.
Maybe they’re secret agents trying to stop a villain, or explorers searching for hidden treasure in an ancient temple.
Write this story on aged-looking paper (coffee staining works perfectly) and present it as their mission briefing.
Include props that make the experience feel real: fake ID badges, walkie-talkies, or a treasure map you’ve drawn by hand.
Set up the puzzles throughout different rooms in your house, turning your entire home into the game board.
The final prize doesn’t have to be expensive – sometimes the satisfaction of solving the mystery is reward enough, but you could include a small toy or treat that fits your theme.
Document the whole experience with photos and create a certificate declaring them official escape room champions.
This gift creates memories that last way longer than any traditional toy, and you can easily create new adventures throughout the year by switching up the theme and puzzles.
Design Your Dream Room in Minutes!
🏡 Start Creating FREE →Custom Comic Book Creation Kit
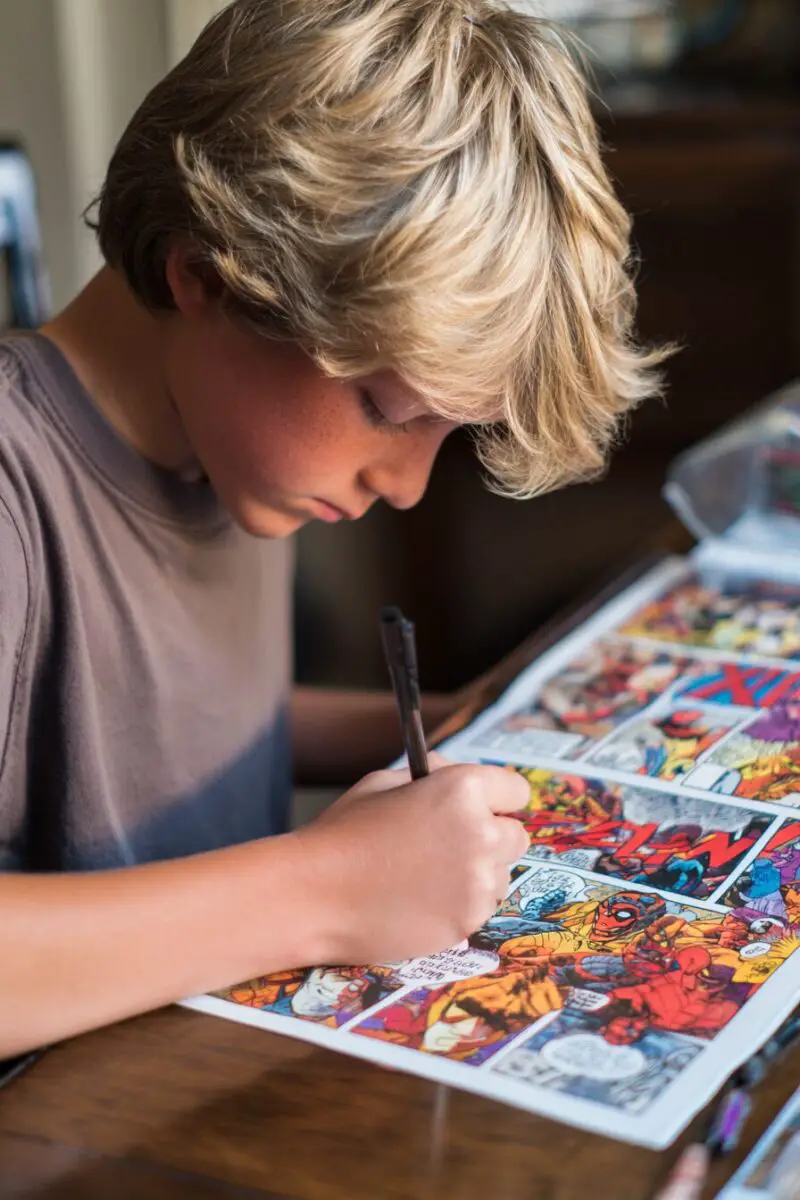
Every kid dreams of being a superhero, and now you can help them create their very own comic book adventures.
This DIY kit turns your child into both the hero and the storyteller of their wildest imagination.
Start by gathering blank comic book templates – you can find free printable ones online or create your own using simple rectangles divided into panels.
Print these on slightly thicker paper so they feel more professional and won’t tear easily when your little artist gets excited about their creations.
Create a special art supply box filled with everything they need to bring their stories to life.
Include fine-tip markers in every color of the rainbow, pencils for sketching, erasers for fixing mistakes, and maybe even some metallic pens for special effects.
Add stickers, stencils, and stamps to help them create consistent characters and backgrounds.
The real magic happens when you help them develop their superhero persona.
Sit down together and brainstorm their character’s superpowers, costume design, and origin story.
Maybe they can fly, turn invisible, or talk to animals – let their imagination run completely wild.
Create a character profile sheet where they can draw their hero and write down all their special abilities and weaknesses.
Design a simple storyline template that guides them through creating their first comic.
Include prompts like “What problem does your hero need to solve?” and “Who is the villain in this story?”
This structure helps them organize their thoughts while still leaving plenty of room for creativity.
Don’t forget to include a special “publisher” stamp with their name on it, so they can officially “publish” each comic they complete.
Set up a display area in their room where they can showcase their finished works – maybe a cork board or picture frame where they can rotate their latest creations.
This gift keeps growing because every time they finish one comic, they’re already excited to start the next adventure.
You’re not just giving them art supplies – you’re giving them the tools to become a storyteller, artist, and creative problem-solver all at once.
Glow-in-the-Dark Galaxy Jar That Captures the Universe
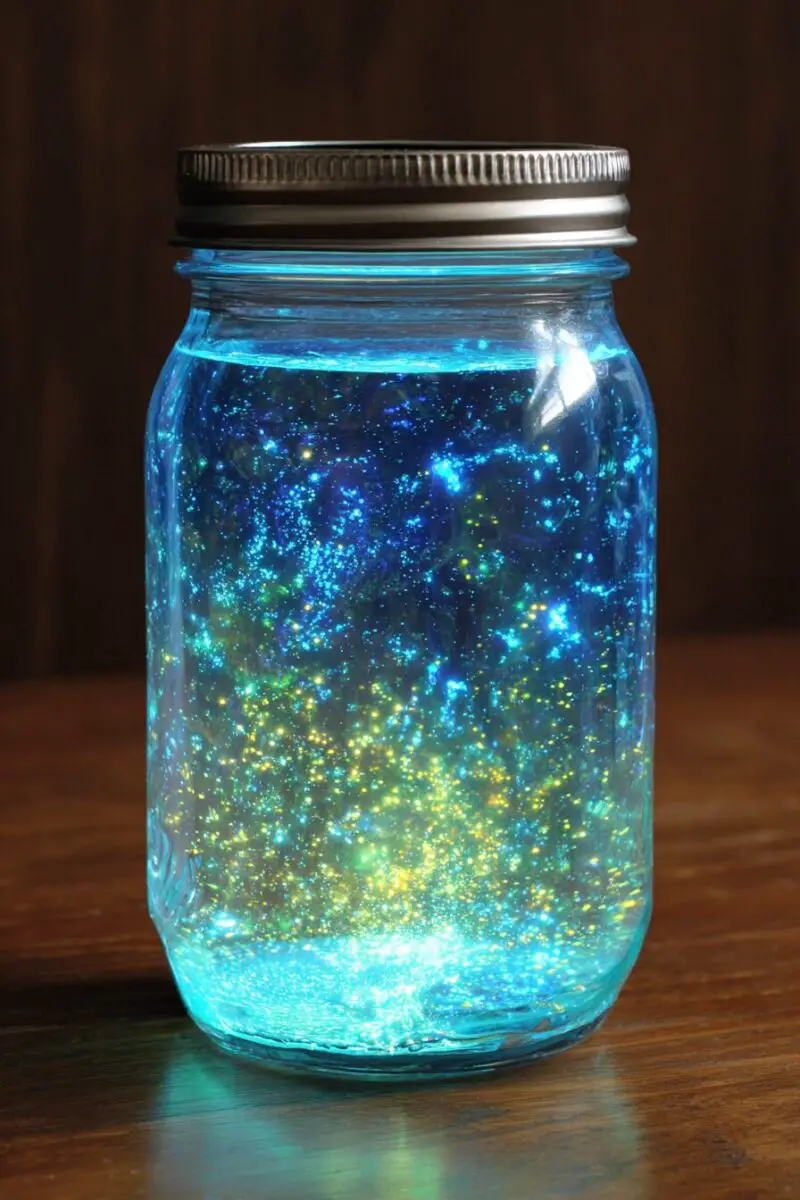
Transform any ordinary mason jar into a mesmerizing piece of the cosmos that your child can hold in their hands.
This magical creation combines science, art, and a touch of nighttime wonder that will captivate kids of any age.
Start with a large mason jar – the bigger, the better for creating an impressive galaxy effect.
Clean it thoroughly because any fingerprints or residue will show up once you add the glowing elements.
The secret ingredient is glow-in-the-dark paint mixed with cotton batting and glitter to create realistic-looking nebulae and star clusters.
Use different colors of glow paint: blue and purple for distant nebulae, green for alien star systems, and white or yellow for nearby stars.
Stretch small pieces of cotton batting and lightly coat them with the glow paint using a foam brush.
This creates the cloudy, ethereal look of real space dust and gas clouds.
Layer these painted cotton pieces inside the jar, creating depth by placing some against the glass and others floating in the middle.
Add different sizes of glitter to represent stars – fine glitter for distant star fields and larger pieces for bright, nearby stars.
For an extra special touch, include tiny LED lights on thin copper wire that can be shaped and positioned to look like shooting stars or planets.
Create a information card about real constellations and galaxies that your child can reference while looking at their creation.
This turns the gift into a learning experience about astronomy and space science.
Charge the glow paint by placing the jar under a bright light for a few minutes, then turn off the lights and watch their face light up as bright as the galaxy itself.
The jar will glow for hours, making it perfect for bedtime or quiet time when they want to drift off while gazing at their personal universe.
You can even create a whole solar system by making multiple jars with different themes – one for our solar system, another for distant galaxies, and maybe one for imaginary alien worlds.
This gift sparks curiosity about science while providing a beautiful, calming decoration for their room.
DIY Coding Board Game Without Screens

Introduce your kids to the logic of programming through a hands-on board game that makes coding concepts as fun as playing with blocks.
This screen-free approach to learning coding builds problem-solving skills while keeping playtime interactive and social.
Create a large grid board using poster board or foam core – aim for about 20×20 squares to give plenty of room for complex challenges.
Each square should be big enough to hold a small toy or game piece, and you can laminate the board so it lasts through countless gaming sessions.
Design colorful instruction cards that represent different coding commands: forward, backward, turn left, turn right, repeat, and if-then statements.
Make these cards sturdy by printing them on cardstock and maybe even laminating them so they can handle enthusiastic gameplay.
The game works by having players arrange command cards in sequence to guide their game piece (maybe a small robot toy or custom character) through obstacles to reach a goal.
Start with simple challenges like navigating around a few blocks, then gradually introduce more complex puzzles that require loops and conditional logic.
Create different themed challenge sets: maybe one set involves rescuing animals from a maze, another focuses on collecting treasure while avoiding pirates, or helping a character deliver mail through a neighborhood.
Each theme keeps the same coding logic but presents it in a story that captures your child’s interest.
Include special obstacle pieces that can be arranged differently for each challenge – walls that block movement, bridges that can only be crossed once, or teleporters that transport the character to different parts of the board.
The beauty of this game is that kids learn debugging naturally: when their sequence doesn’t work, they can see exactly where the logic breaks down and fix it.
Add a timer for older kids who want an extra challenge, or team up multiple players to solve puzzles together.
Create an instruction booklet with increasingly difficult challenges, and leave blank templates so your child can design their own levels for friends and family to solve.
This gift teaches computational thinking, logical reasoning, and problem-solving skills that will serve them well beyond childhood.
Personalized Superhero Cape and Mask Set

Every child deserves to feel like they can save the world, and this custom superhero outfit will have them leaping tall furniture in a single bound.
Creating a personalized superhero costume shows your child that their unique qualities make them special and powerful.
Start by choosing fabric that feels truly heroic – satin or silk-like materials flow dramatically when they run, while cotton blends are more practical for everyday superhero activities.
Pick colors that reflect your child’s personality or let them choose their own color scheme for their superhero identity.
Design a custom emblem for their cape that represents their special powers or interests.
Maybe they love animals and their symbol is a soaring eagle, or they’re fascinated by space and want a rocket ship emblem.
You can create this symbol using fabric paint, iron-on vinyl, or even fabric markers for a hand-drawn look.
Make the cape the perfect length by measuring from their shoulders to about mid-calf – long enough to feel dramatic but short enough to avoid tripping hazards during their heroic adventures.
Add velcro closures at the neck so they can easily put it on and take it off independently.
The mask is where you can really let creativity shine.
Cut the basic shape from craft foam or felt, then decorate it with glitter, sequins, or metallic markers.
Make sure the eye holes are large enough for clear vision during all their crime-fighting activities.
Attach elastic straps that won’t pull their hair or feel uncomfortable during extended wear.
Create a superhero identity card that includes their hero name, special powers, and mission statement.
This official documentation makes the whole experience feel more real and important.
Include a utility belt made from webbing or fabric strips with small pouches for carrying their superhero gadgets.
Fill these pouches with fun items like a toy walkie-talkie, flashlight, or small notebook for recording their heroic deeds.
Set up photo opportunities where they can pose in their costume, creating memories and building confidence in their superhero persona.
This gift goes beyond just dress-up clothes – it’s about empowering your child to believe in their own strength and potential to make a difference in the world.
Build-Your-Own Robot Kit From Household Items

Transform everyday recyclables into an amazing robot companion that your child builds entirely from scratch.
This project combines engineering, creativity, and environmental consciousness while creating a toy that’s uniquely theirs.
Gather interesting containers and materials over a few weeks: cardboard boxes of various sizes, toilet paper tubes, bottle caps, aluminum cans, and any other clean recyclables with interesting shapes.
The key is collecting enough variety that your child has choices when designing their robot’s body, arms, and head.
Create a well-organized kit by sorting all materials into clear containers or bags labeled by type.
Include essential building supplies like strong tape, glue sticks, scissors, hole punchers, and markers for decorating.
Add some special touches that make the robot feel more high-tech: LED lights with small batteries, pipe cleaners for flexible joints, and aluminum foil for creating metallic surfaces.
Design simple instruction guides that show basic robot assembly techniques rather than specific step-by-step directions.
This approach encourages creative problem-solving while providing enough guidance that they won’t get frustrated.
Include examples of different robot types: helper robots, exploration robots, or friendly companion robots, each with different features and purposes.
Help them brainstorm what their robot’s job will be and what special features it needs to accomplish that mission.
Maybe their robot needs wheels for moving around, or grabbing arms for picking up toys, or a storage compartment for carrying secret messages.
This planning phase teaches them to think through design challenges before starting construction.
Provide decoration materials that bring their robot to life: metallic paint, holographic stickers, colored electrical tape, and even small mirrors for creating control panels and displays.
The goal is making their creation look as futuristic and impressive as robots they see in movies.
Once construction is complete, encourage them to write a backstory for their robot: where it came from, what its personality is like, and what adventures they’ll have together.
This imaginative play extends the value of the gift long after the building phase is finished.
Set up a robot showcase where they can display their creation and explain its features to family members, building confidence in their engineering and presentation skills.
Custom Photo Memory Game

Turn your family’s favorite memories into an engaging game that brings everyone together while celebrating special moments.
This personalized memory game creates connections between generations and helps children appreciate family history and relationships.
Start by gathering photos that span different periods and events in your family’s life: baby pictures, vacation snapshots, holiday celebrations, and everyday moments that capture personality and joy.
Choose images that are clear, well-lit, and show faces clearly since these will be easier for kids to remember and match.
Print two copies of each selected photo, making sure they’re all the same size – about 3×3 inches works perfectly for little hands to handle.
Use a photo printer or have them professionally printed on sturdy photo paper that won’t bend or tear during gameplay.
Mount each photo on identical backing material like cardstock or thin wood squares so they all look the same when face-down.
This backing should be colorful and fun but not transparent enough to show the photo underneath.
Create different difficulty levels by varying the number of photo pairs included in each game.
Start with 8-10 pairs for younger children and work up to 20-25 pairs for family game nights with older kids and adults.
Include a variety of photo types to keep the game interesting: close-up faces, full family groups, pets, and special occasions.
This variety helps children learn to pay attention to different details and improves their observation skills.
Add a storytelling element by encouraging players to share memories about each photo they successfully match.
This turns the game into a opportunity for family bonding and helps children learn about family history they might not know.
Package the game in a special box decorated with family photos and include a small booklet with the stories behind each picture.
This reference guide helps preserve family memories and gives context to photos that might need explanation.
Create seasonal versions of the game by swapping out photos for different holidays or times of year.
This keeps the game fresh and gives you reason to look through old photos regularly, creating new opportunities for memory-sharing and family connection.
DIY Slime Lab Station

Set up the ultimate slime-making headquarters that turns your child into a mad scientist of gooey, stretchy fun.
This organized crafting station provides endless entertainment while teaching basic chemistry concepts through hands-on experimentation.
Create a dedicated workspace using a plastic storage container with multiple compartments or a craft organizer with small drawers.
Label each section clearly so your child can find ingredients quickly and clean up easily after their slime-making sessions.
Stock the lab with all the essential slime-making ingredients: white glue, clear glue, contact lens solution (with boric acid), shaving cream, and liquid starch.
Add special mix-ins that create different textures and effects: glitter, foam beads, confetti, food coloring, and scented oils.
Include measuring tools like small cups, plastic spoons, and measuring spoons so they can follow recipes precisely and learn about proportions.
This attention to measurement teaches math skills while ensuring their slime experiments turn out successfully.
Design recipe cards for different types of slime: fluffy cloud slime, clear slime, butter slime, and glitter galaxy slime.
Make these cards waterproof by laminating them so they can withstand inevitable spills and sticky fingers.
Each recipe should include pictures of the expected results so kids know what they’re aiming for.
Create a scientific log book where they can record their experiments, noting what ingredients they used and how the slime turned out.
This documentation encourages them to think like real scientists and helps them replicate successful experiments.
Include safety equipment like disposable gloves, aprons, and safety glasses to make the whole experience feel professional and important.
Teaching proper safety procedures builds good habits for future science experiments and cooking activities.
Set up storage containers for their finished slime creations, labeled with the date and type of slime so they can compare different batches.
This organization system helps them see their progress and builds pride in their scientific achievements.
Add a timer for mixing and kneading steps, which teaches patience and helps them understand how time affects chemical reactions.
The lab station becomes a gift that keeps giving because they can create new experiments whenever inspiration strikes.
Personalized Growth Chart Adventure Map

Transform the traditional growth chart into an epic adventure map that celebrates your child’s journey through childhood.
This creative twist on measuring height turns each growth milestone into a story of exploration and discovery.
Start with a long piece of canvas or heavy paper – about 6 feet tall so it can accommodate years of growth.
Design the chart as a fantastical map featuring different landscapes at various heights: maybe an enchanted forest at the bottom, mountain peaks in the middle, and cloudy sky kingdoms at the top.
Each landscape should reflect different stages of childhood adventure and represent the exciting journey of growing up.
Include landmarks and destinations that correspond to important heights and ages.
Maybe there’s a “Castle of Kindergarten” at the 3-foot mark, “Mountain of Middle School” around 4 feet, and “Sky Palace of Sweet Sixteen” up at the 5-foot level.
These themed markers make measuring height feel like progressing through an adventure story rather than just tracking numbers.
Personalize the map with your child’s interests and dreams.
If they love dinosaurs, include a “Prehistoric Peninsula” at their current height.
If they’re fascinated by space, add a “Rocket Launch Pad” where they can blast off to new heights.
This customization makes the chart uniquely theirs and shows how much attention you pay to their passions.
Use waterproof markers and paints so the chart can withstand years of handling and occasional cleaning.
Add pockets or envelopes at various points along the map where you can tuck away photos, notes, or small mementos from that age.
This creates a time capsule effect that preserves memories alongside physical growth.
Include moveable elements like a small character figure that can be repositioned as they grow taller.
This interactive component makes checking their height more engaging and gives them ownership over tracking their progress.
Design special achievement badges or stickers that can be added to the map when they reach certain milestones or accomplish important goals.
These don’t have to be height-related – maybe they get a badge for learning to ride a bike, reading their first chapter book, or helping with household chores.
Create a legend that explains all the map symbols and includes space for recording dates and measurements.
This documentation turns the growth chart into a family keepsake that tells the story of their childhood adventure.
These DIY gifts prove that the most meaningful presents come from the heart and hands of someone who truly cares.
Your kids will treasure these handmade creations long after store-bought toys are forgotten, and you’ll love the memories made during every crafting session.
This Christmas, give them something money can’t buy – your time, creativity, and love wrapped up in gifts they’ll remember forever.
