Breathing new life into secondhand finds isn’t just budget-friendly—it’s your ticket to creating a unique home filled with character and conversation pieces.
These transformations will take you from thrift store aisles to custom home decor that looks anything but cheap.
Grab your paint brushes and power tools, because these projects deliver major style with minimal investment.
Here are wonderful world of upcycling and create something extraordinary from the ordinary.
Vintage Picture Frames to Statement Mirrors
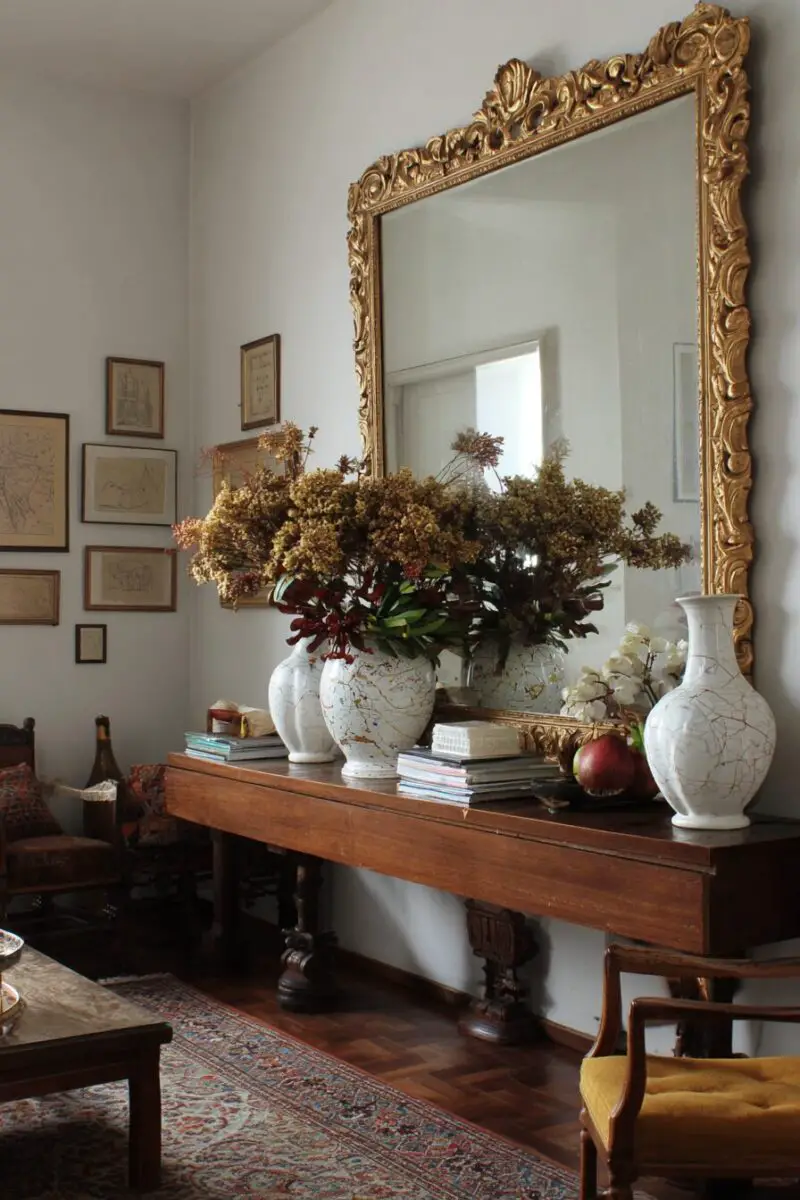
Those ornate, outdated frames gathering dust at your local Goodwill?
They’re actually gold mines for custom mirror projects.
Look for frames with interesting details, unusual shapes, or just good bones hiding under tacky finishes.
A can of spray paint in matte black, gold, or even a bold color can instantly transform the look of any frame.
Remove any existing artwork or backing, then have a mirror cut to size at your local hardware store (usually costs $10-30 depending on size).
For extra designer vibes, try creating a gallery wall of smaller mirror frames in coordinating colors.
The irregular shapes and sizes will create visual interest that looks intentionally curated rather than mass-produced.
You can also repurpose these frames for serving trays by adding handles and a base.
The secret to this flip is seeing beyond the current finish—that gaudy gold plastic frame can become sleek and modern with the right treatment.
For wooden frames, light sanding before painting ensures your finish will last for years.
This project typically costs under $50 but creates a statement piece that looks like it came from a boutique.
The best part?
When friends ask where you found your gorgeous mirror, you get to casually mention you made it yourself.
Basic Dressers to Custom Kitchen Islands
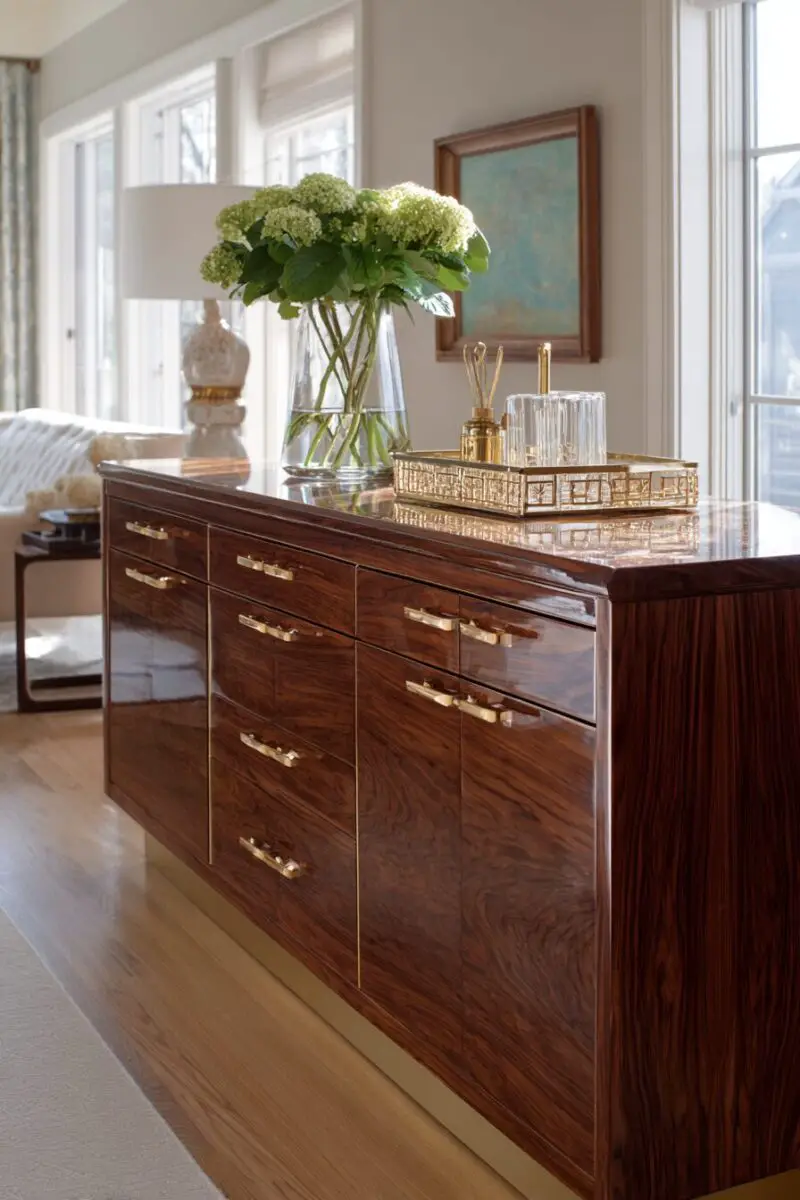
That solid wood dresser with the boring hardware and dated finish?
It’s secretly the perfect foundation for a show-stopping kitchen island.
Look for dressers with sturdy construction and drawers that function smoothly—the style doesn’t matter since you’ll be transforming it completely.
Remove the original hardware and fill any holes that won’t be reused with wood filler.
Sand the entire piece thoroughly, paying special attention to the top surface which will become your work area.
Choose a durable paint designed for furniture—chalk paint is forgiving for beginners and requires minimal prep.
Replace the hardware with something that complements your kitchen’s style—matte black, brushed brass, or leather pulls can instantly modernize the piece.
Add a butcher block top for functionality, or splurge on a remnant of stone countertop for luxury vibes.
Add casters to the bottom for mobility, allowing your new island to roll where needed and lock in place when in use.
For extra storage and style, consider adding a towel bar to one end or installing hooks for hanging utensils.
Customize further by removing some drawers to create open shelving for cookbooks or baskets.
The beauty of this flip is the functionality it adds—new kitchen islands easily run $500-2000, while this DIY version might cost $150-300 total.
Your custom island will have more character and storage than most store-bought versions, plus bragging rights when guests inevitably compliment it.
Design Your Dream Room in Minutes!
🏡 Start Creating FREE →Dated Table Lamps to Designer Lighting
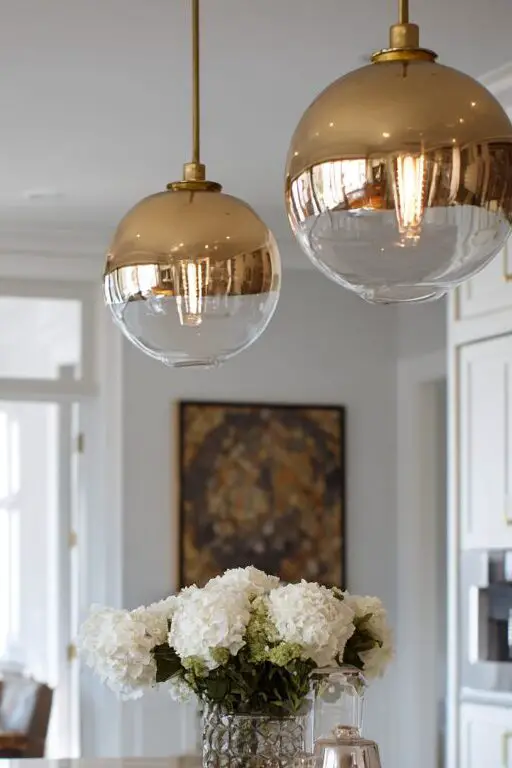
Those basic ceramic lamps with the yellowed shades?
They’re actually blank canvases for creating designer-worthy lighting statements.
The key is finding lamps with good proportions and sturdy bases—everything else can be changed.
Start by cleaning thoroughly and removing any dust or grime that’s accumulated over the years.
For ceramic lamps, high-quality spray paint designed for ceramics can completely transform the color and finish.
Try wrapping the base in natural materials like jute rope, leather strips, or even wooden beads for an organic modern look.
The lampshade is your opportunity to make a major style statement—replace dated pleated shades with clean-lined drum shapes.
Custom lampshades can be pricey, but recovering an existing shade with fabric is surprisingly simple using spray adhesive.
Don’t forget to update the hardware—spray painting the metal parts in brushed gold or matte black immediately elevates the look.
For truly dramatic transformations, try combining bases and tops from different lamps to create the perfect proportions.
What makes this flip so satisfying is the dramatic before and after—a $10 thrift store lamp can become a $200+ looking designer piece with less than $30 in materials.
TRENDING NOW
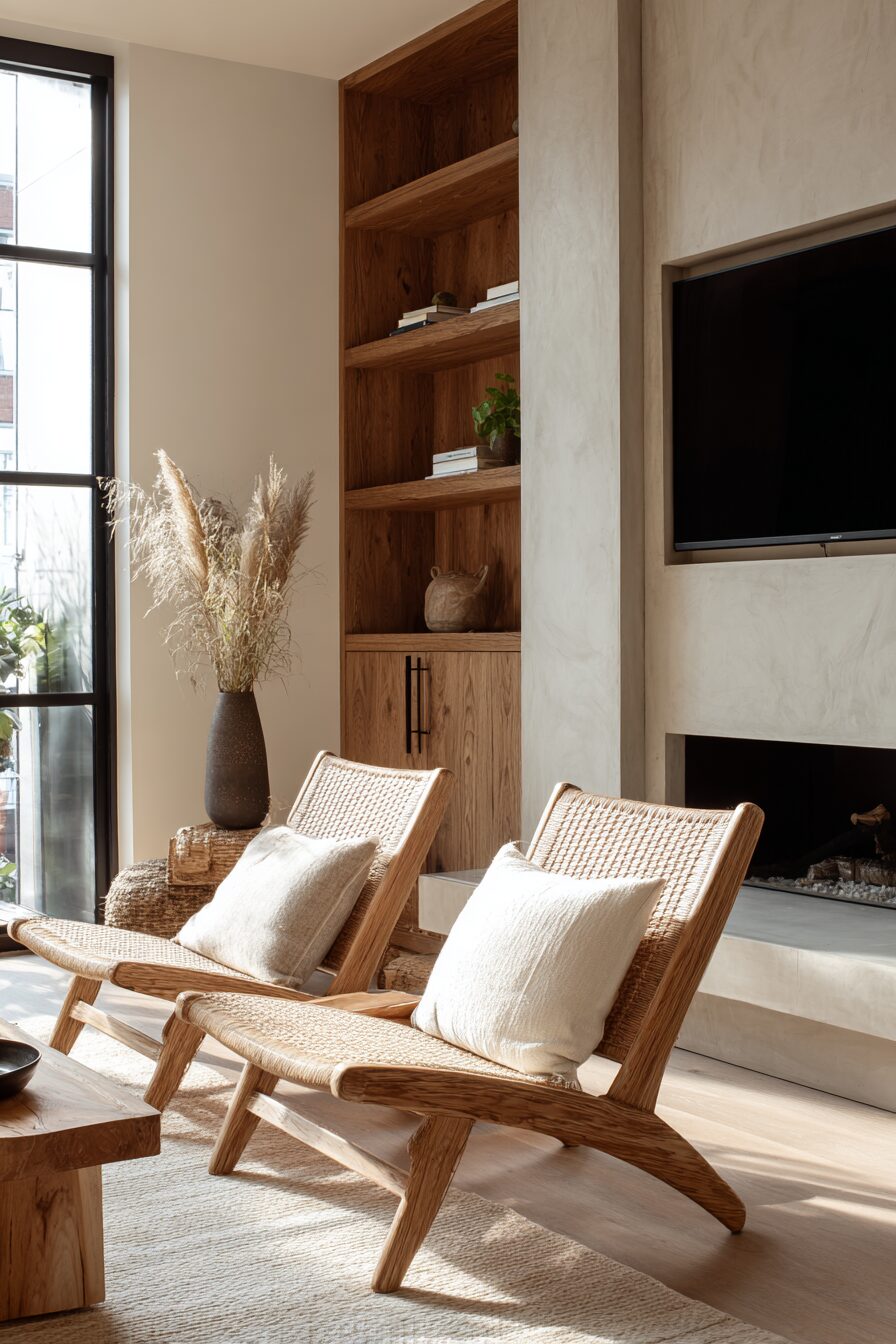
13 Touches To Elevate Your Home With Boho StyleWooden Chairs to Statement Seating

Those mismatched wooden dining chairs with the dated finish?
They’re actually perfect candidates for creating focal point seating that showcases your style.
The secret is looking past the current upholstery and finish to focus on the shape and structural integrity.
Start by thoroughly cleaning and sanding the wood frame, removing any loose finish or grime.
Bold, unexpected colors like emerald green, navy, or even a bright coral can turn a basic chair into a statement piece.
For the seat cushion, remove the existing fabric and staples, keeping the foam if it’s still in good condition.
Choose upholstery fabric that contrasts or complements the frame color—think velvet, leather, or bold patterns that would be too overwhelming in larger furniture pieces.
An upholstery staple gun makes quick work of attaching new fabric, and no sewing is required for basic seat cushions.
For wooden seats without cushions, try decoupage with vintage maps, botanical prints, or geometric patterns sealed with polyurethane.
The beauty of chair flips is that they’re relatively low-risk—if you mess up, you haven’t ruined an expensive piece of furniture.
These transformed chairs work wonderfully as accent pieces in bedrooms, entryways, or as the head chairs at a dining table.
What might have cost $15-30 at a thrift store becomes a custom piece that would sell for $150+ at boutique furniture stores.
Vintage Suitcases to Functional Decor
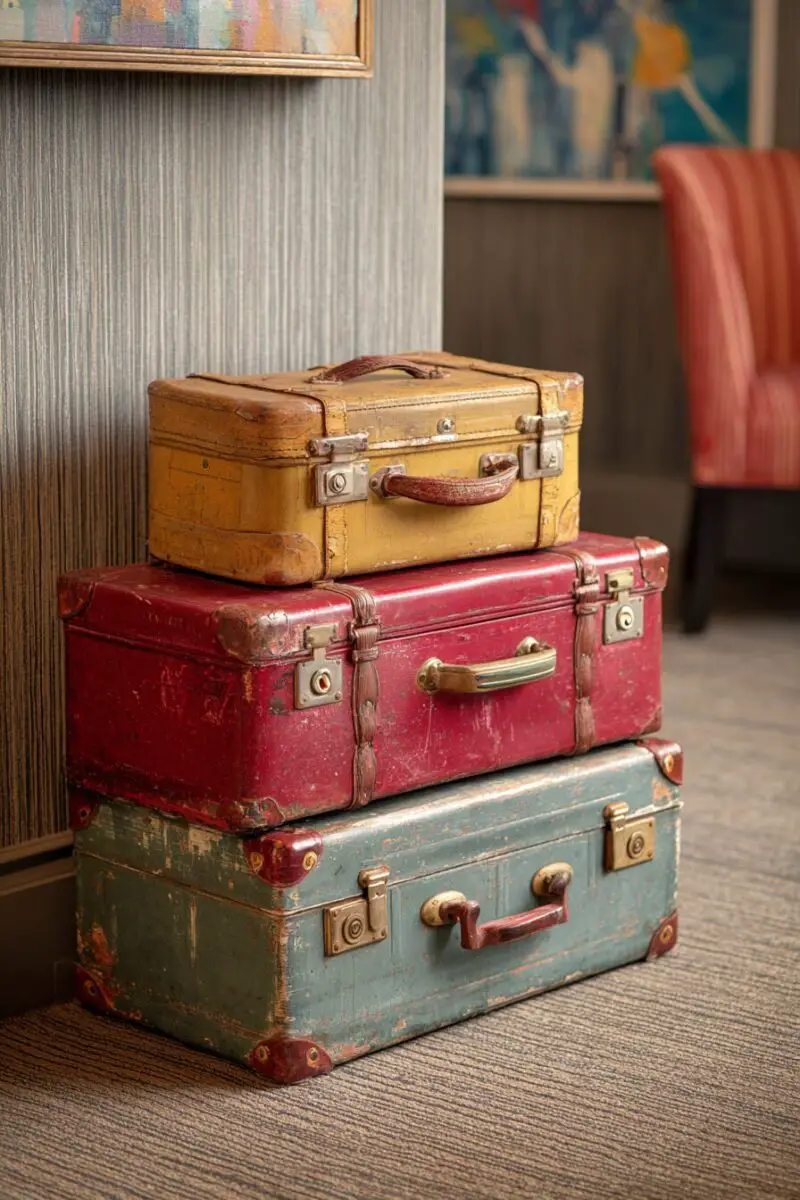
Those old-school hardside suitcases with the worn leather straps?
They’re secretly versatile decor pieces waiting to be reimagined in your home.
Look for suitcases with interesting textures, colors, or hardware—minor damage adds character but check that hinges and closures work.
The simplest flip is stacking several suitcases of graduating sizes to create a side table with built-in storage.
For a more involved transformation, remove the lid completely and mount the bottom portion to the wall as a unique shelving unit.
Adding legs to the bottom of a suitcase instantly transforms it into a stylish side table with hidden storage inside.
Paint the exterior with chalk paint for a modern look, or embrace the vintage patina for a more authentic feel.
Line the interior with patterned contact paper or fabric to create a striking contrast when opened.
Install a simple wooden shelf inside to create divided storage spaces for specific uses.
For truly unique storage, mount several suitcases to the wall at different heights, creating floating storage that doubles as wall art.
These pieces work beautifully in entryways for mail and keys, in guest rooms for extra blankets, or in living spaces for games and remote controls.
The contrast between vintage exterior and modern function creates conversation pieces that express your unique style.
What might cost $10-25 at a thrift store becomes functional art that would sell for $100+ at home decor boutiques.
The beauty of suitcase flips is their versatility—they can adapt to any style from industrial to farmhouse to mid-century modern.
TRENDING NOW
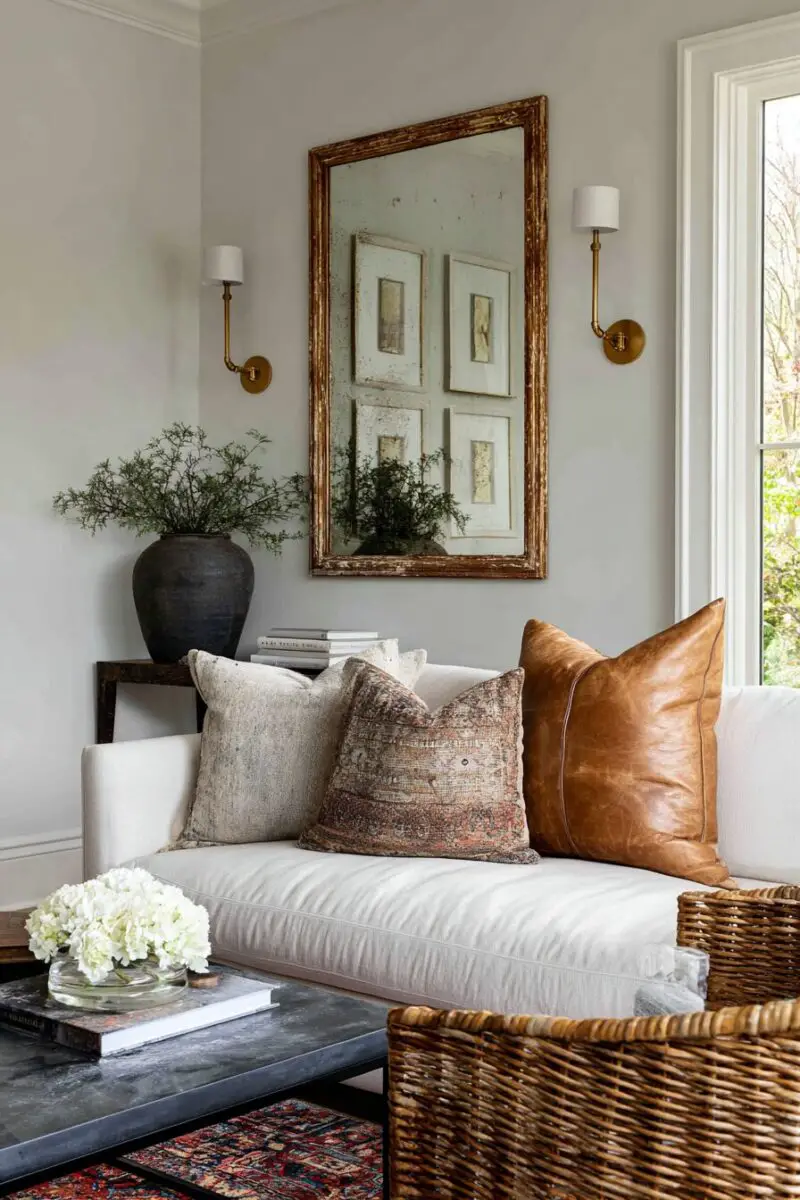
13 Housewarming Gift Ideas That Impress Every TimeOutdated Picture Frames to Gallery Walls
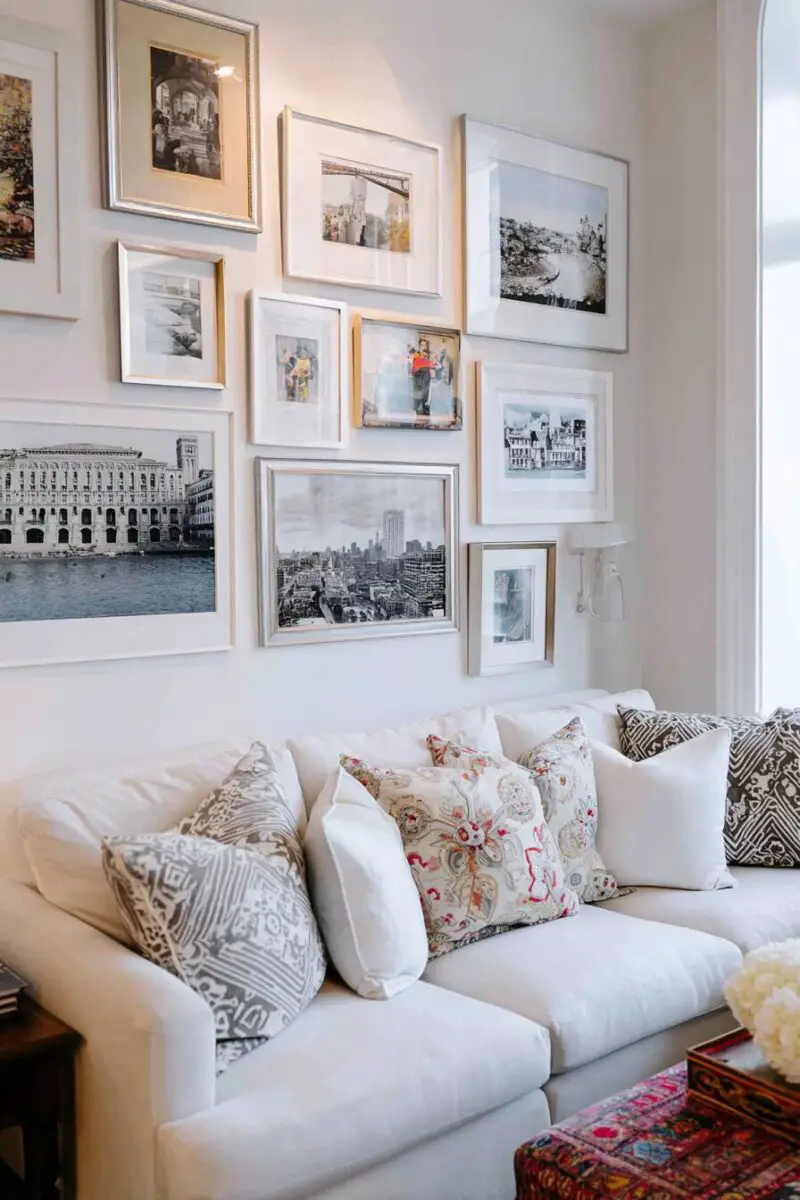
Those random thrift store frames in various sizes and styles?
They’re actually the perfect foundation for a cohesive, designer-worthy gallery wall.
The secret is seeing beyond the current finishes and contents to the shapes and proportions that will create visual interest.
Start by collecting frames in a variety of sizes, focusing on interesting shapes rather than current colors or materials.
Remove all the backing, glass, and existing artwork—you’re essentially harvesting just the frame structures.
Create unity by painting all frames in a cohesive color palette—either all the same shade or complementary tones that work with your decor.
Use two contrasting finishes like matte black and gold for dramatic effect that still feels cohesive.
For content, think beyond traditional photos—try framing fabric swatches, pressed flowers, vintage book pages, or even empty frames for architectural interest.
Before hanging, arrange your frames on the floor first and take a photo to reference during installation.
Start with the largest frame as an anchor point, then build outward with smaller pieces to create balance.
The beauty of this flip is its affordability—frames that might cost $5-10 each at thrift stores would run $20-50 new.
A collection of 10-15 frames can transform an entire wall for under $100, creating custom art that perfectly matches your space.
For extra personalization, try adding three-dimensional elements like small shelves, wall sconces, or hanging plants interspersed among the frames.
TRENDING NOW
13 Clever Apartment Hacks Every Renter Should KnowWooden Cutting Boards to Kitchen Decor
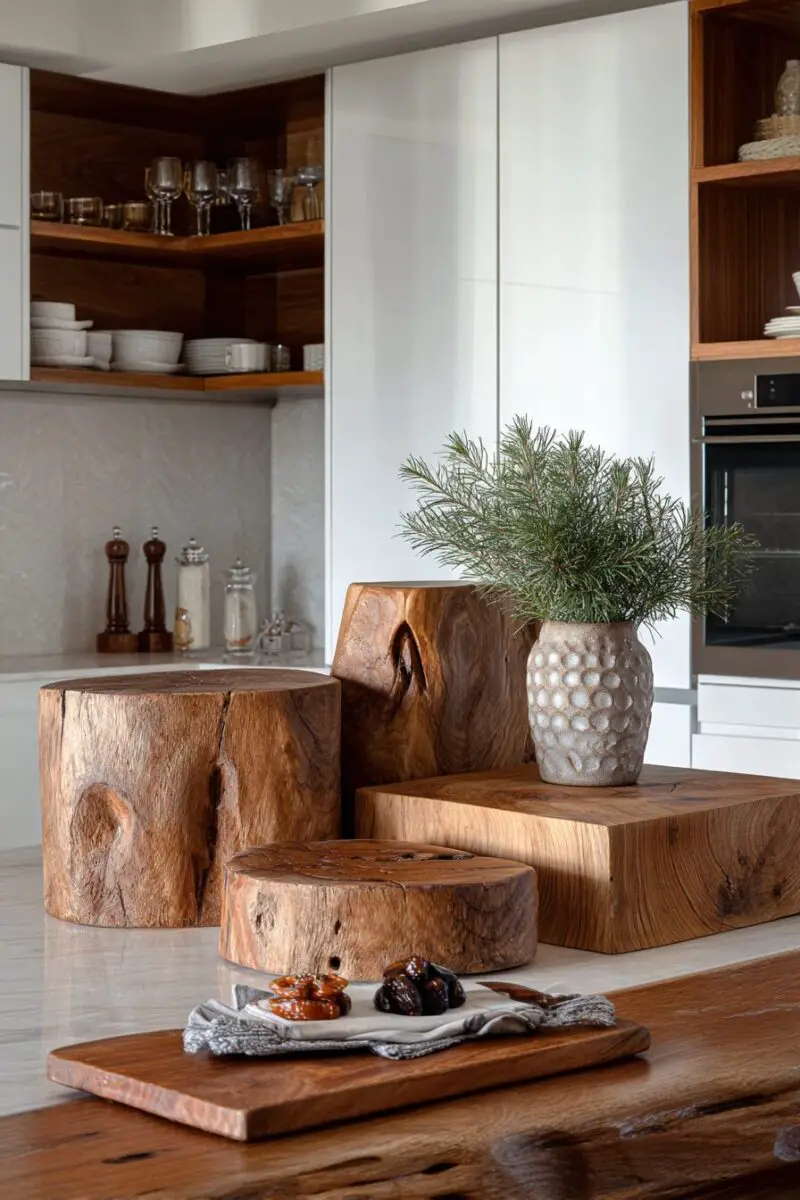
Those plain wooden cutting boards collecting dust in the thrift store kitchen section?
They’re actually versatile decor pieces waiting for a creative transformation.
Look beyond minor scratches and wear—solid wood boards with interesting grain patterns or shapes make the best candidates.
Start by thoroughly sanitizing the board with food-safe cleaners and giving it a light sanding to remove any surface damage.
For purely decorative pieces, consider painting portions of the board with food-safe paint in colors that complement your kitchen.
Try color-blocking techniques by taping off geometric sections and painting only parts of the board for a modern look.
Stenciling simple designs or even house numbers creates personalized wall art perfect for kitchens and dining areas.
For functional art, treat the board with food-safe oil and mount it on a wall with hooks below for hanging utensils or mugs.
Adding leather straps or modern handles transforms ordinary boards into sophisticated serving trays for entertaining.
Smaller boards work beautifully as platforms for kitchen countertop vignettes, elevating everyday items into styled moments.
What might cost $3-15 at a thrift store becomes both functional and decorative, saving you from spending $40+ on new equivalent pieces.
The natural variations in wood grain ensure each piece is truly one-of-a-kind, adding character that mass-produced decor simply can’t match.
These transformed boards bridge the gap between practical kitchen tools and artistic decor elements, making them perfect for open-concept spaces.
TRENDING NOW
13 Modern Victorian Decor Ideas for a Chic TwistBasic Bookshelves to Custom Built-Ins
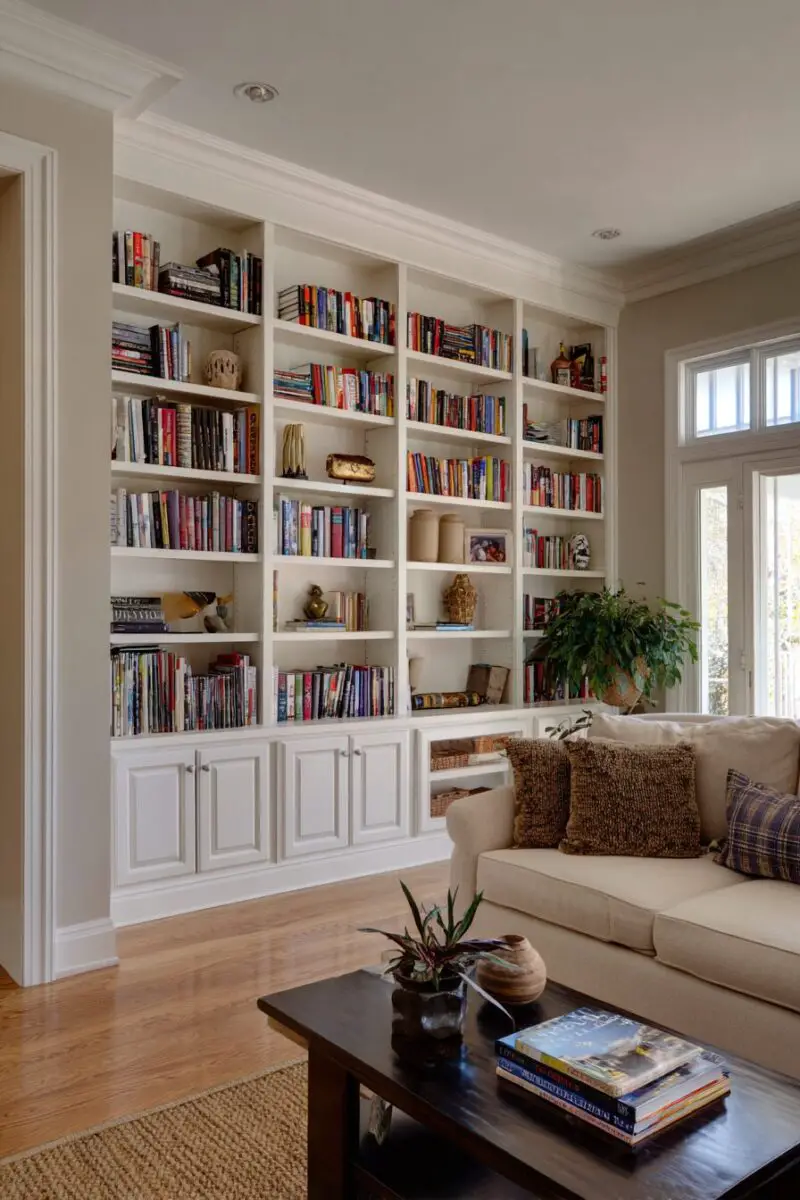
Those basic laminate bookshelves that populate every thrift store?
They’re secretly the building blocks for creating custom built-in looks at a fraction of the price.
The key is looking past the current finish to focus on good bones and solid construction—avoid particleboard that’s already swelling or damaged.
Start by thoroughly cleaning and lightly sanding all surfaces to help primer and paint adhere properly.
For laminate shelves, use a specific primer designed for shiny surfaces before applying your paint of choice.
Arrange multiple bookshelves of similar heights side by side, adding a wooden top across all units to create the look of a custom built-in.
Crown molding added to the top instantly elevates basic shelves to look like expensive cabinetry—this simple addition makes a dramatic difference.
Add baseboard molding to the bottom that matches your existing baseboards for a truly built-in appearance.
Painting the entire unit in a color that matches your wall trim creates a cohesive, intentional look that appears original to the home.
What might cost $20-40 per bookshelf at thrift stores transforms into a built-in that would cost thousands if professionally installed.
The beauty of this flip is its flexibility—units can be configured to fit nearly any wall and adapted to your specific storage needs.
For extra customization, consider adding cabinet doors to the bottom shelves, creating closed storage for less attractive items.
Tarnished Silverware to Sculptural Wall Art
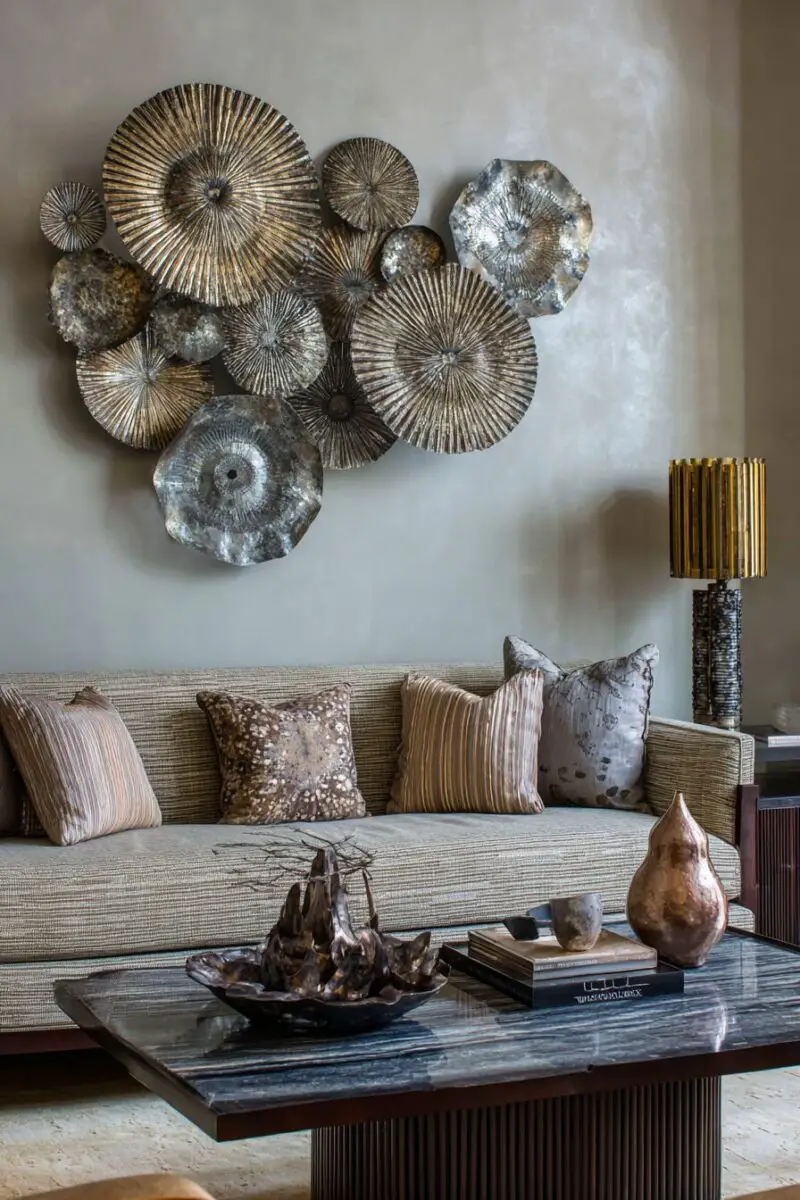
Those mismatched silver-plated utensils in the jumbled thrift store bins?
They’re actually the raw materials for creating striking metallic wall sculptures that look like expensive gallery pieces.
The odd assortment of patterns and types is actually perfect—more variety equals more visual interest in your finished piece.
Look for pieces with interesting handles, unusual shapes, or ornate details that will create texture when arranged together.
Don’t worry about tarnish or minor damage—these imperfections add character and can be either cleaned away or incorporated into the design.
Start by collecting 20-30 pieces of flatware, focusing on a mix of forks, spoons, and serving utensils (knives work too but require more careful handling).
For a starburst design, arrange spoons and forks with handles pointing outward from a central point, playing with the spacing to create a dynamic pattern.
Try bending some pieces slightly using pliers wrapped in cloth to prevent marking the metal—this adds dimension that catches light in interesting ways.
A strong adhesive like E6000 works well for attaching pieces to a circular wooden base that can be painted to either blend in or contrast with the silverware.
For a more structured look, create a grid pattern by aligning handles in rows, alternating directions for visual rhythm.
What might cost $10-15 for a collection of mismatched silverware transforms into wall art that would sell for $150+ in home decor boutiques.
These metallic sculptures catch light beautifully, adding sparkle and movement to walls that might otherwise feel flat or uninteresting.
For smaller spaces, try creating miniature versions using demitasse spoons or children’s silverware arranged in shadow boxes.
The unexpected repurposing of familiar objects into art creates instant conversation pieces that guests will be drawn to examine up close.
This project works particularly well in dining rooms or kitchens, creating a thematic connection between the art and the space’s function.
The beauty of silverware art is its versatility—arrangements can be formal and symmetrical for traditional spaces or wild and organic for more eclectic rooms.
By transforming utilitarian objects into purely decorative pieces, you’re participating in a long tradition of artistic upcycling that challenges how we see everyday items.
Plain Glass Vases to Textured Statements
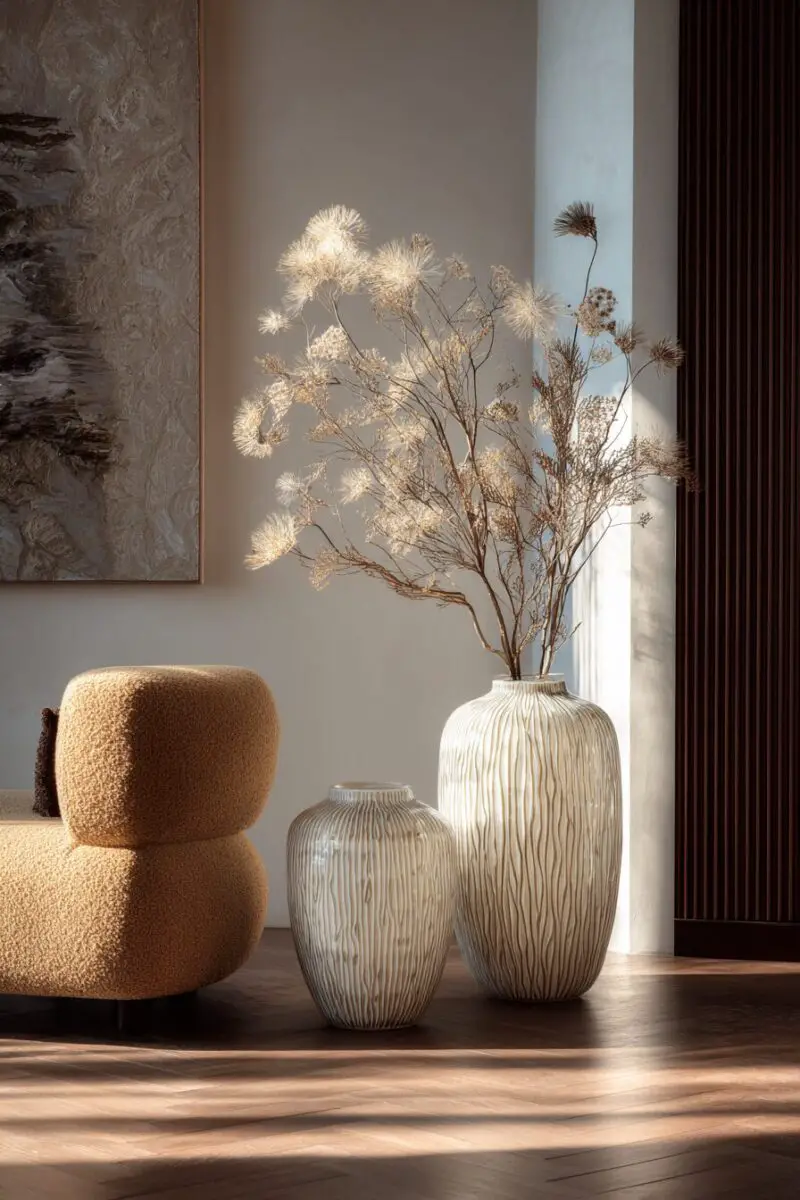
Those ubiquitous clear glass vases that fill thrift store shelves?
They’re actually perfect blank canvases for creating high-end looking decorative pieces.
The secret is adding texture and dimension that transforms ordinary glass into something that looks handcrafted and expensive.
Start with thoroughly cleaned glass—any residue will affect your final finish.
Try applying a mixture of baking soda and paint for a textured, ceramic-like finish that completely disguises the glass underneath.
Experiment with painting the inside of clear vases with glass-safe paint for a colored glass effect that looks like expensive art glass.
Air-dry clay can be applied in patterns or organic shapes around the exterior, then painted after drying for a sculptural effect.
Textured spray paints designed for glass create interesting finishes that mimic stone, concrete, or metal with minimal effort.
Group transformed vases in collections of three or five for maximum visual impact on mantels, shelves, or dining tables.
The contrast between the original smooth glass and added texture creates pieces that look like they came from high-end home decor boutiques.
What might cost $1-5 at thrift stores becomes custom decor that would retail for $30-60 per piece new.
These transformed vases work in any decor style from minimalist to maximalist, depending on your choice of colors and textures.
The low cost makes this flip particularly satisfying—you can experiment freely knowing you’ve invested very little in the base materials.
The satisfaction of transforming something overlooked into something beautiful is a reward that goes beyond mere decoration.
These ideas are just starting points—the possibilities are truly endless when you start seeing thrift store items as raw materials rather than finished products.
Remember that patience is key—sometimes the perfect piece requires multiple visits to different thrift stores.
The most successful flips often come from seeing potential where others see only outdated junk.
Your unique vision and creativity will result in home decor that no one else has—the ultimate luxury in a world of mass-produced sameness.
Happy hunting, flipping, and creating your own personally curated home that perfectly reflects your style without breaking the bank.
