Halloween is right around the corner, which means it’s time to start decorating your home with creepy, spooky themes.
One popular and classic Halloween decoration is bats!
Bats can create a delightfully eerie vibe and set the perfect mood for celebrating All Hallows’ Eve.
In this article, we’ll explore 13 spooky and creative ways to decorate your walls with bats for Halloween.
We’ll provide step-by-step instructions for DIY bat wall décor and also suggest ready-made wall bats you can buy.
Let’s check out 13 frighteningly fun bat décor ideas to transform your home into a creepy, crawly bat haven this Halloween!
✨Click to Get My 101 FREE Designer Room Ideas
Black Paper Bats
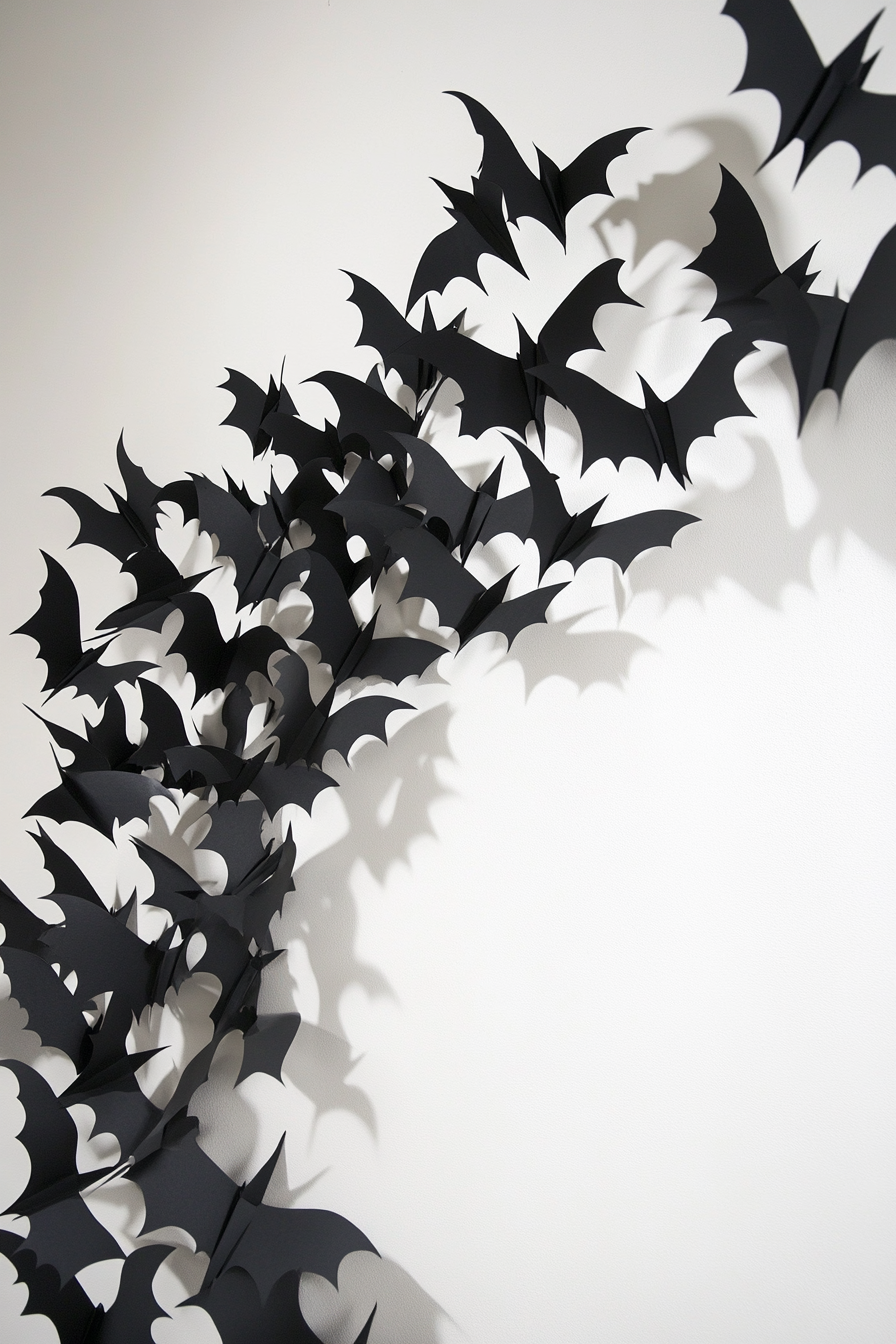
One of the easiest ways to add bats to your walls is by cutting them out of black paper.
This works well for both kids and adults.
Black paper bats are a classic Halloween decoration that are cheap and simple to make.
Here’s what you need and how to do it:
Supplies:
– Black construction paper
– Scissors
– Tape or adhesive putty
Instructions:
1.
Draw or trace a bat shape onto the black paper.
Make bats in different sizes for variety.
2.
Cut out the bat shapes carefully with scissors.
Make several bats – 10 or more.
3.
Use double sided tape or adhesive putty to stick the paper bats randomly on your walls.
Cluster some together and spread others out.
4.
For a 3D effect, fold some of the bats partially up at the wings.
5.
Arrange the bats flying up your stairway or swarming together on one focal wall.
Black cut-out bats are an easy but impactful Halloween wall décor!
Pro Tip: For a more durable option, use black felt instead of paper.
Glue magnets onto the back of the felt bats to make them reusable.
The felt bats can be placed on refrigerators or metal surfaces year after year.
Painted Batman Silhouette

Go with a singular, giant bat silhouette painted or drawn on one wall for a bold Halloween statement.
Use black paint or black chalkboard paint to make the silhouette really stand out.
Here’s how to create this creepy bat wall art:
Supplies:
– Painter’s tape
– Black paint/chalkboard paint
– Paintbrushes
– Pencil (optional)
Instructions:
1.
Decide on the wall space where you want your bat silhouette to “fly”.
Measure and cut painter’s tape strips to map out the bat wing shape.
2.
Stick the tape strips onto the wall in the silhouette pattern.
Use a pencil first if needed to sketch out the basic shape.
3.
Paint inside the tape outline with black paint or chalkboard paint.
Allow the paint to dry fully.
4.
Carefully remove the tape to reveal your giant bat silhouette!
Fill in any gaps or touches ups needed with more black paint.
5.
For added dimension, try using a dark gray paint to add shadow detailing on the edges and wings.
This menacing black bat silhouette makes a scary statement.
For more fun, have kids write Halloween poems or messages on the chalkboard wall around the bat.
Wall Decal Bats
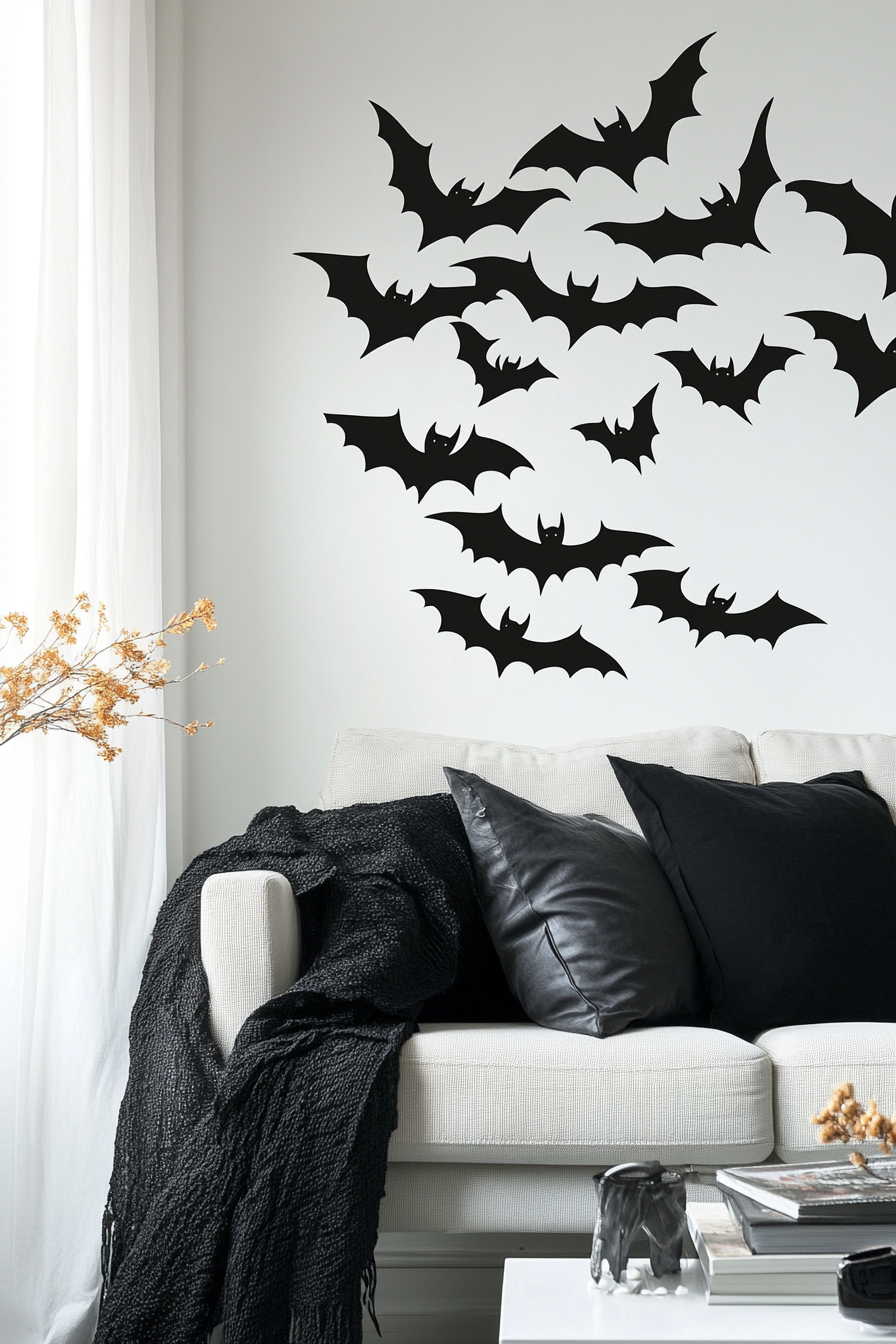
For easy application without any artistic skills required, choose wall decal bats.
Wall decal bats stick on smoothly and can be removed later without damaging your walls.
Here are some tips for decorating with bat wall decals:
Supplies:
– Bat wall decals
– Smoothing tool (plastic card)
Instructions:
1.
Clean the wall surface where you’ll apply the bat decals.
Make sure the area is smooth, dry and dust-free.
2.
Decide on the wall placement.
Bat decals look great swarming up a corner or flying across a long expanse.
3.
Peel off the bat decal backing carefully.
Apply the sticky bat decals starting at the top and smoothing down.
4.
Use a plastic card or smoothing tool to press out any air bubbles.
Rub firmly over the decals.
5.
Build up clusters of bats or scattering solo flying bats across the wall space.
Mix big and small decals.
6.
Try silhouette black bats, realistic colored bats, or Halloween themed bats.
Remove later without wall damage.
Bat wall decals offer a fun and affordable way to decorate for Halloween.
Kids especially will love the spooky bat decal designs.
Inflatable Bat Wall Scenery

Inflatable decorations make a big impact for Halloween.
Set up some inflatable bats emerging from walls or ceilings for a lively 3D effect.
Inflatable bat scenery packs come with bat shapes attached to a disk that inflates to push out from the wall.
Here are some tips on using inflatable bat decor:
Supplies:
– Inflatable bat wall scenery
Instructions:
1.
Choose a wall or corner where you want the bats to “fly” out from.
Place the deflated inflatable against the wall.
2.
Inflate according to the product instructions.
Many have a small battery powered fan to self-inflate.
3.
Watch the inflatable disk push the attached bats outward as it fills with air.
Adjust as needed.
4.
Plug in to keep the inflatable bat scenery fully inflated throughout your Halloween party!
5.
For a swarm effect, arrange 3-5 inflatable bat sets clustered together on one wall.
Inflatable bat scenery makes your walls burst with life!
The 3D illusion of bats swooping out adds fun frights.
Deflate and store away after Halloween.
✨Click to Get My 101 FREE Designer Room Ideas
Hanging Bat Garland

For a bat invasion that dangles overhead, create a hanging bat garland.
Make a homemade garland using cut-out bats on string or ribbon.
Or pick up ready-made hanging bat garlands at Halloween stores or online.
Here are some ways to decorate with hanging bat garlands:
Supplies:
– Black paper bats
– String, ribbon, or garland
– Tape, glue, or stapler
Instructions:
1.
Cut out black paper bats in various sizes.
Use cardstock or plastic for durability.
2.
Attach a string to each bat: tape string on back, staple through wings, or glue string loops.
3.
Connect each bat silhouette onto a longer ribbon or garland, spacing bats out evenly.
4.
Hang the bat garland across doorways, stair railings, fireplace mantels, or windows.
5.
For a fuller effect, drape sheets of cotton spiderwebs along with the bats.
6.
You can also intersperse small plastic bats, foam bats, or realistic stuffed bats.
7.
Make the bats “fly” across the ceiling or swarm down walls for an eerie 3D effect.
Hang swarms of dangling bats to give any room a creepy, crawly Halloween feel.
The overhead bats add great ambiance.
Sparkling Bat Mobile

Create a magical bat mobile that sparkles and spins from your ceiling.
This blingy bat decoration adds a touch of elegance to your ghoulish décor.
Follow these steps to make a dazzling bat mobile:
Supplies:
– Black cardstock or craft foam
– Glitter, sequins, rhinestones
– Fishing line, wire, or string
– Scissors and glue
– Ceiling hook
Instructions:
1.
Cut out several bat silhouettes from black cardstock.
Make them in different sizes.
2.
Decorate the bats with glitters, sequins, and rhinestones.
Add swirly patterns and stripes.
3.
Poke a small hole near the top of each bat.
Attach a piece of fishing line through the hole.
4.
Gather the strings at the ends and tie them onto a small loop.
Hang the loop from a ceiling hook.
5.
Space out the bat cutouts nicely along each string length.
Make sure they hang evenly.
6.
Let the bat mobile dangle and twirl freely.
The sparkling bats will spin from any breeze or air current.
7.
For extra dazzle, hang the mobile over a light source so the bats shimmer and cast reflections.
A sparkly spinning bat mobile adds a touch of elegance and movement to your Halloween décor.
The shining bats look magical as they slowly spin.
Dramatic Shadow Box Bats
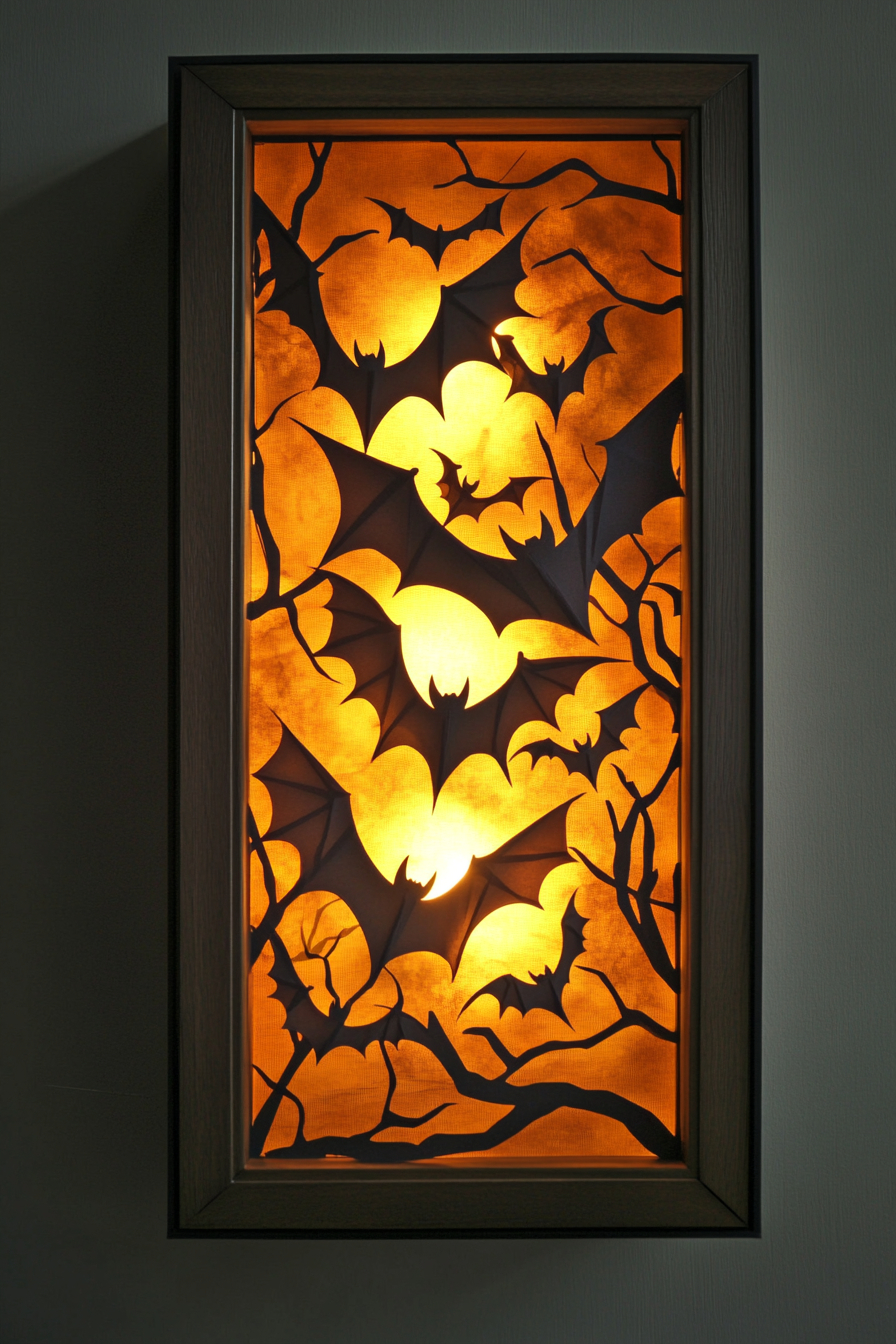
Create a shadow box that casts striking bat silhouettes onto your walls when lit from behind.
The layered cut-out bat shapes make scary shadows come to life.
Follow these tips to make shadow box bats:
Supplies:
– Shoe box or small shadow box
– Black paper or cardstock
– Scissors and craft glue
– LED light or flashlight
Instructions:
1.
Cover the shoe box inside with black paper – paper the bottom and all sides black.
2.
Cut out several bat shapes in various sizes from black cardstock.
3.
Layer and glue the bats inside the box with wings overlapping and extended outside the edges.
4.
Cut a hole on one side of the box to shine a light through.
An LED light works best.
5.
Shut the box lid so bats are unseen inside.
Keep the light off initially.
6.
When ready, switch on the light!
Dramatic bat shadows will suddenly appear on the walls.
7.
Angle the light to make the bat shadows move, grow, shrink, and spread wings.
8.
For best effect, use in a darkened room and move the box to cast shadows in different areas.
The shadow box filled with hidden bats creates an awesome reveal when the light shines through.
Children will love making the spooky shadows emerge and move along the walls and ceiling.
Posable Stuffed Bats
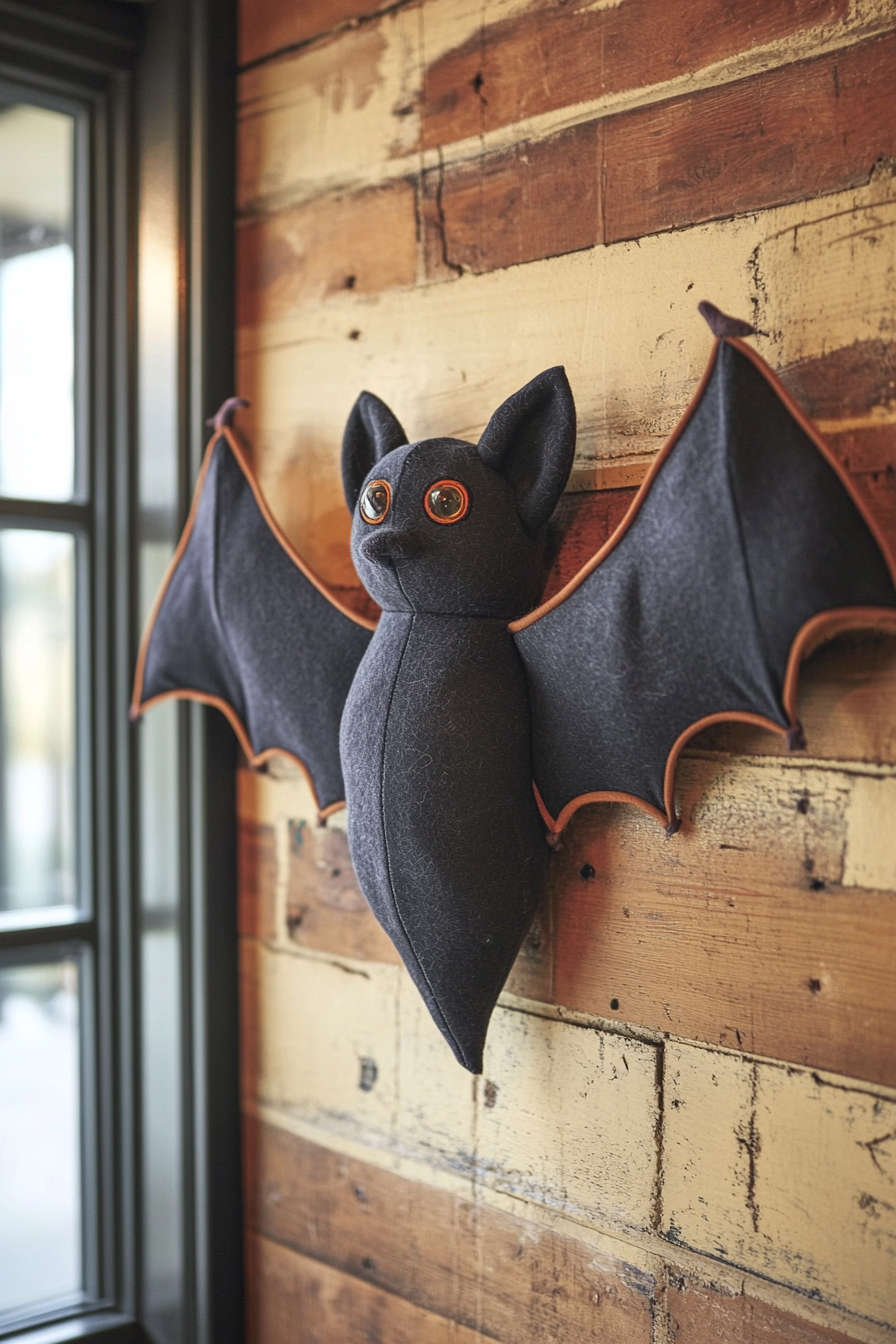
Get some extra cuddly yet creepy stuffed bats to perch on your walls, windows, and furniture.
Look for stuffed animal bats with bendable posable wire wings that you can shape and stick onto surfaces.
Here are some tips for decorating with posable stuffed bats:
Supplies:
– Posable stuffed bats
– Decorative ribbons, bells
Instructions:
1.
Arrange the bendable stuffed bats in different life-like poses.
Make some hang upside down or clinging to objects.
2.
Place several on the walls with wings extended as if in flight.
Use the wire to make wings curved and flapping.
3.
Pose bats dangling from doorways or crawling up the sides of furniture.
Bend the wings to shape as desired.
4.
You can add extra decorations like ribbons tied into bows around bats’ necks or little bells on their feet.
5.
For some variety, get large and small stuffed bats with open mouths showing fangs.
6.
Make little bats peek out from the folds of curtains.
Place giant ones at the tops of bookcases swooping down.
Posing the flexible stuffed bats in life-like flying and hanging positions makes them look ready to take flight!
Place them around the home for added batty fun.
✨Click to Get My 101 FREE Designer Room Ideas
Wall Decal Bat Silhouette Flock

For an easy accent wall that implies a whole swarm of bats, use these wall decal stripe sets.
The strips create abstract silhouette shapes suggesting bats in flight.
Here’s how to decorate with these silhouette bat strips:
Supplies:
– Bat silhouette wall decal strips
– Smoothing tool
Instructions:
1.
Determine the wall space where you want to place the silhouette stripe decals.
Clean the surface.
2.
Peel off each bat stripe backing and stick onto the wall in a clustered formation.
3.
Use a smoothing tool to firmly adhere the decals so no edges lift up.
4.
Build up groups of the stripes on one focal wall or repeat clusters across a larger expanse.
5.
Try angling some strips to imply bats diving down, while others sweep upwards.
6.
Mix matte black shadow stripes with metallic strips for extra interest.
7.
Stand back to see the stripes merge into an abstract flock of bats in flight!
These easy silhouette strips suggest the motion of bats flying across the wall in a large swarm.
Perfect for creating an accent focal wall with subtle Halloween flair.
Spooky Bat Window Clings

For instant Halloween ambiance, use reusable vinyl window clings.
Bat shaped window clings stick onto any glass surface.
They create creepy shadows and outlines when natural light shines through.
Here are some tips for using bat window clings:
Supplies:
– Bat shaped window clings
– Application fluid (optional)
Instructions:
1.
Choose glass surfaces you want to decorate with bat silhouettes.
Good spots are windows facing outward, interior glass doors, mirrors, etc.
2.
Clean the glass so the vinyl clings adhere properly.
Mist with application fluid if needed.
3.
Peel off the bat cling backing and carefully place onto the glass.
Smooth out any bubbles.
4.
Build up clusters of bats or scatter solitary fliers around the glass for a swarm effect.
5.
Try different sizes and styles – solid black, detailed bats, or Halloween themed.
6.
Add spiderwebs, ghosts, or witch shapes to expand the haunted window scene!
7.
Let natural light streaming through make the vinyl bat shapes cast eerie shadows indoors.
Bat window clings are a frighteningly fun way to decorate glass surfaces.
The removable vinyl lets you reuse the bats year after year!
Chalkboard Paint Bat Wall Messages

Make one wall into a spooky Halloween chalkboard by painting it with black chalkboard paint.
Use chalk to draw bats and write creepy messages.
Here are some tips for creating a chalkboard bat wall:
Supplies:
– Chalkboard paint
– Paintbrushes
– Chalk
Instructions:
1.
Select one focal wall you want to make into a Halloween chalkboard.
Paint on a couple coats of black chalkboard paint.
2.
Once the paint dries, start drawing vampire bats, haunted houses, spiderwebs, and more with chalk.
3.
Write ghostly phrases like “Happy Halloween”, “Beware”, and “Don’t Look Behind You!” in drippy fonts.
4.
Add fun games like hangman or tic tac toe boards for party guests to play with chalk.
5.
Change up the drawings and messages throughout the Halloween season for a wall that’s always refreshed!
6.
To reuse each year, simply erase or paint over the old designs when ready for new creepy art.
A chalkboard wall provides endless opportunities for Halloween creativity.
Let your imagination fly with bats, monsters, and spooky lettering.
Shadow Puppet Bats

Entertain kids with old-fashioned shadow puppet play using cut-out bat silhouettes.
Hold up the paper bats behind a bedsheet and use a flashlight to cast giant bat shadows that fly and dance along the “screen”.
Here’s how to make DIY shadow puppets:
Supplies:
– Black paper
– Scissors
– Tape or glue stick
– White sheet
– Flashlight
Instructions:
1.
Fold a white bedsheet and tape it up on the wall to create a screen.
2.
Cut out bat shapes from black paper in small, medium, and large sizes.
3.
Tape a craft stick, straw, or ruler onto the bottom of each paper bat to use as a handle.
4.
Turn off lights and position a flashlight behind the sheet.
Hold up each bat’s handle beneath sheet.
5.
Move the paper bats to make huge flying shadows on the sheet.
Flap the wings, swoop up and down.
6.
Add spooky sound effects and stories to bring the shadow bats alive!
7.
Let kids take turns moving the bat puppets for interactive Halloween fun.
Giant moving bat shadows are sure to delight and spook kids of all ages.
The homemade shadow puppets inspire imaginative play and storytelling.
✨Click to Get My 101 FREE Designer Room Ideas
Three Dimensional Model Bats

For a realistic 3D bat décor effect, create sculpted model bats using clay or paper mache.
Form the models based on real bat photos so the anatomy looks authentic.
Then paint details like wings, ears, and fur.
Follow these steps to make dimensional model bats:
Supplies:
– Air dry clay or paper mache paste/strips
– Acrylic craft paint
– Paintbrushes
– Wire, string, or adhesive putty
Instructions:
1.
Sculpt or mold small bats from clay or paper mache material.
Create authentic wings, ears, and snout.
2.
Use real bat images as an anatomy reference.
Make bats in different hanging poses.
3.
Allow sculptures to air dry fully before painting.
Basecoat with black or gray paint.
4.
Use acrylic craft paints to add realistic details – pink wings, brown fur texture, white bellies, etc.
5.
Add gloss for wet-looking membranes and nostrils.
Paint on scary fangs and claws!
6.
Attach hanging wire or string to display the 3D model bats on your wall or ceiling.
7.
You can also stick them right onto the wall with adhesive putty in swooping poses.
Realistic sculpted model bats add an extra spooky dose of Halloween spirit when displayed around your home.
Make them as lifelike as possible for scary bat decor!
There are so many creative ways to bring bats to life on your walls for a creepy, crawly Halloween look.
Try out a few of these scary cool bat décor ideas to set the right ghoulish mood.
With a swarm of handmade paper bats, chilling wall silhouettes, dangling décor, and reusable accents, you can decorate with bats galore in every room.
Let your batty Halloween imagination run wild!
Frightening yet delightful bat accents will make your walls ready for a howling good Halloween.
Before you know it, family and friends will be exclaiming “what a batty good time!” when they see your home decked out in spiderwebs, jack-o-lanterns, and of course – flocks of fantastically frightening bats.
